Perfect Cheesecake: Master Baking Time and Temperature Tips
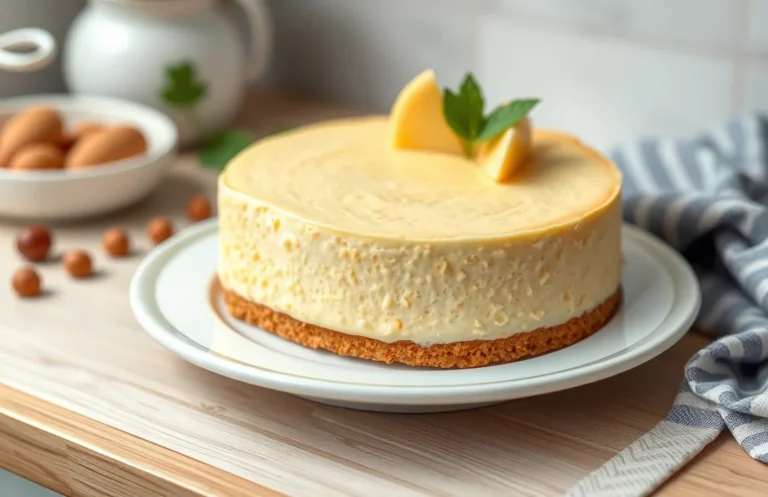
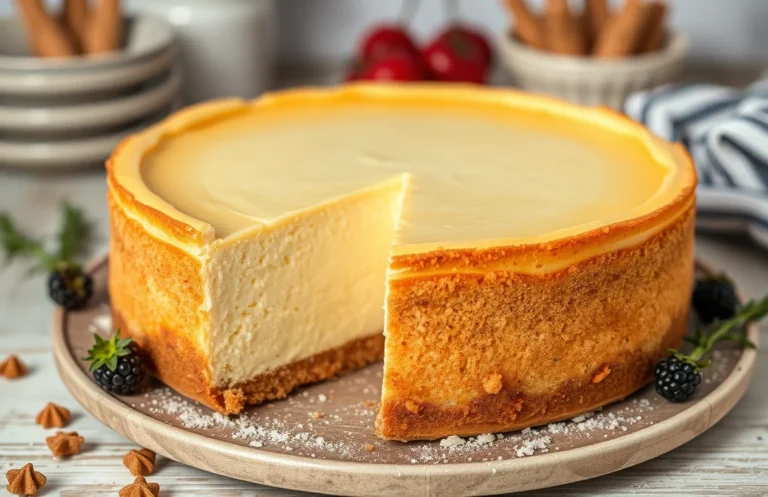
Cheesecake is one of those desserts that can make any occasion feel special. Its creamy, rich filling paired with a buttery crust is pure bliss. Whether it’s a celebratory gathering or a comforting weeknight treat, nothing beats a perfectly baked cheesecake that melts in your mouth and leaves everyone asking for seconds.
This guide will show you how to use heat effectively for the best cheesecake ever. You’ll find exact measurements, cooking times, and temperatures to ensure your cheesecake is creamy and crack-free. Total time is 2 hours, difficulty level is medium, and it serves 8 people.
| Prep Time | Cook Time | Total Time | Servings | Difficulty |
|---|---|---|---|---|
| 30 minutes | 1 hour 30 minutes | 2 hours | 8 | Medium |
Cheesecake Origins and Significance
Cheesecake has a rich history that dates back to ancient Greece, where it was served to athletes during the first Olympic Games. Over the centuries, this creamy dessert has evolved into various forms across different cultures, making it a beloved treat worldwide. Understanding its origins helps us appreciate the delicate balance of flavors and textures that heat plays in the cheesecake baking process.
- Ancient Greece: The earliest known cheesecake appeared around 2000 B.C. as a simple mixture of cheese, flour, and honey.
- Roman Influence: The Romans made their own versions, using eggs and cream, which paved the way for modern cheesecakes.
- New York Style: The iconic New York cheesecake, rich and dense, became popular in the 20th century, showcasing the importance of baking techniques.
Chef’s tip: The right temperature and baking time are crucial to achieving that perfect creamy texture without cracks.
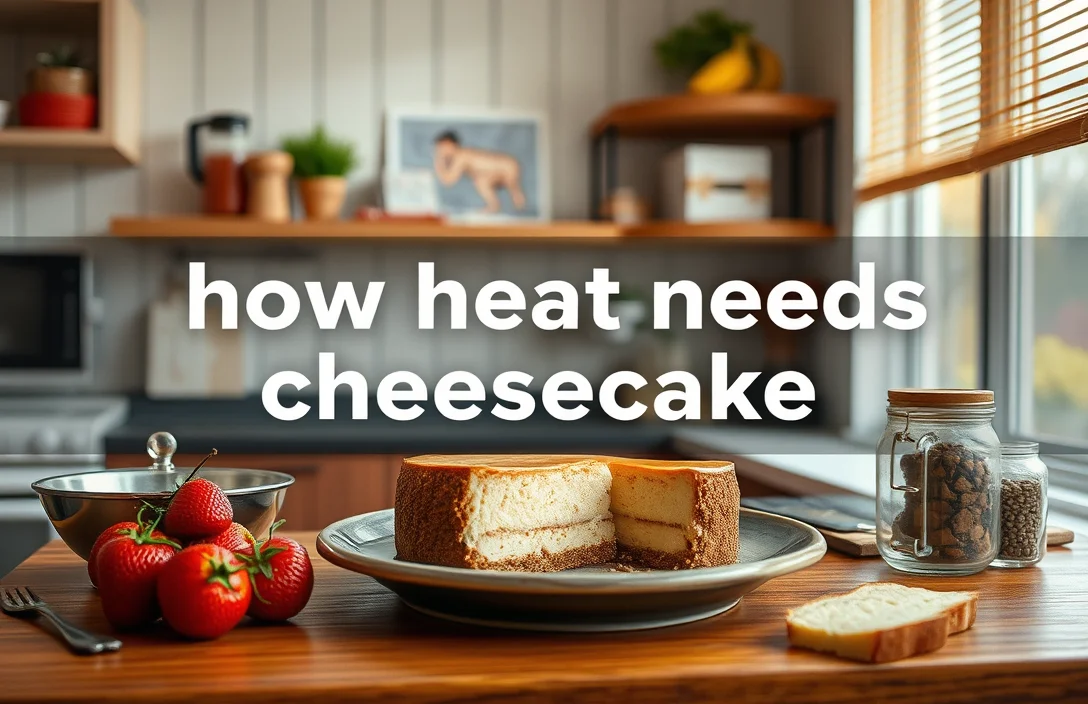
Heat management is essential when baking cheesecake, as it affects both the texture and appearance. Here are some key points to remember:
| Temperature | Effect |
|---|---|
| 325°F (163°C) | Ideal for a slow, even bake that helps prevent cracking. |
| 350°F (175°C) | A bit hotter; watch closely to avoid overbaking. |
| Water Bath | Using a water bath helps maintain moisture and regulates temperature. |
To ensure a smooth surface and a rich flavor, remember to:
- Preheat your oven thoroughly to avoid uneven baking.
- Allow the cheesecake to cool gradually in the oven with the door ajar to prevent sudden temperature changes.
- Check for doneness by gently shaking the pan; the center should slightly jiggle but not appear liquid.
Understanding these heat dynamics will enable you to create a cheesecake that not only tastes incredible but also boasts a beautiful, crack-free finish.
Ingredients for Perfect Cheesecake
Understanding the ingredients you’ll need is crucial for achieving the perfect cheesecake, especially when it comes to how heat interacts with each component. The right balance of ingredients not only affects the flavor but also the texture and stability of the cheesecake during the baking process.
| Item | Amount/Specification | Notes |
|---|---|---|
| Cream Cheese | 24 ounces (680g) | Softened to room temperature for smooth mixing |
| Sugar | 1 cup (200g) | Granulated; helps to stabilize the cheesecake |
| Eggs | 4 large | At room temperature for even cooking |
| Vanilla Extract | 1 teaspoon (5ml) | For flavor; pure vanilla is recommended |
| Crust Ingredients (Graham crackers) | 1 ½ cups (150g) crushed | Combined with ½ cup (113g) melted butter |
- Tip: Make sure all dairy ingredients are at room temperature to prevent lumps and ensure even baking.
- Tip: If using low-fat cream cheese, the texture may not be as creamy, so consider using full-fat for best results.
- Tip: To avoid cracking, bake your cheesecake in a water bath (bain-marie) for gentle heat distribution.
Essential Kitchen Equipment
Having the right equipment is crucial for achieving that perfect cheesecake texture, especially when it comes to managing heat during baking. Each tool plays a specific role in ensuring your cheesecake bakes evenly and comes out smooth, creamy, and crack-free.
- Mixing Bowls: Use a large mixing bowl (at least 4 quarts) for combining your cream cheese and other ingredients. A glass or stainless-steel bowl is ideal as they can withstand heat fluctuations and won’t react with your ingredients. Make sure it’s big enough to hold the batter without splashing.
- Springform Pan: A 9-inch springform pan is essential for baking cheesecakes. The removable sides allow for easy release, preventing cracks. Ensure the pan is tightly sealed; you can wrap the bottom with aluminum foil to prevent water from seeping in during the water bath process.
- Oven Thermometer: To ensure precise baking temperatures, invest in an oven thermometer. Ovens can often be inaccurate; having a thermometer will help you maintain the required 325°F (160°C) for baking your cheesecake. This helps avoid undercooking or overcooking, which can lead to undesirable textures.
- Electric Mixer: A stand or hand mixer is crucial for achieving a smooth cheesecake batter. Cream the cheese until it’s completely free of lumps, which usually takes about 2-3 minutes on medium speed. If you’re using a hand mixer, be sure to mix thoroughly, scraping down the sides of the bowl as needed.
Step-by-Step Baking Instructions
This section provides detailed baking instructions to ensure your cheesecake is perfectly baked, with the right temperature and timing for each step. Following these steps will help you achieve a creamy texture and prevent cracks in your cheesecake.
- Preheat Oven: Begin by preheating your oven to 325°F (163°C). This temperature is ideal for baking a cheesecake, allowing it to cook evenly without burning the edges. Preheating is crucial, so don’t skip this step; it should take about 15 minutes to reach the desired temperature.
- Prepare the Crust: In a mixing bowl, combine 1 ½ cups (150g) of graham cracker crumbs, ⅓ cup (67g) of granulated sugar, and ½ cup (115g) of melted unsalted butter. Mix until the crumbs are evenly coated and resemble wet sand. Press this mixture firmly into the bottom of a 9-inch (23cm) springform pan, creating an even layer. Bake the crust for 10 minutes until lightly golden and fragrant; this helps set the crust and adds flavor.
- Mix Filling: In a large mixing bowl, beat 24 ounces (680g) of cream cheese at room temperature until smooth and creamy. Gradually add 1 cup (200g) of granulated sugar, mixing well. Incorporate 3 large eggs one at a time, ensuring each is fully combined before adding the next. Add 1 teaspoon of vanilla extract and ½ cup (120ml) of sour cream for richness. The mixture should be smooth and slightly thick; scrape down the sides of the bowl as needed.
- Bake Cheesecake: Pour the filling over the pre-baked crust and smooth the top with a spatula. Place the cheesecake in the oven and bake for 55-65 minutes. You’ll know it’s ready when the edges are set but the center still has a slight jiggle. Do not open the oven door during the first 40 minutes to prevent temperature fluctuations. Once baked, turn off the oven and crack the door open, allowing the cheesecake to cool gradually for about an hour; this helps prevent cracking.
Common Mistakes and Pro Tips
Managing heat effectively is crucial for a successful cheesecake. In this section, we’ll cover common pitfalls to avoid, including how to prevent cracks, ensure thorough cooking, and apply proper cooling techniques for that perfect creamy texture.
Preventing Cracks
- Use a water bath: Baking your cheesecake in a water bath helps maintain a gentle, even temperature. Wrap the bottom of your springform pan in aluminum foil to prevent water from seeping in, and place it in a larger baking pan filled with hot water before baking.
- Don’t overmix your batter: Overmixing can incorporate too much air, causing the cheesecake to rise and crack. Mix just until you see no lumps; the batter should be smooth but not airy.
- Bake at the right temperature: Set your oven to 325°F (160°C) for a gentle bake. If the temperature is too high, the cheesecake can puff up and crack. The edges should look set, while the center remains slightly jiggly.
Avoiding Undercooking
- Check for doneness: The cheesecake is done when the edges are firm, and the center is just slightly wobbly. It will continue to set as it cools, so aim for that perfect jiggle.
- Use an oven thermometer: Ovens can often be off by several degrees. An accurate reading ensures your cheesecake bakes evenly and thoroughly.
Proper Cooling Techniques
- Cool gradually: After baking, turn off the oven and crack the door open. Let the cheesecake cool in the oven for 1 hour, which helps prevent sudden temperature changes that can cause cracks.
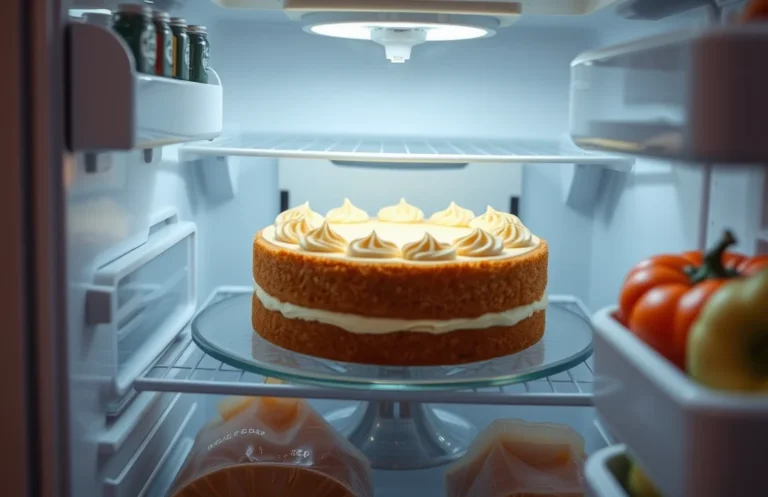
- Chill in the refrigerator: Once at room temperature, refrigerate the cheesecake for at least 4 hours, preferably overnight. This helps firm up the texture and enhances flavors.
Variations and Modifications
This section focuses on how you can adapt your cheesecake recipe to accommodate different dietary preferences, such as gluten-free or vegan options. Understanding these variations allows you to enjoy the classic cheesecake experience while catering to various needs and flavor profiles.
Gluten-Free Crust
If you need a gluten-free option, you can easily substitute the traditional graham cracker crust with a gluten-free alternative. Here’s how:
- 1 ½ cups gluten-free cookie crumbs
- ½ cup unsalted butter, melted (1 stick)
- 2 tablespoons sugar
- Preheat your oven to 350°F (175°C).
- In a bowl, combine the gluten-free cookie crumbs, melted butter, and sugar. Mix until the crumbs are evenly coated.
- Press the mixture firmly into the bottom of a 9-inch springform pan.
- Bake for 10-12 minutes until slightly golden and fragrant.
Vegan Cheesecake Ingredients
Creating a vegan cheesecake is simple and delicious. Here’s a basic ingredient list:
- 2 cups raw cashews (soaked in water for at least 4 hours)
- ½ cup coconut cream
- ⅓ cup maple syrup
- ¼ cup lemon juice
- 1 teaspoon vanilla extract
- Blend the soaked cashews, coconut cream, maple syrup, lemon juice, and vanilla extract until smooth and creamy.
- Pour the mixture into the prepared crust and smooth the top.
- Bake at 350°F (175°C) for 30-35 minutes, or until set. Allow it to cool completely before refrigerating for at least 4 hours.
Flavor Variations
Feel free to get creative with flavors! Here are a few delicious ideas:
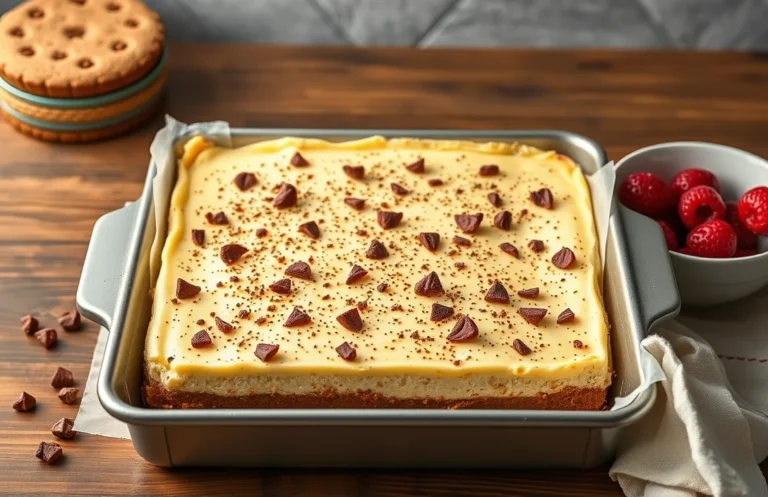
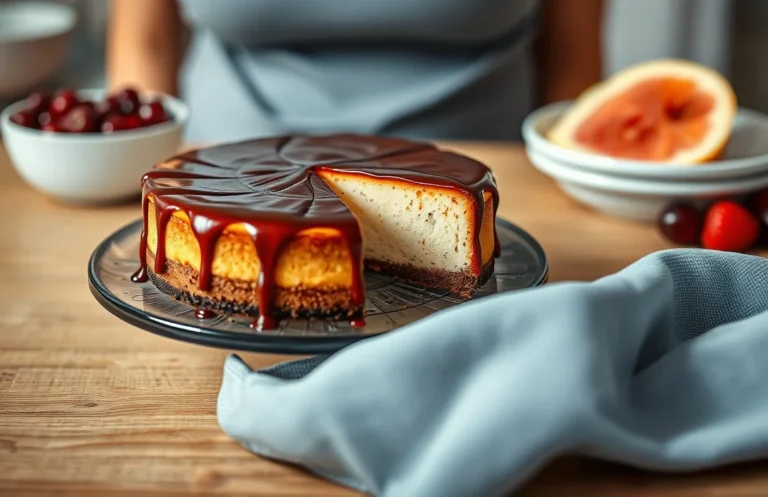
- Chocolate: Fold in ½ cup melted dark chocolate into the filling before baking.
- Fruit: Mix in 1 cup of pureed strawberries or blueberries for a fruity twist.
- Spices: Add 1 teaspoon of cinnamon or nutmeg to the filling for a warm spice flavor.
Chef’s tip: When adding flavors, ensure they are balanced so they don’t overpower the creamy texture of the cheesecake.
Serving and Plating Suggestions
Once your cheesecake has cooled, it’s time to serve it up in a way that showcases its creamy texture and delicious flavors. Thoughtful garnishes, the right serving temperature, and perfect beverage pairings will elevate your dessert to a new level of enjoyment.
- Choose the Right Serving Temperature: For the best flavor and texture, serve your cheesecake chilled, directly from the refrigerator. Ideally, let it rest at room temperature for about 15-20 minutes before slicing to soften slightly, enhancing its creamy mouthfeel.
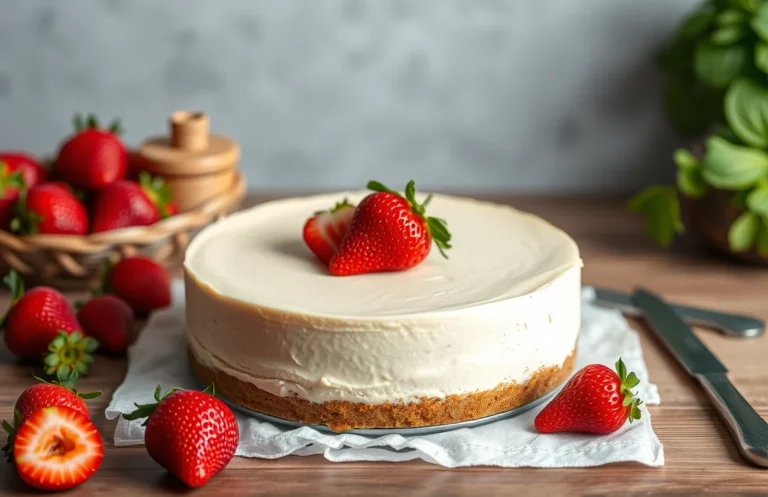
- Garnish Creatively: Fresh berries like strawberries, blueberries, or raspberries not only add a pop of color but also a delightful tartness that complements the sweet, rich cheesecake. Drizzle with a homemade berry sauce by simmering 1 cup of mixed berries with 2 tablespoons of sugar and a splash of lemon juice until thickened, about 5-7 minutes.
- Use Whipped Cream: Lightly whipped cream is a classic garnish that adds an airy texture. Whip 1 cup of heavy cream with 2 tablespoons of powdered sugar until soft peaks form, then spoon it onto each slice just before serving.
- Pair with Beverages: A well-chosen drink can enhance your cheesecake experience. Pair it with a sweet dessert wine like Sauternes or a rich coffee, such as espresso or a mocha, to balance the creamy sweetness. For a non-alcoholic option, a refreshing iced tea with lemon works beautifully.
- Presentation Matters: Use a sharp knife to slice the cheesecake cleanly, wiping the blade with a damp cloth between cuts for neat edges. Serve on elegant plates, and consider adding a mint leaf or edible flower for a touch of sophistication.
Quick Summary
| Prep Time | Cook Time | Total Time | Servings |
|---|---|---|---|
| 20 minutes | 60 minutes | 2 hours | 8 servings |
- Preheat oven to 325°F (163°C) for optimal baking.
- Prepare crust by mixing crushed graham crackers, sugar, and melted butter.
- Beat cream cheese until smooth before adding sugar and eggs to avoid lumps.
- Bake in a water bath to prevent cracks and ensure even cooking.
- Cool gradually by leaving the cheesecake in the oven after baking.
- Tip: Use room temperature ingredients for a silky texture.
- Tip: Avoid over-mixing to prevent air bubbles and cracking.
Frequently Asked Questions
Can I make this ahead of time? How to store and reheat?
You can make cheesecake up to 2 days in advance and store it in the refrigerator, tightly wrapped. To reheat, let it sit at room temperature for about 30 minutes before serving for the best texture.
What can I substitute for cream cheese?
You can use mascarpone cheese or a combination of Greek yogurt and cream cheese in equal parts for a lighter option. Keep in mind that this may slightly alter the flavor and texture of your cheesecake.
How do I know when it’s done?
Your cheesecake is done when the edges are set, and the center has a slight jiggle, which will firm up as it cools, typically around 55-60 minutes at 325°F (160°C). A good indicator is to check for a slightly puffed edge and a smooth surface.
Can I freeze this? How long does it last?
Yes, you can freeze cheesecake for up to 3 months. Wrap it tightly in plastic wrap and aluminum foil to prevent freezer burn, and thaw it in the refrigerator overnight before serving.
Why did my cheesecake crack on top?
Your cheesecake may crack due to overbaking or cooling too quickly, which creates stress on the top. To prevent this, bake it in a water bath and allow it to cool gradually in the oven with the door ajar.

- Decadent Peanut Butter No-Bake Cheesecake: Easy Recipe to Indulge - April 3, 2026
- Delicious Mango No-Bake Cheesecake: Step-by-Step Recipe - April 3, 2026
- Decadent Raspberry No-Bake Cheesecake: Easy Step-by-Step Recipe - April 3, 2026