Cheesecake from Porto: How Long It Lasts & Storage Tips
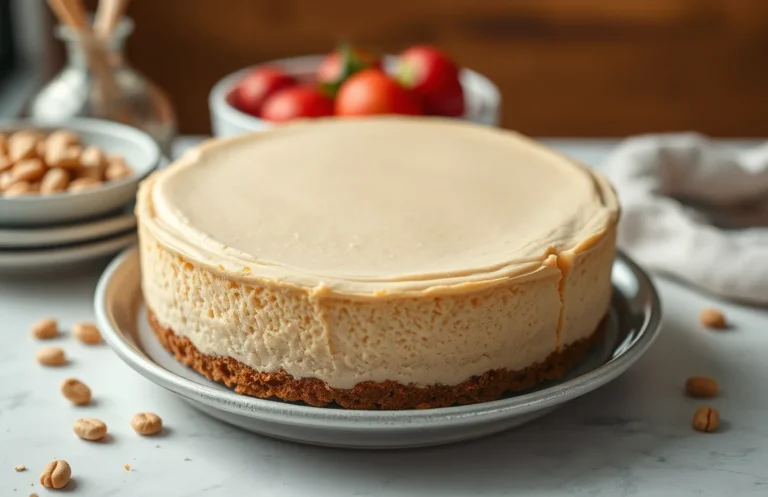
Cheesecake from Porto is a velvety delight that makes every bite feel like a warm hug. With its rich creaminess and subtle sweetness, it’s the perfect dessert for celebrations or a cozy weeknight treat. Picture the satisfying texture, that melt-in-your-mouth quality, and the way it makes everyone gather around the table. Pure bliss!
Key details: Total time: 6 hours (including chilling), Difficulty level: Easy, Servings: 8.
| Prep Time | Cook Time | Total Time | Servings | Difficulty |
|---|---|---|---|---|
| 30 minutes | 1 hour | 6 hours | 8 | Easy |
This guide will cover how long your cheesecake can last, the best storage methods, signs of spoilage, and tips to keep it fresh. You’ll be prepared to enjoy every delicious slice!
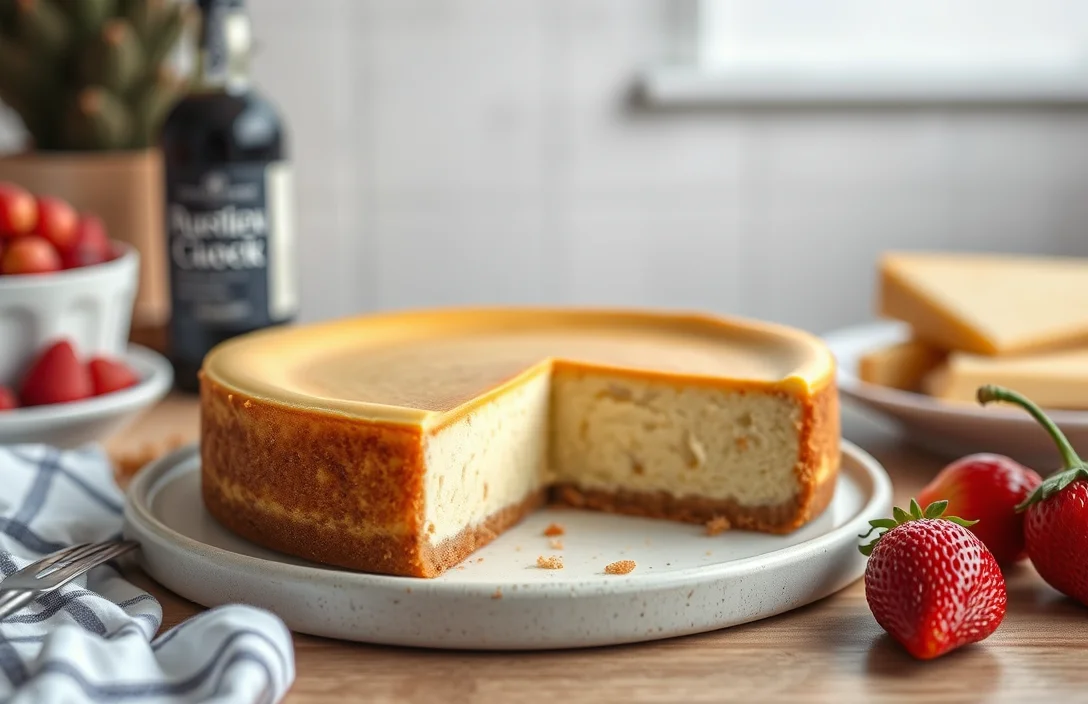
Cheesecake from Porto
Porto, a city renowned for its rich culinary traditions, offers a unique twist on the classic cheesecake. This section highlights the origin of Porto cheesecake, what sets it apart, and ideal occasions for serving it, all of which contribute to understanding its shelf life and storage needs.
Origin of Porto Cheesecake
The Porto cheesecake, known as “Cheesecake da Serra,” has its roots deeply embedded in Portuguese cuisine. Traditionally made with fresh, creamy cheese from the Serra da Estrela region, it reflects the local agricultural practices and the use of high-quality, regional ingredients. The cheesecake often boasts a delightful balance of sweetness and tanginess, making it a beloved dessert in the area.
What Makes It Special
- Texture: Porto cheesecake is creamy and velvety, thanks to the use of rich cheese, often blended with eggs and sugar.
- Flavor: The addition of lemon zest or vanilla enhances its flavor profile, giving it a refreshing twist.
- Presentation: Commonly served with a drizzle of local honey or a fruit compote, it makes for an attractive dessert.
When to Serve
This cheesecake is perfect for various occasions:
- Family gatherings and celebrations
- Holidays like Christmas or Easter
- As a sweet conclusion to a traditional Portuguese meal
Understanding these aspects not only enriches your appreciation for Porto cheesecake but also informs you about its proper storage and longevity.
Ingredients List
This section provides the essential ingredients you’ll need to create a traditional cheesecake from Porto, along with their exact measurements. Knowing the right ingredients is crucial for achieving the perfect texture and flavor, which can ultimately affect how long your cheesecake lasts.
| Item | Amount/Specification | Notes |
|---|---|---|
| Cream Cheese | 16 ounces (450g) | Softened to room temperature for easy mixing |
| Sugar | 1 cup (200g) | Granulated sugar works best for sweetness |
| Eggs | 3 large | Room temperature for better incorporation |
| Vanilla Extract | 2 teaspoons (10ml) | Use pure vanilla extract for the best flavor |
| Graham Cracker Crust | 1 ½ cups (150g) crumbs | Store-bought or homemade, packed tightly |
- For a gluten-free option, substitute graham crackers with gluten-free cookies.
- Ensure cream cheese is fully softened; this prevents lumps in the batter.
- Check eggs for freshness; they should smell neutral and feel firm when cracked.
- Don’t overmix the batter; mix just until combined to avoid a dense texture.
Essential Kitchen Equipment
Having the right kitchen tools is crucial for making a delicious cheesecake that will last. In this section, we’ll cover the essential equipment you’ll need to ensure your cheesecake not only turns out beautifully but also stays fresh for as long as possible.
- Mixing Bowls: Use a large mixing bowl (at least 3-quart capacity) for combining your cream cheese, sugar, and other ingredients. A glass or stainless steel bowl is ideal as they won’t retain odors or stains. Ensure there are no cracks or chips, as this can affect the mix.
- Springform Pan: A 9-inch springform pan is perfect for cheesecakes, allowing for easy removal once it’s set. Make sure to grease the bottom and sides with butter before adding your crust to prevent sticking. Check that the latch closes tightly to avoid any leaks during baking.
- Electric Mixer: A handheld or stand mixer with beaters is essential for achieving a smooth batter. Mix the cream cheese and sugar on medium speed until light and fluffy, about 2-3 minutes. Avoid overmixing, as this can incorporate too much air and create cracks in your cheesecake.
- Oven Preheating: Preheat your oven to 325°F (163°C) before baking. This step is crucial for even cooking. Use an oven thermometer to ensure your oven is at the correct temperature, as inaccuracies can affect baking time and the final texture of your cheesecake.
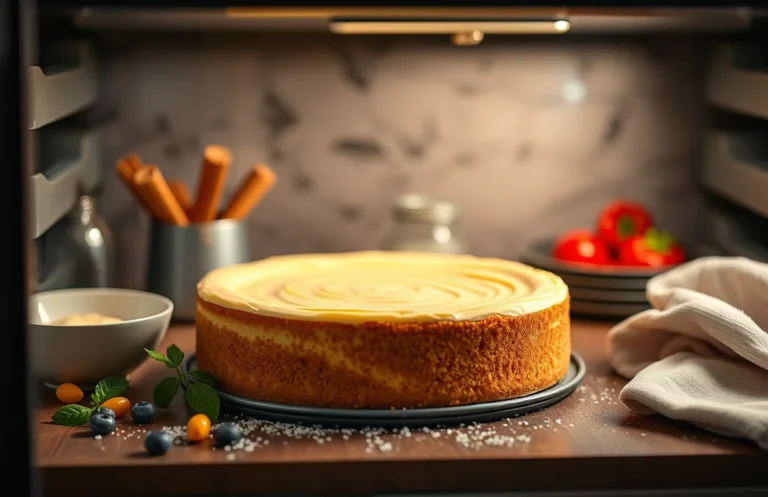
Cooking Instructions
This section provides a step-by-step guide to making a delicious cheesecake, which is essential for ensuring its quality and flavor. Knowing how to properly prepare, bake, and cool the cheesecake will directly affect how long it lasts in your fridge.
- Prepare the Crust: Preheat your oven to 350°F (175°C). In a bowl, mix 1 ½ cups (150g) of graham cracker crumbs with ¼ cup (50g) of granulated sugar and ½ cup (115g) of melted unsalted butter. Press this mixture firmly into the bottom of a 9-inch (23cm) springform pan. Bake for 10 minutes until lightly golden. The crust should feel firm to the touch and smell aromatic.
- Mix the Filling: In a large mixing bowl, beat 4 (8 oz) packages of cream cheese (softened) until smooth. Gradually add 1 cup (200g) of granulated sugar and mix until well combined and creamy. Add 4 large eggs, one at a time, mixing on low speed until just incorporated. The mixture should be thick and glossy, with no lumps remaining.
- Bake the Cheesecake: Pour the cream cheese mixture over the cooled crust. Bake in the preheated oven for 55-60 minutes. The cheesecake is done when the edges are set but the center still has a slight jiggle. Avoid opening the oven door during the first 20 minutes to prevent cracks.
- Cooling Time: Once baked, turn off the oven and leave the cheesecake inside for an additional hour with the door slightly ajar. This gradual cooling will help prevent cracking. After an hour, remove it from the oven and let it cool at room temperature for another hour before refrigerating. Chill the cheesecake for at least 4 hours, preferably overnight, before slicing. It should feel firm but creamy when you press lightly on the top.
Pro Tips for Cheesecake
Mastering the art of cheesecake not only involves precise measurements but also understanding some key techniques that can significantly affect its shelf life and overall quality. Here are some expert tips to help you create a cheesecake that stays delicious and fresh for longer.
- Avoid Overmixing: When combining your ingredients, mix just until smooth. Overmixing can incorporate excess air, leading to cracks during baking and affecting texture. Aim for a creamy consistency without lumps, which will help maintain stability during storage.
- Cooling Gradually: After baking, allow your cheesecake to cool in the oven with the door slightly ajar for about an hour. This gradual cooling helps prevent sudden temperature changes that can create cracks. Once at room temperature, refrigerate to help it set properly before serving.
- Using Room Temperature Ingredients: Ensure that your cream cheese, eggs, and any dairy are at room temperature before mixing. This helps create a smoother batter, which can contribute to a denser, creamier cheesecake that lasts longer in the fridge without losing its texture.
Storage Methods
Storing your cheesecake properly is essential to maintain its freshness and flavor, especially for a delicious Porto cheesecake. Here’s how to ensure your cheesecake lasts as long as possible while still tasting delightful.
-
Refrigeration Duration
Store your cheesecake in the refrigerator if you plan to consume it within a week. Ideally, it should last about 5 to 7 days when covered tightly with plastic wrap or aluminum foil to prevent it from absorbing odors and moisture.
-
Freezing Techniques
If you want to keep your cheesecake for a longer period, freezing is the best option. Wrap the cheesecake in plastic wrap, followed by aluminum foil to protect it from freezer burn. Properly stored, it can last up to 3 months in the freezer. When ready to enjoy, thaw it in the refrigerator for 6-8 hours or overnight.
-
Best Containers for Storage
Use an airtight container for refrigeration, ensuring that it is large enough to avoid crushing the cheesecake. If freezing, a freezer-safe container or heavy-duty freezer bags will work best. Always label your containers with the date you made the cheesecake so you can keep track of its freshness.
Signs of Spoilage
Knowing how to identify spoilage in cheesecake is crucial to ensure the safety and quality of your dessert. Cheesecake from Porto, with its rich and creamy texture, can spoil if not stored properly. Here are some key signs to watch for.
- Visual Cues: Check for any discoloration on the surface of the cheesecake. If you notice a greenish hue or any mold, it’s definitely time to discard it. Additionally, if the top appears overly dry or cracked, this can indicate that the cheesecake is past its prime.
- Smell Tests: Fresh cheesecake should have a pleasant, creamy aroma. If you detect a sour or off-smell, this is a strong indicator that the cheesecake has spoiled. Trust your nose—if it smells bad, it’s best to throw it out.
- Texture Changes: The texture of fresh cheesecake should be smooth and creamy. If it feels grainy or has developed a watery layer on top, this could suggest spoilage. A rubbery texture also indicates that the cheesecake has likely gone bad.
Regularly checking for these signs can help prevent food waste and ensure that you’re enjoying your cheesecake at its best. Remember, when in doubt, it’s safer to discard the cheesecake than to risk foodborne illness.
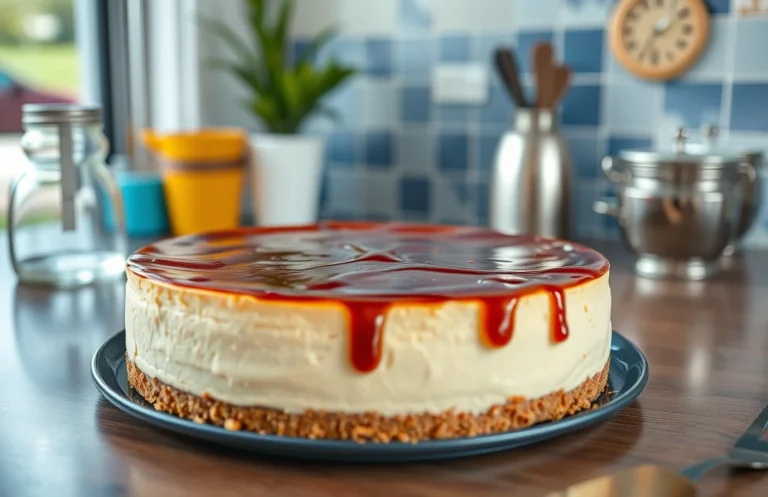
Cheesecake Variations from Porto
Understanding the different variations of cheesecake from Porto can help you determine their shelf life and storage needs. Each type brings unique ingredients that may affect how long your cheesecake stays fresh. Let’s explore a few popular variations and their impact on longevity.
-
Chocolate Cheesecake
Chocolate cheesecake typically incorporates melted chocolate and may include cream or heavy cream, which can affect its shelf life. When stored properly in the refrigerator, a chocolate cheesecake can last for about 5-7 days. Make sure to wrap it tightly in plastic wrap to prevent it from absorbing any odors from the fridge.
-
Fruit Toppings
Cheesecakes topped with fresh fruit can have a shorter shelf life due to the moisture content and quick spoilage of the fruit. These cheesecakes should ideally be consumed within 3-5 days. For best results, store them in an airtight container and consider adding the fruit topping just before serving to maintain freshness.
-
Savory Variations
Savory cheesecakes, which might include ingredients like herbs or cheese, can last slightly longer, around 5-7 days in the refrigerator. However, the presence of dairy and egg-based ingredients means they should still be consumed promptly. Store these cheesecakes in an airtight container to prevent drying out and maintain their flavor.
By recognizing the specific ingredients in each variation, you can better manage their storage and enjoy them at their best!
Quick Summary
| Prep Time | 20 minutes |
|---|---|
| Cook Time | 1 hour |
| Total Time | 1 hour 20 minutes |
| Servings | 8 |
- Cool Time: Chill cheesecake in the fridge for at least 4 hours, ideally overnight.
- Storage Duration: Properly stored, it lasts 5-7 days in the fridge.
- Freezing Tip: Freeze in slices for up to 3 months; wrap tightly in plastic wrap.
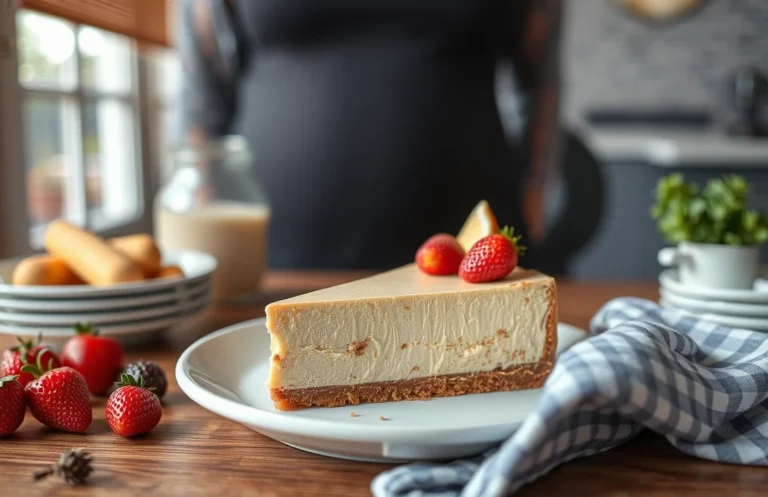
- Serving Temperature: Serve chilled for the best texture and flavor.
- Ingredient Freshness: Use fresh cream cheese for optimal taste and texture.
Frequently Asked Questions
Can I make this ahead of time? How to store and reheat?
You can absolutely make this cheesecake ahead of time; it keeps well in the refrigerator for up to 5 days. Just cover it tightly with plastic wrap to maintain its moisture and flavor.
What can I substitute for cream cheese?
If you’re looking for a substitute, you can use mascarpone cheese or blended cottage cheese for a different texture, but the flavor will vary slightly. Make sure it’s at room temperature for easier mixing!
How do I know when it’s done?
Your cheesecake is done when the edges are set but the center still has a slight jiggle; it will firm up as it cools. Look for a light golden hue on top, which indicates it’s reached that perfect doneness.
Can I freeze this? How long does it last?
You can freeze the cheesecake for up to 2-3 months if you wrap it tightly in plastic wrap and then in aluminum foil. Just remember to thaw it in the refrigerator overnight before serving!
Why did my cheesecake turn out cracked on top?
If your cheesecake has cracks, it’s likely due to overmixing or baking at too high a temperature. Next time, mix just until combined and bake it in a water bath to help maintain even heat.

- Make Cheesecake Up to 3 Days Ahead: Tips for Best Flavor & Texture - March 4, 2026
- Easy No-Bake Cool Doen Cheesecake: Quick Recipe & Tips - March 4, 2026
- Decadent Dulce de Leche Cheesecake: Easy Step-by-Step Recipe - March 4, 2026