Is Sealed Cheesecake Safe to Eat 4 Days Past Expiration Date?
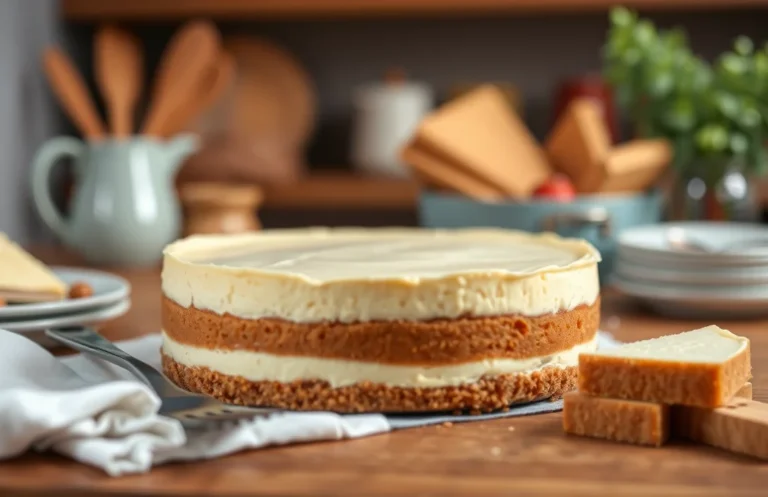
Cheesecake is one of those desserts that always brings joy, whether it’s a special occasion or a cozy weeknight treat. The creamy, rich texture paired with a buttery crust is pure indulgence, making every bite feel like a warm hug. You can top it with fresh berries or a drizzle of chocolate, and it’s sure to impress.
Wondering if that sealed cheesecake sitting in your fridge is still good? You’ll learn about expiration dates vs. ‘best by’ dates, key signs of spoilage, and safe consumption guidelines. This guide will keep you informed and confident in your choices.
| Prep Time | 5 minutes |
|---|---|
| Cook Time | 0 minutes |
| Total Time | 5 minutes |
| Servings | 1 cheesecake |
| Difficulty | Easy |
Expiration Dates Explained
Expiration dates can be a bit of a puzzle, especially when it comes to dairy products like cheesecake. The thing that makes this topic so special is understanding that these dates are more about quality than safety. Cheesecake, with its creamy, rich flavor and delightful sweetness, can often be enjoyed even past its printed date if stored properly!
Ingredients
- Cream cheese (16 oz, softened)
- Sour cream (1 cup)
- Granulated sugar (1 cup)
- Brown sugar (1/2 cup)
- Vanilla extract (2 teaspoons)
- Eggs (3 large)
- All-purpose flour (2 tablespoons)
- Butter (1/2 cup, melted)
- Graham cracker crumbs (1 1/2 cups)
- Salt (1/4 teaspoon)
- Fresh lemon juice (1 tablespoon)
- Heavy cream (1/2 cup)
Instructions
- (Total cook time: about 1 hour) Preheat your oven to 325°F (160°C). This is the perfect temperature for a gentle bake that keeps your cheesecake silky.
- In a large mixing bowl, beat the softened cream cheese with granulated sugar and brown sugar until smooth and creamy, about 3-4 minutes. Make sure there are no lumps!
- Add in the sour cream, vanilla extract, and lemon juice, mixing until well incorporated.
- One at a time, add the eggs, mixing on low speed just until blended after each addition. You want to keep that mixture light and fluffy.
- Sprinkle in the flour and salt, and mix just until combined. Overmixing can lead to cracks in your cheesecake.
- In a separate bowl, combine graham cracker crumbs and melted butter. Press this mixture firmly into the bottom of a 9-inch springform pan to form the crust.
- Pour the cheesecake filling over the crust, and smooth the top with a spatula. Bake for 50-60 minutes, or until the edges are set but the center still has a slight jiggle.
- Turn off the oven and crack the door, allowing the cheesecake to cool in the oven for about an hour. This helps prevent cracking!
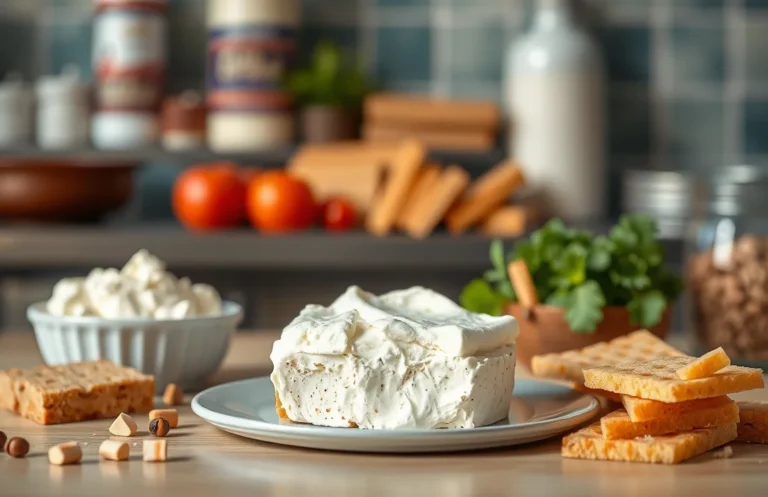
Dairy Content in Cheesecake
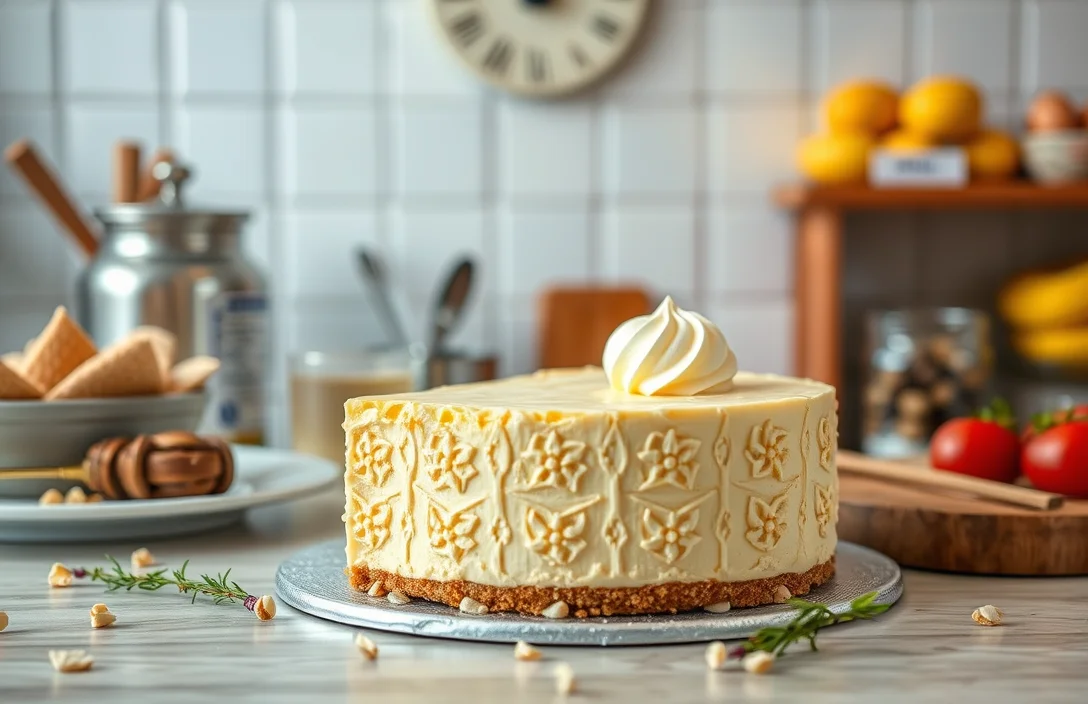
Cheesecake is a creamy, rich dessert that’s loved for its smooth texture and delightful flavor. The magic lies in the dairy content, primarily from cream cheese, which gives it that luscious mouthfeel and tangy sweetness. Whether it’s a classic New York style or a fruity variation, the dairy in cheesecake is what makes it indulgently satisfying!
Ingredients
- Cream cheese (16 oz, softened)
- Sour cream (1 cup)
- Granulated sugar (1 cup)
- Brown sugar (1/2 cup)
- Vanilla extract (1 teaspoon)
- Eggs (3 large)
- All-purpose flour (2 tablespoons)
- Butter (1/2 cup, melted for crust)
- Graham cracker crumbs (1 1/2 cups)
- Salt (1/4 teaspoon)
- Lemon juice (1 tablespoon)
- Whipped cream (for topping, optional)
- Fresh fruit (for topping, optional)
Instructions
- (Total cook time: about 1 hour 15 minutes) Preheat your oven to 325°F (163°C). This temperature is perfect to bake your cheesecake gently, ensuring it’s creamy and not cracked!
- In a large mixing bowl, beat the softened cream cheese until smooth, about 2-3 minutes. You want it creamy and free of lumps to achieve that perfect texture.
- Add the granulated sugar, brown sugar, and sour cream to the bowl. Mix until well combined, then add the vanilla extract and lemon juice. The lemon juice adds a nice zesty flavor!
- Slowly add the eggs, one at a time, mixing on low until just incorporated. Be careful not to overmix, as that can introduce too much air and lead to cracks.
- In a separate bowl, combine the graham cracker crumbs, melted butter, and salt. Press this mixture firmly into the bottom of a 9-inch springform pan for a solid crust.
- Pour the cheesecake filling over the crust and smooth the top with a spatula. Bake in the preheated oven for about 50-60 minutes, or until the edges are set and the center has a slight jiggle.
- Once done, turn off the oven and crack the door open, letting the cheesecake cool inside for about an hour. This helps prevent cracking as it cools down.
- Refrigerate your cheesecake for at least 4 hours, or preferably overnight, before serving. Top with whipped cream and fresh fruit if desired!
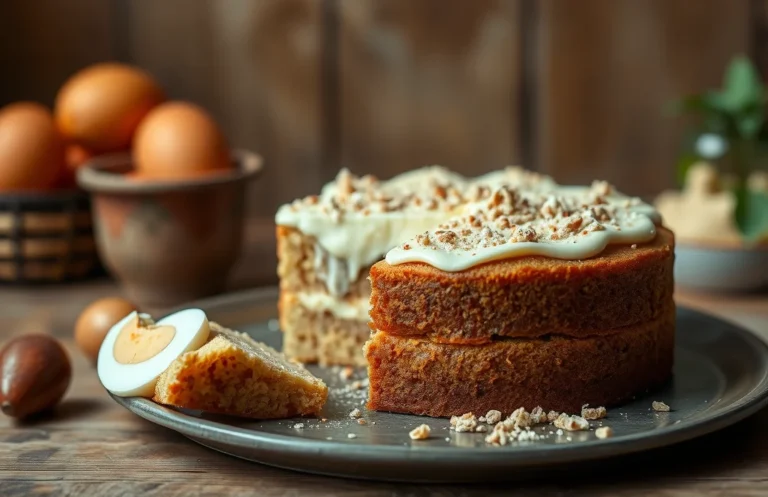
Signs of Spoilage
When it comes to cheesecake, the dreamy blend of creamy cheese and sweet crust can make it hard to part with, even when it’s past its prime. However, recognizing the signs of spoilage is essential to ensure your health and safety. You want to keep that delicious flavor intact, so let’s go over what to look for.
Ingredients
- Soft cream cheese (16 oz)
- Sour cream (1 cup)
- Granulated sugar (1 cup)
- Vanilla extract (1 tsp)
- Eggs (3 large)
- All-purpose flour (1/4 cup)
- Butter, melted (1/2 cup)
- Graham cracker crumbs (1 1/2 cups)
Instructions
- (Total cook time: about 1 hour) Preheat your oven to 325°F (160°C). This is the perfect temperature for a creamy bake.
- In a mixing bowl, combine the graham cracker crumbs and melted butter, mixing until it resembles wet sand. Press this firmly into the bottom of a springform pan to create your crust.
- In another bowl, beat the softened cream cheese until smooth. Gradually add in the sugar and continue mixing until fully combined.
- Add in the sour cream, vanilla extract, and flour, mixing until just blended. Avoid overmixing to keep your cheesecake light.
- Finally, add the eggs one at a time, mixing gently until just incorporated. Pour this luscious mixture over your crust.
- Bake in the preheated oven for about 50-60 minutes, or until the edges are set but the center still has a slight jiggle. This is key for that perfect texture!
- Once baked, turn off the oven and let the cheesecake cool inside for an hour before transferring it to the fridge. Chill for at least 4 hours, preferably overnight, before serving.
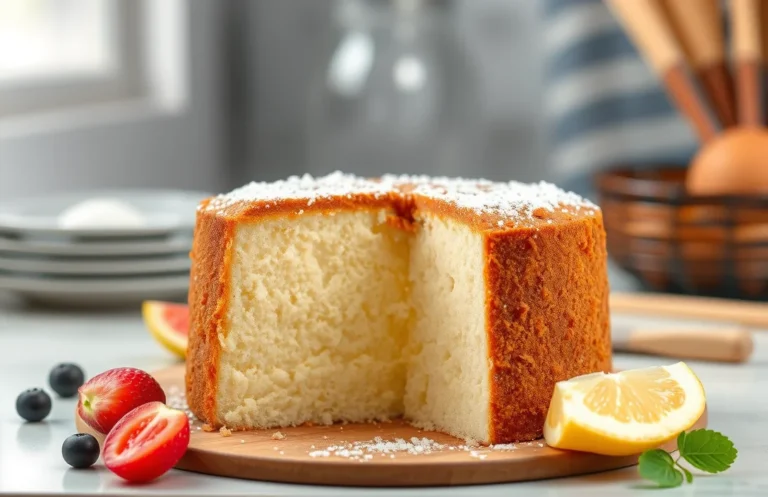
Safe Consumption Guidelines
When it comes to cheesecake, knowing whether it’s still safe to eat after its expiration date can be a bit nerve-wracking. Cheesecake is rich and creamy, often made with delicious ingredients like cream cheese, sugar, and eggs, which makes it a favorite dessert, but also one that requires careful storage and consumption practices.
Ingredients
- Cream cheese (16 oz)
- Granulated sugar (1 cup)
- Eggs (3 large)
- Sour cream (1 cup)
- Vanilla extract (1 teaspoon)
- Graham cracker crumbs (1 ½ cups)
- Unsalted butter (½ cup, melted)
- Salt (¼ teaspoon)
Instructions
- (Total cook time: about 1 hour) Preheat your oven to 325°F (160°C). This temperature is perfect for gently baking your cheesecake without cracking the surface.
- In a mixing bowl, combine the graham cracker crumbs, melted butter, and salt. Mix until the crumbs are well-coated and resemble wet sand.
- Press the crumb mixture firmly into the bottom of a 9-inch springform pan to form a crust. Bake for 10 minutes, then remove from the oven and let it cool slightly.
- In another bowl, beat the cream cheese and sugar together until smooth and creamy, about 3-4 minutes. You want to make sure there are no lumps!
- Add the eggs one at a time, mixing well after each addition. Then fold in the sour cream and vanilla extract gently until just combined.
- Pour the cheesecake filling over the cooled crust, smoothing the top with a spatula. Bake for 50-60 minutes or until the edges are set but the center is still slightly jiggly.
- Once baked, turn off the oven and crack the door open, letting the cheesecake cool in the oven for about an hour. This helps prevent cracks!
Quick Summary
| Prep Time | Cook Time | Total Time | Servings |
|---|---|---|---|
| N/A | N/A | N/A | 1 |
- Check the seal: If the cheesecake is still sealed, it may be safe.
- Smell test: Open and smell for any off odors before consuming.
- Look for mold: Inspect the surface for any signs of mold growth.
- Trust your gut: If in doubt, it’s best to discard it.
- Consider the ingredients: Dairy products can spoil quickly, even in sealed packaging.
- Tip 1: Always check expiration dates before purchasing.
- Tip 2: Store cheesecake in the fridge to extend its freshness.
Frequently Asked Questions
Can I eat cheesecake that is sealed and 4 days out of date?
If the cheesecake has been stored properly in the refrigerator and shows no signs of spoilage, it may still be edible, but use your judgment regarding smell and appearance.
Can I make cheesecake ahead of time?
You can definitely make cheesecake ahead of time; it actually tastes better after chilling for a day or two in the fridge. Just cover it well to prevent it from absorbing other odors.
How do I know when my cheesecake is done?
Your cheesecake is done when the edges are set and the center has a slight jiggle, which usually takes about 55 to 70 minutes at 325°F (163°C) in a water bath.
Can I freeze cheesecake? How long does it last?
Yes, you can freeze cheesecake, and it will last up to 3 months in the freezer if wrapped tightly. Just be sure to let it thaw in the refrigerator before serving.
What if my cheesecake cracked?
If your cheesecake cracked, it may have been baked at too high a temperature or for too long; next time, try lowering the oven temperature and using a water bath for more even baking.

- 10 Best Cheese Knife With Holes For Smooth Slice 2026 - March 9, 2026
- Make Cheesecake Up to 3 Days Ahead: Tips for Best Flavor & Texture - March 4, 2026
- Easy No-Bake Cool Doen Cheesecake: Quick Recipe & Tips - March 4, 2026