Indulge in a Classic No-Bake Cheesecake: Simple and Delicious Recipe
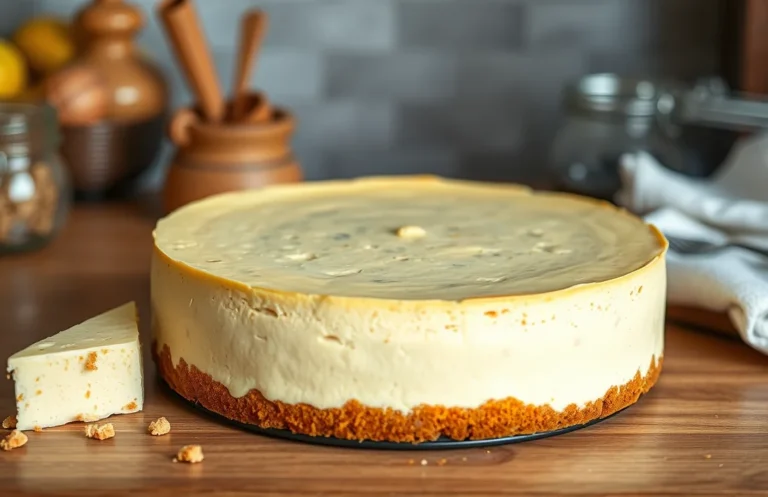
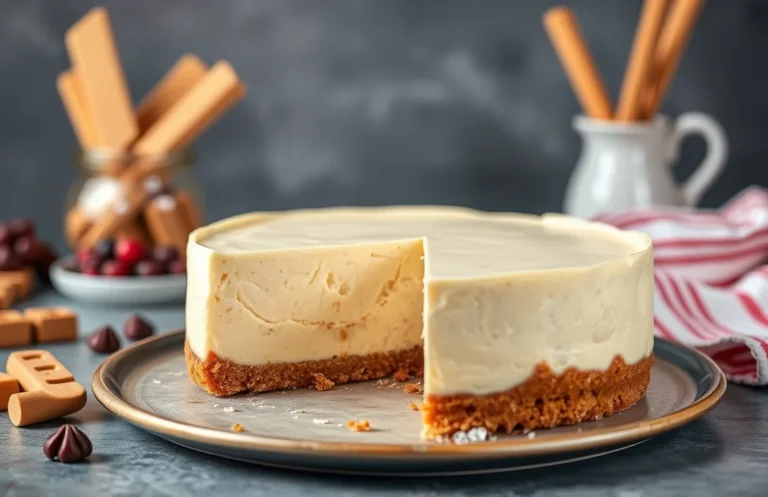
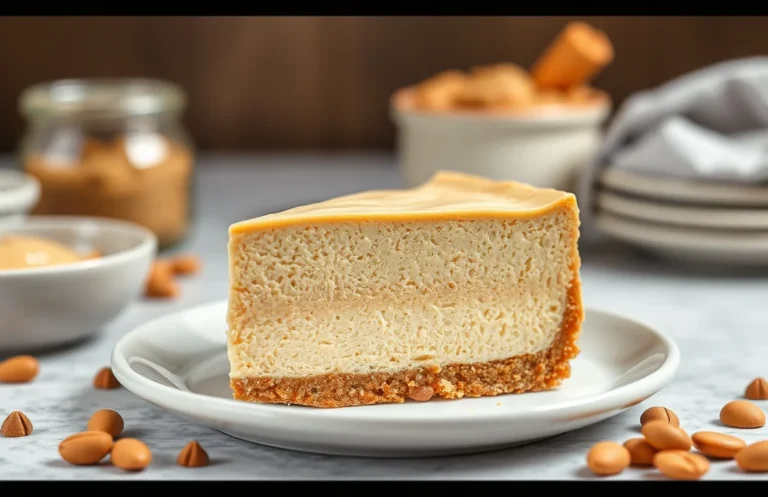
No-bake cheesecake is the perfect dessert for any occasion, combining creamy texture with a buttery graham cracker crust that just melts in your mouth. It’s a crowd-pleaser that can make any weeknight feel special or end a dinner party on a high note, leaving everyone wanting more!
This classic no-bake cheesecake recipe takes just 15 minutes of prep time and needs to chill for 4 hours, serving 8 people with an easy medium difficulty. You’ll get clear, step-by-step instructions to ensure your cheesecake comes out perfectly every time.
| Prep Time | Cook Time | Total Time | Servings | Difficulty |
|---|---|---|---|---|
| 15 minutes | 0 minutes | 4 hours | 8 | Medium |
Origin of No-Bake Cheesecake
No-bake cheesecake is a delightful dessert that has captured the hearts of many, offering a creamy texture without the need for baking. This section explores its rich history and cultural significance, as well as the occasions that call for this sweet treat.
Cultural Significance
The no-bake cheesecake has roots that trace back to ancient Greece, where the earliest cheesecakes were made from simple ingredients like cheese, honey, and flour. Over the centuries, various cultures adapted the recipe, leading to the modern variations we enjoy today. The no-bake method became popular in the 20th century, particularly in the United States, where it emerged as a convenient alternative to traditional baked cheesecakes.
- Offers a lighter option for dessert lovers.
- Perfect for warm climates where baking can heat up the kitchen.
- Accessible for novice bakers due to its simplicity.
When to Serve
No-bake cheesecake is versatile, making it suitable for various occasions:
- Summer Gatherings: A refreshing dessert for BBQs and picnics.
- Holidays: Delightful for festive celebrations like Christmas or Easter.
- Birthdays: A crowd-pleaser that can be customized with different toppings.
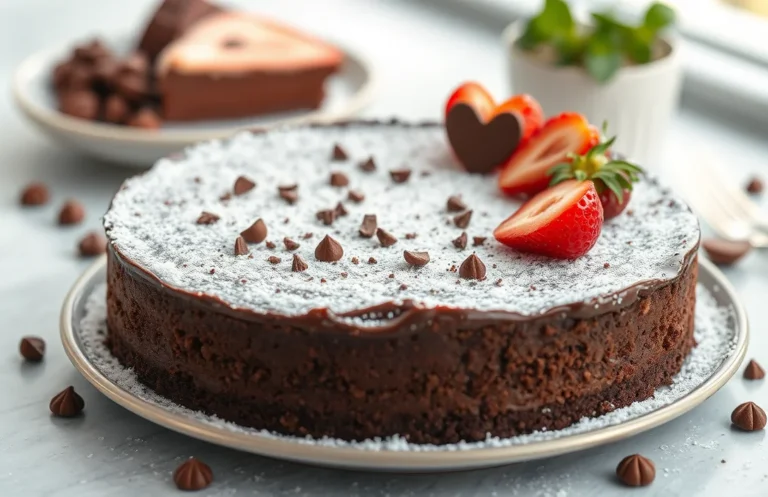
Chef’s tip: Top with fresh fruits or chocolate ganache to elevate the flavor.
Ingredients with Measurements
In this section, you’ll find a complete list of ingredients needed to create a delicious classic no-bake cheesecake. Each ingredient is crucial for achieving the perfect texture and flavor, so be sure to measure accurately!
| Item | Amount/Specification | Notes |
|---|---|---|
| Cream Cheese | 16 ounces (450g) | Softened to room temperature for easy mixing |
| Sugar | ½ cup (100g) | Granulated sugar works best |
| Sour Cream | 1 cup (240g) | Adds tanginess and creaminess |
| Vanilla Extract | 1 teaspoon (5ml) | Pure vanilla extract for the best flavor |
| Heavy Whipping Cream | 1 cup (240ml) | Whipped to soft peaks for volume |
| Graham Cracker Crumbs | 1 ½ cups (150g) | For the crust, use finely crushed crumbs |
| Unsalted Butter | ½ cup (115g) | Melted, helps bind the crust |
- For a gluten-free option, substitute the graham cracker crumbs with crushed gluten-free cookies.
- If you’re lactose intolerant, consider using lactose-free cream cheese and sour cream.
- Ensure the cream cheese is at room temperature to avoid lumps in the filling.
Essential Kitchen Equipment
Before diving into the delicious world of no-bake cheesecake, it’s essential to gather the right tools. Having the appropriate kitchen equipment will not only make the process smoother but also ensure that your cheesecake turns out perfectly creamy and well-formed.
- Mixing Bowls: You’ll need at least two mixing bowls. A large bowl (about 4-5 quarts) is perfect for combining the cream cheese mixture, while a smaller bowl (about 2 quarts) can be used for whipping the cream. Make sure they are clean and dry for the best results.
- Electric Mixer: A hand or stand mixer is crucial for achieving a smooth and fluffy cheesecake filling. Use the electric mixer on medium speed to beat the cream cheese until it’s creamy and free of lumps, which should take about 2-3 minutes. If you don’t have one, a whisk can work, but it will require more effort and time.
- Springform Pan: A 9-inch springform pan is ideal for no-bake cheesecake. The removable sides allow for easy release after chilling. Ensure the pan is tightly sealed to prevent any leaks from the cheesecake mixture during the chilling process.
Step-by-Step Instructions
This section provides detailed instructions for making your classic no-bake cheesecake, covering everything from preparing the crust to chilling the finished cheesecake. Following these steps will ensure your dessert is perfectly creamy and delicious.
- Prepare the Crust: In a medium bowl, combine 1 ½ cups (150g) of graham cracker crumbs, ½ cup (100g) of granulated sugar, and ½ cup (115g) of melted unsalted butter. Use a fork to mix until the crumbs are evenly coated and the mixture resembles wet sand. Press the crumb mixture firmly into the bottom of a 9-inch (23 cm) springform pan. Bake at 350°F (175°C) for 8-10 minutes until lightly golden and fragrant. Let it cool completely before adding the filling.
- Mix the Filling: In a large mixing bowl, beat 16 oz (450g) of cream cheese with an electric mixer on medium speed until smooth, about 2-3 minutes. Gradually add in 1 cup (120g) of powdered sugar, 1 teaspoon of vanilla extract, and 1 tablespoon of lemon juice, mixing until fully incorporated. In another bowl, whip 1 cup (240ml) of heavy cream until stiff peaks form, which should take about 3-5 minutes. Gently fold the whipped cream into the cream cheese mixture until no streaks remain. The filling should be light and fluffy.
- Chill the Cheesecake: Pour the cheesecake filling over the cooled crust, smoothing the top with a spatula. Cover the springform pan with plastic wrap and refrigerate for at least 4 hours, or preferably overnight. This chilling time allows the cheesecake to set, making it easier to slice. When ready to serve, the cheesecake should be firm to the touch and have a creamy texture.
Pro Tips and Common Mistakes
To ensure your classic no-bake cheesecake is a showstopper, I’ve compiled some essential tips and common pitfalls to avoid. Mastering these elements will help you achieve a smooth, creamy texture without any cracks, making your cheesecake a delightful treat.
Avoiding Cracks
- Use room temperature ingredients: Make sure your cream cheese, sour cream, and any other dairy are at room temperature before mixing. This prevents lumps and helps create a smooth batter, reducing the risk of cracks as the cheesecake sets.
- Do not overmix: When incorporating your ingredients, mix just until combined. Overmixing can incorporate too much air, leading to cracks as the cheesecake cools. Aim for a thick, yet creamy consistency.
- Chill properly: After assembling the cheesecake, let it chill for at least 4 hours, preferably overnight. This ensures it sets fully and maintains its shape when sliced, minimizing the chance of cracks.
Perfect Texture
- Choose the right gelatin: If you’re using gelatin to stabilize your cheesecake, ensure it’s properly dissolved in warm water before adding it to the mixture. Undissolved gelatin can lead to a grainy texture, so stir until completely smooth.
- Adjust sweetness to taste: For a perfectly balanced cheesecake, taste the filling before pouring it into the crust. If it’s too sweet, a squeeze of lemon juice can brighten the flavors without overwhelming the sweetness.
- Use a springform pan: A springform pan allows for easy removal of your cheesecake without damaging its structure. Be sure to line the bottom with parchment paper for an even smoother release.
Variations and Substitutions
This section highlights various ingredient alternatives for making a classic no-bake cheesecake, catering to different dietary preferences and restrictions. Whether you’re gluten-free or seeking vegan options, these substitutions will help you create a delicious dessert that everyone can enjoy.
Gluten-Free Options
| Item | Amount/Specification | Notes |
|---|---|---|
| Graham cracker crumbs | 1 ½ cups (150g) | Use gluten-free graham crackers or almond flour for the crust. |
| Butter | ½ cup (115g) | Ensure the butter is labeled gluten-free. |
Vegan Alternatives
| Item | Amount/Specification | Notes |
|---|---|---|
| Cream cheese | 8 oz (225g) | Use vegan cream cheese or blended silken tofu for a creamy texture. |
| Sour cream | ½ cup (120ml) | Replace with vegan sour cream or cashew cream. |
| Granulated sugar | ¾ cup (150g) | Use coconut sugar or maple syrup for a natural sweetener. |
- For a nut-free option, replace almond flour with gluten-free oats or crushed gluten-free cookies in the crust.
- When using vegan options, allow the cheesecake to set longer in the fridge, about 6-8 hours for best results.
- Experiment with flavor by adding lemon juice or zest for a refreshing twist in both gluten-free and vegan versions.
Serving and Plating Tips
Serving a classic no-bake cheesecake is as delightful as making it. The presentation can elevate this dessert from simple to stunning, and the right accompaniments can enhance its flavor profile. Here are some tips on how to garnish and serve your cheesecake to impress your guests.
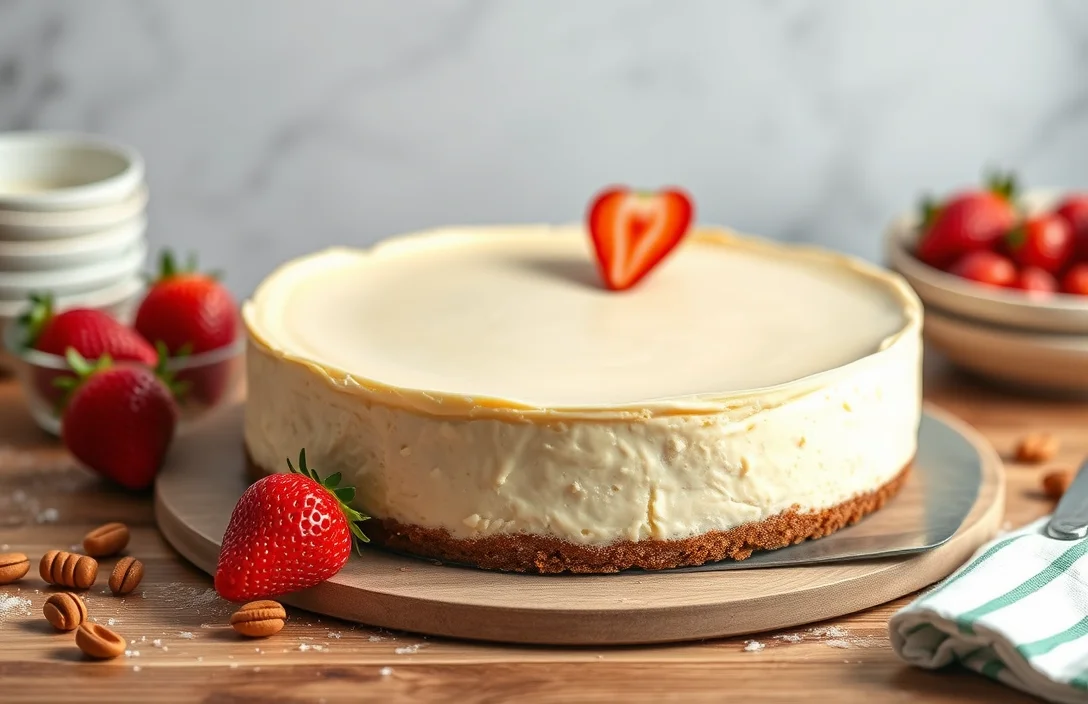
- Garnish with Fresh Fruit: Top your cheesecake with a variety of fresh berries such as strawberries, blueberries, or raspberries. Arrange them artfully on the surface for color contrast and a fresh taste. You can also add a few mint leaves for a pop of green and extra freshness.
- Drizzle with Sauce: Consider adding a homemade fruit sauce or chocolate ganache. For a quick fruit sauce, simmer 1 cup of your chosen fruit with ¼ cup of sugar and a splash of lemon juice over medium heat until it thickens, about 10 minutes. Let it cool before drizzling over the cheesecake just before serving.
- Serve with Whipped Cream: A dollop of freshly whipped cream can add a luxurious touch. Whip 1 cup of heavy cream with 2 tablespoons of powdered sugar until soft peaks form, then spoon it onto each slice of cheesecake. This will add a light, airy texture that complements the creaminess of the cheesecake.
- Pair with Beverage: A classic pairing would be a cup of coffee or a glass of dessert wine, like a sweet Riesling or Moscato. These drinks enhance the flavors of the cheesecake and provide a delightful contrast.
- Present on a Beautiful Platter: For an elegant presentation, serve the cheesecake on a decorative cake stand or a wooden platter. Slice the cheesecake carefully, using a hot knife for clean edges, and wipe the knife between cuts for perfection.
Remember, the key to a great presentation is to keep it simple yet elegant, allowing the cheesecake to be the star of the show!
Quick Summary
| Prep Time | 20 minutes |
|---|---|
| Chill Time | 4 hours |
| Total Time | 4 hours 20 minutes |
| Servings | 8 |
- Crust preparation: Mix 1 ½ cups of graham cracker crumbs with ½ cup melted butter.
- Cheese mixture: Beat 16 oz cream cheese, ½ cup sugar, and 1 tsp vanilla until smooth.
- Whipping cream: Whip 1 cup heavy cream to soft peaks before folding into cheese mixture.
- Assembly: Spread cheese mixture over crust evenly and smooth the top.
- Chill: Refrigerate for at least 4 hours or overnight for best results.
- Key tip: Use room temperature cream cheese to avoid lumps.
- Important: Fold whipped cream gently to maintain airiness.
- Serving tip: Run a knife around the edges for easy slicing.
Frequently Asked Questions
Can I make this ahead of time? How to store and reheat?
You can absolutely make this cheesecake up to 2 days ahead of time. Store it in the refrigerator, covered tightly with plastic wrap, but there’s no need to reheat it—serve it chilled!
What can I substitute for cream cheese?
If you need a substitute for cream cheese, you can use mascarpone cheese for a similar creamy texture, or Greek yogurt for a lighter version. Just keep in mind that it will slightly alter the flavor and texture.
How do I know when it’s done?
Your no-bake cheesecake is done when the filling is firm and set after chilling for at least 4 hours, preferably overnight. It should hold its shape when you slice it, but still have a creamy texture.
Can I freeze this? How long does it last?
Yes, you can freeze the cheesecake for up to 2 months if wrapped well in plastic wrap and aluminum foil. Thaw it in the refrigerator overnight before serving for the best texture.
What if I don’t have a springform pan?
If you don’t have a springform pan, you can use a 9-inch round cake pan instead; just line the bottom and sides with parchment paper for easier removal. Be careful when slicing, as it may be a bit trickier to get clean edges.

- Decadent Peanut Butter No-Bake Cheesecake: Easy Recipe to Indulge - April 3, 2026
- Delicious Mango No-Bake Cheesecake: Step-by-Step Recipe - April 3, 2026
- Decadent Raspberry No-Bake Cheesecake: Easy Step-by-Step Recipe - April 3, 2026