Is Cheesecake Safe During Pregnancy? Explore Recipes & Tips!
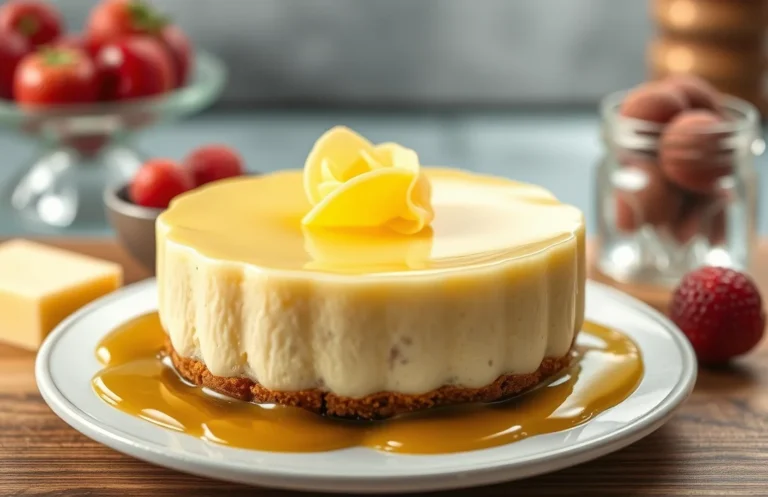
Cheesecake is that luxurious dessert that can turn any ordinary day into a celebration. With its creamy texture and sweet, tangy flavor, it’s the perfect treat for satisfying your cravings while you’re pregnant. Imagine slicing into a rich cheesecake, the crust crumbling perfectly under your fork, and the filling melting in your mouth.
In this guide, you’ll find out if you can enjoy cheesecake during pregnancy, along with 3 delicious pregnancy-safe cheesecake recipes using pasteurized ingredients. Expect clear directions, cooking times, and tips to ensure your cheesecake is perfect every time.
| Prep Time | 20 minutes |
|---|---|
| Cook Time | 60 minutes |
| Total Time | 1 hour 20 minutes |
| Servings | 8 servings |
| Difficulty | Medium |
Cheesecake Origins and Significance
Cheesecake has a rich history that intertwines with various cultures and celebrations worldwide. Understanding its origins and significance not only enhances our appreciation for this delightful dessert but also helps us navigate its consumption during pregnancy.
Historical Background
Cheesecake dates back to ancient Greece, where it was served to athletes during the first Olympic Games in 776 B.C. The Greeks considered it a source of energy, and its popularity spread to Rome, where it took on different forms. Over the centuries, various cultures have adapted the cheesecake to their tastes:
- Greek Cheesecake: Made with fresh cheese and honey, often served with fruit.
- Italian Ricotta Cheesecake: Creamy and light, often flavored with citrus or chocolate.
- New York Style Cheesecake: Dense and rich, typically made with cream cheese and sour cream, baked to perfection.
Cultural Variations
Cheesecake plays a significant role in celebrations and gatherings:
- Birthdays: A favorite dessert choice in many cultures, often adorned with candles.
- Holidays: Special recipes come alive during festive seasons, such as pumpkin cheesecake during Thanksgiving.
- Weddings: More couples are opting for cheesecake as a tiered wedding cake alternative due to its rich flavor and versatility.
“Cheesecake is more than just a dessert; it’s a symbol of celebration and joy across various cultures.”
Understanding these historical and cultural contexts can guide pregnant individuals in making informed choices about cheesecake consumption, especially regarding ingredients and safety.
Ingredients for Safe Cheesecake
Creating a delicious and safe cheesecake during pregnancy is all about choosing the right ingredients. This section will guide you through the essential components needed for a pregnancy-friendly cheesecake, ensuring you enjoy every bite without worry.
| Item | Amount/Specification | Notes |
|---|---|---|
| Cream Cheese | 16 ounces (450g) | Use pasteurized cream cheese to avoid harmful bacteria. |
| Sour Cream | 1 cup (240ml) | Opt for pasteurized sour cream for safety. |
| Granulated Sugar | ¾ cup (150g) | Adjust sweetness to your preference. |
| Eggs | 3 large | Use pasteurized eggs to reduce salmonella risk. |
| Vanilla Extract | 1 teaspoon (5ml) | Make sure it’s pure vanilla extract. |
| Graham Cracker Crumbs | 1½ cups (150g) | Check for any allergens; gluten-free options are available. |
| Unsalted Butter | ½ cup (113g) | Use melted butter for the crust. |
- Tip: If you’re lactose intolerant, consider using lactose-free cream cheese and sour cream.
- Common Mistake: Ensure all dairy products are pasteurized to avoid any risks.
- For a healthier twist, you can use almond flour instead of graham cracker crumbs for the crust.
Essential Kitchen Equipment
To make cheesecake safely during pregnancy, having the right kitchen equipment is essential. This ensures that the process is smooth and that you achieve a delicious, creamy cheesecake with confidence. Here’s a list of the necessary tools and appliances you’ll need.
| Item | Amount/Specification | Notes |
|---|---|---|
| Mixing Bowls | 2 large bowls | One for the crust and one for the filling |
| Baking Pan | 9-inch springform pan | Ideal for easy removal of the cheesecake |
| Electric Mixer | Stand or hand mixer | For smooth and well-blended filling; avoid lumps |
- Choose quality mixing bowls: Opt for glass or stainless steel, as they are easy to clean and won’t react with ingredients.
- Springform pan tip: Make sure the pan is leak-proof to prevent water from seeping in during the water bath method.
- Mixer speed: Start mixing on low to prevent splattering, then increase the speed for thorough blending.
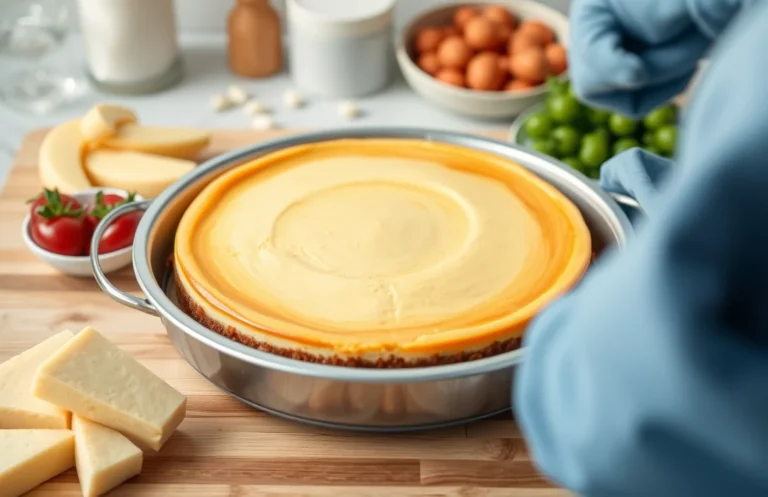
Step-by-Step Cheesecake Preparation
Creating a delicious cheesecake that is safe to eat during pregnancy requires careful attention to detail at every stage. In this section, we’ll walk through the essential steps for preparing a cheesecake, including the crust, filling, and baking process. Follow these instructions closely to ensure a creamy, safe dessert.
- Preparing the Crust: Preheat your oven to 350°F (175°C). In a medium bowl, combine 1 ½ cups (150g) of graham cracker crumbs, ½ cup (100g) granulated sugar, and ½ cup (115g) melted unsalted butter. Mix until the crumbs are evenly coated and resemble wet sand. Press this mixture firmly into the bottom of a 9-inch (23cm) springform pan. Bake for 8-10 minutes until slightly golden. Allow it to cool while you prepare the filling.
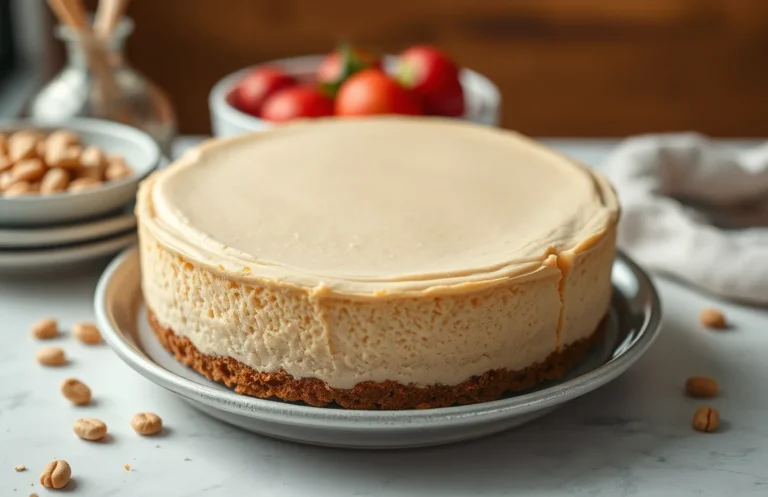
- Mixing the Filling: In a large mixing bowl, beat 24 ounces (680g) of cream cheese at room temperature until smooth and creamy, about 2-3 minutes. Gradually add 1 cup (200g) granulated sugar, 1 teaspoon vanilla extract, and 3 large eggs, mixing on low speed until just combined. Ensure no lumps remain and the mixture feels velvety. If using, fold in 1 tablespoon of lemon juice for added flavor.
- Baking and Cooling: Pour the cream cheese mixture over the cooled crust, smoothing the top with a spatula. Bake in the preheated oven for 50-60 minutes. The edges should be set while the center may still jiggle slightly. Do not open the oven door during the first 40 minutes to prevent cracking. Once finished, turn off the oven and crack the door open, letting the cheesecake cool inside for 1 hour. Remove from the oven and refrigerate for at least 4 hours before serving.
Pro Tips for Perfect Cheesecake
Creating a flawless cheesecake is all about precision and technique, especially when considering pregnancy-safe ingredients. Here are some expert tips to help you achieve a beautiful, creamy cheesecake without cracks, and ensure it’s served at the right temperature for the best experience.
- Avoiding Cracks: To prevent unsightly cracks in your cheesecake, make sure to bake it slowly at a low temperature of 325°F (160°C) for about 50-60 minutes. The center should still be slightly jiggly when you remove it from the oven. Allowing the cheesecake to cool gradually in the oven with the door ajar for at least an hour helps reduce temperature shock.
- Cooling Tips: After baking, turn off the oven and crack the door open. Let the cheesecake cool in the oven for an additional hour. This gentle cooling method helps prevent cracks caused by rapid temperature changes. Once it’s at room temperature, refrigerate it for at least 4 hours, preferably overnight, to allow it to set properly.
- Serving Temperature: Cheesecake is best enjoyed chilled but not too cold. Aim to serve it at around 50-55°F (10-13°C) for optimal flavor and creaminess. Before serving, remove it from the fridge about 30 minutes prior to allow it to warm slightly. This enhances the flavor and texture, making each bite melt in your mouth.
Chef’s tip: Always use room temperature ingredients, such as cream cheese and eggs, for a smoother batter that combines easily.
Variations and Substitutions
When it comes to cheesecake, accommodating different dietary needs and preferences is key, especially during pregnancy. Here, you’ll find alternatives for gluten-free, dairy-free options, and exciting flavor variations that ensure you can enjoy cheesecake safely and deliciously.
| Item | Amount/Specification | Notes |
|---|---|---|
| Gluten-Free Crust | 1 ½ cups almond flour (150g) | Mix with ¼ cup melted coconut oil and 2 tablespoons honey for sweetness. |
| Dairy-Free Cream Cheese | 8 ounces (225g) | Use cashew cream or store-bought dairy-free cream cheese as a substitute. |
| Sweetener Alternatives | ½ cup maple syrup or agave syrup | Use in place of sugar for a natural sweetener option. |
| Flavor Variation | 1 cup pureed fruit (strawberries, blueberries, or mango) | Add to the filling for a fruity twist. |
- Tip: Always check labels for pasteurization when selecting dairy-free products.
- For a nut-free option, use gluten-free cookies for the crust instead of almond flour.
- Experiment with different extracts like vanilla, almond, or lemon to enhance the flavor.
- Consider using a low-fat cream cheese to reduce calories while maintaining creaminess.
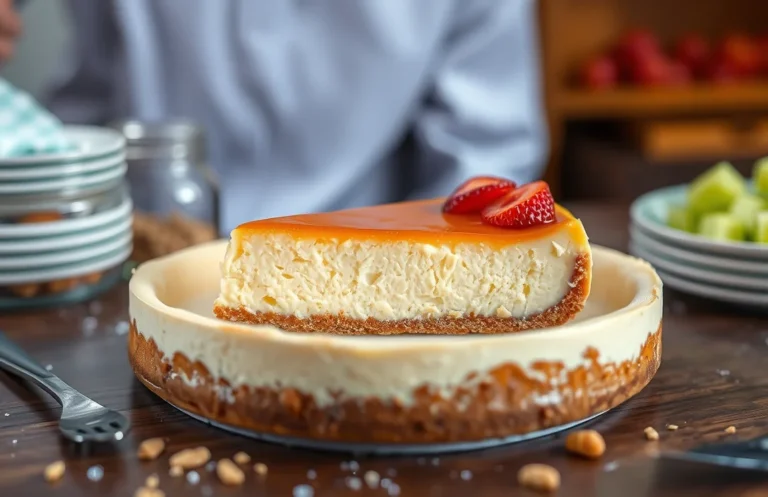
Serving and Plating Ideas
Presenting your cheesecake beautifully can elevate the overall experience, making it not just a dessert but an event. Here are some creative garnishing tips, pairing suggestions, and serving sizes to ensure your cheesecake is both visually appealing and delicious.
Garnishing Tips
- Start by dusting the top of your cheesecake with powdered sugar for a subtle sweetness and elegant finish. Use a fine sieve to ensure an even layer, creating a beautiful contrast against the creamy surface.
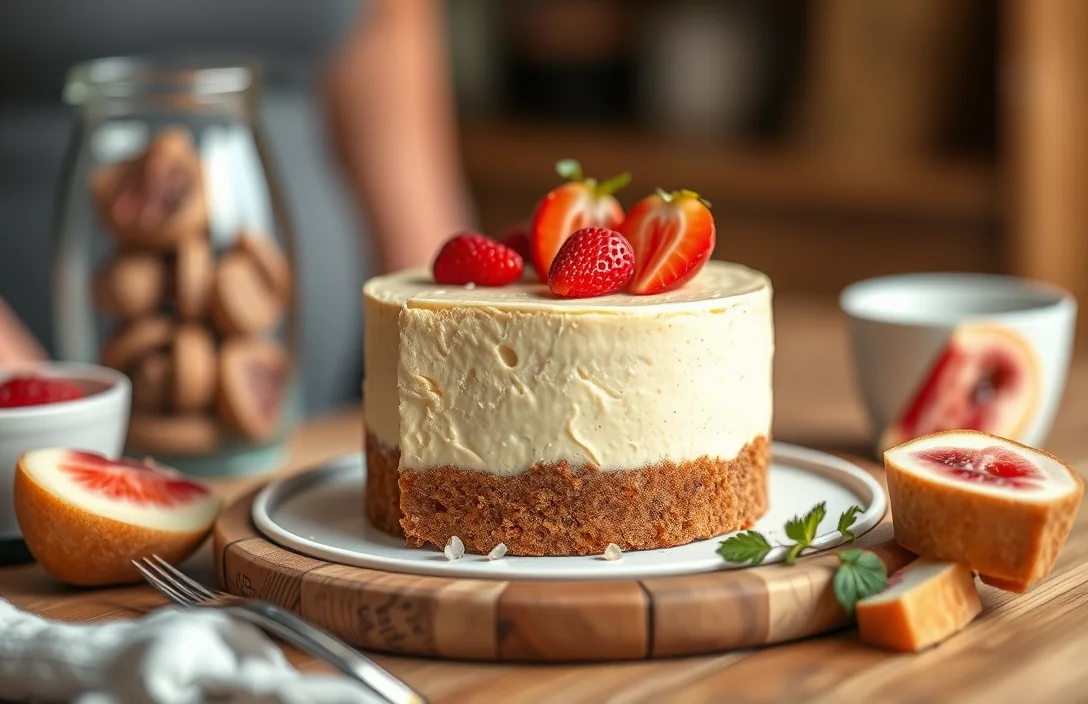
- Add fresh fruits such as strawberries, blueberries, or raspberries around the edges of the cheesecake. They not only provide a pop of color but also complement the richness of the cheesecake, adding freshness to each bite.
- Consider drizzling a fruit coulis or chocolate sauce over the top for an extra layer of flavor. Prepare a simple coulis by blending 1 cup of berries with 2 tablespoons of sugar and straining it for a smooth finish.
Pairing Suggestions
- Pair your cheesecake with a dollop of whipped cream or a scoop of vanilla ice cream for a classic combination. Use 1 cup of heavy cream whipped with 2 tablespoons of sugar to make fluffy homemade whipped cream.
- Serve cheesecake with a side of coffee or tea, which provides a delightful contrast to the sweetness. A rich espresso or a herbal tea can enhance the flavors in the dessert.
Serving Sizes
- Slice the cheesecake into 8-12 equal pieces depending on your gathering. This allows for smaller servings, perfect for sharing at parties or gatherings.
- Use a warm knife to cut through the cheesecake smoothly. Dip the knife in hot water, then wipe it dry before slicing for clean edges, ensuring a professional look in every slice.
Quick Summary
| Prep Time | Cook Time | Total Time | Servings |
|---|---|---|---|
| 15 minutes | 60 minutes | 1 hour 15 minutes | 8 servings |
- Ensure safety: Use pasteurized cream cheese to avoid risks.
- Cool properly: Allow the cheesecake to cool completely before chilling.
- Check eggs: Use pasteurized eggs if making from scratch.
- Chill time: Refrigerate for at least 4 hours for best texture.
- Serve fresh: Enjoy within 3-4 days for optimal flavor and safety.
- Tip: Line your pan with parchment for easy removal.
- Tip: Avoid overmixing to prevent cracks in the cheesecake.
Frequently Asked Questions
Can I make this ahead of time? How to store and reheat?
You can make cheesecake ahead of time and store it in the refrigerator for up to 5 days. Just cover it tightly with plastic wrap or aluminum foil to keep it fresh.
What can I substitute for cream cheese?
If you need a substitute for cream cheese, you can use mascarpone cheese or a mixture of cottage cheese and sour cream blended until smooth. This will give you a similar texture and tangy flavor.
How do I know when it’s done?
Your cheesecake is done when the edges are set but the center still has a slight jiggle—around 45 to 55 minutes at 325°F (163°C). It will firm up as it cools, so don’t worry if it looks a bit undercooked.
Can I freeze this? How long does it last?
Yes, you can freeze cheesecake for up to 3 months. Wrap it tightly in plastic wrap and then in aluminum foil to prevent freezer burn.
What if I don’t have a springform pan?
If you don’t have a springform pan, you can use a regular cake pan, but be sure to line the bottom with parchment paper for easy removal. Just allow it to cool completely before attempting to take it out.

- 10 Best Cheese Knife With Holes For Smooth Slice 2026 - March 9, 2026
- Make Cheesecake Up to 3 Days Ahead: Tips for Best Flavor & Texture - March 4, 2026
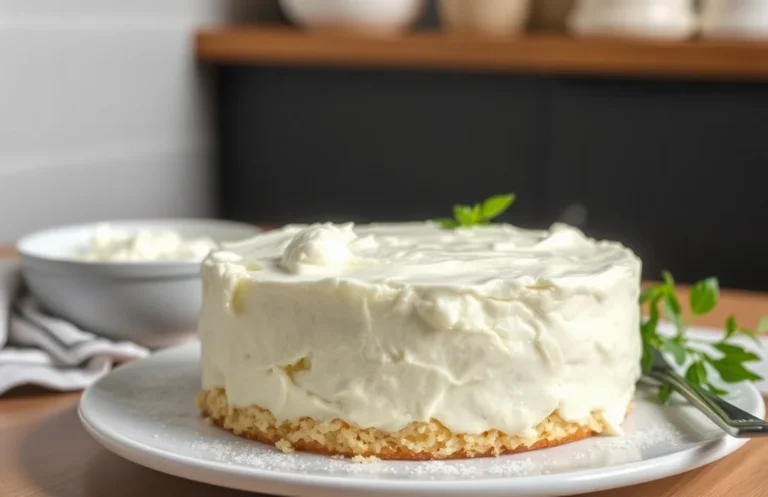
- Easy No-Bake Cool Doen Cheesecake: Quick Recipe & Tips - March 4, 2026