Make Cheesecake Two Days Ahead: Tips for Perfect Flavor & Texture
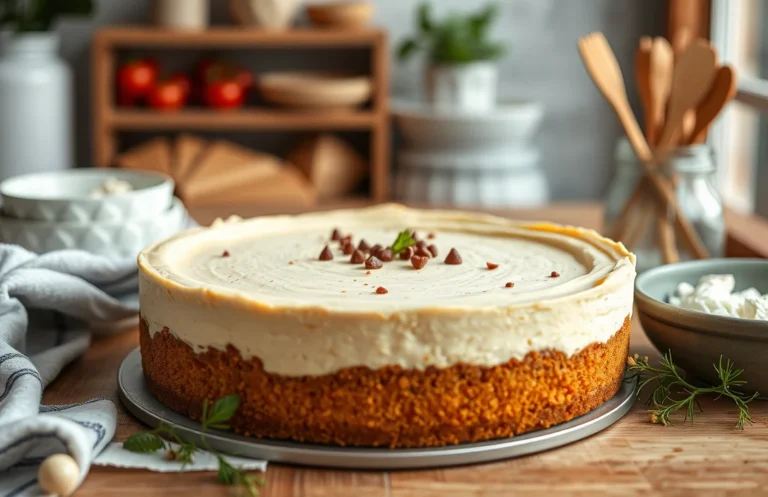
Cheesecake is one of those desserts that feels like a warm hug. With its creamy texture and rich flavor, it’s the perfect treat to impress guests or indulge in after a long day. The delightful combination of a buttery crust and smooth filling is simply irresistible!
If you’ve ever wondered if you can make cheesecake two days ahead, the answer is a resounding yes! You’ll find detailed storage tips, potential changes in texture, and garnishing suggestions to make your cheesecake shine. Total time is approximately 8 hours, with a difficulty level of easy, serving 8 people.
| Prep Time | 30 minutes |
|---|---|
| Cook Time | 1 hour |
| Total Time | 8 hours |
| Servings | 8 |
| Difficulty | Easy |
Cheesecake Origins and Significance
Understanding the origins and significance of cheesecake enriches our appreciation for this beloved dessert. From ancient Greece to contemporary variations across the globe, cheesecake has evolved into a symbol of celebration and indulgence in many cultures.
Historical Background
The roots of cheesecake trace back to ancient Greece, where it was served to athletes during the first Olympic Games in 776 B.C. Made with simple ingredients like cheese, flour, and honey, it was considered a source of energy. Over the centuries, cheesecake recipes spread throughout Europe, with each region adding its unique twist.
- Ancient Greece: Used cheese and honey.
- Roman Empire: Enhanced with eggs and baked.
- New York Style: Cream cheese base became popular in the 20th century.
Cultural Variations
Cheesecake has found its way into various cultures, each adding distinctive flavors and textures:
- Italian Ricotta Cheesecake: Light and fluffy, made with ricotta cheese.
- Japanese Cotton Cheesecake: Light and airy, achieves a soufflé-like texture.
- German Käsekuchen: Creamy and often includes a cake base.
“Cultural variations showcase cheesecake’s adaptability and appeal, making it a favorite dessert for many occasions.”
As you consider making cheesecake in advance, it’s essential to know that this dessert not only holds historical significance but also benefits from proper storage techniques to maintain its delightful texture and flavor. This knowledge will help ensure your cheesecake is as delicious two days ahead as it is fresh out of the oven.
Ingredients for Perfect Cheesecake
To make a cheesecake that can be prepared two days in advance, it’s crucial to use the right ingredients in precise amounts for the best flavor and texture. This section lists everything you’ll need to create a cheesecake that remains delicious and stable even after a couple of days in the fridge.
| Item | Amount/Specification | Notes |
|---|---|---|
| Cream Cheese | 24 ounces (680g) | Softened to room temperature for easier mixing |
| Sugar | 1 cup (200g) | Granulated sugar for sweetness |
| Eggs | 4 large | Room temperature for better incorporation |
| Sour Cream | 1 cup (240g) | Adds creaminess and tang |
| Vanilla Extract | 1 teaspoon (5ml) | Pure vanilla for flavor |
| Graham Cracker Crumbs | 1 ½ cups (150g) | For the crust |
| Unsalted Butter | ½ cup (113g) | Melted for binding the crust |
- Tip: Make sure the cream cheese is fully softened to avoid lumps in your batter.
- Substitution: For a gluten-free option, use gluten-free graham cracker crumbs.
- Storage: Once cooled, wrap the cheesecake tightly in plastic wrap to prevent drying out in the fridge.
- Texture Alert: A cheesecake may firm up slightly in the fridge; it should be creamy yet set when cut.
Essential Kitchen Equipment
Preparing a cheesecake two days in advance requires specific tools to ensure the process goes smoothly and the final result is perfect. Having the right equipment not only makes mixing and baking easier but also helps maintain the cheesecake’s quality during storage.
| Item | Amount/Specification | Notes |
|---|---|---|
| Mixing Bowls | 2 large, at least 4-quart capacity | Use one for the crust and one for the filling to avoid cross-contamination. |
| Springform Pan | 9-inch (23 cm) | Essential for easy removal of cheesecake without cracking. |
| Electric Mixer | Handheld or stand mixer | Mixing at medium speed ensures a smooth filling without lumps. |
- Tip: Always use room temperature ingredients for a smoother batter. Take cream cheese and eggs out of the fridge at least 30 minutes before mixing.
- Storage: After baking, let the cheesecake cool completely, then wrap it tightly in plastic wrap and refrigerate. This will keep it fresh for up to two days.
- Common Mistake: Don’t rush the cooling process! Allow the cheesecake to set in the fridge for at least 4 hours, ideally overnight, before serving.
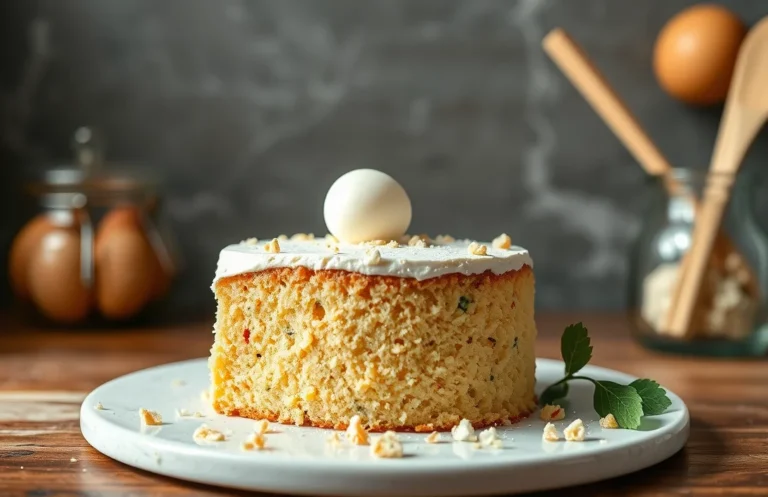
Step-by-Step Cheesecake Preparation
Making cheesecake in advance, especially two days ahead, is not only possible but often enhances its flavor as it sets in the refrigerator. Here’s a detailed guide on preparing the crust, mixing the filling, and baking it to perfection.
- Preparing the Crust: Start by preheating your oven to 350°F (175°C). In a medium bowl, combine 1 ½ cups (150g) of graham cracker crumbs, ½ cup (100g) of granulated sugar, and ½ cup (115g) of melted unsalted butter. Mix until the crumbs resemble wet sand. Press this mixture firmly into the bottom of a 9-inch (23cm) springform pan and slightly up the sides. Bake for 10 minutes until golden brown, then let it cool completely.
- Mixing the Filling: In a large mixing bowl, beat 24 ounces (680g) of cream cheese at room temperature with an electric mixer on medium speed until smooth and creamy, about 2-3 minutes. Gradually add 1 cup (200g) of granulated sugar and mix until well combined. Add 3 large eggs, one at a time, mixing on low speed after each addition until just blended. Finally, fold in 1 teaspoon of vanilla extract and ½ cup (120ml) of sour cream for extra creaminess.
- Baking Instructions: Pour the cream cheese mixture over the cooled crust, smoothing the top with a spatula. Place the springform pan in a larger baking dish and fill the dish with hot water halfway up the sides of the pan to create a water bath. Bake in the preheated oven for 55-60 minutes, or until the edges are set but the center still slightly jiggles. Turn off the oven, crack the door open, and let the cheesecake cool in the oven for 1 hour. This helps prevent cracks.
Storage Tips for Two Days Ahead
Proper storage of cheesecake is vital to maintaining its delicious flavor and creamy texture when made two days ahead. By following these techniques, you can ensure that your cheesecake remains fresh and enjoyable for your gathering.
- Refrigeration Techniques: Once your cheesecake has cooled completely, place it in the refrigerator. Ideally, you should let it chill for at least 4 hours, but overnight is best. Make sure the fridge is set to a temperature of 35°F to 38°F (1.5°C to 3°C) to keep the cheesecake at its optimal freshness.
- Covering Methods: To prevent your cheesecake from absorbing odors or moisture from the fridge, cover it tightly. You can use plastic wrap or aluminum foil, ensuring it is pressed against the surface of the cheesecake. Alternatively, if your cheesecake is in a springform pan, you can simply cover the entire pan with a large piece of plastic wrap.
- Serving Tip: When you’re ready to serve, let the cheesecake sit at room temperature for about 30 minutes. This will help restore its creamy texture and enhance the flavors. If the cheesecake looks a bit shiny from being covered, gently dab it with a paper towel to remove excess moisture.
Chef’s tip: Avoid cutting the cheesecake until just before serving to maintain its structure and prevent it from drying out.
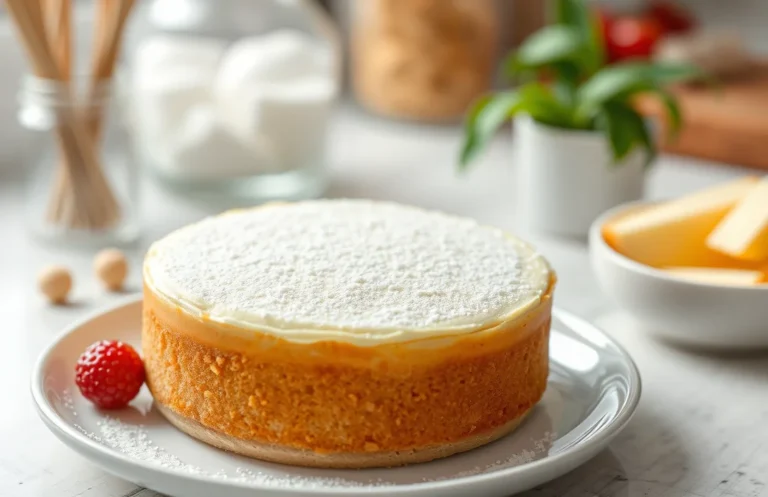
Texture and Flavor Changes
When making cheesecake two days ahead, you’ll notice some intriguing changes in both texture and flavor. Understanding these changes can help you achieve the best possible result, ensuring your cheesecake remains delicious and appealing when it’s time to serve.
Flavor Development
Cheesecake flavors tend to deepen and improve after resting in the refrigerator. This is due to a process called flavor melding, where the ingredients have time to interact and develop a more cohesive taste. Here’s what to expect:
- Initial Flavor: Right after baking, the cheesecake will taste fresh and bright, with pronounced flavors of cream cheese and vanilla.
- Two Days Later: The flavors will become richer and more rounded, particularly if you’ve added ingredients like lemon zest or chocolate.
Texture Considerations
The texture of your cheesecake can also change over the two days. Here’s how:
- Freshly Baked: A newly baked cheesecake will have a slightly firmer texture, with a smooth and creamy consistency.
- After Two Days: The cheesecake may become even creamier as it chills, allowing it to slice more easily while still holding its shape. However, if stored improperly, it can dry out or develop an undesirable crust.
Chef’s tip: To maintain the creamy texture, cover the cheesecake tightly with plastic wrap to prevent air from drying it out.
By the time you’re ready to serve, your cheesecake will not only taste better but will also have a texture that’s irresistibly smooth and creamy. Enjoy the delightful transformation!
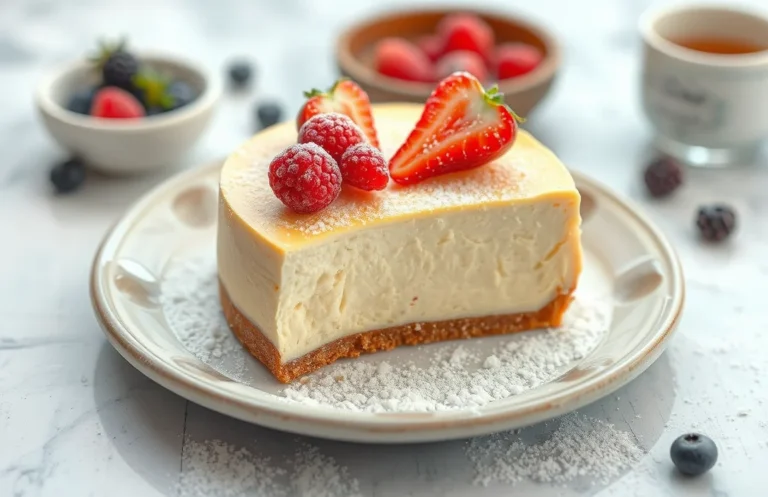
Garnishing and Serving Suggestions
After making your cheesecake two days ahead, it’s essential to enhance its presentation and flavor before serving. The right toppings and plating can elevate your cheesecake, making it even more enjoyable for you and your guests.
Toppings Recommendations
- Fresh Berries: Top with 1 cup of mixed fresh berries (strawberries, blueberries, raspberries) for a burst of color and freshness.
- Chocolate Ganache: Melt 4 ounces of semi-sweet chocolate with ½ cup of heavy cream, stirring until smooth. Drizzle over the cheesecake for an indulgent finish.
- Caramel Sauce: A drizzle of homemade or store-bought caramel sauce adds a sweet and rich layer. Aim for about ¼ cup.
- Whipped Cream: Whip 1 cup of heavy cream with 2 tablespoons of powdered sugar until soft peaks form, then dollop onto each slice before serving.
Plating Ideas
For a stunning presentation, consider these plating ideas:
Chef’s tip: Use a warm knife to slice the cheesecake for clean edges. Simply dip the knife in hot water, wipe it dry, and cut.
- Place a slice of cheesecake on a dessert plate and add a small mound of berries on the side.
- Drizzle chocolate ganache or caramel sauce in a swirl pattern on the plate before adding the cheesecake for an artistic touch.
- Sprinkle crushed graham crackers or nuts around the cheesecake for added texture and visual appeal.
These garnishing and serving suggestions can help you make your cheesecake stand out, even if it was made ahead of time. Enjoy your delicious creation!
Quick Summary
| Prep Time | Cook Time | Total Time | Servings |
|---|---|---|---|
| 20 minutes | 60 minutes | 2 days (including chilling) | 8 servings |
- Prepare the crust: Mix graham cracker crumbs and melted butter, then press into the pan.
- Make the filling: Blend cream cheese, sugar, and eggs until smooth.
- Bake at 325°F: Cook for about 60 minutes until set but slightly jiggly in the center.
- Cool completely: Allow to cool at room temperature before refrigerating.
- Chill overnight: For best flavor and texture, refrigerate for at least 24 hours.
- Tip 1: Use room temperature cream cheese for a lump-free filling.
- Tip 2: Wrap the cheesecake tightly in plastic wrap to prevent moisture absorption.
- Tip 3: Avoid overbaking to maintain a creamy texture.
Frequently Asked Questions
Can I make this cheesecake ahead of time? How to store and reheat?
Yes, you can make cheesecake up to two days ahead of serving. Store it in the refrigerator, covered tightly with plastic wrap or in an airtight container, and serve it cold.
What can I substitute for cream cheese?
You can use mascarpone cheese or a mixture of ricotta and sour cream as a substitute. Just keep in mind that the texture and flavor may vary slightly.
How do I know when the cheesecake is done?
The cheesecake is done when the edges are set, but the center is slightly jiggly — it will firm up as it cools. A gentle shake of the pan should reveal a slight wobble in the center.
Can I freeze this cheesecake? How long does it last?
Yes, you can freeze cheesecake, and it lasts up to 3 months in the freezer. Wrap it tightly in plastic wrap and then foil to prevent freezer burn.
What if I don’t have a springform pan?
If you don’t have a springform pan, you can use a regular round cake pan, but be sure to line the bottom and sides with parchment paper for easier removal. Just be extra gentle when taking it out to maintain its shape.

- Make Cheesecake Up to 3 Days Ahead: Tips for Best Flavor & Texture - March 4, 2026
- Easy No-Bake Cool Doen Cheesecake: Quick Recipe & Tips - March 4, 2026
- Decadent Dulce de Leche Cheesecake: Easy Step-by-Step Recipe - March 4, 2026