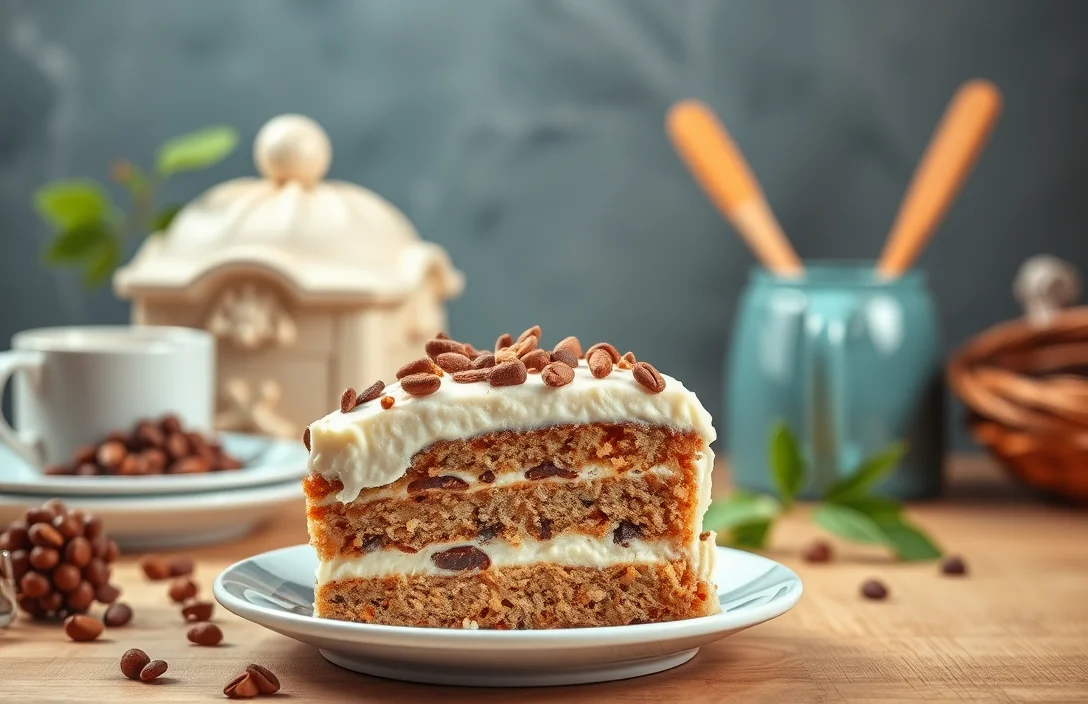
Preppy Style Coffee Cake Recipe: Elegant and Delicious Every Time
If you’re looking for a coffee cake that’s fluffy, moist, and perfect for any occasion, this preppy coffee cake recipe is your new best friend. With a buttery crumb and a hint of cinnamon, it’s the ideal treat for brunch or an afternoon pick-me-up that will make your taste buds sing and your kitchen smell heavenly.
This recipe features exact measurements, clear step-by-step instructions, and serves 10 people. It takes 15 minutes to prepare and 45 minutes to bake, making it a quick and satisfying bake for any home cook!
| Prep Time | Cook Time | Total Time | Servings | Difficulty |
|---|---|---|---|---|
| 15 minutes | 45 minutes | 1 hour | 10 | Easy |
History of Coffee Cake
Understanding the origins and cultural significance of coffee cake gives depth to this beloved treat, especially within preppy culture. Coffee cake has become a quintessential accompaniment to morning gatherings and afternoon teas, often enjoyed in sophisticated and stylish settings.
Origin of Coffee Cake
- Roots in European Traditions: Coffee cake traces its origins back to European baked goods, particularly in Germany and Scandinavia. These cakes were often served with coffee during social gatherings, creating a warm atmosphere for conversation.
- American Adaptation: As European settlers arrived in America, they brought their coffee cake traditions with them. By the mid-20th century, coffee cake became widely popular in the U.S., often featuring flavors like cinnamon and nuts, making it a staple in homes and cafés alike.
Cultural Significance in Preppy Settings
- Elegant Gatherings: In preppy culture, coffee cake symbolizes refined social gatherings, often presented on fine china and accompanied by freshly brewed coffee or tea. This attention to detail reflects a commitment to style and hospitality.
- Seasonal Variations: Preppy coffee cake often features seasonal ingredients, aligning with the aesthetic of fresh, local produce. This not only enhances its flavor but also showcases a lifestyle that values quality and presentation.
Ingredients for Preppy Coffee Cake
In this section, you’ll find all the necessary ingredients to create a delightful preppy coffee cake that not only tastes fantastic but also looks visually appealing. Each ingredient is carefully selected to ensure your cake has the perfect balance of flavors and textures, making it a standout piece for any gathering.
| Item | Amount/Specification | Notes |
|---|---|---|
| All-purpose flour | 2 cups (240g) | Sifted for a lighter texture |
| Sugar | 1 cup (200g) | Granulated white sugar |
| Baking powder | 2 teaspoons | Ensure it’s fresh for proper rising |
| Salt | ½ teaspoon | Enhances the cake’s flavor |
| Ground cinnamon | 1 teaspoon | For a warm spice note |
| Unsalted butter | ½ cup (113g) | Room temperature, for creaming |
| Eggs | 2 large | At room temperature |
| Vanilla extract | 1 teaspoon | Use pure for best flavor |
| Milk | ½ cup (120ml) | Whole milk recommended for richness |
| Chopped nuts (optional) | ½ cup (70g) | Walnuts or pecans, for crunch |
- Ingredient Substitutions: For a gluten-free version, substitute all-purpose flour with a gluten-free blend. Use almond milk if dairy-free.
- Common Mistakes: Make sure to properly measure your flour; too much can make the cake dense.
- For an extra touch, consider adding a cinnamon sugar topping before baking.
Essential Kitchen Equipment
To create the perfect preppy coffee cake, having the right kitchen equipment is essential. This section outlines the baking tools and prep tasks that will make your baking experience smooth and enjoyable, ensuring you produce a beautifully styled and delicious cake.
- Mixing Bowls: Use at least two mixing bowls—one for dry ingredients and another for wet. A medium-sized bowl (2-quart capacity) works well for combining ingredients and allows for easy mixing without spills.
- Measuring Cups and Spoons: Accurate measurements are crucial for baking success. Make sure you have a set of dry measuring cups (1 cup, ½ cup, ⅓ cup, and ¼ cup) and a set of measuring spoons (1 tablespoon, 1 teaspoon, ½ teaspoon, and ¼ teaspoon) for precise ingredient amounts.
- Electric Mixer or Whisk: An electric mixer saves time, especially when creaming butter and sugar. If you don’t have one, a sturdy whisk and some elbow grease will also do the job—whisk until the mixture is light and fluffy.
- Baking Pan: A 9-inch round or square baking pan is ideal for this coffee cake. Ensure it’s greased well with butter or non-stick spray to prevent sticking and promote even baking.
- Parchment Paper: For easy removal of the cake, line the bottom of the pan with parchment paper. Cut a circle to fit the base, which will help the cake maintain its shape and presentation.
- Cooling Rack: After baking, allow the cake to cool on a wire rack. This prevents moisture buildup and keeps the bottom from becoming soggy, ensuring a perfect texture.
- Spatula: A silicone or offset spatula is perfect for spreading the frosting evenly on the cooled coffee cake, helping you achieve a polished, preppy look.
Step-by-Step Baking Instructions
This section will guide you through the essential steps for mixing the batter and baking your preppy coffee cake to perfection. Each step is designed to ensure a light, fluffy texture and a beautifully presented cake that embodies the preppy aesthetic.
- Prep the Ingredients: Start by gathering your ingredients. You’ll need 2 cups all-purpose flour (240g), 1 cup granulated sugar (200g), 1 tablespoon baking powder, ½ teaspoon salt, ½ cup unsalted butter (115g, softened), 2 large eggs, 1 teaspoon vanilla extract, and 1 cup milk (240ml). Ensure everything is at room temperature for the best results.
- Mix Dry Ingredients: In a large mixing bowl, whisk together the flour, baking powder, and salt until well combined. This should take about 1 minute. The mixture should appear light and airy, with no lumps remaining. Set aside.
- Cream Butter and Sugar: In another bowl, beat the softened butter and granulated sugar together using an electric mixer on medium speed for about 3-4 minutes. You want the mixture to become light and fluffy, with a pale yellow color. This aeration is crucial for a soft cake.
- Add Eggs and Vanilla: Add the eggs one at a time, mixing well after each addition. Then, incorporate the vanilla extract. The mixture should look smooth and slightly glossy. If it appears curdled, don’t worry; it will come together once you add the dry ingredients.
- Combine Mixtures: Gradually fold the dry ingredients into the wet mixture, alternating with the milk. Start with a third of the flour mixture, then half of the milk, mixing gently with a spatula until just combined. Repeat until all ingredients are incorporated. The batter should be thick but pourable, with no dry spots remaining.
- Prepare for Baking: Preheat your oven to 350°F (175°C) while you prepare your baking pan. Grease a 9×13 inch (23×33 cm) baking dish with butter or non-stick spray and lightly dust it with flour. This will help the cake release easily after baking.
- Bake the Cake: Pour the batter into the prepared baking dish and smooth the top with a spatula. Bake in the preheated oven for 30-35 minutes. The cake is done when it’s golden brown and a toothpick inserted in the center comes out clean. Don’t open the oven door for the first 20 minutes to avoid collapsing.
Pro Tips for Perfect Coffee Cake
Baking a coffee cake that not only tastes delicious but also looks stunning is all about attention to detail. Here are some essential tips and common mistakes to avoid to ensure your coffee cake shines at your next gathering.
Ingredient Tips
- Use fresh ingredients: Fresh baking powder or baking soda can significantly affect the rise of your cake. Make sure your leavening agents are within their expiration date for optimal results.
- Room temperature ingredients: For the best texture, ingredients like butter, eggs, and yogurt should be at room temperature. This promotes even mixing and a light, fluffy cake.
- Quality flour: Use all-purpose flour for structure, but consider swapping out ¼ cup for cake flour if you want a lighter crumb. This minor adjustment can elevate your cake’s texture considerably.
Baking Mistakes
- Overmixing the batter: Mixing too long can lead to a dense coffee cake. Mix just until the ingredients are combined, and a few lumps are okay.
- Incorrect oven temperature: Always preheat your oven to 350°F (175°C). An oven thermometer can help ensure your oven is at the right temperature, preventing underbaking or overbaking.
- Not checking for doneness: Insert a toothpick into the center of the cake; it should come out clean or with a few moist crumbs. If it comes out wet, bake for an additional 5 minutes and test again.
Flavor Variations and Substitutions
This section offers creative ideas for enhancing your coffee cake recipe, including delicious fruit additions and gluten-free alternatives. These variations not only cater to different tastes but also accommodate dietary needs, ensuring everyone can enjoy a slice of your preppy coffee cake.
Fruit Additions
Incorporating fruits can elevate the flavor and add a fresh twist to your coffee cake. Here are some delightful options:
- Blueberries: Fold in 1 cup of fresh or frozen blueberries for a sweet, tart flavor. If using frozen, do not thaw them beforehand to prevent them from bleeding into the batter.
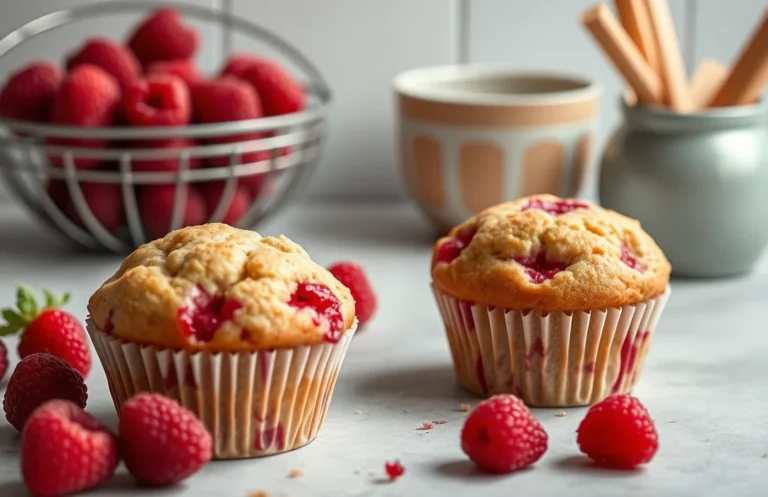
- Raspberries: Add 1 cup of raspberries for a vibrant color and tangy essence.
- Apples: Dice 1 medium apple (about 1 cup) and mix it into the batter for a cozy, spiced cake. Consider using Granny Smith for a tart contrast.
- Pears: Use 1 cup of finely diced pears for a soft texture and subtle sweetness.
Gluten-Free Options
If you’re cooking for someone with gluten sensitivity, you can easily modify your coffee cake recipe:
- Gluten-Free Flour Blend: Substitute 2 cups of all-purpose flour with a gluten-free flour blend. Look for one that contains xanthan gum for better texture.
- Almond Flour: For a nutty flavor, use 1 cup of almond flour and 1 cup of gluten-free all-purpose flour. Adjust liquids slightly if needed.
Chef’s tip: Always check the baking powder for gluten-free labeling to ensure your coffee cake remains gluten-free.
| Fruit Option | Measurement |
|---|---|
| Blueberries | 1 cup |
| Raspberries | 1 cup |
| Diced Apples | 1 cup (1 medium apple) |
| Diced Pears | 1 cup |
Serving Suggestions for Brunch
Presenting your coffee cake in a stylish way can elevate your brunch experience. Pairing it with the right beverages and garnishes enhances not only the visual appeal but also the flavors. Here are some delightful suggestions to make your coffee cake shine at your next brunch gathering.
Plating Ideas
- Layered Presentation: Serve the coffee cake in a tiered cake stand. This adds height and elegance to your brunch table, making it visually enticing. You can dust the top with powdered sugar for a snowy finish.
- Accompanied by Fresh Fruits: Add a side of seasonal fruits like strawberries, blueberries, or sliced peaches. Their vibrant colors will contrast beautifully with the cake, inviting guests to indulge.
- Garnished with Whipped Cream: A dollop of freshly whipped cream on top or alongside your slice adds a creamy texture and richness. Use a piping bag for a decorative touch!
Beverage Pairings
- Coffee: Pair your coffee cake with freshly brewed coffee or espresso. The rich, bold flavors complement the sweetness of the cake perfectly, creating a classic brunch combination.
- Herbal Tea: A light herbal tea, like chamomile or mint, offers a refreshing alternative for those who prefer a caffeine-free option. The floral notes can enhance the flavors of the cake.
- Fruit Juices: Serve a refreshing glass of freshly squeezed orange or apple juice. The acidity and sweetness balance the richness of the cake, making for a well-rounded brunch experience.
Quick Summary
| Prep Time | Cook Time | Total Time | Servings |
|---|---|---|---|
| 20 minutes | 35 minutes | 55 minutes | 9 servings |
- Mix dry ingredients: Combine 2 cups flour, 1 cup sugar, and 1 tbsp baking powder.
- Prepare the batter: Beat together 1/2 cup butter, 2 eggs, and 1 cup milk until smooth.
- Add the streusel: Mix 1/2 cup brown sugar, 1/2 cup oats, and 1 tsp cinnamon for topping.
- Bake at 350°F: Pour batter into a greased pan and sprinkle streusel on top.
- Cool before slicing: Let it rest for 10 minutes post-baking for better texture.
- Tip: Use room temperature ingredients for a fluffier cake.
- Tip: Don’t overmix the batter to keep it tender.
Frequently Asked Questions
Can I make this ahead of time? How to store and reheat?
You can make this coffee cake up to 2 days in advance. Store it in an airtight container at room temperature, and reheat individual slices in the microwave for about 15-20 seconds.
What can I substitute for sour cream?
You can substitute sour cream with an equal amount of plain yogurt or buttermilk for similar moisture and tanginess in the cake. Just keep in mind that this may slightly alter the flavor profile.
How do I know when it’s done?
Your coffee cake is done when a toothpick inserted into the center comes out clean or with just a few moist crumbs. The edges should also pull slightly away from the pan and the top should be golden brown.
Can I freeze this? How long does it last?
Yes, you can freeze the coffee cake for up to 3 months. Wrap it tightly in plastic wrap and then in aluminum foil before placing it in the freezer to prevent freezer burn.
What if I don’t have aBundt pan?
If you don’t have a Bundt pan, you can use a 9×13-inch baking dish instead; just adjust the baking time to about 30-35 minutes. Keep an eye on it and perform the toothpick test to ensure it’s baked through.

- 10 Best Cheese Knife With Holes For Smooth Slice 2026 - March 9, 2026
- Make Cheesecake Up to 3 Days Ahead: Tips for Best Flavor & Texture - March 4, 2026
- Easy No-Bake Cool Doen Cheesecake: Quick Recipe & Tips - March 4, 2026