Classic Vanilla Cheesecake Recipe: Creamy & Delicious in 1 Hour
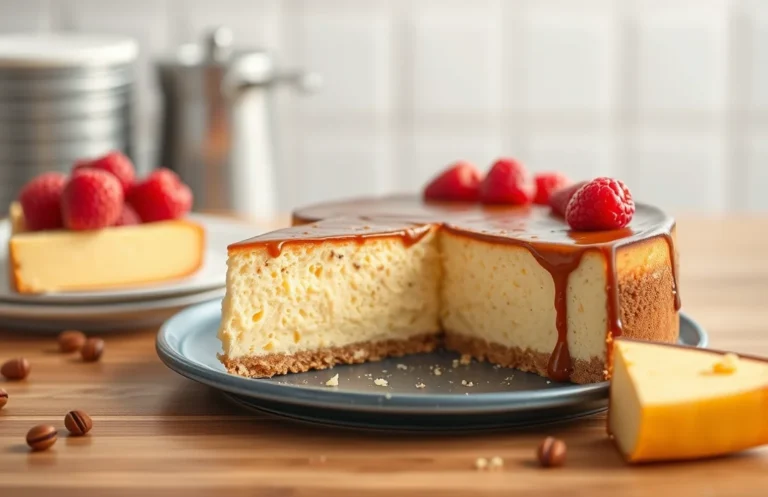
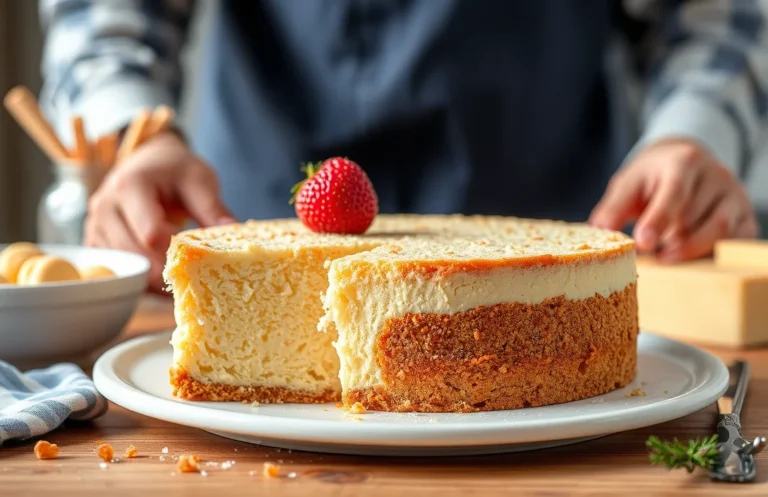
If you’re craving something creamy, rich, and utterly delightful, this vanilla cheesecake is your answer. It’s the kind of dessert that transforms any occasion into a celebration, whether it’s a weeknight dinner or a holiday feast. Just imagine that first bite—smooth, luscious vanilla filling on a buttery crust. Pure bliss!
This vanilla cheesecake recipe takes about 60 minutes to prepare, has a difficulty level of easy, and makes 10 servings. You’ll find step-by-step instructions, exact measurements, and tips to help you avoid cracks and achieve that perfect texture.
| Prep Time | Cook Time | Total Time | Servings | Difficulty |
|---|---|---|---|---|
| 20 minutes | 40 minutes | 1 hour | 10 | Easy |
Origin of Vanilla Cheesecake
Vanilla cheesecake has a rich history that dates back to ancient Greece, where cheesecakes were crafted from simple ingredients like cheese, honey, and flour. Over the centuries, this delightful dessert has evolved, with each culture adding its own twist, making vanilla cheesecake a beloved classic around the world.
What makes vanilla cheesecake special is its creamy texture paired with the aromatic flavor of vanilla, creating a dessert that feels indulgent yet is surprisingly simple to make. Traditionally served at celebrations and gatherings, it’s perfect for birthdays, holidays, or just a sweet treat at home.
- Ancient Greece: The first recorded cheesecake recipe.
- Roman Influence: Romans refined the recipe, adding more ingredients like eggs and lemon.
- Modern Variations: Adaptations with different flavors and crusts emerged in the 19th century.
Chef’s tip: Use real vanilla extract for a deeper flavor, as it enhances the overall taste of your cheesecake.
| Era | Key Development |
|---|---|
| Ancient Greece | First cheesecakes made with cheese and honey. |
| Roman Times | Introduction of eggs and lemon for flavor. |
| 19th Century | Birth of the cream cheese cheesecake. |
Ingredients for Vanilla Cheesecake
This section provides a comprehensive list of ingredients you’ll need to create a rich and creamy vanilla cheesecake. Each ingredient plays a crucial role in achieving that perfect texture and flavor, so be sure to measure precisely!
| Item | Amount/Specification | Notes |
|---|---|---|
| Graham cracker crumbs | 1 ½ cups (150g) | About 10-12 full crackers |
| Sugar | ½ cup (100g) | Granulated sugar for crust and filling |
| Unsalted butter | ½ cup (115g), melted | Allows crust to bind together |
| Cream cheese | 24 ounces (680g), softened | Use full-fat for the best flavor |
| Sour cream | 1 cup (240g) | Provides creaminess and tang |
| Vanilla extract | 2 teaspoons | Use pure vanilla for best results |
| Eggs | 3 large | Bring to room temperature for better mixing |
| All-purpose flour | 2 tablespoons (15g) | Helps stabilize the cheesecake |
- For a gluten-free option, substitute graham crackers with gluten-free cookies or almond flour.
- Make sure your cream cheese is at room temperature to avoid lumps in the batter.
- If you prefer a lighter texture, consider folding in whipped cream before baking.
- Don’t rush the mixing process; ensure everything is well combined for the smoothest cheesecake.
Essential Kitchen Equipment
To create a delicious vanilla cheesecake, having the right kitchen equipment is essential for achieving the perfect texture and flavor. Each tool plays a pivotal role in the preparation and baking process, ensuring you have a smooth batter and a beautifully baked cake.
- 9-inch Springform Pan: This is crucial for cheesecakes, as it allows you to easily remove the cake without damaging its delicate structure. Make sure it is well-greased with butter or lined with parchment paper for effortless release.
- Mixing Bowls: Use a large mixing bowl for combining your cream cheese and sugar. A medium bowl will be helpful for whisking together the eggs and vanilla extract. Opt for glass or stainless steel as they are durable and easy to clean.
- Electric Mixer or Whisk: An electric mixer is ideal for achieving a creamy and lump-free batter. If you don’t have one, a sturdy whisk can work, but it will require more effort and time.
- Rubber Spatula: This tool is perfect for folding in ingredients gently and scraping down the sides of the mixing bowl to ensure everything is well incorporated.
- Measuring Cups and Spoons: Accurate measurements are crucial for baking. Use dry measuring cups for flour and sugar, and liquid measuring cups for cream and eggs to ensure precision.
- Oven Thermometer: Ovens can often be off by a few degrees. An oven thermometer will help you verify that your oven is preheated to the correct temperature of 325°F (160°C) for baking the cheesecake.
- Cooling Rack: After baking, let the cheesecake cool on a rack to prevent moisture buildup underneath, which can lead to a soggy crust. This step is vital for achieving the right texture.
Step-by-Step Baking Instructions
Creating a delicious vanilla cheesecake requires precision and attention to detail. Follow these step-by-step instructions to ensure your cheesecake has the perfect texture and flavor.
- Prep Time: 30 minutes
- Cook Time: 60 minutes
- Cooling Time: 4 hours (or overnight)
- Preheat your oven: Set your oven to 350°F (175°C). Preheating ensures that your cheesecake bakes evenly from the start, preventing any unexpected texture issues.
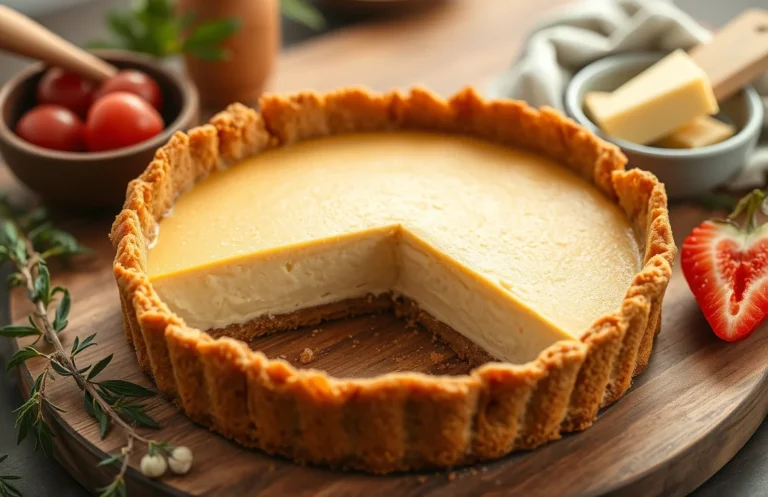
- Prepare the crust: In a medium bowl, mix 1 ½ cups (150g) of graham cracker crumbs, ⅓ cup (65g) of granulated sugar, and ½ cup (115g) of melted unsalted butter. Stir until the mixture resembles wet sand. Press it firmly into the bottom of a 9-inch (23cm) springform pan. Bake the crust for 10 minutes until lightly golden and fragrant, then remove it from the oven.
- Make the filling: In a large mixing bowl, beat 24 oz (680g) of softened cream cheese with a hand mixer on medium speed until smooth and creamy, about 2-3 minutes. Add 1 cup (200g) of granulated sugar and beat for another 2 minutes until combined. The mixture should be glossy and free of lumps.
- Add flavorings: Mix in 1 tablespoon of pure vanilla extract and 3 large eggs, one at a time, beating just until incorporated. Avoid over-mixing, as this can introduce too much air, leading to cracks in your cheesecake.
- Pour and smooth: Pour the filling over the cooled crust, spreading it evenly with a spatula. Gently tap the pan on the counter to eliminate any air bubbles that may have formed during mixing.
- Bake the cheesecake: Place the springform pan in the oven and bake for 60 minutes. The edges should look set, while the center will still have a slight jiggle. This indicates that the cheesecake will firm up as it cools.
- Cool properly: Turn off the oven and leave the cheesecake inside for 1 hour with the door slightly ajar. This gradual cooling process helps prevent cracks. After an hour, remove it from the oven and let it cool to room temperature, then refrigerate for at least 4 hours or overnight.
Chef’s tip: If your cheesecake cracks, don’t worry! You can cover it with whipped cream or fruit topping to hide any imperfections.
Pro Tips for Perfect Cheesecake
Creating the perfect vanilla cheesecake requires attention to detail and a few insider tips. These suggestions will help you avoid common pitfalls and ensure a smooth, creamy texture and delectable flavor. Here are some essential pro tips for your baking success.
- Room temperature ingredients: Always use cream cheese, eggs, and sour cream at room temperature. This allows for better incorporation and a smoother batter. Cold ingredients can lead to lumps and a dense cheesecake.
- Don’t overmix: When adding the eggs, mix just until combined. Overmixing can incorporate too much air, resulting in a cheesecake that cracks during baking.
- Water bath method: To prevent cracks and achieve a creamy texture, place your cheesecake pan in a larger baking dish filled with hot water. This creates a humid environment in the oven, which helps the cheesecake bake evenly.
- Cool gradually: After baking, turn off the oven and leave the cheesecake inside with the door slightly ajar for about an hour. This gradual cooling process minimizes the risk of cracks and helps set the filling.
- Chill before slicing: Allow the cheesecake to cool at room temperature for about an hour, then refrigerate it for at least 4 hours, preferably overnight. Chilling enhances the flavor and allows the texture to firm up for cleaner slices.
- Check for doneness: The cheesecake should be slightly jiggly in the center when you take it out of the oven. It will continue to set as it cools. If the edges are browned, it may be overbaked.
Variations and Substitutions
This section provides helpful variations and substitutions for your vanilla cheesecake recipe, allowing you to tailor it to different dietary needs or flavor preferences. Whether you’re looking for gluten-free options or want to switch up the flavor profile, these tips will help you create a cheesecake that suits your taste and dietary requirements.
Gluten-Free Options
For a gluten-free cheesecake, simply replace the graham cracker crust with a mixture of gluten-free cookies or almond flour. Here’s how to prepare a gluten-free crust:
- 1 ½ cups gluten-free cookie crumbs (about 150g)
- ½ cup unsalted butter, melted (115g)
- 2 tablespoons sugar (25g)
Vegan Substitutions
If you’re looking to make a vegan cheesecake, you can substitute traditional ingredients as follows:
- Use 1 ½ cups soaked cashews (about 225g) blended with ⅓ cup coconut milk (80ml) for the cream cheese.
- Replace eggs with ½ cup silken tofu (120g) or 2 tablespoons ground flaxseed mixed with 6 tablespoons water (flax egg).
- Use maple syrup instead of sugar for sweetness.
Flavor Variations
To switch up the flavor of your vanilla cheesecake, consider these delicious alternatives:
- For a chocolate version, fold in ½ cup melted dark chocolate (90g) into the filling.
- For a fruity twist, swirl in ½ cup of pureed berries or mango before baking.
- For a citrusy flavor, add the zest of one lemon or lime to the batter.
Chef’s tip: Always taste the filling before baking, and adjust sweetness or flavorings to your preference!
| Ingredient | Traditional | Substitution |
|---|---|---|
| Crust | Graham crackers | Gluten-free cookies |
| Cream Cheese | Regular cream cheese | Soaked cashews |
| Eggs | Regular eggs | Flax egg or silken tofu |
Serving and Plating Ideas
Serving and plating your vanilla cheesecake can elevate its appeal and enhance the overall dining experience. A well-presented cheesecake not only looks inviting but also hints at the delicious flavors that await. Here are some creative ideas to make your cheesecake the star of the dessert table.
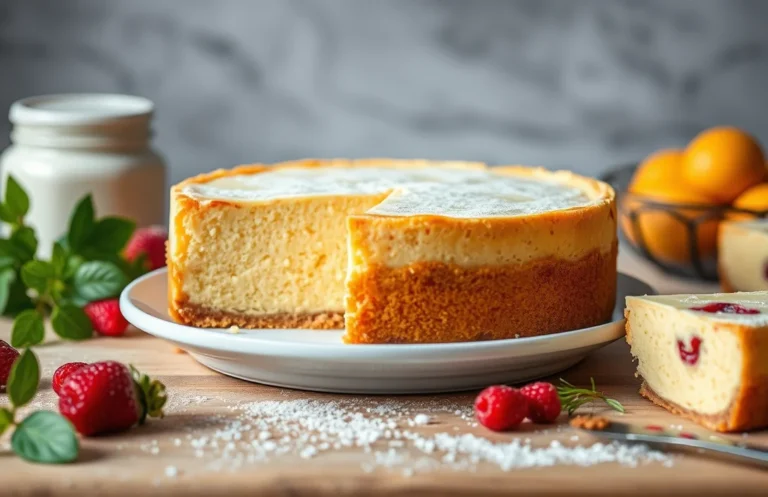
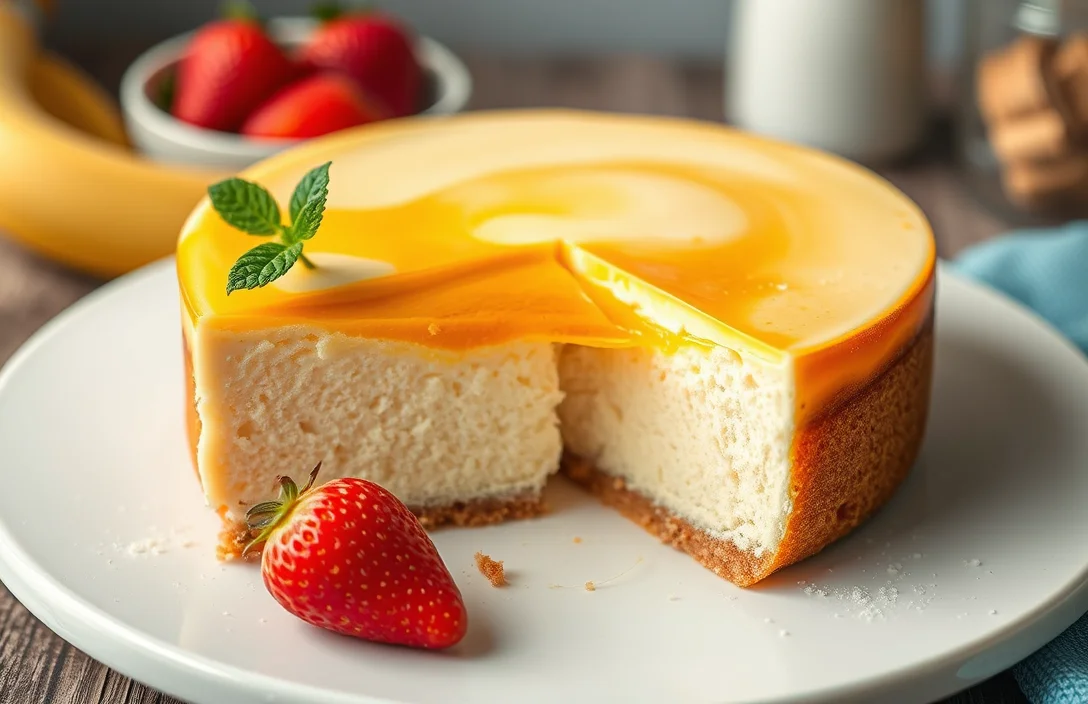
- Classic Slice Presentation: Serve your cheesecake in clean, triangular slices on a white plate to highlight the creamy texture. Use a sharp knife dipped in warm water for clean cuts, ensuring that each slice looks perfect and professional.
- Fruit Toppings: Fresh berries like strawberries, blueberries, or raspberries add a vibrant pop of color. Arrange them artfully on top of the cheesecake or alongside it for a refreshing contrast. Drizzle a bit of berry coulis over the top for an elegant touch.
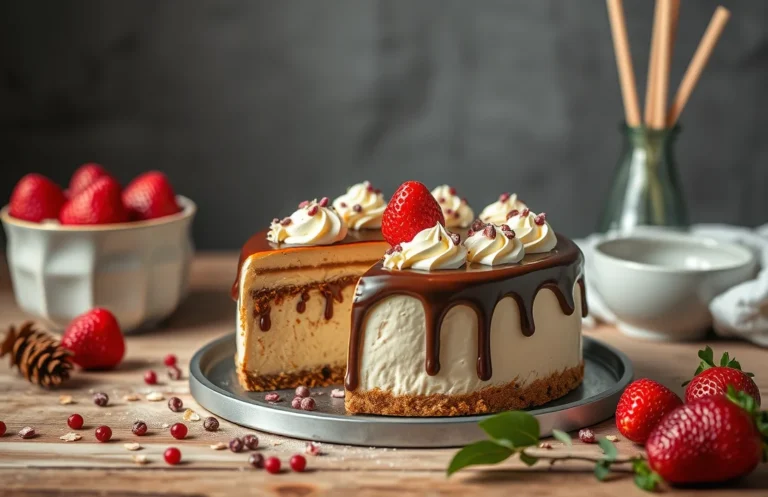
- Chocolate Ganache: For a decadent twist, pour a warm chocolate ganache over the cheesecake before serving. To make the ganache, heat ½ cup of heavy cream to a gentle simmer and pour it over 1 cup of chopped dark chocolate. Stir until smooth and glossy, then let it cool slightly before pouring.
- Whipped Cream Clouds: Lightly sweetened whipped cream adds a delightful airiness. Whip 1 cup of heavy cream with 2 tablespoons of powdered sugar until soft peaks form. Spoon or pipe it onto each slice right before serving for a lovely finishing touch.
- Garnishing with Mint: A sprig of fresh mint not only adds a pop of green but also enhances the aroma of the cheesecake. Place it strategically on top or alongside your fruit topping for an extra layer of elegance.
Quick Recipe Summary
This quick recipe summary gives you a concise overview of the essential steps to create a delicious vanilla cheesecake. Perfect for any occasion, this cheesecake is creamy, rich, and bursting with vanilla flavor. Follow these clear instructions to ensure your cheesecake turns out perfectly every time!
Ingredients
- 1 ½ cups graham cracker crumbs (150g)
- ⅓ cup granulated sugar (67g)
- ½ cup unsalted butter, melted (113g)
- 4 (8-ounce) packages cream cheese, softened (900g)
- 1 cup granulated sugar (200g)
- 1 tablespoon vanilla extract
- 4 large eggs, room temperature
- 1 cup sour cream (240g)
- ½ cup heavy cream (120ml)
Preparation Steps
- Preheat your oven to 325°F (160°C). Grease a 9-inch springform pan with non-stick spray.
- In a medium bowl, mix graham cracker crumbs, ⅓ cup sugar, and melted butter until combined. Press the mixture firmly into the bottom of the prepared pan. Bake for 10 minutes and let cool.
- In a large mixing bowl, beat the softened cream cheese until smooth. Gradually add 1 cup sugar and beat until creamy. Add vanilla extract, mixing until combined.
- Add eggs, one at a time, mixing just until incorporated after each addition. Be careful not to overmix. Finally, fold in sour cream and heavy cream until smooth.
- Pour the cheesecake filling over the crust and smooth the top. Bake for 55-60 minutes, or until the edges are set but the center still slightly jiggles.
- Turn off the oven and crack the door; let the cheesecake cool inside for 1 hour. Remove from the oven and chill in the fridge for at least 4 hours, preferably overnight.
Chef’s Tip: For a perfect texture, avoid overbeating the mixture once you add the eggs. This prevents cracks in your cheesecake.
Common Mistakes
- Do not rush the cooling process. Letting the cheesecake cool gradually helps prevent cracks.
- Ensure all ingredients are at room temperature. This helps achieve a smooth mixture without lumps.
- Do not open the oven door during baking, as this can cause the cheesecake to sink in the middle.
Nutritional Information
| Serving Size | Calories | Fat | Sugar |
|---|---|---|---|
| 1 slice (1/12 of cheesecake) | 450 | 30g | 25g |
Quick Summary
| Prep Time | Cook Time | Total Time | Servings |
|---|---|---|---|
| 20 minutes | 60 minutes | 1 hour 20 minutes | 8 |
- Preheat oven to 325°F (163°C) before starting.
- Blend cream cheese until smooth, then add sugar gradually.
- Incorporate eggs one at a time; avoid overmixing.
- Bake in a water bath for even cooking and moisture.
- Chill for at least 4 hours before serving for best results.
- Tip: Use room temperature cream cheese for a lump-free batter.
- Tip: Let the cheesecake cool in the oven with the door ajar to prevent cracking.
- Tip: Top with fresh berries for added flavor and presentation.
Frequently Asked Questions
Can I make this ahead of time? How to store and reheat?
You can definitely make this vanilla cheesecake ahead of time! Store it in the fridge for up to 5 days, and if you need to reheat, let it sit at room temperature for 30 minutes before serving.
What can I substitute for cream cheese?
If you’re looking for a substitute for cream cheese, you can use mascarpone cheese or a blend of cottage cheese and sour cream at a 1:1 ratio. Just keep in mind that the flavor and texture may vary slightly.
How do I know when it’s done?
Your vanilla cheesecake is done when the edges are set but the center still has a slight jiggle, usually around 50-60 minutes at 325°F (163°C). It will firm up as it cools, so don’t overbake!
Can I freeze this? How long does it last?
You can freeze vanilla cheesecake for up to 2-3 months; just wrap it tightly in plastic wrap and then aluminum foil. Thaw it in the fridge overnight before serving for the best texture.
What if I don’t have a springform pan?
If you don’t have a springform pan, you can use a regular round cake pan lined with parchment paper for easy removal. Just be careful when taking it out, as it might not hold its shape as well.

- Decadent Peanut Butter No-Bake Cheesecake: Easy Recipe to Indulge - April 3, 2026
- Delicious Mango No-Bake Cheesecake: Step-by-Step Recipe - April 3, 2026
- Decadent Raspberry No-Bake Cheesecake: Easy Step-by-Step Recipe - April 3, 2026