Can You Freeze Lemon Cheesecake? Tips for Perfect Texture & Flavor
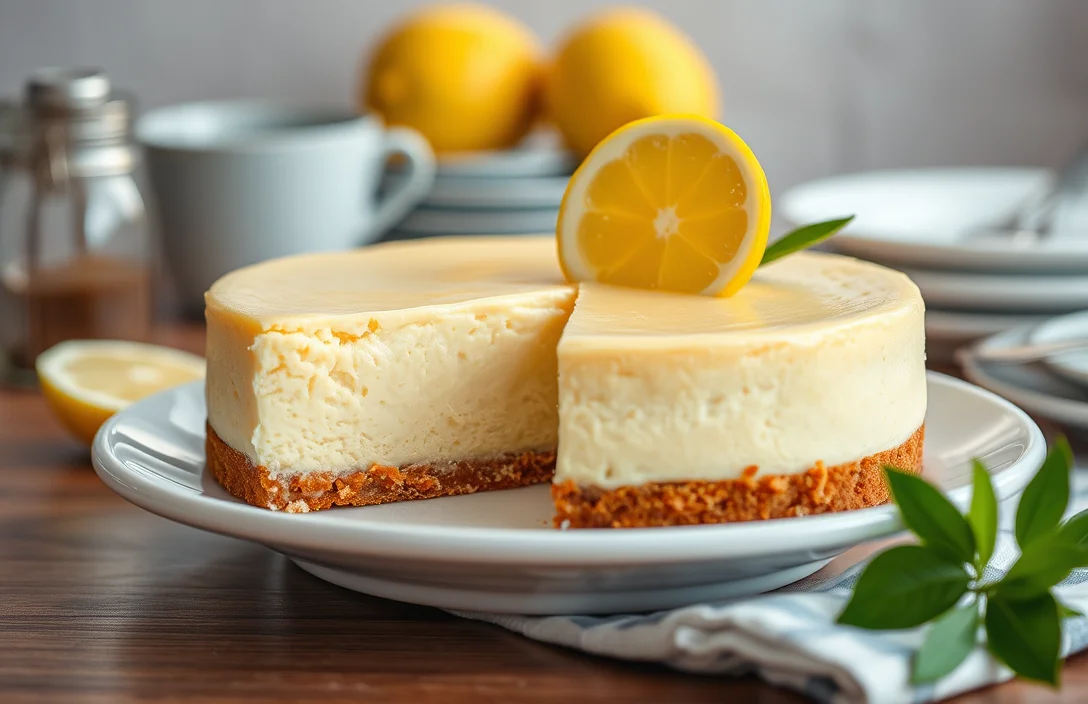
If you’re looking for a dessert that combines creamy richness with a bright, zesty twist, lemon cheesecake is an absolute delight. Its smooth texture and refreshing flavor make it the perfect ending to any meal, whether it’s a casual weeknight dinner or a festive gathering. Trust me, one bite, and you’ll be hooked!
Wondering about preserving that heavenly cheesecake? You’ll learn how to freeze lemon cheesecake effectively, with step-by-step instructions for freezing and thawing, plus tips for keeping its texture and flavor intact. Total time: 10 minutes prep, 60 minutes cook, serves 8, and it’s easy to make!
| Prep Time | Cook Time | Total Time | Servings | Difficulty |
|---|---|---|---|---|
| 10 minutes | 60 minutes | 70 minutes | 8 | Easy |
Lemon Cheesecake History
Lemon cheesecake has a delightful history that intertwines the classic cheesecake with the bright, zesty flavor of lemon. Understanding its origins and significance adds depth to the experience of enjoying this dessert, especially when considering how to preserve it through freezing.
- Origin of Cheesecake: Cheesecake dates back to ancient Greece, where it was served to athletes during the first Olympic Games in 776 B.C. This simple mixture of cheese, honey, and flour has evolved into countless variations, each reflecting regional tastes and ingredients.
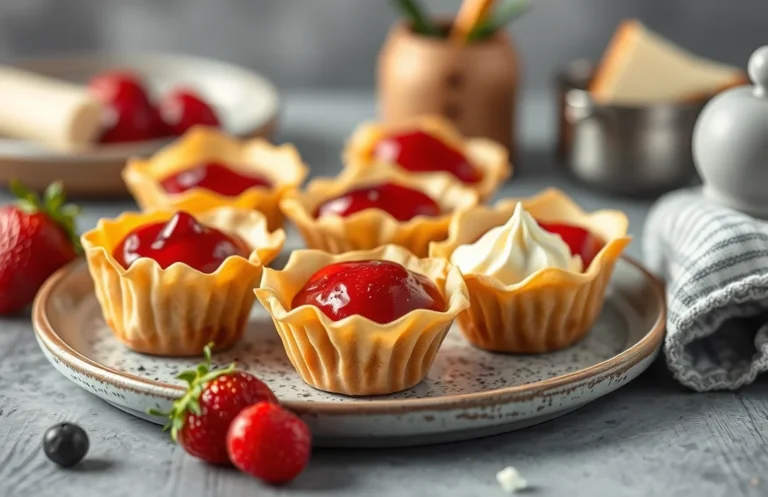
- Why Lemon is Special: The addition of lemon brings a refreshing tartness that balances the richness of cream cheese. This combination not only enhances the flavor profile but also adds a lightness that makes lemon cheesecake a favorite, especially in warmer months.
- Occasions to Serve: Lemon cheesecake is often served during spring and summer gatherings, such as barbecues, weddings, and holiday celebrations. Its vibrant flavor and creamy texture make it a standout dessert at any special occasion, appealing to both citrus lovers and cheesecake enthusiasts alike.
Ingredients for Lemon Cheesecake
This section provides a complete list of ingredients you’ll need to create a delicious lemon cheesecake that can be frozen for later enjoyment. Properly selecting and measuring your ingredients is crucial for achieving the right flavor and texture, especially if you plan to freeze it.
| Item | Amount/Specification | Notes |
|---|---|---|
| Graham cracker crumbs | 1 ½ cups (150g) | Can substitute with gluten-free crumbs if needed |
| Granulated sugar | ⅓ cup (67g) | Adjust sweetness to taste |
| Unsalted butter | 6 tablespoons (85g) | Melted |
| Cream cheese | 24 ounces (680g) | At room temperature for easier mixing |
| Granulated sugar (for filling) | 1 cup (200g) | Ensure it’s fully incorporated |
| Sour cream | ½ cup (120g) | Can use Greek yogurt as a substitute |
| Lemon juice | ⅓ cup (80ml) | Freshly squeezed for best flavor |
| Lemon zest | 2 teaspoons | Enhances the lemon flavor |
| Vanilla extract | 1 teaspoon | Pure vanilla extract recommended |
| Eggs | 3 large | At room temperature for even mixing |
- Ensure all dairy ingredients are at room temperature to prevent lumps.
- For a thicker crust, increase the amount of graham cracker crumbs to 2 cups.
- When freezing, wrap the cheesecake tightly in plastic wrap and then in aluminum foil to prevent freezer burn.
- Thaw in the refrigerator overnight for best results when ready to serve.
Necessary Kitchen Equipment
To successfully freeze and later enjoy your lemon cheesecake, having the right kitchen equipment is essential. This section outlines the tools you’ll need for mixing, baking, and storing your cheesecake, ensuring that the process is smooth and the results are delicious.
| Item | Amount/Specification | Notes |
|---|---|---|
| Mixing Bowls | 2 large, 1 medium | Use for mixing crust and filling |
| Electric Mixer | 1 | Hand or stand mixer for smooth filling |
| 9-inch Springform Pan | 1 | Ideal for easy release of the cheesecake |
| Rubber Spatula | 1 | For folding in ingredients and scraping bowls |
| Parchment Paper | 1 sheet | Line the bottom of the pan for easy removal |
| Aluminum Foil | 1 roll | Wrap the cheesecake for freezing |
| Freezer-Safe Storage Container | 1 | For storing slices or the whole cheesecake |
- Tip: Make sure your mixing bowls are clean and dry before use to avoid any unwanted flavors.
- Tip: If you don’t have a springform pan, you can use a regular pie dish, but it may be harder to remove the cheesecake.
- Tip: Use heavy-duty aluminum foil to prevent freezer burn on your cheesecake.
Freezing Lemon Cheesecake
Freezing lemon cheesecake is a great way to preserve its deliciousness for later enjoyment. This section will guide you through the proper steps to ensure your cheesecake maintains its creamy texture and vibrant flavor while frozen.
- Prepare for Freezing: Before freezing, ensure your lemon cheesecake has cooled completely to room temperature. This helps prevent condensation, which can create ice crystals. If your cheesecake is in a springform pan, it’s best to leave it in there for easy handling.
- Wrap the Cheesecake: Use plastic wrap to tightly cover the cheesecake. Make sure to press the wrap against the surface to eliminate any air pockets. Then, wrap an additional layer of aluminum foil around it, sealing the edges well. This double-wrapping protects against freezer burn.
- Label and Date: Use a permanent marker to label the wrapped cheesecake with the date and contents. This will help you keep track of how long it has been in the freezer. Lemon cheesecake can typically be stored for up to 2-3 months without significant loss of quality.
- Place in the Freezer: Lay the wrapped cheesecake flat in the freezer. Avoid stacking other items on top of it to keep its shape intact. Allow it to freeze for at least 4-6 hours, or until it is completely frozen solid.
- Storage Duration: For optimal flavor and texture, consume your frozen lemon cheesecake within 2-3 months. After this time, while still safe to eat, it may lose some of its original taste and creaminess.
Thawing Instructions
Thawing your frozen lemon cheesecake properly is crucial to maintaining its creamy texture and zesty flavor. Below are three effective methods to defrost your cheesecake safely, ensuring it’s ready to enjoy without compromising quality.
- Refrigerator Thawing: This is the safest and most recommended method. Transfer your frozen lemon cheesecake from the freezer to the refrigerator and allow it to thaw for approximately 6-8 hours or overnight. When ready, the cheesecake should feel firm but not icy, and it will be at a perfect serving temperature.
- Countertop Thawing: If you’re short on time, you can thaw your cheesecake on the countertop. Place it on a plate and leave it out for about 2-3 hours. Keep an eye on it; you want it to soften but not become too warm. If the surface looks shiny and feels slightly tacky, it’s time to serve!
- Microwave Thawing: This method should be used only as a last resort. Place the cheesecake on a microwave-safe plate and use the defrost setting for about 1-2 minutes, checking every 30 seconds to prevent overheating. Once thawed, the cheesecake should feel cool and slightly soft but not warm, as this can affect texture.
Maintaining Texture and Flavor
Preserving the texture and flavor of your lemon cheesecake after freezing is essential to ensure that it remains delicious when served. With the right techniques, you can avoid ice crystals and maintain the bright citrus flavor that makes this dessert a favorite.
- Avoiding Ice Crystals: To prevent ice crystals from forming, wrap your cheesecake tightly in plastic wrap, ensuring no air pockets are left. Follow this with a layer of aluminum foil. This double-wrapping method helps keep the moisture in and prevents freezer burn, preserving the creamy texture. Aim to freeze your cheesecake within 2 hours of cooling to room temperature for best results.
- Flavor Preservation Tips: Before freezing, consider adding a thin layer of lemon curd or a light whipped cream topping to enhance flavor upon serving. These toppings not only add a fresh taste but also act as a barrier against freezer odors. Store the cheesecake in an airtight container to keep the flavors intact, and use it within 2-3 months for optimal freshness.
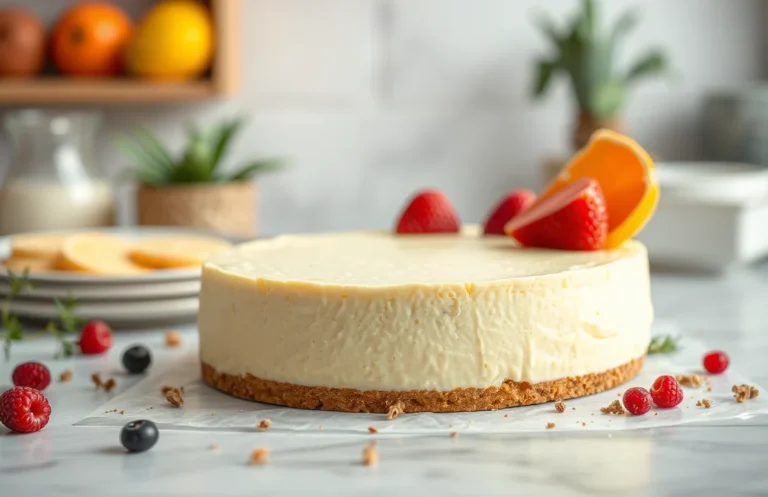
- Serving After Freezing: Once you’re ready to serve your frozen cheesecake, transfer it to the refrigerator to thaw overnight. This slow thawing process helps maintain its creamy texture. Before serving, let it sit at room temperature for about 30 minutes to enhance the flavor and soften the texture. If it appears too firm after thawing, gently run a warm knife along the edges to loosen it.
Common Mistakes to Avoid
Freezing lemon cheesecake can be a great way to preserve its deliciousness, but certain missteps can compromise its texture and flavor. Here are the common pitfalls to watch out for during the freezing and thawing process to ensure your cheesecake remains delightful.
Incorrect Cooling
Before freezing, it’s crucial to cool your cheesecake properly to avoid unwanted condensation and sogginess. Follow these tips:
- Let the cheesecake cool in the pan at room temperature for at least 1 hour.
- Once cooled, refrigerate it for at least 4 hours or overnight before freezing.
Chef’s tip: Proper cooling helps set the cheesecake’s texture and prevents ice crystals from forming.
Improper Wrapping
Wrapping your cheesecake incorrectly can lead to freezer burn or off-flavors. Here’s how to wrap it right:
- Use plastic wrap to tightly cover the cheesecake, ensuring no air pockets.
- For added protection, wrap it again with aluminum foil or place it in an airtight container. This prevents moisture loss.
Over-Thawing Issues
Thawing your cheesecake too long can result in a mushy texture. To ensure perfect thawing:
- Transfer the cheesecake to the refrigerator and allow it to thaw overnight. This slow process preserves the texture.
- Avoid microwaving or thawing at room temperature, as it can lead to uneven melting.
| Mistake | Consequence | Solution |
|---|---|---|
| Incorrect Cooling | Condensation and sogginess | Cool at room temperature, then refrigerate for 4+ hours |
| Improper Wrapping | Freezer burn and off-flavors | Tightly wrap in plastic and foil |
| Over-Thawing | Mushy texture | Thaw slowly in the refrigerator |
Quick Summary
| Prep Time | Cook Time | Total Time | Servings |
|---|---|---|---|
| 20 minutes | 60 minutes | 1 hour 20 minutes | 8 servings |
- Cool Completely: Allow cheesecake to cool at room temperature for at least 2 hours before freezing.
- Wrap Properly: Use plastic wrap followed by aluminum foil to prevent freezer burn.
- Freeze Flat: Place cheesecake in a flat, stable area of the freezer for even freezing.
- Thaw in Fridge: For best texture, thaw the cheesecake overnight in the refrigerator.
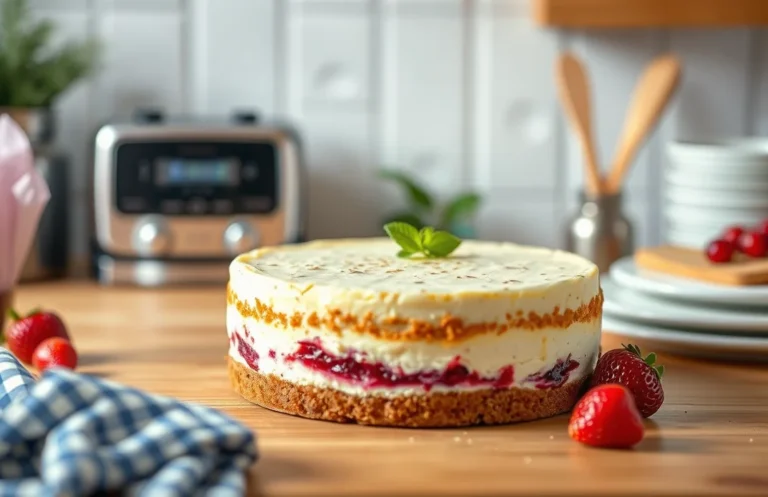
- Garnish Before Serving: Add fresh lemon zest or whipped cream just before serving for freshness.
Key Tip: Avoid freezing for more than 2 months to maintain flavor and texture.
Frequently Asked Questions
Can I make this ahead of time? How to store and reheat?
You can absolutely make lemon cheesecake ahead of time and store it in the fridge for up to 3 days. If you want to freeze it, wrap it tightly in plastic wrap and then in aluminum foil to prevent freezer burn, and it will last for up to 2 months.
What can I substitute for cream cheese?
If you’re looking for a substitute for cream cheese, you can use mascarpone cheese or a mix of Greek yogurt and sour cream in equal parts. This will change the flavor slightly, but it will still yield a creamy texture.
How do I know when it’s done?
Your lemon cheesecake is done when the edges are set and the center has a slight jiggle, which will firm up as it cools. It should also be slightly puffed and golden around the edges, typically taking about 45-50 minutes at 325°F (163°C).
Can I freeze this? How long does it last?
Yes, you can freeze lemon cheesecake! It lasts in the freezer for up to 2 months, but for the best quality, consume it within the first month.
What if I don’t have a springform pan?
If you don’t have a springform pan, you can use a regular cake pan lined with parchment paper, but be aware it might be a bit tricky to remove. Just make sure to grease the pan well and let it cool completely before attempting to slice and serve.

- Decadent Peanut Butter No-Bake Cheesecake: Easy Recipe to Indulge - April 3, 2026
- Delicious Mango No-Bake Cheesecake: Step-by-Step Recipe - April 3, 2026
- Decadent Raspberry No-Bake Cheesecake: Easy Step-by-Step Recipe - April 3, 2026