Creamy Cheesecake Emulsion Filling: Quick & Easy Recipe
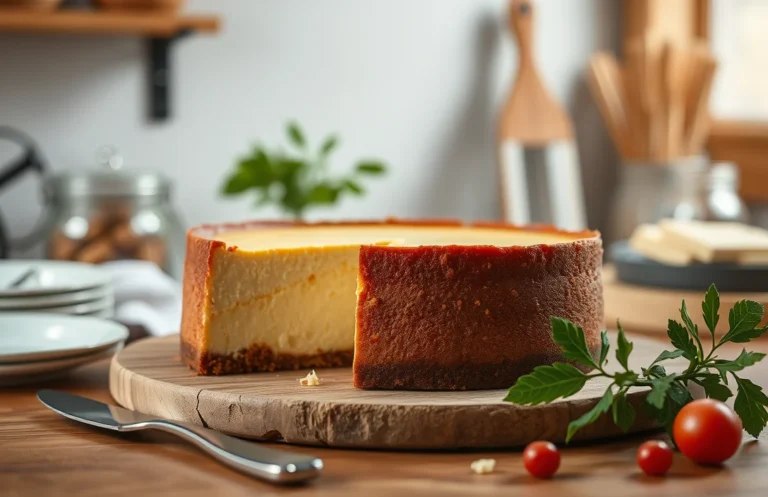
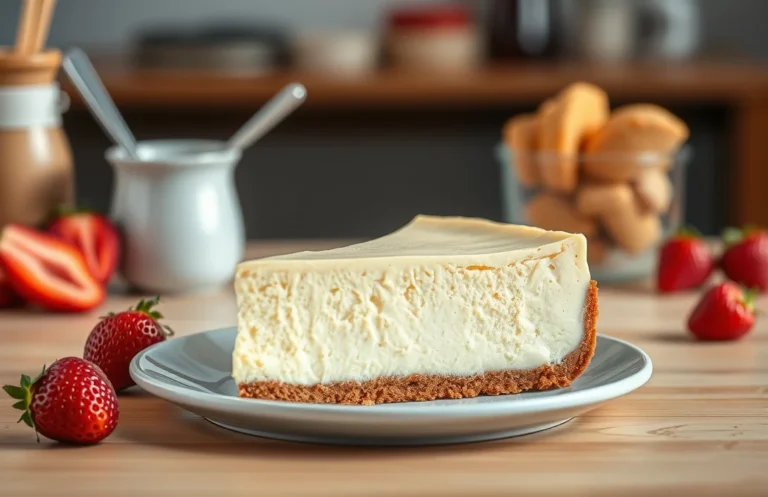
Cheesecake emulsion filling is a luscious treat that elevates any dessert with its creamy texture and rich flavor. Whether you’re topping a slice of cheesecake or filling pastries, this recipe is sure to impress. The slight tang from the cream cheese paired with a hint of vanilla creates a heavenly balance that will have everyone coming back for seconds.
In this guide, you’ll find a reliable recipe that includes exact measurements, step-by-step instructions, and tips to achieve the best flavor. The total time is 20 minutes, with a difficulty level of easy, and it serves 8 people.
| Prep Time | 10 minutes |
|---|---|
| Cook Time | 10 minutes |
| Total Time | 20 minutes |
| Servings | 8 |
| Difficulty | Easy |
Origin of Cheesecake Filling
This section delves into the rich history and cultural significance of cheesecake emulsion filling, highlighting its unique characteristics and ideal occasions for serving. Understanding its background enhances appreciation for this delightful dessert.
- Cultural Background: Cheesecake has roots that can be traced back to ancient Greece, where it was served to athletes during the first Olympic Games in 776 B.C. Over centuries, variations emerged, particularly in Europe, with the New York-style cheesecake becoming iconic in American cuisine.
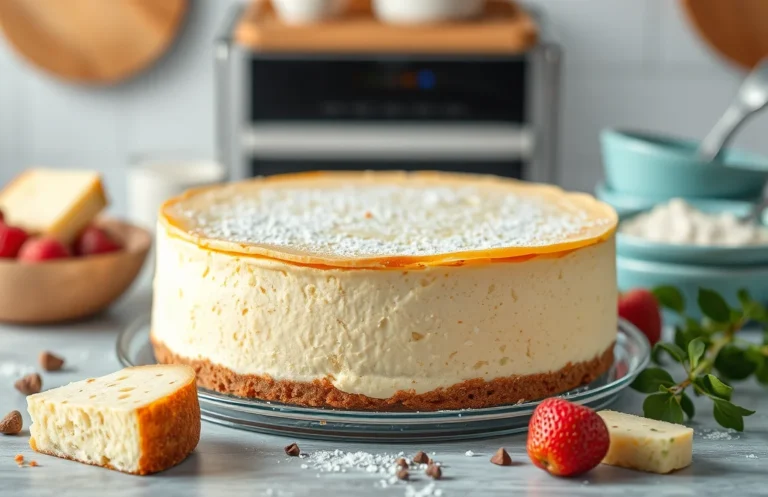
- Unique Characteristics: Cheesecake emulsion filling is notable for its creamy texture and balanced flavor profile, achieved through the perfect blend of cream cheese, sugar, and emulsifiers. This filling is often lighter than traditional cheesecakes, making it a popular choice for those seeking a less dense dessert.
- Ideal Occasions: This filling shines at celebrations such as birthdays, weddings, and holiday gatherings. Its versatility allows it to be paired with various toppings, from fresh fruits to rich chocolate, making it a favorite among guests of all ages.
Ingredients for Emulsion Filling
This section details all the essential ingredients you will need to create a delicious cheesecake emulsion filling. Each component plays a crucial role in achieving the perfect texture and flavor, so precise measurements and specifications are key for success.
| Item | Amount/Specification | Notes |
|---|---|---|
| Cream Cheese | 16 ounces (450g) | Softened, full-fat for best flavor |
| Sugar | ¾ cup (150g) | Granulated sugar; adjust to taste |
| Heavy Cream | 1 cup (240ml) | Whipped to soft peaks |
| Emulsifier | 1 tablespoon (15g) of gelatin | Dissolved in ¼ cup (60ml) warm water |
| Vanilla Extract | 1 teaspoon (5ml) | Pure vanilla for best flavor |
| Lemon Juice | 1 tablespoon (15ml) | Freshly squeezed for brightness |
- For dairy-free options, replace cream cheese with a vegan cream cheese alternative.
- If you prefer a sweeter filling, increase sugar to 1 cup (200g) but taste as you go.
- Make sure the cream cheese is at room temperature to avoid lumps in your filling.
Essential Kitchen Equipment
To create a luscious cheesecake emulsion filling, having the right tools is essential. This section outlines the equipment you’ll need to ensure a smooth preparation process and achieve the perfect texture and flavor in your filling.
| Item | Amount/Specification | Notes |
|---|---|---|
| Mixing Bowls | 2 medium-sized | One for mixing cream cheese and sugar, another for emulsifying. |
| Electric Mixer | 1 | Hand or stand mixer preferred for creamy texture. |
| Spatula | 1 large | Silicone or rubber for scraping down the sides and folding ingredients. |
| Measuring Cups | 1 set | For precise measurements of sugar, cream, and other ingredients. |
- Tip: Use glass or stainless steel mixing bowls to avoid any reactions with acidic ingredients.
- Make sure your cream cheese is at room temperature for easier mixing.
- Keep your electric mixer on low speed initially to prevent splatters.
- Always scrape down the sides of the bowl with your spatula to ensure even mixing.
Step-by-Step Preparation
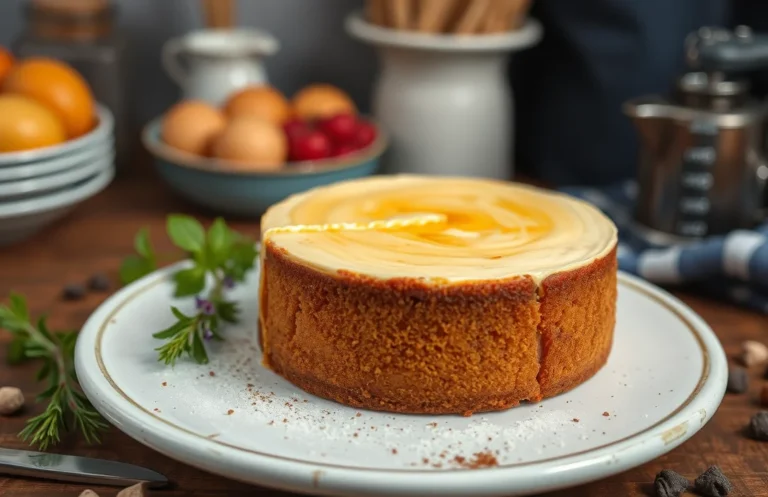
This section will guide you through the precise steps to create a luscious cheesecake emulsion filling. A well-prepared emulsion is key to achieving a creamy texture and rich flavor in your cheesecake. Let’s get started!
- Ingredients for Cheesecake Emulsion Filling:
- 16 ounces (450g) cream cheese, softened
- 1 cup (200g) granulated sugar
- ½ cup (120ml) heavy cream
- 2 large eggs
- 1 tablespoon vanilla extract
- 1 tablespoon lemon juice
- Mixing Ingredients: Begin by placing the softened cream cheese in a large mixing bowl. Using a handheld mixer or a stand mixer fitted with the paddle attachment, beat the cream cheese on medium speed for about 2 minutes until it’s smooth and creamy, with no lumps. You’ll know it’s ready when it looks glossy and feels soft to the touch.
- Incorporating Sugar: Gradually add the granulated sugar while continuing to mix on medium speed. Beat for an additional 2-3 minutes until the mixture is fluffy and the sugar is fully dissolved. You should notice a light and airy texture, and it will have a slightly pale color.
- Achieving Emulsion: With the mixer on low speed, slowly pour in the heavy cream. Once incorporated, increase the speed to medium and mix for another 1-2 minutes until the filling is light and fully emulsified, with a thick and glossy consistency. If it appears grainy, continue mixing until smooth.
- Adding Eggs and Flavorings: Add the eggs one at a time, mixing well after each addition. Then, incorporate the vanilla extract and lemon juice. Beat on medium speed for about 1 minute until everything is well combined and the mixture is silky. At this stage, the filling should be glossy and smooth.
- Cooling Process: Once your emulsion is ready, let it sit at room temperature for about 10 minutes. This helps to stabilize the mixture slightly before pouring it into your prepared crust. If you notice any bubbles on the surface, gently tap the bowl on the counter to release them.
Chef’s tip: Ensure all ingredients are at room temperature for better emulsification, especially the cream cheese.
Pro Tips and Common Mistakes
Creating a smooth and flavorful cheesecake emulsion filling requires attention to detail and technique. By following these expert tips and avoiding common pitfalls, you can achieve the perfect texture and taste that will impress anyone who tries your cheesecake.
Avoiding Graininess
Graininess in your cheesecake filling can arise from improperly mixed ingredients or using cold cream cheese. Here’s how to ensure a silky texture:
- Ensure your cream cheese is at room temperature (about 70°F or 21°C) before mixing. This helps it blend smoothly with other ingredients.
- Beat the cream cheese alone first until it’s completely smooth, about 2-3 minutes on medium speed.
- Add sugars gradually, mixing well until fully incorporated before adding other ingredients.
Correct Mixing Techniques
Proper mixing is crucial for achieving a light and airy filling. Follow these tips:
- Use a stand mixer or hand mixer on medium-low speed to prevent incorporating too much air, which can cause cracks.
- When adding eggs, mix just until combined—overmixing can result in a dense texture.
Temperature Control
Maintaining the right temperature throughout the process is key:
- Keep all ingredients at room temperature to prevent lumps.
- After baking, allow the cheesecake to cool in the oven with the door ajar for 1 hour to prevent sudden temperature changes that can cause cracking.
Chef’s tip: If you notice graininess, try straining the mixture through a fine-mesh sieve before pouring it into the crust.
Variations and Substitutions
Adapting your cheesecake emulsion filling to accommodate dietary needs or to enhance flavors can elevate your dessert experience. Here are some practical variations and substitutions to consider, ensuring that everyone gets to enjoy a slice of your delicious cheesecake.
Gluten-Free Options
If you or your guests have gluten sensitivities, you can easily make your cheesecake filling gluten-free by ensuring all your ingredients are certified gluten-free. Here are some options:
- Use gluten-free graham crackers or almond flour for the crust.
- Ensure that your vanilla extract and any flavorings do not contain gluten.
Vegan Alternatives
For a vegan cheesecake emulsion filling, substitute the cream cheese and eggs with plant-based alternatives:
- Replace 8 ounces of cream cheese with 1 cup of soaked cashews blended until smooth.
- Use 1/4 cup of silken tofu as a substitute for eggs, giving you a creamy texture.
- For the sweetener, opt for maple syrup or agave nectar instead of sugar.
Flavor Infusions
Add unique flavors to your cheesecake filling to make it truly special. Here are some ideas:
Chef’s tip: Infusing flavors can significantly enhance your cheesecake. Consider adding:
- 1 teaspoon of lemon zest or orange zest for a citrusy twist.
- 1 teaspoon of almond extract for a nutty flavor.
- 1/4 cup of pureed fruit like strawberries or raspberries for a fruity filling.
| Ingredient | Substitution |
|---|---|
| Cream Cheese | 1 cup soaked cashews |
| Eggs | 1/4 cup silken tofu |
| Sugar | Maple syrup or agave nectar |
Experimenting with these variations will allow you to craft a cheesecake emulsion filling that not only meets dietary needs but also excites the taste buds.
Serving and Plating Ideas
Presenting your cheesecake emulsion filling beautifully can elevate your dessert experience. Here are some creative ways to serve and garnish your cheesecake, ensuring that it looks as delicious as it tastes!
Pairing with Desserts
- Graham Cracker Crust: Serve the filling in a pre-baked graham cracker crust for a classic cheesecake experience.
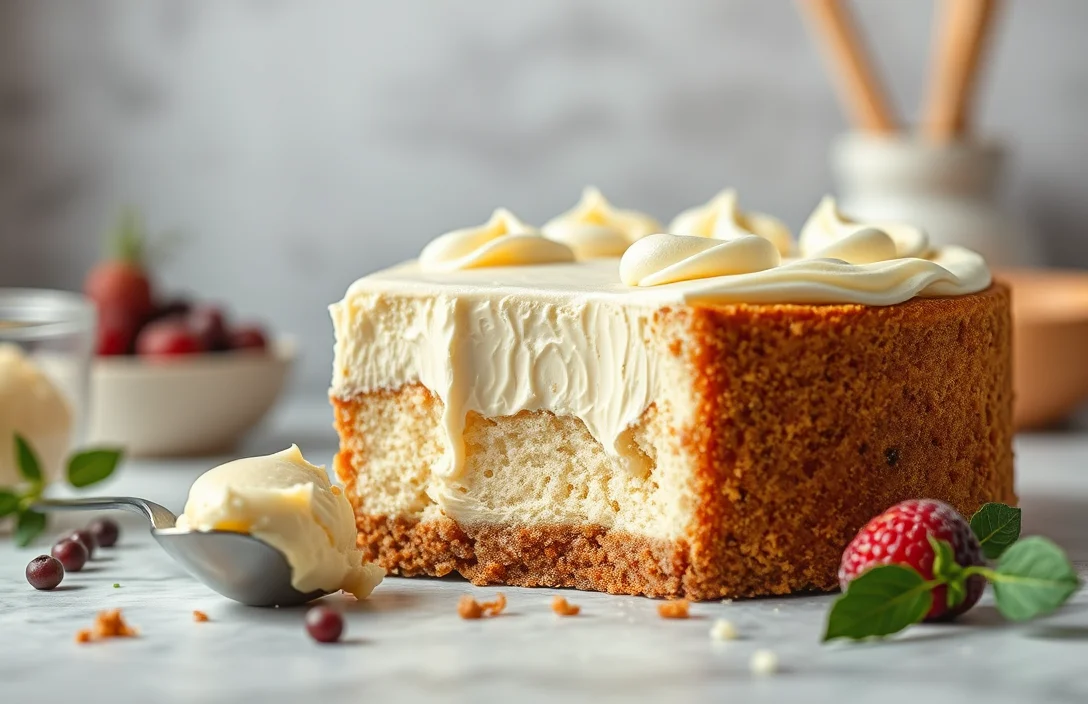
- Chocolate Cake: Use the cheesecake filling as a rich layer between two chocolate cake layers for an indulgent treat.
- Panna Cotta: Pair the filling with a light panna cotta for a delightful contrast in flavor and texture.
Garnishing Tips
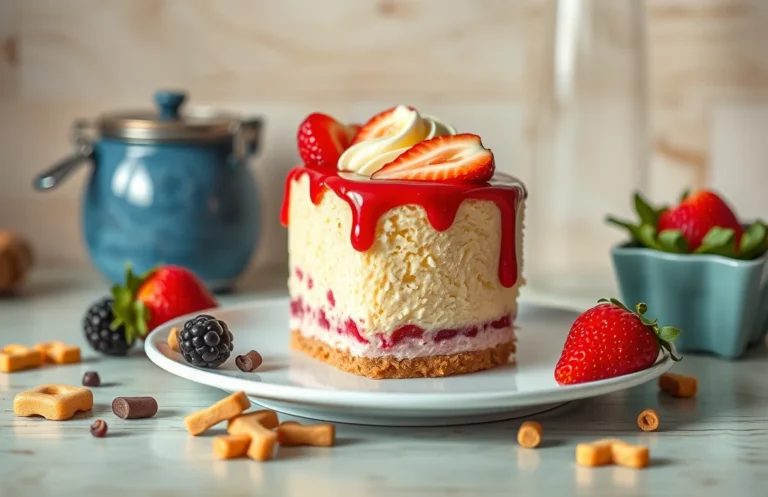
- Fresh Berries: Top with a handful of mixed fresh berries such as strawberries, blueberries, or raspberries for a pop of color and flavor.
- Chocolate Shavings: Add chocolate shavings or curls for an elegant touch; use a vegetable peeler on a chocolate bar.
- Citrus Zest: A sprinkle of lemon or orange zest can brighten the flavors and add a refreshing aroma.
Serving Temperature
For the best flavor and texture, serve the cheesecake emulsion filling chilled, around 45°F (7°C). Allow it to set in the refrigerator for at least 4 hours or overnight, which helps the flavors meld beautifully. Before serving, let it sit at room temperature for about 15-20 minutes to soften slightly for easier slicing.
Chef’s tip: For a stunning presentation, consider serving individual portions in small glasses, layering the filling with crushed cookies and fruit.
Quick Summary
| Prep Time | Cook Time | Total Time | Servings |
|---|---|---|---|
| 15 minutes | 0 minutes | 15 minutes | 12 servings |
- Blend ingredients: Use a food processor for a smooth texture.
- Temperature check: Ensure cream cheese is at room temperature for easy mixing.
- Incorporate slowly: Add eggs one at a time to avoid lumps.
- Flavor boost: Use pure vanilla extract for richer taste.
- Chill time: Allow the filling to set in the fridge for at least 2 hours before serving.
- Tip: Scrape down the sides of the bowl frequently to combine all ingredients well.
- Tip: For a lighter filling, fold in whipped cream gently at the end.
Frequently Asked Questions
Can I make this ahead of time? How to store and reheat?
You can make cheesecake emulsion filling up to 2 days in advance. Store it in an airtight container in the refrigerator, and when ready to use, give it a gentle stir to restore its creamy texture.
What can I substitute for cream cheese?
If you’re looking for a substitute, you can use mascarpone cheese for a similar texture and flavor, or try a vegan cream cheese alternative for a dairy-free version.
How do I know when it’s done?
Your cheesecake emulsion filling is done when it is smooth and creamy with no lumps, and it holds its shape when piped or spread. If using in a baked cheesecake, the edges should be set while the center remains slightly jiggly.
Can I freeze this? How long does it last?
Yes, you can freeze cheesecake emulsion filling for up to 3 months. Make sure to store it in an airtight container and thaw it in the refrigerator overnight before using.
What if I don’t have a stand mixer?
You can easily use a hand mixer or even a whisk to combine the ingredients, just be prepared for a bit more effort to achieve that smooth consistency. Make sure to beat the mixture until it’s fully combined and fluffy.

- Decadent Peanut Butter No-Bake Cheesecake: Easy Recipe to Indulge - April 3, 2026
- Delicious Mango No-Bake Cheesecake: Step-by-Step Recipe - April 3, 2026
- Decadent Raspberry No-Bake Cheesecake: Easy Step-by-Step Recipe - April 3, 2026