Creamy Cheesecake Filling in Crisp Phyllo Cups: Easy Recipe
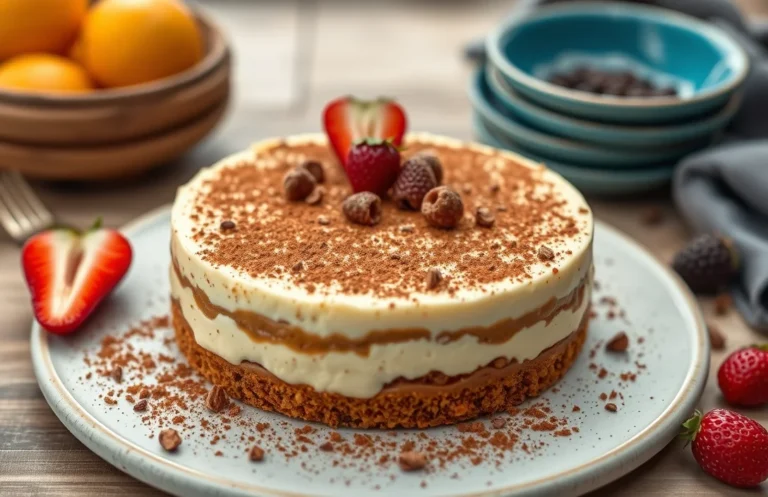
Cheesecake filled phyllo cups are delightful little bites that combine the creamy richness of cheesecake with the flaky crunch of phyllo pastry. Perfect for any occasion, these treats are sure to impress your guests and satisfy your sweet tooth. With each bite, you’ll experience a wonderful contrast of textures that makes them utterly irresistible!
Key details: Total time: 45 minutes, Difficulty: Easy, Servings: 12 cups.
| Prep Time | Cook Time | Total Time | Servings | Difficulty |
|---|---|---|---|---|
| 20 minutes | 25 minutes | 45 minutes | 12 cups | Easy |
Origin of Phyllo Cheesecakes
Phyllo cheesecakes combine the rich traditions of cheesecake with the delicate, flaky texture of phyllo dough, creating a delightful fusion of flavors and textures. Understanding the culinary roots and cultural significance of this dish enriches our appreciation for its unique qualities and celebrates its diverse influences.
- Culinary Roots: The origins of cheesecake date back to ancient Greece, where it was made with simple ingredients like cheese, honey, and flour. The modern variations have evolved over centuries, with the introduction of cream cheese and various flavorings. Phyllo dough, on the other hand, hails from the Middle Eastern and Mediterranean cuisines, prized for its versatility and ability to create crisp, flaky pastries.
- Cultural Significance: Combining cheesecake with phyllo cups brings together elements from various culinary traditions, showcasing the influence of Greek, Turkish, and Middle Eastern cultures. Such desserts are often served during celebrations and gatherings, symbolizing hospitality and indulgence. This dish not only satisfies sweet cravings but also serves as a culinary bridge across cultures.
Ingredients for Cheesecake Filling
This section outlines the essential ingredients you’ll need to create a rich and creamy cheesecake filling to perfectly complement your phyllo cups. Each ingredient plays a vital role in achieving that classic cheesecake flavor and texture, so let’s dive into the specifics.
| Item | Amount/Specification | Notes |
|---|---|---|
| Cream Cheese | 16 ounces (450g) | Softened to room temperature for easy blending |
| Sour Cream | ½ cup (120g) | For tanginess; can substitute with Greek yogurt |
| Granulated Sugar | ¾ cup (150g) | Adjust sweetness to your preference |
| Vanilla Extract | 1 teaspoon | Use pure vanilla for the best flavor |
| Eggs | 2 large | Room temperature; helps in smooth blending |
| All-Purpose Flour | 2 tablespoons (15g) | Helps to stabilize the filling |
- Tip: Make sure your cream cheese is fully softened; if it’s too cold, you’ll end up with lumps in your filling.
- If you’re concerned about calories, you can substitute low-fat cream cheese or sour cream.
- Keep an eye on the filling while mixing; it should be smooth and creamy with no lumps.
Essential Kitchen Equipment
Making cheesecake filling in phyllo cups requires some essential tools to ensure a smooth and enjoyable cooking experience. These tools will help you achieve the right texture and presentation for your delightful dessert while keeping the process efficient and organized.
- Mixing Bowls: You will need at least two mixing bowls — one for the cheesecake filling and one for any additional ingredients you may want to prepare. A medium bowl (about 3-quart) is perfect for mixing the filling, while a smaller one can be used for combining toppings.
- Electric Mixer: A handheld or stand mixer is essential for achieving a smooth, creamy cheesecake filling. Mix on medium speed until the mixture is light and fluffy, which usually takes about 2-3 minutes. This ensures that all ingredients are well combined and aerated.
- Measuring Cups and Spoons: Accurate measurements are crucial for baking. Have a set of dry measuring cups for ingredients like cream cheese and a liquid measuring cup for items like vanilla extract. This will help maintain the right balance of flavors.
- Spatula: A rubber or silicone spatula is great for scraping down the sides of your mixing bowl to ensure all ingredients are incorporated. This is particularly important to prevent lumps in your cheesecake filling.
- Phyllo Cup Baking Tray: A tray specifically designed for holding phyllo cups will help keep them stable while you fill them. Make sure to have a stable, flat surface to place them on during the filling process as well.
- Oven: Preheat your oven to 350°F (175°C) if you’re baking the phyllo cups. You want them crisp and golden brown, which typically takes about 10-12 minutes. Keep an eye on them to avoid burning.
Step-by-Step Cooking Instructions
This section provides detailed instructions on making the cheesecake filling, preparing the phyllo cups, and assembling your delightful cheesecake-filled phyllo cups. Each step is crucial for achieving the perfect balance of flavors and textures in this elegant dessert.
Making the Filling
- In a large mixing bowl, combine 8 ounces (227g) of softened cream cheese, ½ cup (100g) granulated sugar, and 1 teaspoon vanilla extract. Using an electric mixer, beat on medium speed until the mixture is smooth and creamy, about 2-3 minutes. It should look fluffy with no lumps.
- Next, add 1 large egg and ¼ cup (60ml) sour cream to the mixture. Continue to beat until everything is well incorporated and the filling is glossy. This should take another 1-2 minutes. The filling should feel thick but pourable.
Preparing Phyllo Cups
- Preheat your oven to 350°F (175°C). While it heats, take 8 sheets of phyllo dough and lay them flat on a clean surface. Using a sharp knife, cut them into 3-inch squares. Make sure to cover the remaining dough with a damp cloth to prevent it from drying out.
- Brush each square lightly with 1 tablespoon of melted butter and stack them in a muffin tin to form cups. Bake the phyllo cups in the preheated oven for 10-12 minutes, or until they are golden brown and crispy. Keep an eye on them to avoid burning.
Assembling the Dessert
- Once the phyllo cups are baked and cooled slightly, fill each cup with about 2 tablespoons of the cheesecake filling. Use a small spoon to gently smooth the top, ensuring an even layer.
- Return the filled cups to the oven and bake for an additional 15-20 minutes, until the filling is set but still slightly jiggly in the center. They should have a slight golden edge and a creamy texture.
Pro Tips and Common Mistakes
This section is all about ensuring your cheesecake-filled phyllo cups turn out perfectly. By following these expert tips and avoiding common pitfalls, you’ll be set up for success in creating a delightful dessert that impresses everyone.
Expert Tips
- Use fresh phyllo dough: Ensure your phyllo is fresh for the best texture and flavor. Check the expiration date and store it properly to prevent it from drying out.
- Keep phyllo covered: As you work with phyllo, keep the sheets you’re not using covered with a damp cloth to prevent them from drying out and becoming brittle.
- Pre-bake the cups: For a crispier texture, pre-bake the phyllo cups at 350°F (175°C) for 10-12 minutes until they are golden brown. They should feel crisp when touched.
- Cool before filling: Allow the phyllo cups to cool completely before filling them with the cheesecake mixture to prevent sogginess.
Mistakes to Avoid
“Avoid overfilling the phyllo cups; they should be filled just to the top to prevent spillage during baking.”
- Don’t rush the filling: If your cheesecake filling is too warm, it may cause the phyllo to become soggy. Chill the filling for at least 30 minutes before using.
- Avoid using too much butter: While butter adds flavor, too much can make the phyllo greasy. Use just enough to lightly brush each layer, about 2 tablespoons for every 6 sheets.
- Don’t skip the chilling: After filling, refrigerate the phyllo cups for at least 1 hour before serving. This helps the cheesecake filling set properly.
| Ingredient | Amount |
|---|---|
| Phyllo dough | 1 package (16 oz) |
| Unsalted butter | ½ cup (115g) |
| Cream cheese | 8 oz (227g) |
| Granulated sugar | ½ cup (100g) |
Variations and Substitutions
This section provides some thoughtful substitutions and variations for your cheesecake-filled phyllo cups, catering to specific dietary needs. Making these adjustments can help you accommodate gluten-free or vegan diets without compromising on flavor or texture.
Gluten-Free Options
| Item | Amount/Specification | Notes |
|---|---|---|
| Gluten-Free Phyllo Dough | 1 package | Available at specialty stores; check for quality. |
| Almond Flour | 2 cups (200g) | Can replace traditional flour in the cheesecake filling for added texture. |
Vegan Variations
| Item | Amount/Specification | Notes |
|---|---|---|
| Vegan Cream Cheese | 8 ounces (227g) | Use brands like Tofutti or Kite Hill for a creamy filling. |
| Maple Syrup | ½ cup (120ml) | Use instead of sugar for natural sweetness. |
| Coconut Oil | ¼ cup (60ml) | Melted, can replace butter in phyllo preparation. |
- For gluten-free phyllo cups, ensure to follow the package instructions carefully, as they may require different baking times.
- Vegan cheesecake fillings can be enhanced with a splash of lemon juice or vanilla extract for added flavor.
- Keep an eye on the phyllo while baking; it can brown faster than traditional dough.
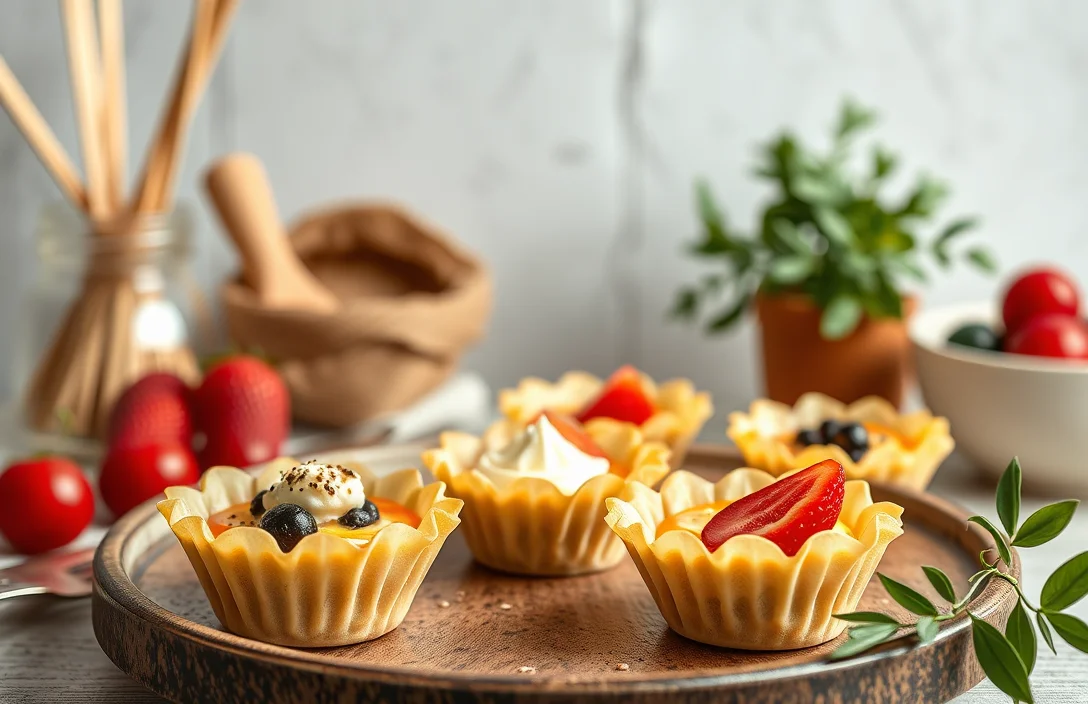
Serving Suggestions and Pairings
When it comes to serving your delicious cheesecake-filled phyllo cups, presentation and complementary flavors can elevate the experience. Here are some tips on how to plate them beautifully and pair them with flavors that enhance their taste.
Plating Techniques
- Garnish with Fresh Berries: Top each phyllo cup with a few fresh raspberries or blueberries. Their vibrant color and tartness contrast beautifully with the creamy cheesecake filling.
- Drizzle with Caramel or Chocolate Sauce: A light drizzle of warm caramel or chocolate sauce adds a decadent touch. Use a spoon to create a zig-zag pattern on the plate for a visually appealing presentation.
- Sprinkle with Powdered Sugar: Just before serving, dust the tops with powdered sugar for a sweet finish. This adds an elegant touch and a hint of sweetness without overwhelming the flavor.
Flavor Pairings
- Citrus Zest: A sprinkle of lemon or orange zest can brighten the flavor profile. This adds a refreshing contrast to the richness of the cheesecake.
- Mint Leaves: Fresh mint leaves serve as a refreshing garnish. Their cool, aromatic flavor pairs well with the creamy filling and adds a pop of green to your plate.
- Honey or Maple Syrup: Consider serving a small dish of honey or maple syrup on the side for drizzling. This natural sweetness complements the cheesecake beautifully.
By incorporating these plating techniques and flavor pairings, you’ll not only impress your guests with the taste but also with the visual appeal of your cheesecake-filled phyllo cups.
Quick Summary
| Prep Time | 20 minutes |
|---|---|
| Cook Time | 15 minutes |
| Total Time | 35 minutes |
| Servings | 12 cups |
- Preheat oven to 350°F for even baking.
- Layer phyllo dough with melted butter, using at least 3 sheets for sturdiness.
- Mix cheesecake filling until smooth; avoid overmixing to prevent cracks.
- Fill cups generously but leave a little space for rising.
- Bake until golden brown, about 15 minutes, for a crispy texture.
- Cool completely before serving to set the filling.
- Tip: Use fresh cream cheese for a smoother texture.
- Tip: Brush phyllo with butter or oil to enhance crispness.
- Tip: Allow the cups to cool on a wire rack to prevent sogginess.
Frequently Asked Questions
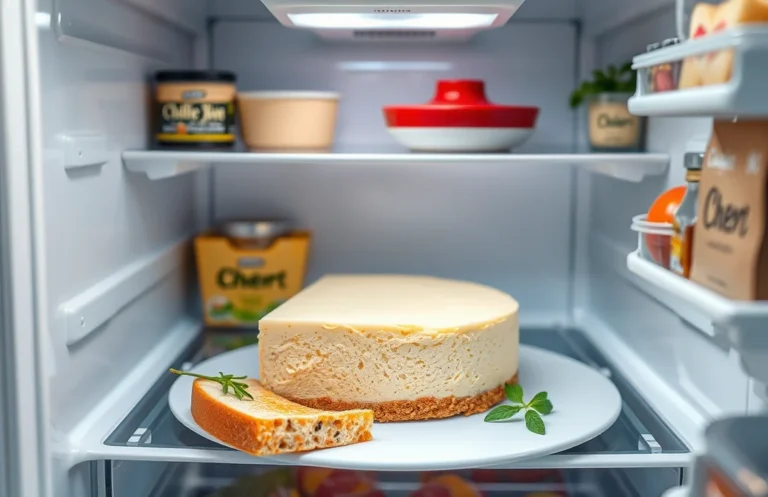
Can I make this ahead of time? How to store and reheat?
You can prepare the cheesecake filling up to 2 days in advance and store it in an airtight container in the fridge. Just fill the phyllo cups right before serving for the best texture.
What can I substitute for cream cheese?
If you need a substitute for cream cheese, you can use mascarpone cheese or a dairy-free cream cheese alternative for a similar creamy texture. Just keep in mind that it may alter the flavor slightly.
How do I know when it’s done?
The cheesecake filling is done when it’s set but still slightly jiggly in the center, which usually takes about 20-25 minutes in the oven. It will firm up as it cools.
Can I freeze this? How long does it last?
You can freeze the filled phyllo cups for up to 1 month, but it’s best to freeze them without the filling and add it fresh before serving. If frozen properly, they will retain their flavor and texture.
What if I don’t have a muffin tin for the phyllo cups?
If you don’t have a muffin tin, you can use a mini tart pan or even shape the phyllo sheets into cups on a baking sheet. Just ensure they are sturdy enough to hold the filling without collapsing.

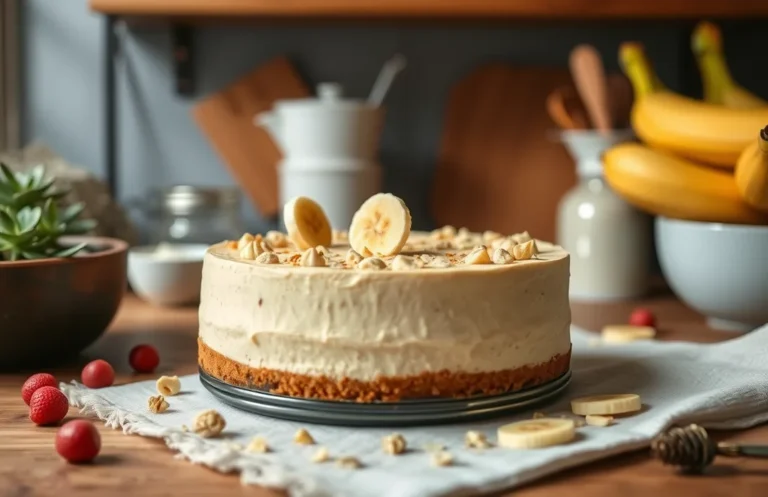
- Decadent Peanut Butter No-Bake Cheesecake: Easy Recipe to Indulge - April 3, 2026
- Delicious Mango No-Bake Cheesecake: Step-by-Step Recipe - April 3, 2026
- Decadent Raspberry No-Bake Cheesecake: Easy Step-by-Step Recipe - April 3, 2026