How to Check if Your Cheesecake is Perfectly Set in the Center
Cheesecake is one of those desserts that feels like a warm hug after a long day. Its creamy texture and rich flavor make it a perfect centerpiece for any gathering or a delightful treat to enjoy all on your own. Picture a slice of velvety cheesecake, topped with fresh berries or chocolate drizzle, just waiting to be devoured!
Knowing how to tell if your cheesecake is set in the center is essential for achieving that perfect slice. You’ll find step-by-step methods, baking times of 50-60 minutes at 325°F, and tips for troubleshooting common issues.
| Prep Time | 15 minutes |
|---|---|
| Cook Time | 50-60 minutes |
| Total Time | 1 hour 15 minutes |
| Servings | 8 |
| Difficulty | Medium |
Cheesecake Origins and Significance
Understanding the origins and cultural significance of cheesecake can deepen your appreciation for this beloved dessert. Cheesecake has a rich history that spans various cultures, each contributing its unique twist to the classic recipe.
Historical Background
The origins of cheesecake can be traced back to ancient Greece, where it was served to athletes during the first Olympic Games in 776 B.C. The Romans later adopted this dish, refining the recipe and introducing it to various parts of Europe. By the 18th century, cheesecakes began to evolve into the styles we recognize today, particularly in the United States.
- Ancient Greece: Served to athletes as a source of energy.
- Roman Empire: Adapted and popularized cheesecake across Europe.
- 18th Century: Transitioned into the modern cheesecakes we enjoy now.
Cultural Variations
Cheesecake has numerous cultural variations, each highlighting local ingredients and techniques:
- New York Style: Dense and creamy, made with cream cheese, sugar, and eggs.
- Italian Ricotta Cheesecake: Lighter in texture, using ricotta cheese for a unique flavor.
- Japanese Cotton Cheesecake: Fluffy and airy, often made with whipped egg whites.
“Cheesecake isn’t just a dessert; it’s a celebration of flavors and traditions from around the world.”
Appreciating these origins can enhance your baking experience, leading to a more mindful approach to ensuring your cheesecake is perfectly set. Knowing how to check for doneness is crucial in achieving that creamy, smooth texture that makes cheesecake so irresistible.
Ingredients for Perfect Cheesecake
To achieve a perfectly set cheesecake, it’s essential to use the right ingredients in precise amounts. Each component contributes to the texture and flavor, impacting how well the cheesecake sets in the center. Below are the ingredients you’ll need, along with specific measurements and helpful notes.
| Item | Amount/Specification | Notes |
|---|---|---|
| Cream Cheese | 24 ounces (680g) | Room temperature for easy mixing |
| Sugar | 1 cup (200g) | Granulated sugar works best |
| Eggs | 4 large | Room temperature for better incorporation |
| Vanilla Extract | 2 teaspoons | Pure vanilla for best flavor |
| Crust Ingredients | ||
| Graham Cracker Crumbs | 1 ½ cups (150g) | Finely crushed for a smooth crust |
| Unsalted Butter | ½ cup (113g) | Melted and slightly cooled |
| Sugar (for crust) | ¼ cup (50g) | Optional, for sweetness in the crust |
- Ensure all ingredients are at room temperature before starting; this helps in achieving a smooth batter.
- For a gluten-free option, substitute graham crackers with ground almonds or gluten-free cookies.
- Be cautious not to overmix the batter; mix just until smooth to avoid incorporating too much air.
Essential Kitchen Equipment
To ensure your cheesecake is perfectly set in the center, having the right kitchen tools on hand is crucial. From mixing to monitoring the baking process, the following equipment will help you achieve a smooth, creamy cheesecake without any cracks or wobble.
- Mixing Tools: A sturdy mixing bowl (preferably glass or stainless steel) is essential for combining your ingredients. Use a handheld electric mixer or a stand mixer with a paddle attachment to beat the cream cheese until smooth. This ensures there are no lumps, which can affect the texture of your cheesecake.
- Baking Pan: A 9-inch (23 cm) springform pan is ideal for baking cheesecakes. This type of pan allows you to easily release the cheesecake without damaging its delicate structure. Line the bottom with parchment paper to prevent sticking, and wrap the outside with aluminum foil to avoid water seeping in during the baking process.
- Cooling Rack: After baking, transfer your cheesecake to a cooling rack to let it cool gradually. This helps prevent cracks as it cools. Make sure to cool it completely at room temperature before refrigerating, which should take about 2-3 hours. This cooling step is vital for ensuring the center sets properly and the texture remains creamy.
Baking Instructions for Cheesecake
This section will guide you through the essential steps to bake a cheesecake perfectly, ensuring it sets beautifully in the center. Knowing how to check for doneness is crucial for achieving that creamy, smooth texture we all love.
- Prepare the Crust: Start by preheating your oven to 350°F (175°C). In a mixing bowl, combine 1 ½ cups of graham cracker crumbs (150g), ½ cup of granulated sugar (100g), and ½ cup of melted unsalted butter (115g). Mix until well combined and press the mixture firmly into the bottom of a 9-inch springform pan. Bake for about 10 minutes, or until lightly golden and fragrant.
- Mix the Filling: In a large mixing bowl, beat 4 packages (8 oz each) of softened cream cheese (900g total) until smooth and creamy, about 2-3 minutes. Gradually add 1 cup (200g) of granulated sugar and beat until fully incorporated, scraping down the sides of the bowl as necessary. Add 1 teaspoon of vanilla extract and 4 large eggs, one at a time, mixing on low speed until just combined.
- Baking Time and Temperature: Pour the filling over the pre-baked crust and smooth the top with a spatula. Bake in the preheated oven for 50-60 minutes. The cheesecake should be set around the edges but slightly jiggly in the center when you gently shake the pan. A slight puffing of the edges is a good sign, but the center should still have a soft wobble.
Chef’s tip: For even baking, consider using a water bath. Wrap the springform pan tightly with aluminum foil and place it in a larger baking dish filled with hot water.
Keep an eye on the cheesecake toward the end of the baking time to avoid overcooking, which can lead to cracks. If you notice the edges starting to brown too much, gently cover them with foil to protect them.
Testing Cheesecake Doneness
Knowing when your cheesecake is perfectly set in the center is crucial for achieving that creamy texture we all love. Here are a few reliable methods to check for doneness, along with visual cues to guide you through the process.
The Jiggle Test
One of the simplest ways to check your cheesecake’s doneness is the jiggle test. Gently shake the pan, and observe the center:
- If the center jiggles slightly, similar to gelatin, it’s set but still creamy.
- If the jiggle extends to the edges, it needs more time.
- A firm center with minimal jiggle indicates it’s fully cooked.
The Toothpick Test
This method is straightforward and effective. Use a toothpick or skewer to test the center:
- Insert the toothpick into the center of the cheesecake, making sure it doesn’t touch the crust.
- Pull it out and check for residue on the toothpick.
- If it comes out clean or with a few moist crumbs, your cheesecake is done. If it’s wet with batter, it needs more baking time.
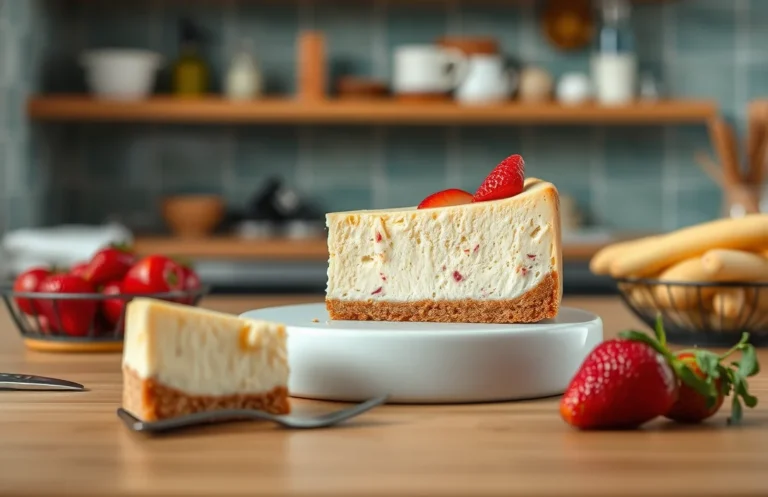
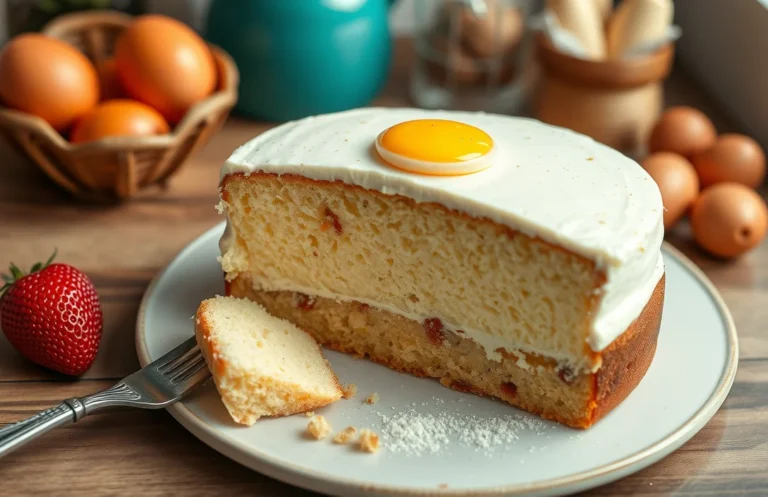
Visual Cues
Pay attention to the appearance of your cheesecake:
- The edges should look firm and slightly puffed.
- The center should appear moist and shiny but not wet.
- The color should be a pale golden hue, indicating it’s baked through.
Chef’s tip: Allow the cheesecake to cool gradually in the oven with the door slightly ajar for a silky texture.
Troubleshooting Cheesecake Issues
Understanding how to troubleshoot common cheesecake issues is key to achieving that perfect, creamy texture. Here, we’ll address undercooked and overcooked cheesecakes, including how to identify them and what you can do to fix or avoid these problems.
Undercooked Cheesecake
Symptom: The center of your cheesecake appears jiggly and has not set properly, leaving you with a liquid consistency. This can be frustrating, especially after the time spent preparing and baking.
Cause: Undercooking often results from removing the cheesecake from the oven too soon. Cheesecakes continue to cook from residual heat after being taken out, so it’s vital to allow them to bake long enough.
Fix: If you suspect your cheesecake is undercooked, return it to the oven and bake for an additional 10-15 minutes at 325°F (160°C). Check for doneness again; the edges should be set while the center remains slightly wobbly. A toothpick inserted should come out clean or with a few moist crumbs.
Overcooked Cheesecake
Symptom: The cheesecake has a dry texture, cracks on the surface, and may have a slightly rubbery consistency. This is often a result of overbaking.
Cause: Overcooking can occur if the cheesecake is baked at too high a temperature or for too long. The delicate structure of the cheesecake can break down with excess heat.
Fix: To prevent overcooking, keep the oven temperature at 325°F (160°C), and avoid opening the oven door frequently. If you notice cracks forming, consider covering the cheesecake with a sour cream layer or ganache after cooling to mask imperfections. Remember, a perfectly baked cheesecake should have a slight jiggle in the center when you gently shake it.
Serving and Pairing Suggestions
Once you’ve mastered the art of determining whether your cheesecake is set in the center, it’s time to think about how to serve it and what to pair it with. The right presentation and beverage can elevate your cheesecake experience and make it even more delightful.
Plating Tips
- Chill Before Serving: Allow the cheesecake to cool completely in the refrigerator for at least 4 hours, preferably overnight. This helps it to set better and makes slicing easier.
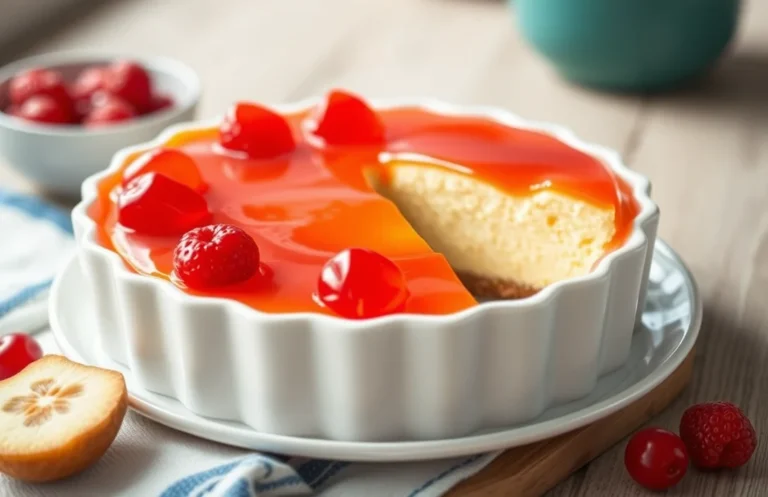
- Slicing: Use a sharp, warm knife for clean cuts. Dip the knife in hot water, wipe it dry, then slice. Repeat for each slice to keep edges smooth.
- Garnishing: Top your cheesecake with fresh fruit like strawberries or blueberries, a drizzle of chocolate or caramel sauce, or a dollop of whipped cream for added flair.
Beverage Pairings
The right drink can complement the flavors of your cheesecake beautifully. Consider these options:
- Coffee: A rich espresso or creamy cappuccino enhances the flavors of a chocolate cheesecake.
- Tea: A fragrant chai or a light Earl Grey pairs nicely with vanilla or lemon cheesecake.
- Wine: A sweet dessert wine or a fruity rosé can provide a refreshing contrast.
Pro tip: If serving at a gathering, consider offering a small selection of drinks to cater to different preferences, enhancing the overall experience for your guests.
Quick Summary
| Prep Time | 20 minutes |
|---|---|
| Cook Time | 60 minutes |
| Total Time | 1 hour 20 minutes |
| Servings | 8 slices |
- Check for jiggle: The center should slightly jiggle when you gently shake the pan.
- Cool down: Allow cheesecake to cool in the oven with the door ajar for 1 hour post-baking.
- Temperature test: Use an instant-read thermometer; it should read 150°F in the center.
- Chill time: Refrigerate for at least 4 hours before slicing for a perfect set.
- Crack prevention: Avoid overmixing to keep air bubbles at bay.
Frequently Asked Questions
Can I make this ahead of time? How to store and reheat?
You can definitely make cheesecake ahead of time! Just cover it tightly with plastic wrap and refrigerate for up to 3 days; reheat by letting it sit at room temperature for 30 minutes before serving.
What can I substitute for cream cheese?
You can substitute mascarpone cheese or a mixture of ricotta and sour cream for cream cheese, but keep in mind that the texture and flavor may slightly change. Use a 1:1 ratio for either substitute.
How do I know when it’s done?
You’ll know your cheesecake is done when the edges are set and the center is slightly jiggly, resembling a thick custard. It will continue to firm up as it cools, so don’t worry if it looks a bit soft in the middle!
Can I freeze this? How long does it last?
Yes, you can freeze cheesecake for up to 2 months; just wrap it tightly in plastic wrap and then in foil. Thaw in the refrigerator overnight before serving for the best texture.
What if I don’t have a springform pan?
If you don’t have a springform pan, you can use a regular round cake pan lined with parchment paper for easier removal. Just be careful when slicing to avoid breaking the crust!