Find Cheesecake Filling: Aisle Locations and Top Brand Picks
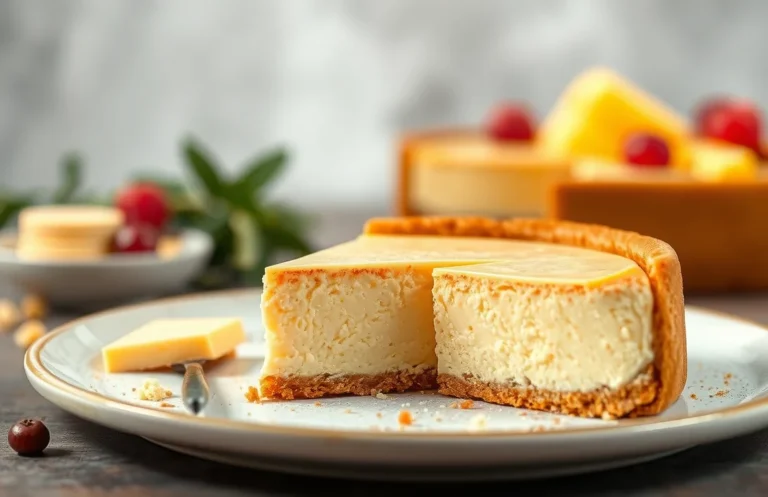
If you’re dreaming of a rich, creamy cheesecake that melts in your mouth, you’re in the right place. This cheesecake filling is not just a treat; it’s a celebration for any occasion, whether it’s a cozy weeknight dessert or the star of your holiday table. One bite and you’ll be hooked!
Here you’ll find exact locations in the grocery store for cheesecake filling, tips for picking the best brands, and even some homemade alternatives if you’re feeling adventurous. Total time: 15 minutes; Difficulty level: Easy; Servings: 8.
| Prep Time | Cook Time | Total Time | Servings | Difficulty |
|---|---|---|---|---|
| 5 minutes | 10 minutes | 15 minutes | 8 | Easy |
Cheesecake Filling History
Understanding the history of cheesecake filling gives context to its presence in grocery stores today. This beloved dessert has evolved over centuries, becoming a staple in many cultures and reflecting culinary innovations in the process.
- Cultural Origins: Cheesecake has roots that trace back to ancient Greece, where it was served to athletes at the first Olympic Games. The Greeks used simple ingredients like cheese and honey, creating a custard-like dessert that laid the groundwork for modern variations.
- Evolution Through Time: As cheesecake spread to Rome and later to Europe, different regions began to adapt the recipe. The introduction of cream cheese in the 19th century in the United States marked a significant shift, leading to the rich, creamy filling we know today.
- Modern Popularity: Today, cheesecake filling is widely available in grocery stores, often found in the dairy aisle. Brands like Philadelphia and Daiya offer both traditional cream cheese and vegan options, reflecting the growing demand for diverse dietary needs.
- Significance in Baking: Cheesecake filling is not just a dessert ingredient; it’s a versatile base for various recipes, from classic New York-style cheesecakes to no-bake variations. Its creamy texture and rich flavor make it a favorite among bakers and dessert lovers alike.
Ingredients List for Cheesecake Filling
This section provides a comprehensive list of ingredients necessary for making a smooth and creamy cheesecake filling. Knowing where to find these ingredients in your local grocery store can save you time and ensure you select the best quality options for your delicious dessert.
| Item | Amount/Specification | Notes |
|---|---|---|
| Cream Cheese | 16 ounces (450g) | Use full-fat for the best texture. Look in the dairy section, often near the butter. |
| Granulated Sugar | 1 cup (200g) | Regular white sugar works best. Found in the baking aisle. |
| Large Eggs | 3 | Ensure they are at room temperature for better mixing. Check the dairy or refrigerated section. |
- For a lighter cheesecake, consider using Neufchâtel cheese, which has less fat than traditional cream cheese.
- Always check the expiration date on cream cheese to ensure freshness.
- If you’re making a gluten-free cheesecake, confirm that your sugar is certified gluten-free.
- For a richer flavor, you can add a teaspoon of vanilla extract, found in the baking aisle.
Essential Kitchen Equipment
To create a delicious cheesecake filling, having the right kitchen equipment is essential. Using quality tools ensures that your ingredients are mixed thoroughly and consistently, which is key for a smooth and creamy filling.
| Item | Amount/Specification | Notes |
|---|---|---|
| Mixing Bowls | 2 medium bowls (2-quart capacity) | One for mixing cream cheese and sugar, another for eggs and vanilla. |
| Electric Mixer | 1 stand or hand mixer | A stand mixer is preferred for ease; ensure it has a whisk attachment. |
| Measuring Cups | 1 set (liquid and dry) | Accurate measurements are critical for successful cheesecake filling. |
- Tip: Use a rubber spatula to scrape down the sides of the bowl while mixing to ensure all ingredients are fully combined.
- Tip: If you don’t have an electric mixer, a whisk can work, but it will take more effort to achieve the right consistency.
- Tip: Make sure your cream cheese is at room temperature (about 70°F or 21°C) to mix smoothly without lumps.
Step-by-Step Preparation Instructions
This section will guide you through the process of preparing a delicious cheesecake filling, from mixing the ingredients to baking and cooling. Following these precise steps will ensure a creamy and flavorful filling that will impress your family and friends.
- Mix the Ingredients: In a large mixing bowl, combine 16 ounces (450g) of cream cheese (softened), ½ cup (100g) granulated sugar, and 1 teaspoon vanilla extract. Use an electric mixer on medium speed for 2-3 minutes until the mixture is smooth and creamy, with no lumps. Scrape down the sides of the bowl to ensure everything is well incorporated.
- Add Eggs: Gradually add 3 large eggs, one at a time, mixing on low speed just until combined after each addition. This helps to prevent overmixing, which can lead to cracks in your cheesecake. The batter should look glossy and well-blended.
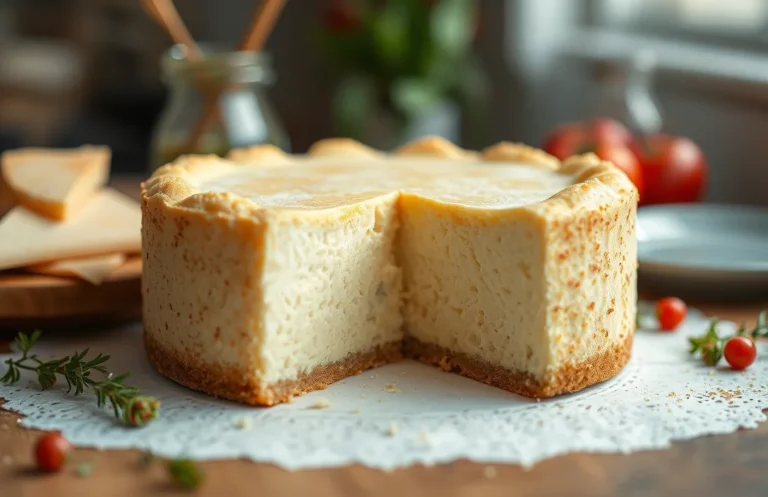
- Baking Time: Preheat your oven to 325°F (163°C). Pour the cheesecake filling into your prepared crust and place it in the oven. Bake for 55-60 minutes, until the center is set but still slightly jiggly. The edges should be firm, and the top should be a light golden color.
- Cooling Process: Once baked, turn off the oven and crack the door, allowing the cheesecake to cool for about 1 hour. This gradual cooling process helps to minimize cracks. Afterward, transfer the cheesecake to the refrigerator and chill for at least 4 hours, ideally overnight, before serving. It should feel firm to the touch and have a smooth texture.
Chef’s tip: If you notice cracks during baking, don’t panic! A sour cream or fruit topping can easily cover them up.
Expert Tips for Success
Making a perfect cheesecake filling can be tricky, but with a few expert tips, you can avoid common pitfalls like cracks and achieve a smooth, luscious texture. These insights will help ensure your cheesecake filling turns out beautifully every time.
Avoiding Cracks
- Use room temperature ingredients: Ensure your cream cheese, eggs, and sour cream are at room temperature. This helps them blend smoothly and reduces the risk of cracks.
- Don’t overbeat the mixture: Mix the filling until just combined. Overmixing introduces excess air, which can lead to cracks during baking.
- Cool gradually: Once your cheesecake has finished baking, turn off the oven and crack the door open. Let the cheesecake cool in the oven for about an hour before transferring it to the fridge. This gradual cooling prevents sudden temperature changes that can cause cracks.
Achieving Smooth Texture
- Blend thoroughly: Use a hand mixer or stand mixer on low speed to beat the cream cheese until smooth before adding other ingredients. Aim for a velvety consistency with no lumps.
- Strain the mixture: If you notice lumps after mixing, consider passing the filling through a fine-mesh sieve. This step ensures a silky smooth texture that will make your cheesecake extra luxurious.
- Use a water bath: For an even baking process, wrap your springform pan in aluminum foil and place it in a larger pan filled with hot water. This method helps maintain moisture and prevents the top from cracking.
Cheesecake Filling Alternatives
If you’re unable to find traditional cheesecake filling at your local grocery store, fear not! There are plenty of alternatives you can consider, whether you’re looking for homemade options or vegan substitutes. These alternatives can help you achieve that creamy texture and rich flavor that makes cheesecake so delightful.
Homemade Filling
Making your own cheesecake filling is surprisingly easy and allows you to customize flavors to your liking. Here’s a simple recipe for a classic cheesecake filling:
- 2 (8-ounce) packages cream cheese, softened
- ¾ cup granulated sugar (150g)
- 1 teaspoon vanilla extract
- 2 large eggs
- ½ cup sour cream (120g)
- Preheat your oven to 325°F (160°C).
- In a large mixing bowl, beat the softened cream cheese with an electric mixer until smooth and creamy, about 2-3 minutes.
- Add the sugar and vanilla extract, and continue mixing until well combined.
- Mix in the eggs, one at a time, until fully incorporated. Scrape down the sides of the bowl as needed.
- Finally, fold in the sour cream until smooth.
Chef’s tip: To avoid cracking, bake your cheesecake in a water bath by placing your springform pan in a larger pan filled with water.
Vegan Options
If you’re looking for a dairy-free alternative, here’s a delicious vegan cheesecake filling recipe:
- 2 cups raw cashews, soaked for 4 hours
- ½ cup maple syrup (120ml)
- ⅓ cup coconut cream (80ml)
- 1 teaspoon vanilla extract
- Drain and rinse the soaked cashews.
- In a high-speed blender, combine the cashews, maple syrup, coconut cream, and vanilla extract. Blend until completely smooth and creamy, about 2-3 minutes.
- Transfer to a prepared crust and refrigerate for at least 4 hours to set.
These alternatives not only cater to different dietary needs but also allow you to experiment with flavors and textures. Whether you go homemade or vegan, you’ll be able to create a cheesecake that’s just as satisfying as the traditional version!
Serving and Plating Suggestions
Presenting your cheesecake beautifully can elevate the dessert experience. Here are some creative garnishes and sauce pairings to consider, making your cheesecake not only delicious but visually appealing.
Garnishes
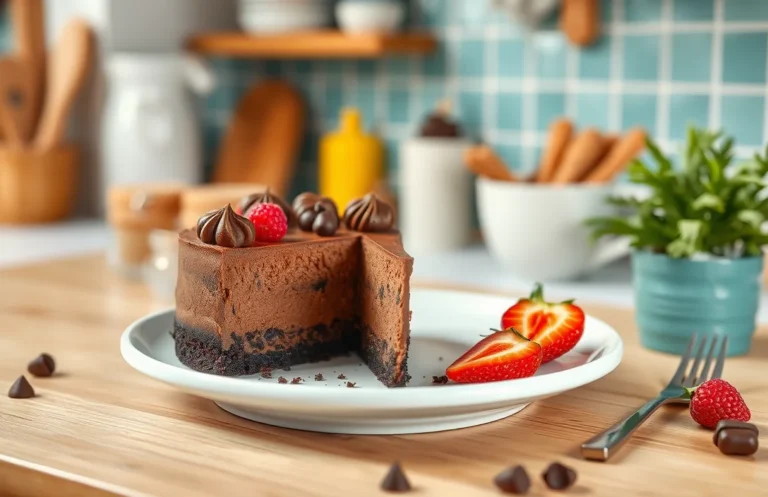
- Fresh Berries: Top with 1 cup mixed fresh strawberries, blueberries, and raspberries for a pop of color and tartness.
- Whipped Cream: Pipe 1 cup of freshly whipped cream around the edges for a touch of elegance.
- Chocolate Shavings: Use a vegetable peeler to create shavings from a 4-ounce dark chocolate bar for a rich finish.
- Mint Leaves: A few fresh mint leaves can add a refreshing touch and contrast beautifully against the creamy cheesecake.
Pairing with Sauces
Choosing the right sauce can enhance the flavors of your cheesecake. Here are some popular options:
| Sauce | Flavor Profile | Preparation |
|---|---|---|
| Berry Coulis | Tart and Sweet | Blend 1 cup of mixed berries with 2 tablespoons of sugar and strain to remove seeds. |
| Caramel Sauce | Rich and Buttery | Cook 1 cup sugar until golden, then add ½ cup heavy cream slowly, stirring until smooth. |
| Chocolate Ganache | Decadent and Smooth | Heat ½ cup heavy cream and pour over 4 ounces of chopped chocolate, stirring until melted. |
Chef’s tip: Serve the cheesecake chilled for the best texture and flavor. If you’re using a topping, consider layering it on just before serving to maintain freshness.
With these garnishes and sauces, your cheesecake will not only taste fantastic but look stunning on any table!
Quick Summary
| Prep Time | 15 minutes |
|---|---|
| Cook Time | 0 minutes |
| Total Time | 15 minutes |
| Servings | 12 |
- Find cheesecake filling: Look in the refrigerated section near cream cheese.
- Check for brands: Philadelphia and store brands are popular choices.
- Use fresh ingredients: Ensure your filling is not past the expiration date for best flavor.
- Combine gently: Mix with sugar and flavorings without overbeating.
- Chill before use: Allow the filling to set in the refrigerator for at least 2 hours.
- Tip 1: Always taste the filling before using to adjust sweetness.
- Tip 2: For a smoother texture, blend the filling with a hand mixer.
Frequently Asked Questions
Can I make this cheesecake filling ahead of time? How to store and reheat?
You can definitely make the cheesecake filling up to 2 days in advance. Store it in an airtight container in the fridge, and simply give it a gentle stir before using.
What can I substitute for cream cheese?
If you don’t have cream cheese, you can use mascarpone cheese for a similar texture and flavor, or a blend of ricotta and sour cream for a lighter version.
How do I know when the cheesecake filling is done?
The filling is done when it is smooth and creamy without lumps; it should slightly jiggle in the center when you gently shake the pan.
Can I freeze this cheesecake filling? How long does it last?
Yes, you can freeze the cheesecake filling for up to 3 months. Just make sure to store it in a freezer-safe container, and thaw it in the fridge overnight before using.
What if I don’t have a hand mixer?
If you don’t have a hand mixer, you can use a whisk and some elbow grease to mix the filling, just be prepared to spend a bit more time to achieve that smooth consistency.

- Decadent Peanut Butter No-Bake Cheesecake: Easy Recipe to Indulge - April 3, 2026
- Delicious Mango No-Bake Cheesecake: Step-by-Step Recipe - April 3, 2026
- Decadent Raspberry No-Bake Cheesecake: Easy Step-by-Step Recipe - April 3, 2026