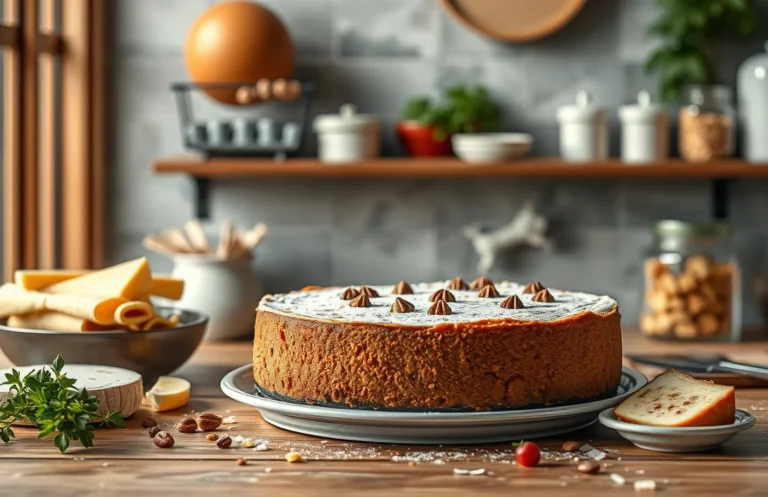
Decadent Chocolate Cheesecake Recipe: Easy Steps & Tips
Chocolate cheesecake is an absolute delight that combines creamy, rich chocolate with a velvety texture that melts in your mouth. It’s the kind of dessert that transforms any gathering into a celebration, making it a favorite for birthdays, holidays, and cozy weeknights alike. Trust me, one bite and you’ll be hooked!
This chocolate cheesecake recipe is easy to follow and yields a decadent dessert in just 1 hour and 30 minutes, perfect for 8 servings. With a moderate difficulty level, you’ll feel like a pro in no time!
| Prep Time | Cook Time | Total Time | Servings | Difficulty |
|---|---|---|---|---|
| 30 minutes | 1 hour | 1 hour 30 minutes | 8 | Moderate |
History of Chocolate Cheesecake
Chocolate cheesecake blends the rich, creamy texture of traditional cheesecake with the deep, indulgent flavors of chocolate, creating a dessert beloved by many. Understanding its origins and significance helps appreciate the artistry behind this delightful treat.
- Ancient Roots: The history of cheesecake dates back to ancient Greece, where it was served to athletes during the first Olympic Games in 776 BC. The basic concept of cheesecake evolved over centuries, leading to various interpretations across cultures.
- New York Style: The modern version of cheesecake, particularly the New York style, emerged in the early 20th century, characterized by its use of cream cheese, sugar, and eggs. The addition of chocolate to this classic recipe became popular in the 1950s, enhancing its richness and appeal.
- Chocolate’s Influence: Chocolate, a beloved ingredient worldwide, transforms the cheesecake experience. The combination of chocolate and cream cheese creates a velvety texture that balances sweetness with a hint of bitterness, making it a favorite for special occasions and gatherings.
- Culinary Adaptations: Over the years, chocolate cheesecake has been adapted into numerous variations, from no-bake options to layered versions featuring different types of chocolate. This versatility allows home cooks to personalize the dessert to suit their tastes and dietary needs.
Ingredients for Chocolate Cheesecake
Gathering the right ingredients is essential for creating a rich and creamy chocolate cheesecake that will impress your friends and family. This section lists all the necessary components with precise measurements to ensure your cheesecake turns out perfectly every time.
| Item | Amount/Specification | Notes |
|---|---|---|
| Chocolate cookie crumbs | 1 ½ cups (150g) | Use store-bought or crush chocolate cookies |
| Unsalted butter | ½ cup (113g) | Melted |
| Cream cheese | 24 oz (680g) | Softened to room temperature |
| Granulated sugar | 1 cup (200g) | For sweetness |
| Cocoa powder | ½ cup (50g) | Unsweetened for rich chocolate flavor |
| Eggs | 3 large | Room temperature |
| Vanilla extract | 1 teaspoon | For flavor |
| Sour cream | 1 cup (240g) | For creaminess |
- Substitution Tip: For a gluten-free option, use gluten-free chocolate cookies for the crust.
- Tip: Ensure the cream cheese is fully softened to avoid lumps in your cheesecake.
- Common Mistake: Don’t overmix the batter once the eggs are added to prevent cracks in the cheesecake.
Essential Kitchen Equipment
Before diving into the delicious world of chocolate cheesecake, it’s crucial to gather the right tools to ensure a smooth baking experience. Having the right equipment not only makes the process more enjoyable but also helps achieve the perfect texture and flavor for your cheesecake.
- 9-inch Springform Pan: This is essential for a cheesecake, allowing you to easily release the cake without damaging its delicate structure. Make sure it’s sturdy and well-sealed to prevent leaks during baking.
- Electric Mixer: A stand or hand mixer is needed to cream the cheese and incorporate air into the batter. This will help create a light and fluffy texture. Mix on medium speed until the mixture is smooth and creamy, about 2-3 minutes.
- Mixing Bowls: You’ll need at least two medium-sized mixing bowls—one for the cream cheese filling and another for the crust. Opt for glass or stainless steel, as they are non-reactive and easy to clean.
- Rubber Spatula: This tool is perfect for scraping down the sides of your mixing bowl and folding ingredients together without deflating the batter. Look for one with a heat-resistant silicone head for versatility.
- Measuring Cups and Spoons: Accurate measurements are key in baking. Use dry measuring cups for solid ingredients and liquid measuring cups for liquids to ensure precision.
- Food Processor: If you’re making a crumb crust, a food processor will help you achieve fine crumbs quickly. Pulse the graham crackers until they resemble sand, ensuring there are no large pieces.
- Offset Spatula: Ideal for smoothing the cheesecake batter in the pan, this tool helps create an even surface for baking. It’s also handy for spreading toppings evenly once the cheesecake is cooled.
Step-by-Step Baking Instructions
This section will guide you through the precise steps to create a decadent chocolate cheesecake that will impress anyone. Each step is crafted to ensure your cheesecake turns out rich and creamy, with tips on what to look for as you bake.
- Prep Time: 20 minutes
- Cook Time: 1 hour
- Chill Time: At least 4 hours
- Preheat your oven to 325°F (160°C). This is crucial for achieving the perfect texture. A properly preheated oven ensures even baking, so let it run for at least 20 minutes before you place your cheesecake inside.
- Prepare the crust by combining 1 ½ cups (150g) of crushed chocolate cookie crumbs and 5 tablespoons (70g) of melted unsalted butter in a mixing bowl. Stir until the mixture resembles wet sand. Press this mixture firmly into the bottom of a 9-inch (23cm) springform pan, making sure it’s evenly distributed. You can use the bottom of a measuring cup to pack it down tightly.
- Bake the crust in the preheated oven for 10 minutes. This step helps to set the crust and gives it a nice, crispy texture. When it’s done, let it cool while you prepare the filling.
- Make the filling by beating 24 ounces (680g) of softened cream cheese in a large mixing bowl until smooth. Add in 1 cup (200g) of granulated sugar and mix until fully incorporated. The mixture should be creamy and free of lumps, which usually takes about 2-3 minutes of mixing.
- Incorporate eggs one at a time, mixing on low speed after each addition. This prevents too much air from entering the batter, which can cause cracks. After adding 3 large eggs, your batter should look silky and slightly thicker.
- Fold in 1 cup (240ml) of sour cream, ½ cup (120ml) of heavy cream, and 8 ounces (227g) of melted dark chocolate. Use a spatula to gently combine these ingredients, ensuring you don’t deflate the batter. The filling should be smooth and glossy.
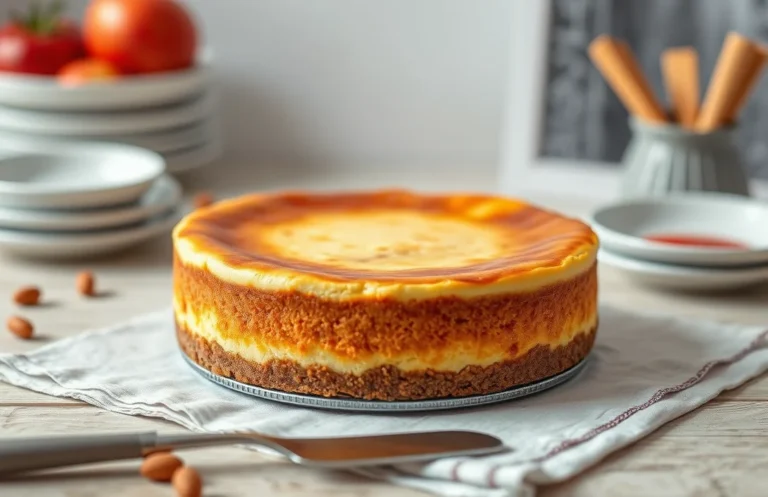
- Pour the filling over the crust in the springform pan. Gently tap the pan on the counter to release any air bubbles. This helps prevent cracks in your cheesecake as it bakes.
- Bake the cheesecake for 50-60 minutes. The center should be slightly jiggly when you remove it from the oven, but the edges should be set. Do not open the oven door during the first 30 minutes to maintain a consistent temperature.
- Cool the cheesecake at room temperature for 1 hour, then cover and refrigerate for at least 4 hours, preferably overnight. This chilling time is essential for the flavors to meld and for the cheesecake to set properly.
Pro Tips for Perfect Cheesecake
Creating a flawless chocolate cheesecake requires attention to detail and a few insider tips to avoid common pitfalls. These pro tips will ensure your cheesecake is rich, creamy, and has that perfect texture every time you bake it.
- Use room temperature ingredients: Ensure your cream cheese, eggs, and sour cream are at room temperature before mixing. This helps create a smooth, lump-free batter and allows for even baking.
- Don’t overmix: When combining your ingredients, mix just until smooth. Overmixing can incorporate too much air, leading to cracks in the cheesecake as it bakes and cools.
- Bake in a water bath: To prevent the cheesecake from cracking, wrap the springform pan in aluminum foil and place it in a larger baking dish filled with hot water. This creates a humid environment that helps maintain moisture and even temperature.
- Check for doneness: Your cheesecake is done when the edges are set, but the center still has a slight jiggle. It will continue to firm up as it cools. Aim for a baking time of about 55-65 minutes at 325°F (163°C).
- Cool gradually: After baking, turn off the oven and crack the door open for about an hour. This gradual cooling helps prevent sudden temperature changes that can cause cracks.
- Chill thoroughly: Allow the cheesecake to cool to room temperature before refrigerating for at least 4 hours, preferably overnight. This enhances the flavors and ensures the cheesecake sets properly.
Variations and Substitutions
This section highlights some ingredient swaps and variations to customize your chocolate cheesecake while accommodating different dietary preferences and allergies. Whether you’re looking to lighten the recipe or incorporate a new twist, these options will ensure your cheesecake is both delicious and adaptable.
| Item | Amount/Specification | Notes |
|---|---|---|
| Cream Cheese | 16 oz (450g) | Use Neufchâtel for a lighter option. |
| Sour Cream | 1 cup (240ml) | Greek yogurt can be used for a tangy flavor. |
| Granulated Sugar | 1 cup (200g) | Substitute with coconut sugar or erythritol for a lower glycemic index. |
| Cocoa Powder | ½ cup (50g) | Dark chocolate can replace cocoa for richer flavor. |
| Chocolate Chips | 1 cup (175g) | Use dairy-free chocolate chips for a vegan option. |
| Crust | 1 ½ cups (150g) graham cracker crumbs | Almond flour or gluten-free cookies for a gluten-free crust. |
- For a nut-free version: Use crushed cookies instead of nut-based crusts.
- For a sugar-free option: Ensure all ingredients, including chocolate, are labeled sugar-free.
- To add flavor: Incorporate a teaspoon of espresso powder or vanilla extract for depth.
- To lighten the texture: Fold in whipped cream or whipped topping before baking.
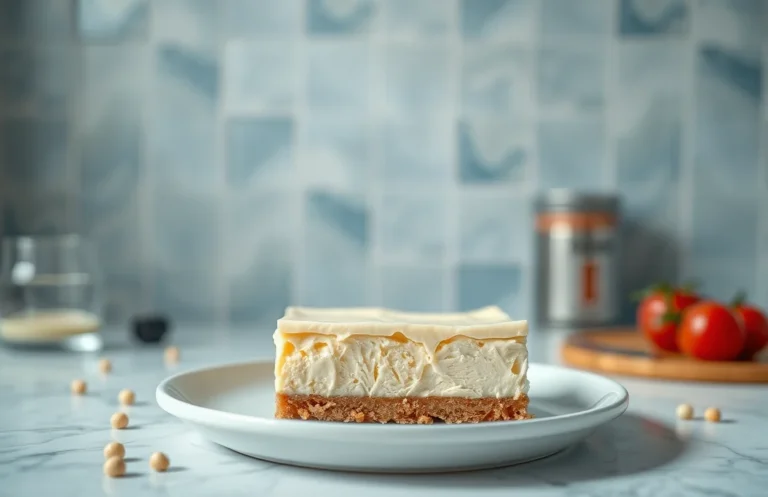
Serving and Plating Suggestions
Presenting your chocolate cheesecake beautifully can elevate the entire dessert experience. Here are some delightful serving and plating ideas that will impress your guests and enhance the flavors of this rich treat.
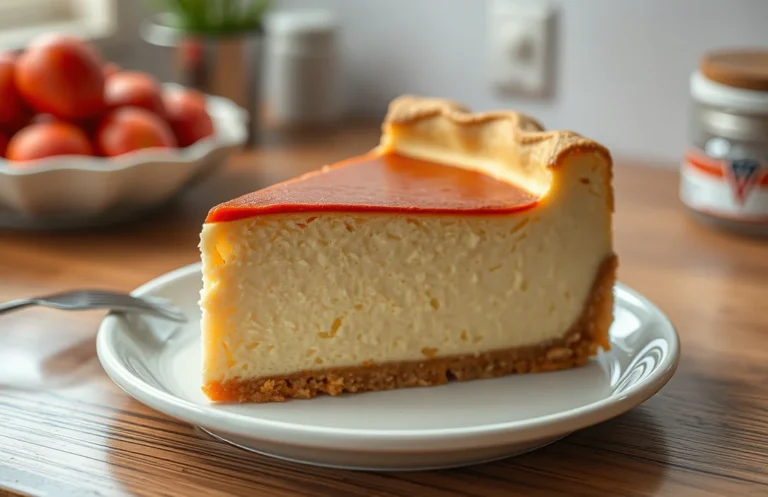
- Chill Before Serving: Allow the cheesecake to chill in the refrigerator for at least 4 hours, ideally overnight. This helps the flavors meld together and gives the cheesecake a firmer texture, making it easier to slice. When ready, the cheesecake should feel slightly firm to the touch but will give just a little when pressed lightly.
- Careful Slicing: To achieve clean slices, dip a sharp knife in hot water, then wipe it dry before cutting into the cheesecake. This method prevents the creamy filling from sticking to the knife, resulting in beautifully smooth edges on each piece. You can expect the cheesecake to have a glossy top and a rich, chocolatey appearance.
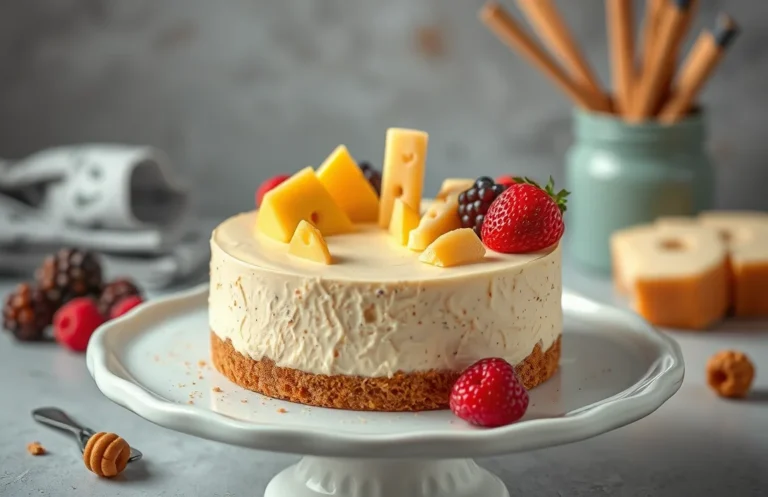
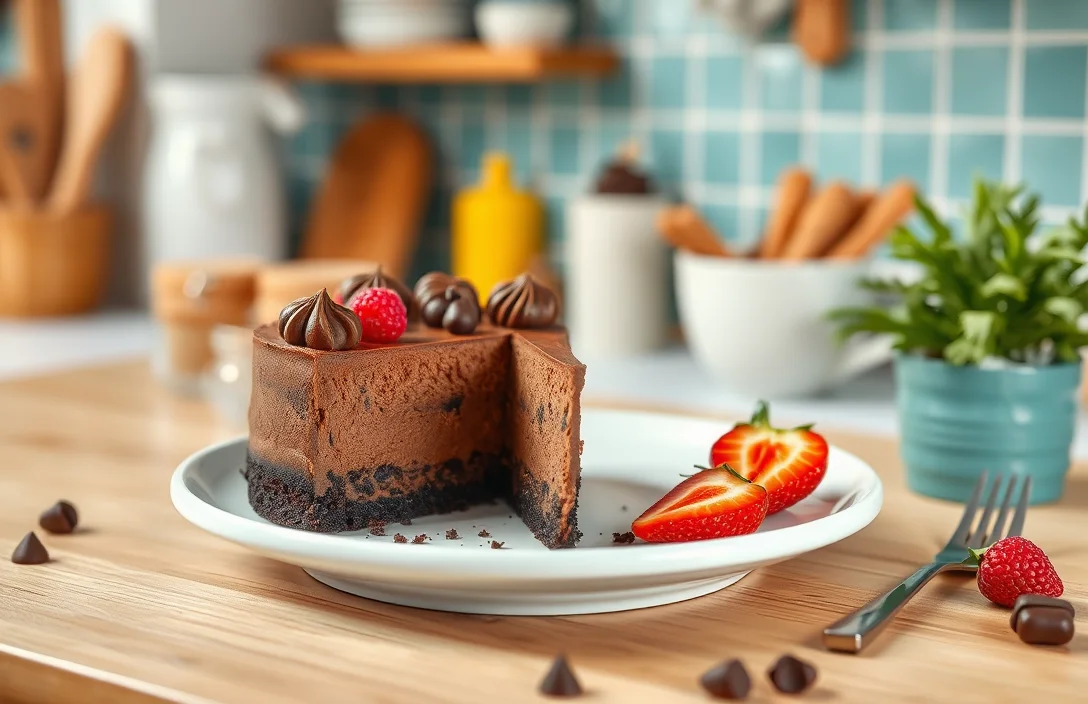
- Garnish with Fresh Ingredients: Top each slice with a dollop of freshly whipped cream (made from 1 cup heavy cream, whipped until soft peaks form) for a light contrast. Add a sprinkle of chocolate shavings or cocoa powder for an elegant touch. Fresh berries, like raspberries or strawberries, not only add color but also a tartness that balances the sweetness.
- Serve on Elegant Plates: Choose white or lightly colored plates to make the dark chocolate cheesecake stand out. A drizzle of chocolate sauce or raspberry coulis around the cheesecake adds visual interest and an extra layer of flavor. You can create a simple coulis by blending 1 cup of fresh raspberries with a tablespoon of sugar.
- Pair with Beverages: Consider serving your cheesecake with a glass of dessert wine, coffee, or hot chocolate. The richness of the cheesecake pairs beautifully with the depth of these drinks, enhancing the overall experience.
Quick Summary
| Prep Time | 30 minutes |
|---|---|
| Cook Time | 1 hour |
| Total Time | 1 hour 30 minutes |
| Servings | 8 slices |
- Preheat oven to 325°F (163°C) for even baking.
- Make the crust using crushed graham crackers and melted butter.
- Beat cream cheese until smooth; add sugar, cocoa powder, and eggs.
- Bake in a water bath to prevent cracking and ensure creaminess.
- Chill overnight for best flavor and texture.
- Tip 1: Use room temperature cream cheese for a lump-free batter.
- Tip 2: Let the cheesecake cool in the oven to avoid sudden temperature changes.
- Tip 3: Use high-quality chocolate for a richer flavor.
Frequently Asked Questions
Can I make this ahead of time? How to store and reheat?
You can definitely make the chocolate cheesecake ahead of time; it actually tastes better after chilling overnight. Store it in the fridge, covered loosely with plastic wrap, and if you need to reheat, do so gently in a warm oven at 200°F for about 10 minutes to soften it slightly.
What can I substitute for cream cheese?
If you don’t have cream cheese, you can use mascarpone cheese for a similar texture and taste. Just keep in mind that it will be a bit richer, so adjust your sugar accordingly.
How do I know when it’s done?
The chocolate cheesecake is done when the edges are set but the center still has a slight jiggle, which usually takes about 55-60 minutes at 325°F. It will continue to firm up as it cools, so don’t overbake!
Can I freeze this? How long does it last?
You can freeze your chocolate cheesecake for up to 2-3 months; just wrap it tightly in plastic wrap and then in aluminum foil. To thaw, place it in the refrigerator overnight before serving.
Why did my cheesecake crack on top?
Your cheesecake may have cracked due to baking at too high a temperature or not cooling it gradually. To avoid this next time, bake at a lower temperature and allow it to cool in the oven with the door ajar for about an hour.