Why Refrigeration is Key for Perfect Cheesecake Texture & Safety
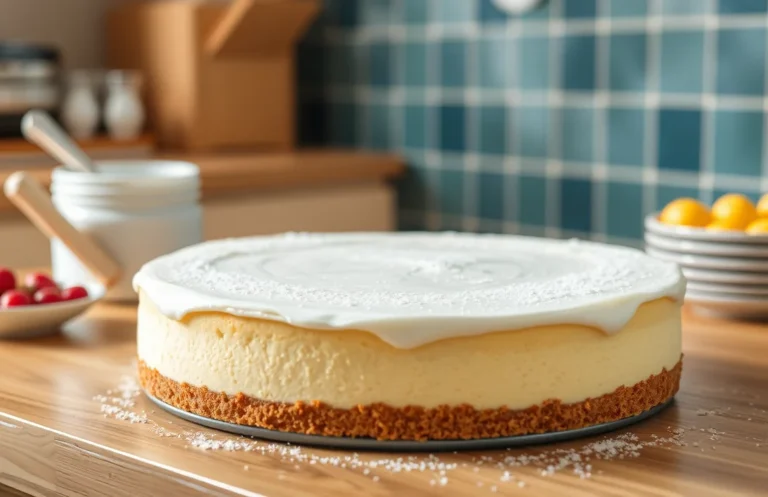
Cheesecake is one of those desserts that feels like a warm hug on a plate. Its creamy, rich texture and sweet, tangy flavor make it the ultimate crowd-pleaser, perfect for any occasion—from cozy weeknight dinners to festive celebrations. Each bite melts in your mouth, leaving you craving more.
Understanding why cheesecake needs to be refrigerated is essential for both food safety and achieving that perfect texture. This guide will provide you with easy-to-follow storage tips, key details on refrigeration, and a selection of delicious cheesecake recipes that will keep your taste buds happy.
| Prep Time | Cook Time | Total Time | Servings | Difficulty |
|---|---|---|---|---|
| 20 minutes | 1 hour | 4 hours (chill time) | 8 servings | Moderate |
History of Cheesecake
Cheesecake, a beloved dessert across many cultures, has roots that trace back thousands of years. Understanding its history and significance not only enhances our appreciation for this creamy delight but also highlights the importance of proper refrigeration to maintain its quality and safety.
Origin of Cheesecake
Cheesecake’s origins can be traced back to ancient Greece, where it was made from simple ingredients like cheese, honey, and wheat. The Romans later took this concept and spread it throughout Europe. By the 18th century, in America, cheesecake evolved into the rich, creamy version we know today, often made with cream cheese.
Cultural Significance
- In Greece, cheesecake was traditionally served at weddings as a symbol of prosperity.
- In the United States, New York-style cheesecake has become iconic, often featuring a dense and creamy texture.
- Cheesecake is commonly served at celebrations such as birthdays, holidays, and special occasions, making it a staple dessert for many.
When to Serve Cheesecake
Cheesecake is incredibly versatile and can be enjoyed year-round. However, it is particularly popular during:
- Summer gatherings, served chilled with fresh fruits.
- Winter holidays, often topped with rich sauces or festive decorations.
- Special occasions like anniversaries and graduations, where its rich flavor adds a touch of sophistication.
Chef’s tip: Always refrigerate cheesecake after baking to ensure its smooth texture and prevent spoilage.
Ingredients for Cheesecake
Understanding the ingredients for cheesecake is essential for creating a delicious and safe treat. Each component plays a vital role not only in flavor but also in the overall texture and stability of the cheesecake, especially since it must be refrigerated to maintain its creamy consistency and food safety.
| Item | Amount/Specification | Notes |
|---|---|---|
| Cream Cheese | 16 ounces (450g) | Softened to room temperature for easy blending |
| Sour Cream | 1 cup (240g) | Can substitute with Greek yogurt for a tangy flavor |
| Granulated Sugar | ¾ cup (150g) | Adjust based on sweetness preference |
| Vanilla Extract | 1 teaspoon | For flavoring; use pure vanilla for best results |
| Eggs | 3 large | Room temperature for better mixing |
| Butter | ½ cup (115g) | Melted for the crust |
| Graham Cracker Crumbs | 1 ½ cups (150g) | Can substitute with cookie crumbs for variation |
- For best texture, make sure all ingredients are at room temperature before mixing.
- When measuring cream cheese, ensure it is fully softened to avoid lumps in your cheesecake.
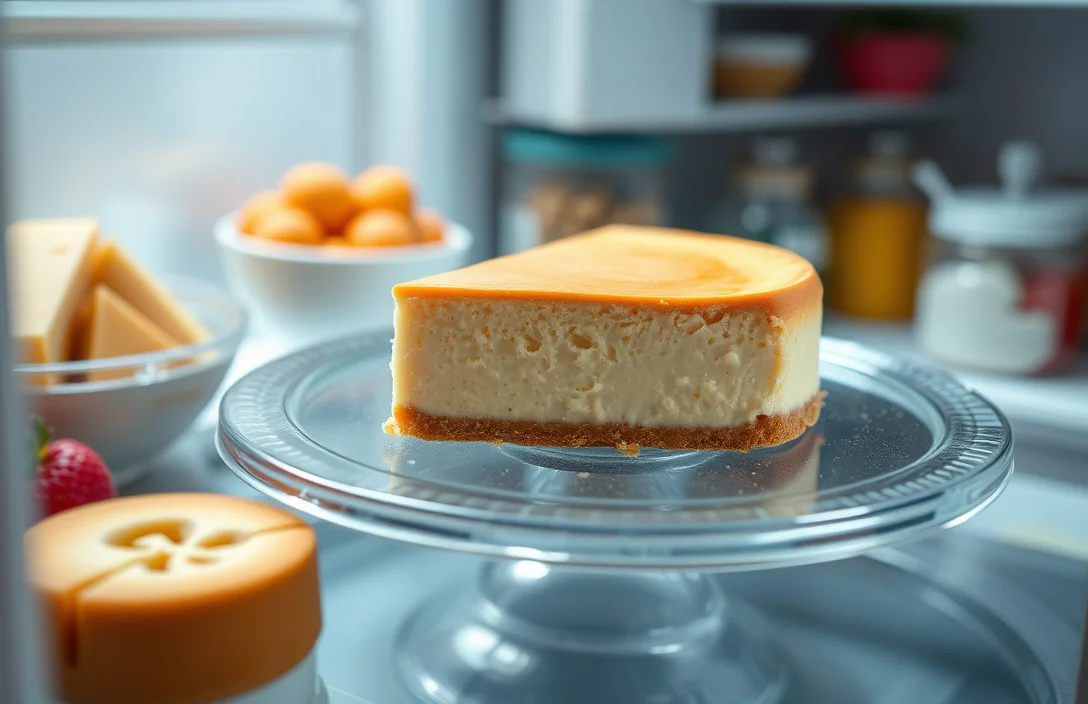
- Store leftover cheesecake in an airtight container in the refrigerator for up to 5 days.
- If the cheesecake cracks, you can cover it with a topping to disguise the imperfection.
Essential Kitchen Equipment
To create a perfect cheesecake that requires refrigeration, having the right kitchen tools is essential. These tools not only streamline the process but also ensure that your cheesecake sets properly and maintains its delicious texture after chilling.
- Mixing Bowls: Use a large mixing bowl (at least 4-quarts) for combining your cream cheese, sugar, and other ingredients. Glass or stainless steel bowls are ideal as they won’t retain odors and allow for easy mixing. A medium bowl (2-quarts) can be handy for mixing crust ingredients separately.
- Springform Pan: A 9-inch springform pan is crucial for baking cheesecake. Its removable sides allow for easy release after chilling. Make sure to line the bottom with parchment paper for easy removal and to prevent sticking.
- Measuring Tools: Precision is key in cheesecake making. Use measuring cups for dry ingredients like flour and sugar, and liquid measuring cups for ingredients like melted butter or cream. A kitchen scale (grams and ounces) can help for more accuracy, especially with cream cheese, which should be measured at 24 ounces for a standard cheesecake.
Chef’s tip: Always double-check your measurements for a successful cheesecake — too much or too little can affect the texture!
Step-by-Step Cheesecake Instructions
In this section, we’ll walk through the essential steps for making a delicious cheesecake, including the preparation of the crust, mixing the filling, and the baking process. Understanding these steps will ensure your cheesecake sets perfectly, and the refrigeration will enhance its creamy texture and flavor.
- Preparing the Crust: Preheat your oven to 350°F (175°C). In a mixing bowl, combine 1 ½ cups (150g) of graham cracker crumbs, ⅓ cup (40g) of granulated sugar, and ½ cup (115g) of melted unsalted butter. Stir until the mixture resembles wet sand. Press this mixture firmly into the bottom of a 9-inch (23cm) springform pan, ensuring an even layer. Bake for 10 minutes, then let it cool while preparing the filling.
- Mixing the Filling: In a large mixing bowl, beat 24 oz (680g) of room temperature cream cheese until smooth, about 2-3 minutes. Gradually add 1 cup (200g) of granulated sugar, followed by 3 large eggs, one at a time, ensuring each is fully incorporated before adding the next. Mix in 1 teaspoon of vanilla extract and ½ cup (120ml) of sour cream, blending until the mixture is velvety and free of lumps.
- Baking Process: Pour the cream cheese mixture into the cooled crust. Bake in the preheated oven for 60-70 minutes until the edges are set but the center still has a slight jiggle. To avoid cracks, place a pan of water in the oven during baking to create steam. Once done, turn off the oven and crack the door, allowing the cheesecake to cool gradually for about 1 hour. After cooling, refrigerate the cheesecake for at least 4 hours, or overnight, to set completely and enhance its flavor.
Chef’s tip: Ensure your cream cheese is at room temperature for a smoother filling.
Pro Tips for Perfect Cheesecake
Refrigeration is crucial for cheesecake, not just for food safety but also for achieving that smooth, creamy texture we all love. This section provides essential tips on refrigeration techniques, common mistakes to avoid, and how to ensure your cheesecake is perfectly chilled for serving.
- Always chill before serving: After baking, let your cheesecake cool at room temperature for about 1 hour. Then, cover it with plastic wrap and refrigerate for at least 4 hours, ideally overnight. This allows the flavors to meld and the texture to set properly.
- Avoiding cracks: If your cheesecake cracks during baking, it’s often due to rapid cooling. To prevent this, turn off the oven and crack the door open for 30 minutes before removing it. This gradual cooling helps maintain an even temperature.
- Check for doneness: The center of your cheesecake should be slightly jiggly when you take it out of the oven. It will firm up as it cools. Overbaking can lead to a dry texture, so keep an eye on it as it approaches the end of the baking time, usually around 55-70 minutes at 325°F (163°C).
- Proper storage: To keep your cheesecake fresh for longer, store it in an airtight container in the fridge. If you need to stack other items on top, place a piece of parchment paper between layers to avoid any unwanted marks on the surface.
- When to freeze: If you can’t finish your cheesecake within a few days, consider freezing it. Wrap it tightly in plastic wrap and aluminum foil, and it can last up to 2 months. Thaw it in the fridge overnight before serving for the best texture.
Cheesecake Variations
When it comes to cheesecake, variety is the spice of life! Whether you’re catering to dietary preferences or simply want to try something new, these variations, substitutions, and flavor twists will keep your cheesecake game exciting. Remember, regardless of the type you choose to make, refrigeration is key for safety and texture.
Gluten-Free Options
- For a gluten-free crust, substitute traditional graham crackers with gluten-free cookies or almond flour. Use 1 ½ cups almond flour mixed with ¼ cup melted butter for a nutty, gluten-free crust.
- Ensure all other ingredients are gluten-free, especially when using pre-packaged items like vanilla extract or chocolate.
Vegan Alternatives
If you’re looking for a plant-based cheesecake, you can achieve a creamy texture without dairy. Here’s a simple recipe:
- 1 ½ cups raw cashews (soaked for 4 hours and drained)
- ⅓ cup coconut oil, melted
- ⅓ cup maple syrup
- 1 tablespoon lemon juice
- 1 teaspoon vanilla extract
- Blend cashews, coconut oil, maple syrup, lemon juice, and vanilla until smooth and creamy.
- Pour the mixture into your prepared crust and refrigerate for at least 4 hours or until fully set.
Chef’s tip: Adding a pinch of turmeric can enhance the yellow hue while keeping it vegan!
Flavor Variations
Get creative with flavors! Here are some delicious options:
| Flavor | Ingredients |
|---|---|
| Chocolate | Add ½ cup cocoa powder to the cheesecake batter. |
| Fruit | Incorporate 1 cup pureed strawberries or blueberries into the batter. |
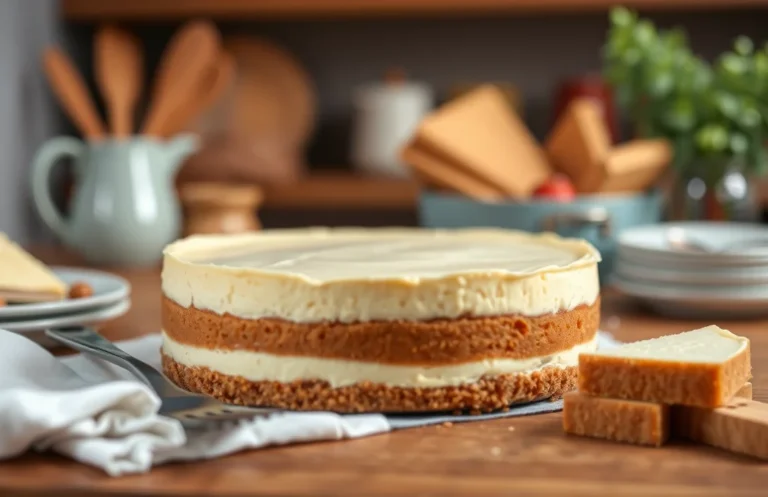
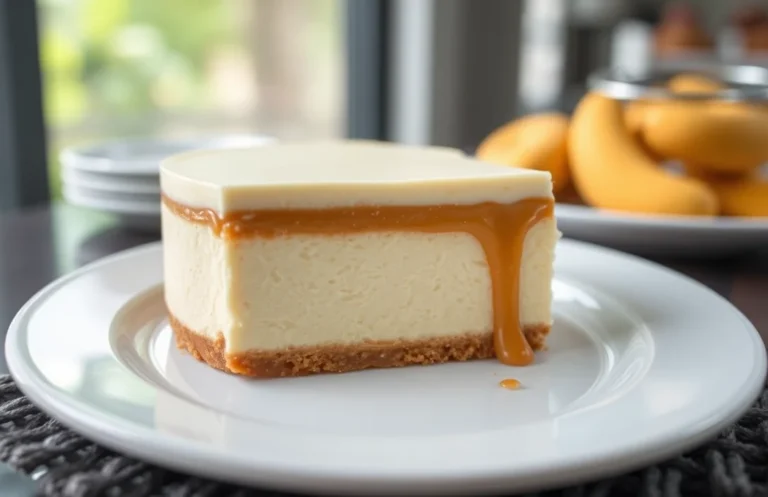
| Caramel | Drizzle ½ cup caramel sauce on top before refrigerating. |
Remember, every variation should be refrigerated for at least 4 hours before serving to ensure the perfect texture and flavor melds. Enjoy experimenting!
Serving and Plating Tips
Serving your cheesecake with flair can elevate the experience for you and your guests. Proper garnishing, pairing beverages, and serving at the right temperature are key to showcasing your delicious cheesecake while ensuring it remains safe and enjoyable after refrigeration.
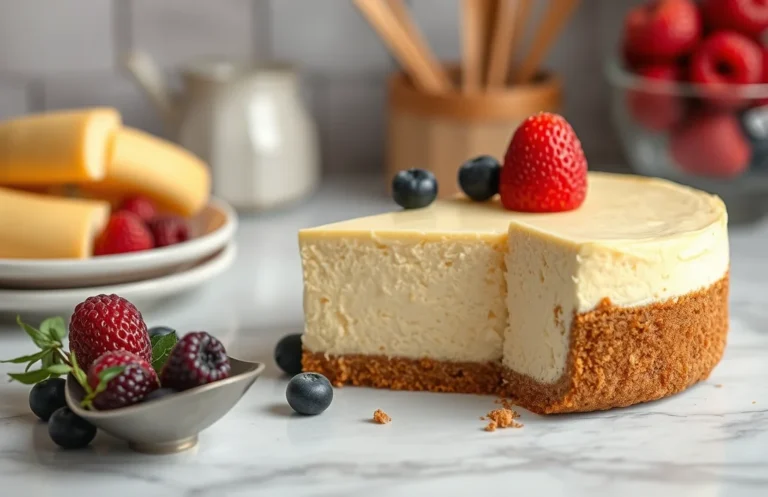
- Garnishing Ideas: Before serving, consider adding a fresh touch with garnishes. A simple dusting of powdered sugar can enhance the visual appeal. Fresh berries such as raspberries or strawberries provide a vibrant color contrast and a tart flavor that complements the creamy cheesecake. For an extra indulgence, drizzle a homemade caramel or chocolate sauce over the top.
- Pairing Beverages: When choosing beverages to accompany your cheesecake, think about balancing the richness. A cup of freshly brewed coffee or espresso pairs wonderfully, as the bitterness cuts through the sweetness. If you prefer something lighter, a sparkling wine or a fruit-infused iced tea can refresh the palate and enhance the dessert’s flavors.
- Serving Temperatures: Cheesecake should be served chilled, ideally straight from the refrigerator. Allow it to sit at room temperature for about 10-15 minutes before cutting; this will soften it slightly and make slicing easier. Use a sharp knife and dip it in hot water before cutting to achieve clean, smooth slices.
Quick Summary
| Prep Time | Cook Time | Total Time | Servings |
|---|---|---|---|
| 20 minutes | 60 minutes | 4 hours | 8 |
- Cool thoroughly: Let cheesecake cool in the pan for at least 1 hour before refrigerating.
- Chill time: Refrigerate for at least 3 hours, preferably overnight, to set properly.
- Wrap securely: Cover with plastic wrap to prevent drying and absorbing odors.
- Check texture: A well-chilled cheesecake should be firm but creamy when sliced.
- Room temperature: Serve cheesecake at room temperature for the best flavor and texture.
- Tip: Use a water bath to prevent cracks during baking.
- Tip: Ensure all ingredients are at room temperature for even mixing.
Frequently Asked Questions
Can I make this ahead of time? How to store and reheat?
You can make cheesecake up to 2 days ahead and store it in the refrigerator, covered with plastic wrap. To serve, simply slice and enjoy cold—there’s no need to reheat!
What can I substitute for cream cheese?
You can use mascarpone cheese or a mix of ricotta and sour cream as a substitute for cream cheese in your cheesecake. Just keep in mind that the texture and flavor may differ slightly.
How do I know when it’s done?
Your cheesecake is done when the edges are set, but the center still has a slight jiggle when you gently shake the pan. It will continue to firm up as it cools in the refrigerator.
Can I freeze this? How long does it last?
Yes, you can freeze cheesecake for up to 3 months if wrapped tightly in plastic wrap and aluminum foil. Thaw it overnight in the refrigerator before serving for the best texture.
What if I don’t have a springform pan?
If you don’t have a springform pan, you can use a regular 9-inch round cake pan but line it with parchment paper for easy removal. Just be careful when slicing to avoid breaking the cheesecake!

- Decadent Peanut Butter No-Bake Cheesecake: Easy Recipe to Indulge - April 3, 2026
- Delicious Mango No-Bake Cheesecake: Step-by-Step Recipe - April 3, 2026
- Decadent Raspberry No-Bake Cheesecake: Easy Step-by-Step Recipe - April 3, 2026