No-Bake Philadelphia Cheesecake Filling: Simple Step-by-Step Recipe
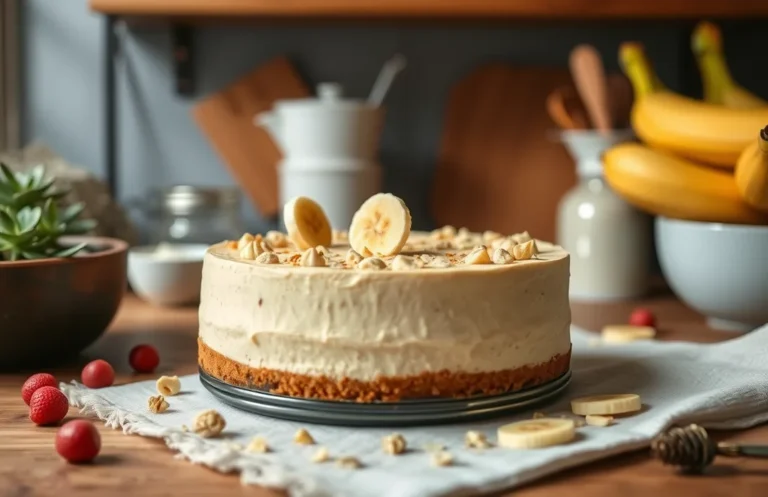
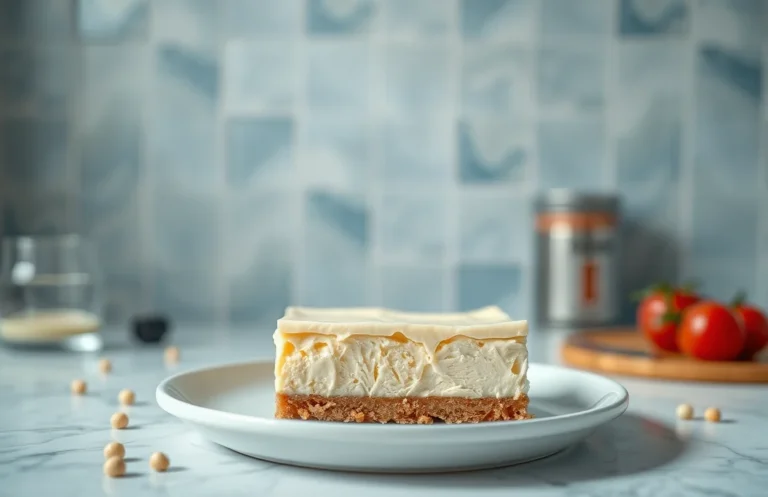
There’s something incredibly satisfying about a creamy, luscious no-bake cheesecake that practically melts in your mouth. This cheesecake filling, made with Philadelphia cream cheese, is not just easy to whip up, but it also delivers that rich, velvety texture we all crave. Perfect for warm summer days or any gathering, it’s bound to impress!
Key details: Total time: 15 minutes, Difficulty level: Easy, Servings: 8.
| Prep Time | Cook Time | Total Time | Servings | Difficulty |
|---|---|---|---|---|
| 10 minutes | 0 minutes | 15 minutes | 8 | Easy |
Origin of No-Bake Cheesecake
No-bake cheesecake has become a beloved dessert option for those seeking a creamy, rich treat without the hassle of baking. Its appeal lies in the simplicity of preparation, making it an excellent choice for entertaining or satisfying a sweet craving at home.
- Simple Preparation: The no-bake method allows for a quick assembly of ingredients, typically requiring only a mixing bowl and a whisk. This ease of preparation makes it particularly appealing for novice bakers or those short on time.
- Rich Creamy Texture: Using Philadelphia cream cheese, known for its smoothness and tangy flavor, enhances the overall taste and texture of the cheesecake filling. This results in a dessert that feels indulgent yet light.
- Versatile Flavor Options: No-bake cheesecake can easily be customized with various flavors and toppings, such as fruit purees, chocolate, or caramel. This versatility allows home cooks to adapt the recipe to suit different tastes and occasions.
- Chilled Delight: The cheesecake sets in the refrigerator, allowing flavors to meld beautifully over time. This chilling period not only enhances the taste but also ensures a refreshing dessert that’s perfect for warm weather.
Understanding the origin and appeal of no-bake cheesecake can help you appreciate this delightful dessert as you prepare to create your own version using Philadelphia cream cheese.
Ingredients for Cheesecake Filling
Creating a delicious no-bake cheesecake filling using Philadelphia cream cheese requires specific ingredients that contribute to its creamy texture and rich flavor. This section lists the essential components you’ll need, along with exact measurements and some helpful notes to ensure your cheesecake turns out perfectly every time.
| Item | Amount/Specification | Notes |
|---|---|---|
| Philadelphia Cream Cheese | 16 ounces (450g) | Ensure it’s at room temperature for easy mixing. |
| Sugar | ¾ cup (150g) | Granulated sugar works best for sweetness and texture. |
| Vanilla Extract | 1 teaspoon (5ml) | Use pure vanilla extract for the best flavor. |
| Heavy Cream | 1 cup (240ml) | Chilled heavy cream will whip better, creating a light filling. |
- For a lower-fat option, you can substitute the heavy cream with Greek yogurt, but the texture will be different.
- Make sure your cream cheese is softened to prevent lumps in your filling; leave it out for about 30 minutes before starting.
- If you prefer a sweeter cheesecake, adjust the sugar to taste, but be careful not to overdo it—too much sugar can affect the texture.
Kitchen Tools and Prep
Before diving into making your no-bake cheesecake filling, having the right kitchen tools on hand will streamline the process and ensure success. Below is a list of essential equipment and any preparation needed to set yourself up for a smooth baking experience.
| Item | Amount/Specification | Notes |
|---|---|---|
| Mixing Bowls | 2 (large and medium) | A large bowl for mixing the filling and a medium bowl for whipping cream. |
| Electric Mixer | 1 | Hand or stand mixer works well for blending ingredients until smooth and fluffy. |
| Spatula | 1 | A rubber spatula is ideal for folding ingredients gently without deflating the whipped cream. |
| Springform Pan | 9-inch | Perfect for holding your cheesecake and allows easy removal. |
- Make sure your Philadelphia cream cheese is at room temperature for easy mixing; this takes about 30 minutes out of the fridge.
- Gather all your ingredients and tools before starting to make the process more efficient.
- For a smoother filling, sift the powdered sugar before adding it to the cream cheese mixture.
- If you don’t have a springform pan, a regular pie dish will work, but you may need to chill for a bit longer to set.
Step-by-Step Filling Instructions
Creating a smooth and creamy no-bake cheesecake filling is simple and rewarding. With Philadelphia cream cheese as the star ingredient, this filling is rich and delicious. Follow these detailed steps to achieve the perfect texture and flavor for your cheesecake.
- Mix Cream Cheese: Start by taking 16 ounces (450g) of Philadelphia cream cheese out of the refrigerator, allowing it to soften at room temperature for about 30 minutes. Once softened, place the cream cheese in a large mixing bowl. Using an electric mixer, beat on medium speed for 1-2 minutes until it’s smooth and creamy, with no lumps remaining.
- Add Sugar and Vanilla: Gradually add ¾ cup (150g) granulated sugar and 1 teaspoon of pure vanilla extract to the cream cheese. Continue beating on medium speed for another 2 minutes until the sugar is fully incorporated and the mixture is light and fluffy. You should notice a glossy texture, and the sweetness should be well-balanced.
- Whip Heavy Cream: In a separate mixing bowl, pour in 1 cup (240ml) of heavy whipping cream. Using a clean electric mixer, whip the cream on high speed for about 3-4 minutes until soft peaks form. This means that when you lift the beaters, the cream should hold its shape but still be slightly droopy. Be careful not to over-whip, as it can turn into butter.
- Combine Mixtures: Gently fold the whipped cream into the cream cheese mixture using a spatula. Start by adding one-third of the whipped cream to lighten the cream cheese mixture, then fold in the rest until fully combined. Aim for a smooth, airy texture without deflating the whipped cream. The filling should be creamy and light, ready for your crust.
Pro Tips for Perfect Texture
Achieving the perfect texture for your no-bake cheesecake filling is essential for a creamy, dreamy dessert. With the right techniques and attention to detail, you can avoid common pitfalls and create a filling that is smooth and indulgent. Here are some expert tips to guide you through the process.
- Room Temperature Ingredients: Always start with your Philadelphia cream cheese and other dairy ingredients at room temperature. This helps them combine smoothly and prevents lumps in your filling. Leave the cream cheese out for about 30 minutes before mixing to ensure it’s adequately softened.
- Avoid Overmixing: When combining your ingredients, mix just until everything is incorporated. Overmixing can introduce too much air into the filling, leading to a less dense texture. The filling should be thick and creamy, not fluffy or airy.
- Chilling Time Importance: After you’ve prepared your filling, allow it to chill in the refrigerator for at least 4 hours, preferably overnight. This resting period lets the flavors meld together and helps the filling set properly, resulting in a firm yet creamy texture. If you skip this step, your cheesecake may not hold its shape when sliced.
Flavor Variations and Substitutions
This section offers delightful ways to customize your no-bake cheesecake filling using Philadelphia cream cheese, allowing you to cater to different tastes and dietary needs. Whether you’re looking to add fruity brightness, rich chocolatey depth, or vegan options, these variations will keep your cheesecake exciting and enjoyable!
Fruit Purees
Incorporating fruit purees is a fantastic way to infuse your cheesecake with natural sweetness and flavor. Here are some popular options:
- Strawberry Puree: Blend 1 cup of fresh strawberries until smooth and fold it into the filling for a sweet, fruity taste.
- Raspberry Puree: Use 1 cup of raspberries for a tart contrast. Strain the puree to remove seeds for a smoother texture.
- Mango Puree: Blend 1 ripe mango for a tropical twist that pairs beautifully with the creamy filling.
Chocolate Variations
If you’re a chocolate lover, consider these chocolate variations:
- Chocolate Chip: Fold in ½ cup of mini chocolate chips for a delightful crunch and chocolate burst.
- Chocolate Ganache: Melt 4 ounces of dark chocolate and mix it into the filling for a rich, decadent flavor.
- Cocoa Powder: Whisk in ⅓ cup of unsweetened cocoa powder for a lighter chocolate option. Adjust sugar to taste.
Vegan Options
For a vegan version, simply substitute the following:
- Vegan Cream Cheese: Use 2 cups of your favorite plant-based cream cheese to replace Philadelphia.
- Maple Syrup: Replace granulated sugar with ⅓ cup of maple syrup for sweetness.
- Coconut Cream: Whip 1 cup of chilled coconut cream to add a rich texture and flavor.
Chef’s tip: Always taste the filling before pouring it into the crust; adjust sweetness or flavorings to your preference!
Serving and Plating Ideas
Presenting your no-bake cheesecake beautifully can elevate the dessert experience. With the right garnishes, serving temperature, and pairing suggestions, you can create a delightful treat that will impress your guests and satisfy your sweet tooth.
- Choose the Right Serving Temperature: For the best flavor and texture, serve your cheesecake chilled. After setting in the refrigerator for at least 4 hours, ideally overnight, remove it about 10-15 minutes before serving. This allows the filling to soften slightly, making each slice easier to cut and enhancing the flavors.
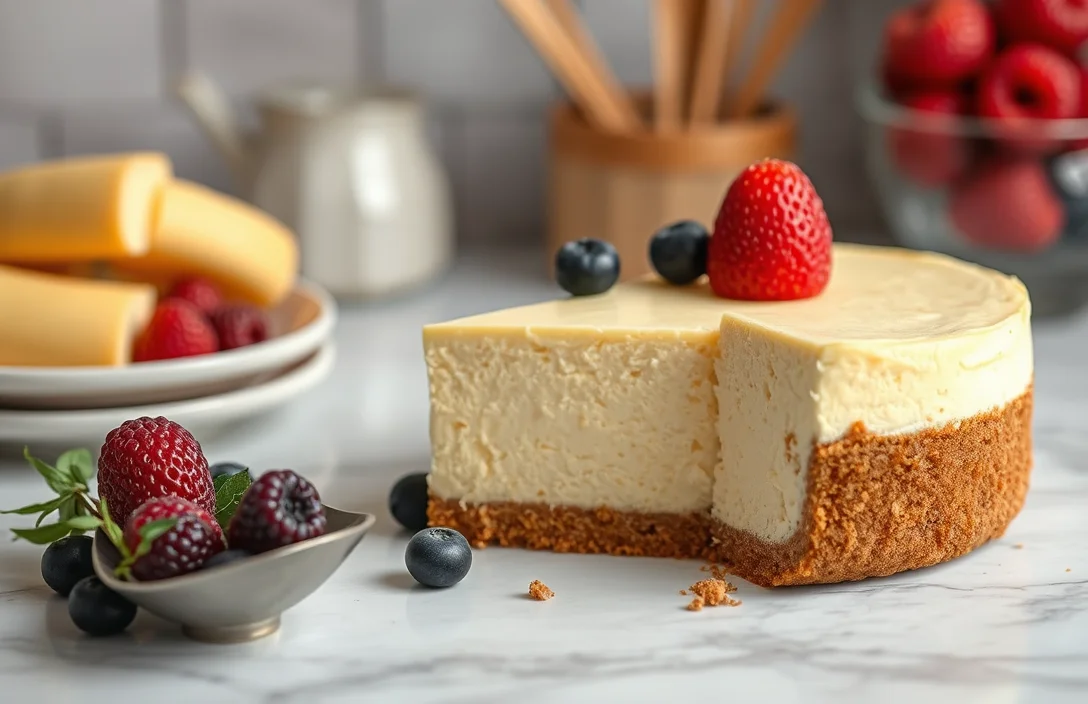
- Garnish Thoughtfully: Top your cheesecake with fresh fruits such as sliced strawberries, blueberries, or raspberries for a pop of color and freshness. A simple drizzle of chocolate sauce or a sprinkle of crushed nuts can add texture. If you prefer a more classic approach, a dusting of powdered sugar or a dollop of whipped cream works beautifully too.
- Pairing Suggestions: Serve the cheesecake with a side of berry compote or a fruit coulis for added sweetness and a tangy contrast. Complement it with a cup of freshly brewed coffee or a glass of dessert wine, such as a sweet Riesling or Moscato, to round out the experience.
- Consider Presentation: Use a cake stand or a decorative platter to showcase your cheesecake. Slice it neatly with a warm knife to avoid any crumbling, and wipe the knife between cuts for clean edges. This attention to detail can make a significant difference in the overall presentation.
Quick Summary
| Prep Time | 15 minutes |
|---|---|
| Cook Time | 0 minutes |
| Total Time | 4 hours (chill time) |
| Servings | 8 |
- Mix the filling: Blend 16 oz of Philadelphia cream cheese, 1 cup powdered sugar, and 1 tsp vanilla until smooth.
- Add whipped cream: Fold in 2 cups of whipped heavy cream gently to keep it airy.
- Prepare the crust: Use a pre-made graham cracker crust or make your own with 1 ½ cups crushed crackers and ½ cup melted butter.
- Chill: Refrigerate for at least 4 hours for the best texture.
- Top it off: Add fresh fruit or chocolate sauce before serving for a delicious finish.
- Key Tip: Ensure cream cheese is at room temperature for easier blending.
- Key Tip: Don’t overmix the whipped cream to maintain lightness in the filling.
Frequently Asked Questions
Can I make this ahead of time? How to store and reheat?
You can absolutely make this no-bake cheesecake filling ahead of time and store it in the refrigerator for up to 3 days in an airtight container. Just give it a gentle stir before using, as it may settle slightly.
What can I substitute for Philadelphia cream cheese?
If you don’t have Philadelphia cream cheese, you can use Mascarpone cheese for a creamier texture or a vegan cream cheese alternative for a dairy-free option. Just ensure it’s at room temperature for easy mixing.
How do I know when it’s done?
Your cheesecake filling is done when it’s smooth and creamy with no lumps, and it holds its shape when dolloped or spread onto your crust. It should not be runny; if it is, it needs more mixing!
Can I freeze this? How long does it last?
You can freeze the no-bake cheesecake filling for up to 2 months in a well-sealed container. Thaw it overnight in the refrigerator before using to maintain its creamy texture.
What if I don’t have a hand mixer?
If you don’t have a hand mixer, you can use a whisk and some elbow grease to mix the ingredients, just be prepared to whisk vigorously for several minutes until smooth. A sturdy spatula can also help fold in any ingredients evenly.

- Decadent Peanut Butter No-Bake Cheesecake: Easy Recipe to Indulge - April 3, 2026
- Delicious Mango No-Bake Cheesecake: Step-by-Step Recipe - April 3, 2026
- Decadent Raspberry No-Bake Cheesecake: Easy Step-by-Step Recipe - April 3, 2026