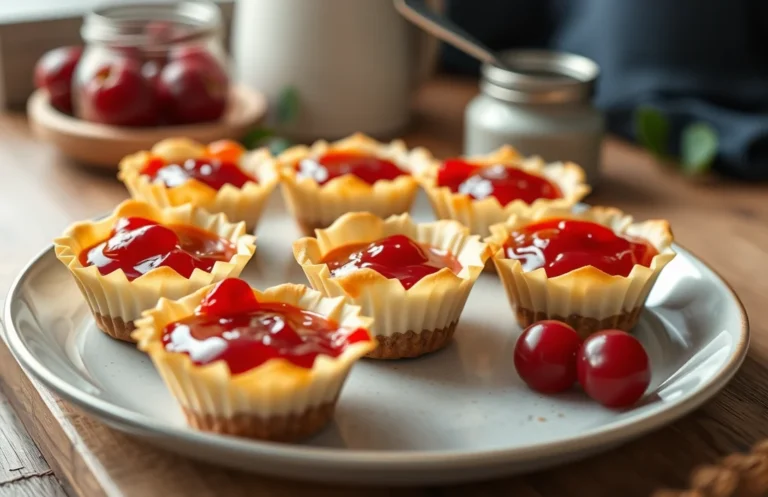
Easy Crushed Kurma Cheesecake Crust Recipe: Step-by-Step Guide
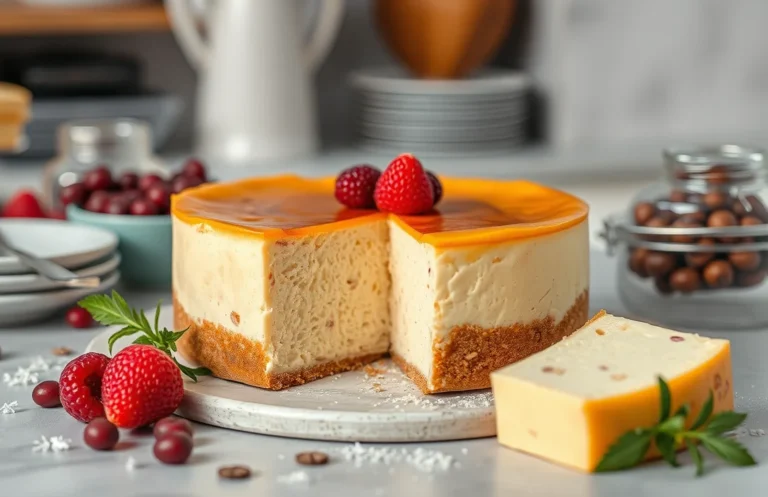
If you’re looking for a dessert that brings together rich flavors and a delightful texture, this crushed kurma cheesecake crust is exactly what you need. The natural sweetness of the kurma (dates) perfectly complements the creamy cheesecake filling, creating a treat that’s both indulgent and satisfying. It’s truly a crowd-pleaser that will have everyone asking for seconds!
Get ready to make a delicious cheesecake with a crushed kurma crust. Total time is 30 minutes prep and 60 minutes baking, with a difficulty level of easy. This recipe serves 8 people.
| Prep Time | Cook Time | Total Time | Servings | Difficulty |
|---|---|---|---|---|
| 30 minutes | 60 minutes | 90 minutes | 8 | Easy |
Origin of Kurma Cheesecake
The Kurma cheesecake combines traditional flavors with modern dessert techniques, creating a unique culinary experience. This section highlights the cultural significance of kurma (dates) and their role in the creation of this delightful cheesecake crust.
- Cultural Background: Kurma, or dates, have been a staple in Middle Eastern cuisine for centuries, often symbolizing hospitality and abundance. Their natural sweetness and chewy texture make them an ideal ingredient for desserts, bringing a touch of tradition to contemporary recipes.
- What Makes It Special: The crushed kurma crust not only adds a rich, caramel-like flavor but also provides a gluten-free alternative to traditional graham cracker crusts. This makes it accessible for those with dietary restrictions while infusing the cheesecake with a depth of taste that is both satisfying and wholesome.
Ingredients List
This section provides all the ingredients you need to create the perfect crushed kurma cheesecake crust. Each ingredient plays a vital role in achieving that rich, sweet, and textured base that complements the cheesecake beautifully.
| Item | Amount/Specification | Notes |
|---|---|---|
| Kurma (Dates) | 1 cup (about 150g), pitted | Choose soft, moist kurma for a smoother crust. |
| Almonds (or walnuts) | ½ cup (about 50g), finely chopped | These add crunch; use unsalted for better control over flavor. |
| Unsweetened cocoa powder (optional) | 2 tablespoons (15g) | For a chocolatey flavor; adjust if using sweet kurma. |
| Unsalted butter | 3 tablespoons (42g), melted | Helps bind the crust; ensure it’s not too hot when mixing. |
| Salt | ¼ teaspoon | Enhances the flavors of the crust. |
- Substitution Tip: For nut allergies, substitute almonds with rolled oats or sunflower seeds.
- Texture Tip: Ensure kurma is pitted and soft; if they are a bit dry, soak in warm water for 10 minutes before use.
- Storage Tip: If not using immediately, store the crust mixture in an airtight container for up to 3 days in the refrigerator.
Required Kitchen Equipment
To create the perfect crushed kurma cheesecake crust, having the right tools will ensure a smooth preparation process. Each piece of equipment plays a crucial role in achieving the desired texture and flavor, so let’s get into what you need to gather.
- Food Processor: This is essential for easily crushing the kurma (dates) and mixing it with the other crust ingredients. If you don’t have a food processor, a sturdy zip-top bag and a rolling pin can work as a substitute for crushing the dates, but it will take more time and effort.
- Measuring Cups and Spoons: Accurate measurements are key for the right consistency of the crust. You’ll need a 1-cup measuring cup for the crushed kurma and a tablespoon for the melted butter.
- Mixing Bowl: A medium-sized mixing bowl is perfect for combining the crushed kurma with other ingredients like graham cracker crumbs and melted butter. Ensure it’s large enough to allow for easy mixing without spillage.
- Spatula: Use a silicone spatula for folding in the ingredients thoroughly, ensuring everything is well combined without over-mixing.
- 9-inch Springform Pan: This is ideal for baking your cheesecake, allowing for easy removal once it’s set. If you don’t have one, a regular pie dish can be used, but it may be harder to serve.
- Baking Sheet: Place the springform pan on a baking sheet to catch any drips while baking. This keeps your oven clean and makes for easier handling.
- Oven: Preheat your oven to 350°F (175°C) as it’s crucial for achieving the right texture in the crust.
Cooking Instructions
This section will guide you through the steps to prepare and bake the crushed kurma cheesecake crust. A well-made crust is essential for a delicious cheesecake, providing a sweet, chewy base that complements the creamy filling.
- Prepare the Kurma: Start by measuring 1 cup (approximately 150g) of pitted kurma (dates). If your kurma is hard or dried out, soak it in warm water for about 10 minutes to soften. Drain the water and pat dry with a paper towel.
- Crush the Kurma: Using a food processor, pulse the soaked kurma until it forms a sticky paste. This should take about 1-2 minutes. If you don’t have a food processor, you can finely chop the kurma with a knife, but ensure there are no large pieces remaining.
- Add the Dry Ingredients: In a mixing bowl, combine the crushed kurma with 1 cup (about 90g) of crushed graham crackers and ¼ teaspoon of salt. Mix well until the kurma and graham cracker crumbs are evenly distributed. The mixture should feel sticky and hold together when pressed.
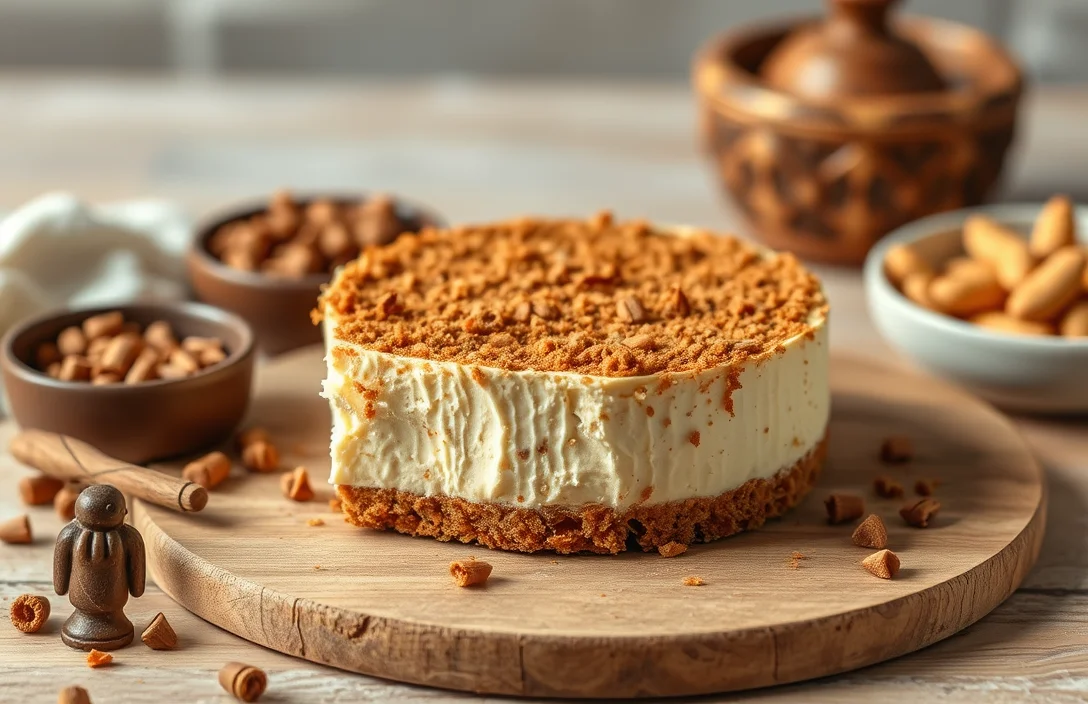
- Press into the Pan: Grease a 9-inch (23 cm) springform pan with a bit of butter or cooking spray. Transfer the crust mixture into the pan, pressing it down firmly with your fingers or the back of a measuring cup to create an even layer. Ensure it’s compact and reaches up the sides of the pan slightly.
- Bake the Crust: Preheat your oven to 350°F (175°C). Place the pan in the oven and bake for 10-12 minutes until the crust is slightly firm and fragrant. Keep an eye on it; it should not brown too much. Remove from the oven and let it cool while you prepare the filling.
Chef’s tip: For a nutty flavor, consider adding ½ cup (about 50g) of finely chopped nuts to the crust mixture.
Pro Tips for Success
Creating the perfect crushed kurma cheesecake crust involves understanding how to handle kurma (dates) properly and avoiding common mistakes that could affect the texture and flavor of your crust. Here are some essential tips to ensure your crust turns out deliciously every time.
Handling Kurma
- Choose Quality Dates: Use Medjool dates for their rich flavor and soft texture. Aim for about 1 cup (150g) of pitted dates.
- Softening Stiff Dates: If your dates are a bit hard, soak them in warm water for 10-15 minutes before using. Drain well before crushing.
- Crushing Technique: Use a food processor to pulse your dates until they achieve a sticky, paste-like consistency. This will help them bind well with the crust ingredients.
Common Mistakes
- Not Measuring Ingredients: Always use precise measurements. For a balanced crust, combine 1 cup (150g) crushed kurma with 1 cup (100g) crushed graham crackers or nuts.
- Overmixing the Crust: Mix just until combined. Overmixing can make the crust tough. You want a crumbly texture that holds together when pressed.
- Skipping the Refrigeration: After pressing the crust into your pan, refrigerate it for at least 30 minutes. This helps it set properly and prevents crumbling during slicing.
Chef’s tip: If your crust feels too crumbly after chilling, gently press a bit more melted butter (1-2 tablespoons) into it to help it hold together better.
By keeping these tips in mind, you’ll ensure a beautifully textured and flavorful kurma cheesecake crust that perfectly complements your cheesecake filling.
Variations and Modifications
This section provides various options to customize your crushed kurma cheesecake crust, ensuring it meets different dietary needs and preferences. Whether you’re looking for gluten-free alternatives or vegan modifications, these suggestions will help you create a delicious cheesecake that everyone can enjoy.
Gluten-Free Options
If you’re avoiding gluten, you can easily modify the base of your cheesecake crust. Here are a couple of reliable substitutes:
- Use 1 cup of gluten-free oats instead of regular crushed cookies or biscuits. Blend them until fine to create a similar texture.
- Alternatively, try 1 cup of almond flour. This will add a nutty flavor and maintain a delightful crunch.
Vegan Modifications
For a vegan-friendly cheesecake crust, you can replace traditional dairy ingredients without sacrificing taste:
- Substitute ¼ cup melted coconut oil for butter to keep the crust rich and flavorful.
- Use 1 tablespoon of ground flaxseed mixed with 2.5 tablespoons of water as a binding agent instead of eggs. Let it sit for 5 minutes until it thickens.
“Pro Tip: Make sure to press the crust mixture firmly into the pan to prevent it from crumbling when sliced.”
| Ingredient | Standard | Gluten-Free | Vegan |
|---|---|---|---|
| Crushed Cookies | 1 cup | 1 cup gluten-free oats or almond flour | Same as standard |
| Butter | ¼ cup | ¼ cup coconut oil | ¼ cup coconut oil |
| Egg | 1 large | 1 large | 1 tbsp flaxseed + 2.5 tbsp water |
Serving and Plating Tips
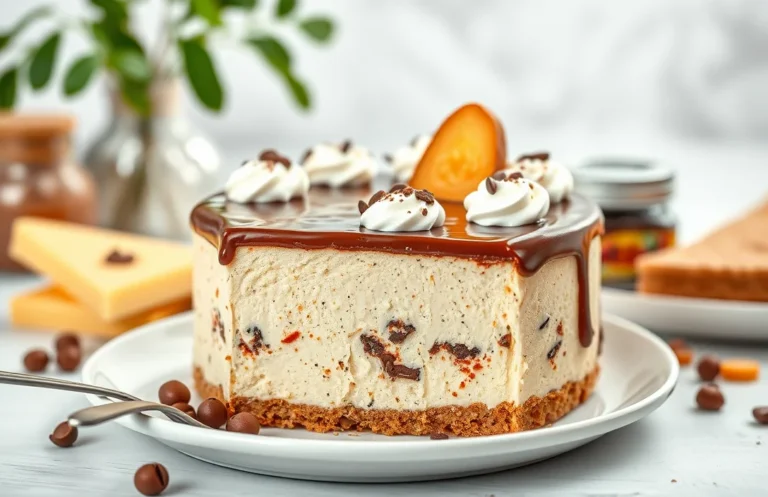
Presentation can elevate your crushed kurma cheesecake to a whole new level. Not only does it enhance the visual appeal, but it also makes it more inviting for your guests. Here are some garnishing ideas and suggestions for what to serve alongside this delicious dessert.
Garnishing Ideas
- Drizzle with a rich caramel sauce or a chocolate ganache for an indulgent touch.
- Sprinkle finely chopped nuts, like pistachios or walnuts, on top for added crunch.
- Top with a dollop of whipped cream, optionally flavored with vanilla or a hint of cardamom.
- Add fresh berries (like raspberries or blueberries) for a pop of color and tartness that contrasts beautifully with the sweetness of the cheesecake.
What to Serve With
This cheesecake pairs wonderfully with a variety of accompaniments. Consider these options:
- Coffee or Tea: A strong cup of coffee or a spiced chai can complement the flavors of the cheesecake.
- Iced Herbal Tea: A refreshing iced mint or lemon herbal tea balances the sweetness.
- Fruit Compote: Serve a side of homemade berry compote for an extra fruity flavor boost.
Chef’s tip: For an elegant touch, serve slices of the cheesecake on chilled plates to keep them firm and refreshing.
| Serving Suggestions | Flavor Profile |
|---|---|
| Caramel Sauce | Sweet and buttery |
| Fresh Berries | Tart and juicy |
| Whipped Cream | Creamy and light |
By focusing on presentation and pairing, you can take your crushed kurma cheesecake from simple to stunning. Enjoy the delightful combination of flavors and textures!
Quick Summary
| Prep Time | 15 minutes |
|---|---|
| Cook Time | 10 minutes |
| Total Time | 25 minutes |
| Servings | 8 |
- Crush kurma: Use 1 cup of crushed kurma for optimal flavor.
- Combine ingredients: Mix crushed kurma with 1 cup of graham cracker crumbs and 1/2 cup of melted butter.
- Press mixture: Firmly press the crust into a 9-inch springform pan.
- Bake crust: Bake at 350°F (175°C) for 10 minutes.
- Cool completely: Let the crust cool before adding the cheesecake filling.
- Tip 1: Ensure butter is fully melted for even crust texture.
- Tip 2: Use a flat-bottom glass to press down the crust firmly.
Frequently Asked Questions
Can I make this ahead of time? How to store and reheat?
You can absolutely make the crushed kurma cheesecake crust ahead of time! Store it in an airtight container in the refrigerator for up to 3 days, and if you need to reheat, just pop it in the oven at 350°F (175°C) for about 5-7 minutes until warm.
What can I substitute for the crushed kurma?
If you can’t find crushed kurma, you can substitute with crushed dates or even crushed graham crackers mixed with a bit of brown sugar for sweetness. Just ensure to maintain the same volume, which is about 1 cup of crushed ingredient.
How do I know when it’s done?
The crust is done when it looks slightly golden and feels firm to the touch, which usually takes about 10-12 minutes at 350°F (175°C). Let it cool before adding the cheesecake filling to ensure it holds its shape.
Can I freeze this? How long does it last?
Yes, you can freeze the crushed kurma cheesecake crust for up to 2 months. Just wrap it tightly in plastic wrap and then foil to prevent freezer burn.
What if I don’t have a food processor?
If you don’t have a food processor, you can crush the kurma using a heavy-duty zip-top bag and a rolling pin or even chop them finely with a knife. Just make sure the pieces are as fine as possible to create a cohesive crust.

- Decadent Peanut Butter No-Bake Cheesecake: Easy Recipe to Indulge - April 3, 2026
- Delicious Mango No-Bake Cheesecake: Step-by-Step Recipe - April 3, 2026
- Decadent Raspberry No-Bake Cheesecake: Easy Step-by-Step Recipe - April 3, 2026