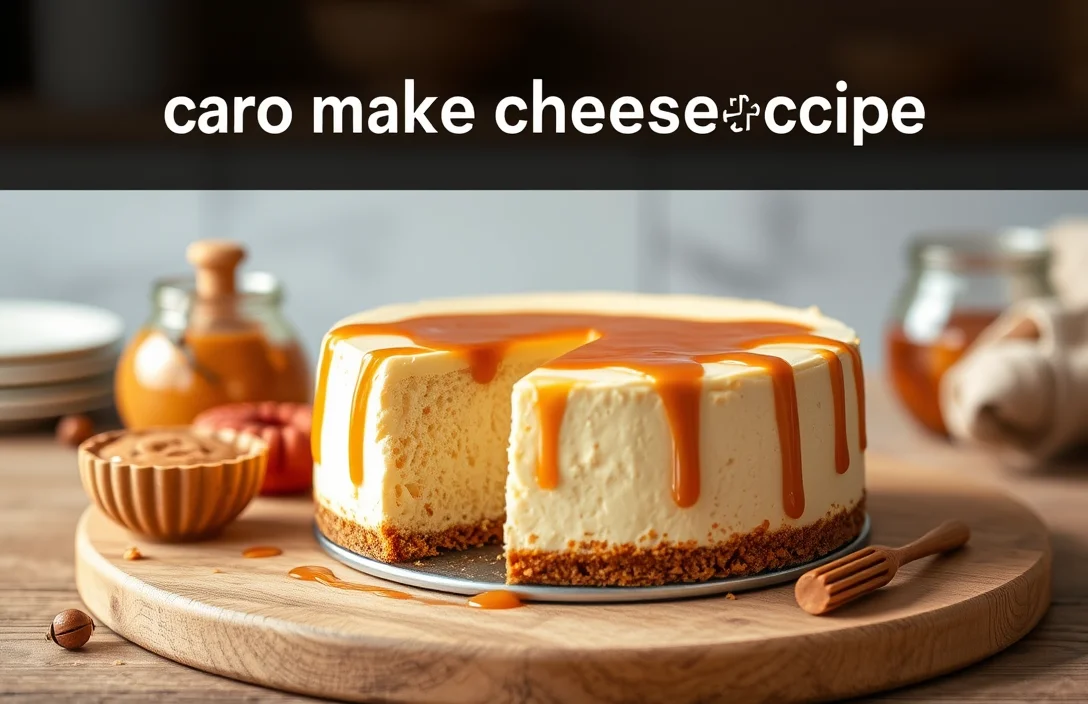
Decadent Caramel No-Bake Cheesecake: Easy Recipe and Tips
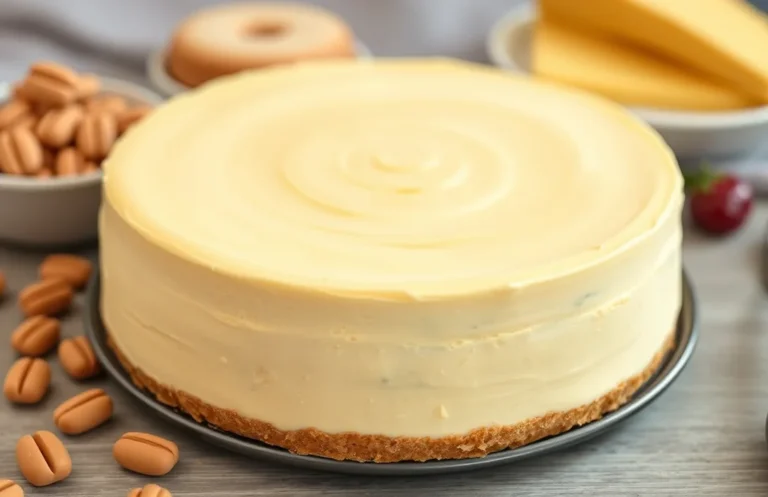
There’s something incredibly satisfying about a creamy caramel no-bake cheesecake that just melts in your mouth. This dessert is the perfect blend of rich flavors and smooth textures, making it a weeknight staple or an impressive treat for guests. With each bite, you’ll taste the sweet, buttery caramel paired with a velvety cheesecake that’s simply irresistible.
Total time: 4 hours (including chilling) | Difficulty level: Easy | Servings: 8-10
| Prep Time | Chill Time | Total Time | Servings | Difficulty |
|---|---|---|---|---|
| 30 minutes | 3.5 hours | 4 hours | 8-10 | Easy |
Origin of Caramel Cheesecake
The caramel no-bake cheesecake is a delightful dessert that combines the richness of cream cheese with the sweet, buttery flavor of caramel. This indulgent treat has evolved over the years, becoming a favorite for special occasions and gatherings, and its no-bake method makes it accessible for home bakers of all skill levels.
Historical Background
The origins of cheesecake date back to ancient Greece, where a simple mixture of cheese, honey, and flour was enjoyed as a nourishing snack. Over the centuries, variations emerged across cultures, but it wasn’t until the 19th century that cream cheese became the standard base for cheesecakes in the United States. The addition of caramel offered a new dimension of flavor and sweetness, quickly gaining popularity among dessert lovers.
Special Occasions
This no-bake caramel cheesecake is perfect for a variety of celebrations, including:
- Birthday parties: Its creamy texture and sweet caramel topping make it a hit with guests of all ages.
- Holidays: Serve it as a festive dessert during Thanksgiving or Christmas gatherings.
- Bridal showers: The elegant appearance of the cheesecake adds a touch of sophistication to any event.
- Casual get-togethers: It’s an easy, make-ahead dessert that can impress friends at a casual dinner party.
Chef’s tip: Always use high-quality caramel sauce for the best flavor in your cheesecake!
Ingredients for Cheesecake
This section details all the essential ingredients you’ll need to create a delicious caramel no-bake cheesecake. Having precise measurements and specifications will ensure your cheesecake comes out perfectly every time!
| Item | Amount/Specification | Notes |
|---|---|---|
| Graham cracker crumbs | 1 ½ cups (150g) | Can substitute with digestive biscuits for a different flavor. |
| Unsalted butter | ½ cup (115g), melted | Use salted butter if you prefer a slightly salty crust. |
| Cream cheese | 16 oz (450g), softened | Ensure it’s at room temperature for easy mixing. |
| Granulated sugar | ½ cup (100g) | Adjust sweetness to taste. |
| Heavy whipping cream | 1 cup (240ml) | Chill the bowl and beaters for better whipping results. |
| Caramel sauce | ½ cup (120ml) | Store-bought or homemade; warm slightly if too thick. |
| Vanilla extract | 1 teaspoon | For added flavor depth. |
- Make sure all dairy ingredients are at room temperature to avoid lumps.
- If you have nut allergies, consider a nut-free crust option like crushed cookies or graham crackers.
- To prevent your cheesecake from cracking, ensure you mix the filling gently once the cream is added.
Essential Kitchen Tools
To create a delicious caramel no-bake cheesecake, having the right tools at your disposal makes all the difference. This section covers the essential kitchen equipment you’ll need for mixing, measuring, and setting up your cheesecake, ensuring a smooth preparation process.
- Mixing Equipment: You will need a large mixing bowl (at least 4 quarts) for blending the cream cheese and whipped cream. A hand mixer or stand mixer is ideal for achieving a light and fluffy texture—mix on medium speed until the mixture is smooth and creamy, about 3-5 minutes. For folding in the whipped cream, a rubber spatula will help maintain the airiness of your filling.
- Baking Dish: A 9-inch springform pan is perfect for this cheesecake, allowing for easy removal once set. If you don’t have a springform pan, a regular pie dish will work, but be sure to chill it longer to set. Line the base with parchment paper for easier removal.
- Measuring Tools: Accurate measurements are key to success in baking. Use a set of measuring cups and spoons for dry and liquid ingredients, ensuring you have 1 cup (240ml) for the heavy cream and ½ cup (120ml) for the caramel sauce. A kitchen scale can also be beneficial for precise measurements, especially for the cream cheese, which should be 16 ounces (450g).
Step-by-Step Instructions
This section will guide you through the essential steps for preparing your caramel no-bake cheesecake, ensuring that each layer is executed perfectly. By following these detailed instructions, you’ll create a rich and creamy dessert that will impress your friends and family.
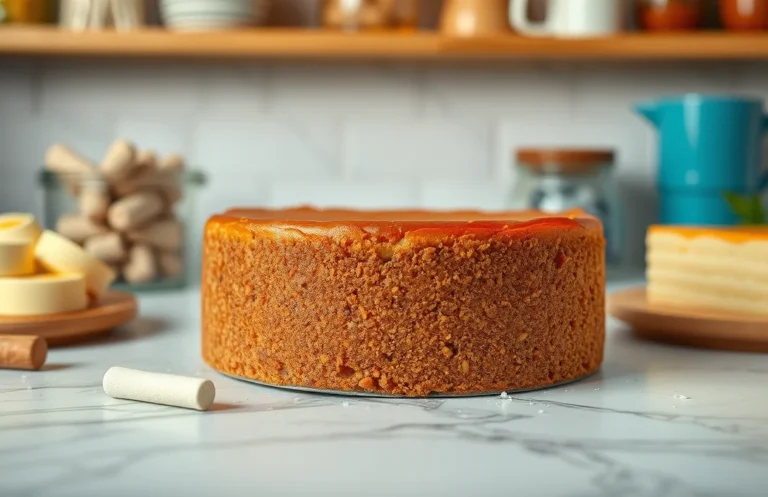
- Prepare the Crust: Start by preheating your oven to 350°F (175°C). In a medium bowl, combine 1 ½ cups (150g) of graham cracker crumbs, ½ cup (100g) of granulated sugar, and ½ cup (115g) of melted unsalted butter. Mix until the crumbs are evenly coated and resemble wet sand. Press the mixture firmly into the bottom of a 9-inch (23cm) springform pan. Bake for 8-10 minutes until slightly golden and fragrant. Remove from the oven and let it cool completely.
- Make the Filling: In a large mixing bowl, beat 16 oz (450g) of cream cheese at room temperature until smooth and creamy, about 2-3 minutes. Gradually add ½ cup (120ml) of caramel sauce and ½ cup (60g) of powdered sugar, mixing until well combined. Next, fold in 1 cup (240ml) of heavy whipping cream that has been whipped to stiff peaks. The filling should be light and airy, with a rich caramel aroma.
- Chill and Set: Pour the filling over the cooled crust, spreading it evenly with a spatula. Cover the springform pan with plastic wrap and refrigerate for at least 4 hours, or until the cheesecake is firm and set. You’ll know it’s ready when the edges are slightly firm and the center has a slight jiggle. For best results, set it overnight.
Pro Tips for Success
Creating the perfect caramel no-bake cheesecake requires attention to detail and the right techniques. Here are some essential tips to help you achieve a smooth, creamy texture and avoid common pitfalls.
Consistency Tips
- Use room temperature cream cheese (8 oz or 225g) to ensure it blends smoothly. It should feel soft and spreadable, not cold or hard.
- Whisk the mixture until completely smooth before adding whipped cream. This prevents lumps and gives a velvety finish.
- When folding in the whipped cream, use a gentle motion to retain air, making the cheesecake light and airy.
Avoiding Cracks
- Ensure the cheesecake is fully chilled for at least 4 hours or overnight before slicing. This helps it set properly.
- When serving, use a hot knife (dip in hot water and wipe dry) to cut through the cheesecake smoothly, preventing cracks.
Flavor Enhancements
Chef’s tip: Drizzle some extra caramel sauce on top and sprinkle with sea salt to elevate the flavor.
- Consider adding a teaspoon of vanilla extract to the filling for an extra layer of flavor.
- For a chocolate twist, mix in 2 tablespoons of cocoa powder when blending the cream cheese.
| Ingredient | Amount |
|---|---|
| Caramel sauce | ½ cup (120ml) |
| Heavy cream | 1 cup (240ml) |
| Powdered sugar | ½ cup (60g) |
Variations and Substitutions
This section offers creative twists and dietary modifications for your caramel no-bake cheesecake, making it accessible for everyone while keeping the flavors vibrant. Whether you’re aiming for gluten-free or vegan alternatives, or simply want to experiment with different flavors, here are some options to consider.
Gluten-Free Options
To make your cheesecake gluten-free, simply substitute the regular graham cracker crust with a gluten-free alternative. Here’s a quick breakdown:
- 1 ½ cups gluten-free graham cracker crumbs (about 150g)
- ¼ cup melted butter (60g)
Mix the gluten-free crumbs with melted butter and press firmly into the bottom of your springform pan. Bake at 350°F (175°C) for 8-10 minutes until slightly golden. Allow to cool completely before adding the filling.
Vegan Alternatives
If you’re looking for a vegan version of this cheesecake, here’s how to modify the recipe:
- Replace cream cheese with 2 cups of soaked cashews (soak for at least 4 hours)
- Use ½ cup coconut cream instead of heavy cream
- Substitute honey with ⅓ cup maple syrup
Blend the soaked cashews with coconut cream and maple syrup until smooth and creamy. This will give you a rich and delicious filling that’s entirely plant-based.
Flavor Variations
Feel free to experiment with different flavors to suit your taste:
- For a chocolate twist, fold in ½ cup melted dark chocolate into the filling.
- Add 1 teaspoon of vanilla extract for a classic touch.
- Incorporate ½ cup of crushed caramel candies for extra caramel flavor.
Chef’s tip: Always taste your filling before pouring it into the crust to adjust sweetness or flavor as needed!
Serving and Plating Ideas
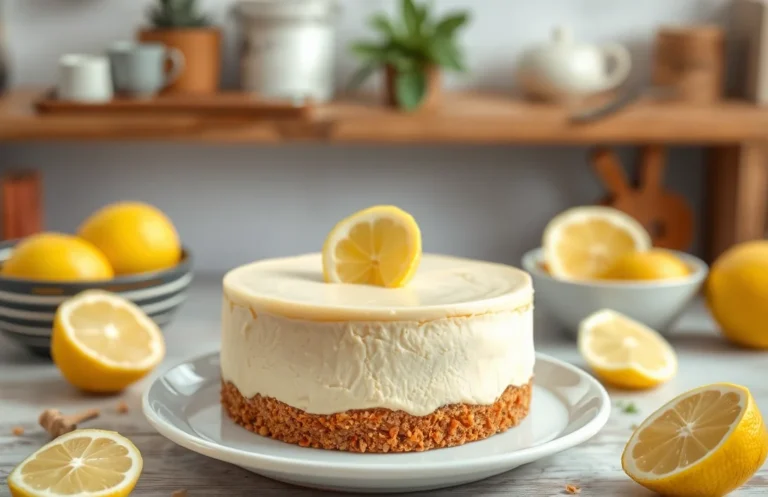
Presenting your caramel no-bake cheesecake beautifully can elevate the experience of this already delightful dessert. Thoughtful garnishing and pairing suggestions can enhance the flavors and make your cheesecake a showstopper at any gathering.
Garnishing Ideas
- Drizzle extra caramel sauce over the top just before serving for a glossy finish.
- Sprinkle a pinch of sea salt on top to complement the sweetness of the caramel.
- Add a dollop of whipped cream on each slice for a creamy contrast.
- Top with chocolate shavings or crushed toffee bits for added texture.
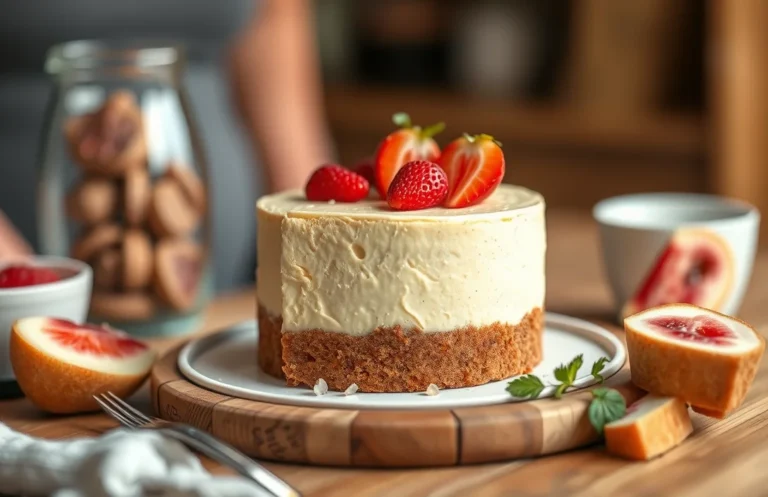
- Garnish with fresh fruit like sliced strawberries or a few blueberries for a pop of color.
Pairing Suggestions
Pairing your cheesecake with the right flavors can enhance the overall taste. Here are some delicious options:
| Pairing | Description |
|---|---|
| Espresso | The rich, bold flavors of espresso contrast beautifully with the sweetness of the cheesecake. |
| Vanilla Ice Cream | The creaminess of vanilla ice cream adds a lovely balance to the rich cheesecake. |
| Red Wine | A fruity red wine can complement the caramel while cutting through the richness. |
| Spiced Chai | The warm spices in chai can create a delightful pairing with the caramel notes. |
Chef’s tip: Serve the cheesecake chilled for the best texture and flavor. Allow it to sit at room temperature for about 10-15 minutes before slicing for easier serving.
Quick Summary
| Prep Time | Cook Time | Total Time | Servings |
|---|---|---|---|
| 20 minutes | 0 minutes | 4 hours (chill time) | 8 servings |
- Crust: Combine 1 ½ cups crushed graham crackers with ½ cup melted butter.
- Filling: Beat 16 oz cream cheese until smooth, then mix in 1 cup caramel sauce.
- Whipping cream: Whip 1 cup heavy cream until stiff peaks form and fold into the filling.
- Layering: Spread filling over the crust and drizzle additional caramel on top.
- Chill: Refrigerate for at least 4 hours before serving for best texture.
- Tip 1: Use room temperature cream cheese to avoid lumps.
- Tip 2: Chill the mixing bowl for the cream to achieve better whipping results.
- Tip 3: For a richer flavor, use homemade caramel sauce.
Frequently Asked Questions
Can I make this ahead of time? How to store and reheat?
You can definitely make this caramel no-bake cheesecake up to 2 days in advance. Store it in an airtight container in the refrigerator, and there’s no need to reheat; just serve it chilled!
What can I substitute for cream cheese?
You can substitute cream cheese with mascarpone cheese for a creamier texture, or use a vegan cream cheese if you’re looking for a dairy-free option. Just keep in mind that the flavor might vary slightly.
How do I know when it’s done?
Your cheesecake is done when it’s set but still slightly jiggly in the center, which usually takes about 4-6 hours in the refrigerator. Once it’s chilled and firmed up, it’s ready to slice and serve!
Can I freeze this? How long does it last?
You can freeze the caramel no-bake cheesecake for up to 2 months; just wrap it tightly in plastic wrap and then aluminum foil. To enjoy, thaw it in the refrigerator overnight before serving.
Why did my cheesecake turn out too runny?
Your cheesecake may turn out runny if it didn’t chill long enough; make sure to let it set for at least 4 hours in the refrigerator. Additionally, ensure you used the correct amount of gelatin or cream cheese as specified in the recipe for proper firmness.

- Decadent Peanut Butter No-Bake Cheesecake: Easy Recipe to Indulge - April 3, 2026
- Delicious Mango No-Bake Cheesecake: Step-by-Step Recipe - April 3, 2026
- Decadent Raspberry No-Bake Cheesecake: Easy Step-by-Step Recipe - April 3, 2026