Can You Freeze Cheesecake? Tips for Perfectly Stored Slices
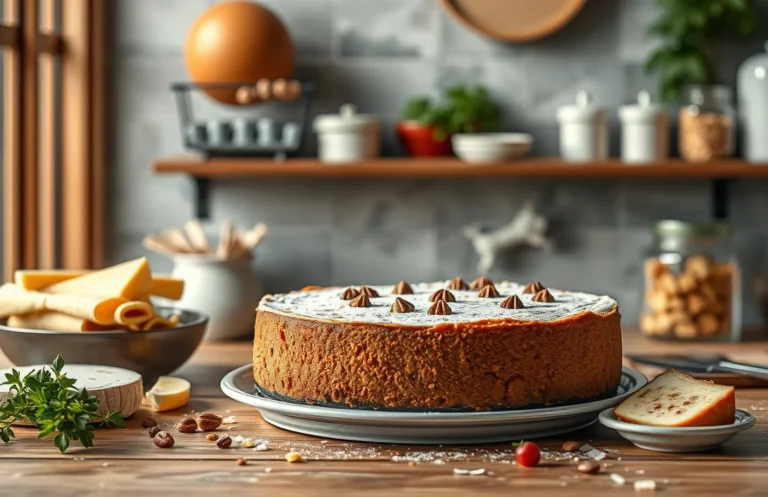
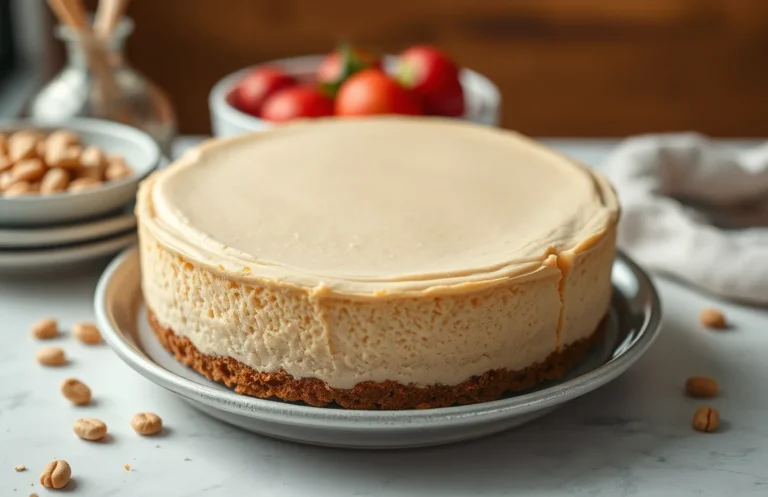
Cheesecake is the ultimate indulgence that brings a smile to everyone’s face, whether it’s a rich New York-style or a light and fluffy no-bake version. The creamy texture and sweet, tangy flavor make it a showstopper for any occasion, from casual weeknight dinners to celebratory gatherings. Just imagine slicing into that velvety goodness!
Wondering if you can freeze cheesecake after baking? You’re in the right place! Get ready for step-by-step instructions on freezing, thawing, and storing your cheesecake, along with tips to maintain its delightful texture and flavor. Total time: 90 minutes, Difficulty: Easy, Servings: 8.
| Prep Time | Cook Time | Total Time | Servings | Difficulty |
|---|---|---|---|---|
| 15 minutes | 75 minutes | 90 minutes | 8 | Easy |
History of Cheesecake
Understanding the history of cheesecake enriches our appreciation for this beloved dessert, especially when considering how to properly freeze it after baking. Cheesecake has a fascinating origin that spans cultures and centuries, making it a significant dish in various culinary traditions.
- Origin Story: Cheesecake dates back to ancient Greece, where it was served to athletes during the first Olympic Games in 776 BC. The Greeks made a simple cheesecake using fresh cheese, flour, and honey, which laid the foundation for future recipes.
- Cultural Significance: Over the years, cheesecake evolved in different cultures. The Romans adopted it, adding eggs and baking it in a crust. In the 18th century, cream cheese was invented in the United States, leading to the rich and creamy versions we enjoy today.
- Serving Occasions: Cheesecake is often a celebratory dessert, served at weddings, birthdays, and holidays. Its versatility allows for various flavors, from classic New York-style to fruity and chocolate variations, making it suitable for any occasion.
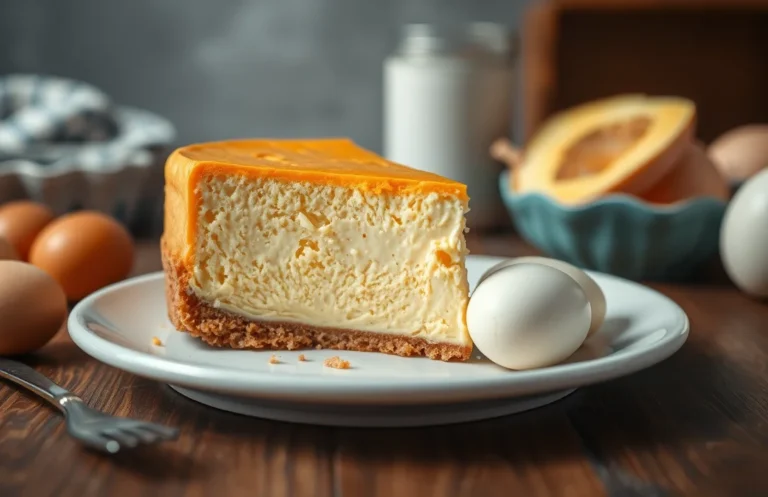
Ingredients for Cheesecake
To successfully freeze cheesecake after baking, it’s crucial to start with the right ingredients. Using high-quality components ensures that your cheesecake maintains its rich flavor and creamy texture even after thawing. Here’s a detailed list of the essential ingredients you’ll need to create a delectable cheesecake.
| Item | Amount/Specification | Notes |
|---|---|---|
| Cream Cheese | 24 ounces (680g) | Softened to room temperature for easy mixing |
| Sugar | 1 cup (200g) | Granulated sugar for sweetness |
| Eggs | 3 large | Bring to room temperature for better incorporation |
| Sour Cream | 1 cup (240g) | Adds creaminess and tang |
| Vanilla Extract | 1 teaspoon (5ml) | For flavor depth |
| Crust Ingredients | 1 ½ cups (150g) graham cracker crumbs, ½ cup (115g) unsalted butter (melted), ¼ cup (50g) sugar | For a sweet and crunchy base |
- For a gluten-free option, substitute graham cracker crumbs with crushed gluten-free cookies.
- If you have a dairy allergy, consider using vegan cream cheese and sour cream alternatives.
- Ensure all ingredients are at room temperature to prevent lumps and achieve a smooth batter.
- Don’t overmix the batter after adding the eggs; this can lead to cracks in your cheesecake.
Essential Kitchen Tools
When it comes to making and freezing cheesecake, having the right kitchen tools can make all the difference in achieving a creamy, delicious dessert that stands the test of time in the freezer. Below is a list of essential equipment you’ll need to create and properly store your cheesecake.
| Item | Amount/Specification | Notes |
|---|---|---|
| Springform Pan | 9-inch (23 cm) | Allows for easy removal of the cheesecake after baking. |
| Mixer | Stand or Hand Mixer | Use for beating cream cheese until smooth; avoid lumps. |
| Measuring Cups | 1 cup, ½ cup, ¼ cup | For accurate measurement of ingredients like sugar and cream. |
| Freezer Bags | Quart-size or Gallon-size | For storing cheesecake slices; prevent freezer burn. |
- Tip: Ensure your springform pan is well-greased to prevent sticking.
- Tip: Use room temperature ingredients, especially cream cheese, for a smoother batter.
- Tip: Label your freezer bags with the date so you can keep track of freshness.
- Tip: Always wrap your cheesecake in plastic wrap before placing it in a freezer bag for extra protection.
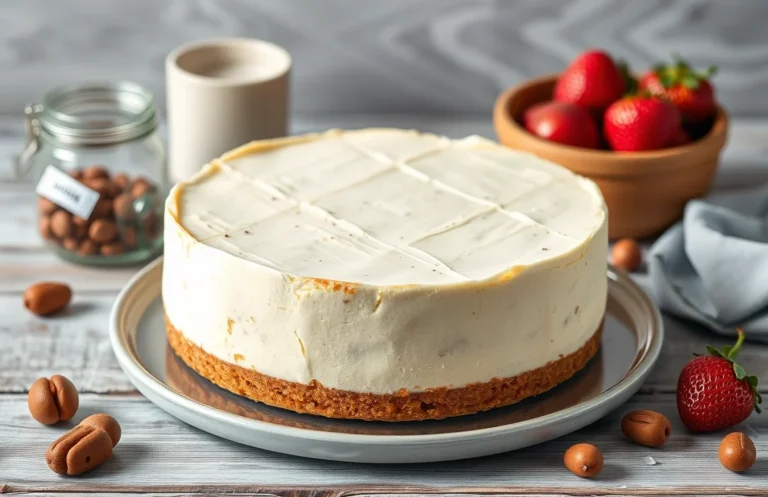
Freezing Cheesecake Steps
Freezing cheesecake after baking is a fantastic way to preserve its rich flavor and creamy texture for later enjoyment. This section will guide you through the essential steps to ensure your cheesecake freezes perfectly, maintaining its delightful taste and consistency.
- Cooling the Cheesecake: Once your cheesecake has finished baking, allow it to cool in the pan at room temperature for about 1 hour. This prevents condensation from forming when you wrap it. After that, refrigerate it for at least 4 hours or overnight, until it is completely chilled and set. The cheesecake should feel firm to the touch but not hard.
- Wrapping Techniques: To wrap your cheesecake, first, remove it from the pan if you used a springform. Use a sharp knife to gently loosen the edges, then carefully lift it out. Wrap the cheesecake tightly in plastic wrap, ensuring there are no gaps for air to enter. For extra protection, wrap it again with aluminum foil. This double-wrapping helps prevent freezer burn.
- Freezer Storage: Place the wrapped cheesecake in a sturdy, airtight container or a freezer-safe bag if you have one that fits. Label it with the date and type of cheesecake, so you can easily identify it later. Store it in the freezer for up to 3 months. Properly frozen cheesecake should retain its flavor and texture, appearing smooth and intact when you remove it.
Pro Tips for Freezing
Freezing cheesecake can be a great way to preserve your delicious creation, but there are specific techniques to ensure it maintains its creamy texture and rich flavor. Here are some expert tips to avoid common pitfalls when freezing your cheesecake.
- Avoid Ice Crystals: To minimize ice crystal formation, wrap your cheesecake tightly in plastic wrap, ensuring no air pockets are present. For added protection, place the wrapped cheesecake in an airtight container or a heavy-duty freezer bag. This keeps moisture out and helps retain the smooth texture.
- Maintaining Creaminess: For the best results, freeze your cheesecake for no longer than 2-3 months. The longer it stays in the freezer, the more its texture can degrade. When ready to enjoy, thaw it slowly in the refrigerator for 6-8 hours or overnight to help maintain its creamy consistency.
- Proper Cooling: Before freezing your cheesecake, allow it to cool completely at room temperature for at least 1 hour after baking. This step is crucial, as placing a hot cheesecake directly into the freezer can create excess moisture, leading to a soggy texture. Once cooled, chill it in the refrigerator for another 2-3 hours before wrapping and freezing.
Cheesecake Variations
When considering freezing cheesecake, it’s essential to know that variations can affect its texture and flavor. Whether you’re looking for gluten-free options, vegan substitutes, or creative flavor variations, understanding how these changes impact freezing and thawing will help you maintain the quality of your dessert.
Gluten-Free Options
- Use 1 ½ cups almond flour instead of graham cracker crumbs for the crust.
- Combine with 2 tablespoons of melted butter to bind the mixture.
- Ensure all other ingredients, like cream cheese and sugar, are gluten-free to avoid contamination.
Vegan Substitutes
- Replace cream cheese with 1 ½ cups of soaked cashews, blended until smooth.
- Use ½ cup coconut cream for a rich texture.
- Substitute eggs with a mixture of 1 tablespoon flaxseed meal and 3 tablespoons water for each egg.
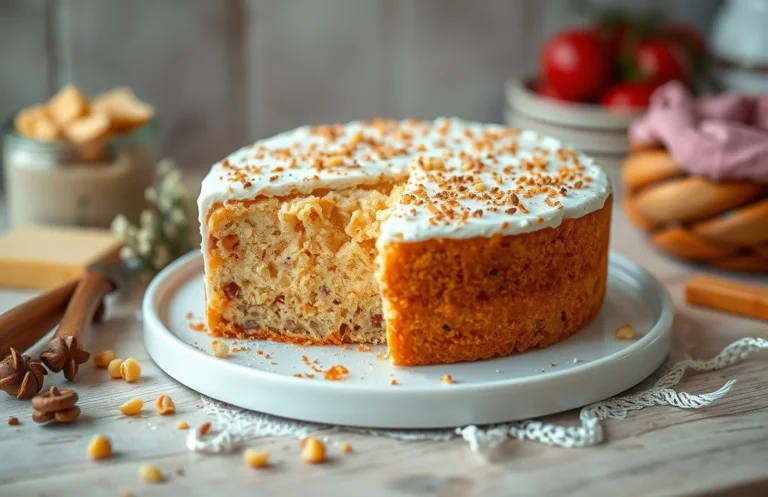
Flavor Variations
Experimenting with flavors can create delightful twists on your cheesecake. Here are a few ideas:
| Flavor | Ingredient to Add | Amount |
|---|---|---|
| Chocolate | Cocoa powder | ½ cup (50g) |
| Fruit | Puree of your choice (e.g. strawberry, blueberry) | 1 cup (240ml) |
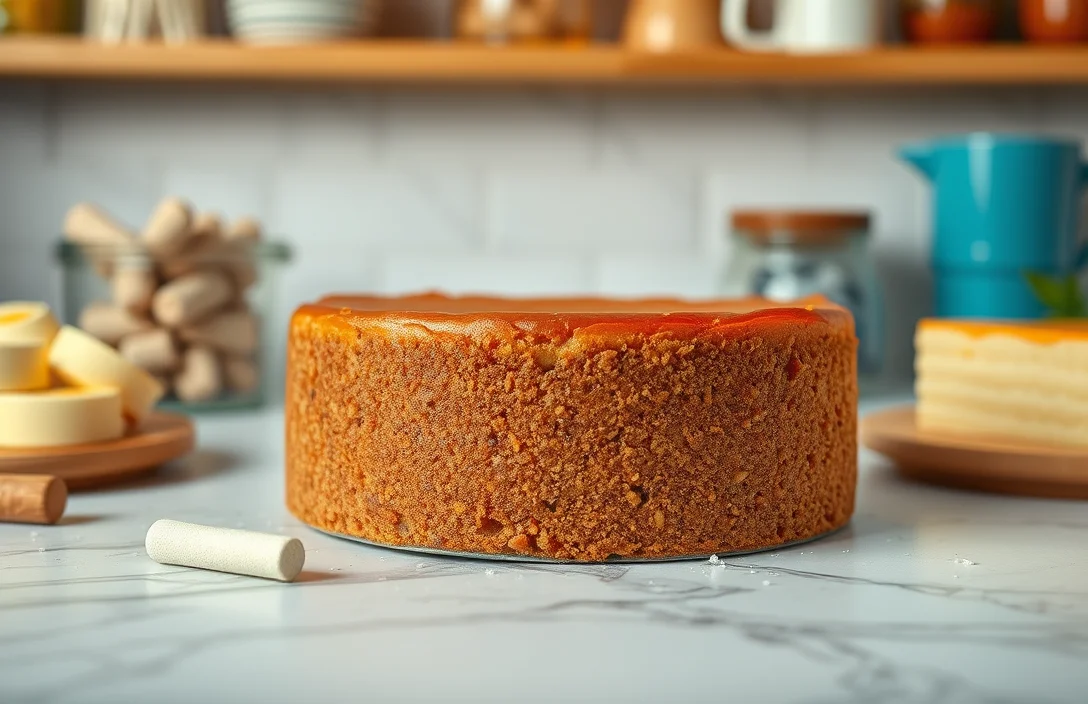
| Caramel | Caramel sauce | ⅓ cup (80ml) |
Chef’s tip: For best results, freeze flavored cheesecakes without toppings. Add them after thawing for optimal presentation and taste.
By choosing the right variations, you can enjoy your cheesecake guilt-free while still preserving its deliciousness when freezing.
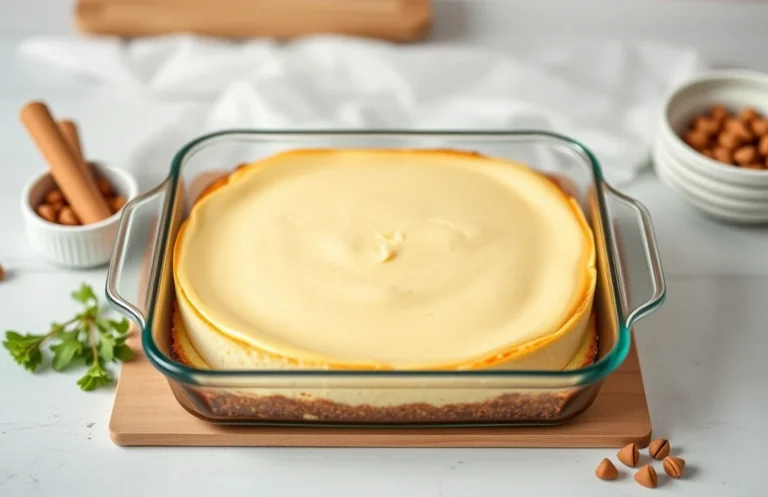
Serving Frozen Cheesecake
Once your cheesecake has been frozen and properly stored, it’s time to enjoy it! This section will guide you on how to safely thaw and serve your frozen cheesecake, ensuring it retains its delicious flavor and creamy texture. Plus, I’ll share some plating and pairing suggestions that will elevate your dessert presentation.
Thawing Process
- Remove the cheesecake from the freezer and take off any plastic wrap and aluminum foil. Place it on a plate to catch any condensation that may form as it thaws.
- Transfer the cheesecake to the refrigerator and allow it to thaw slowly for 6-8 hours. This gradual process helps maintain its texture. Avoid thawing at room temperature to prevent any unwanted texture changes.
- For a quicker method, you can let it thaw at room temperature for about 1-2 hours. Just keep an eye on it to ensure it doesn’t get too soft.
Plating Tips
- Once thawed, slice the cheesecake using a sharp knife dipped in hot water. Wipe the knife clean between slices for a neat presentation.
- Serve the cheesecake on individual plates and consider garnishing with fresh fruit, chocolate sauce, or a dollop of whipped cream for an elegant touch.
Pairing Suggestions
- Pair with a drizzle of caramel or berry sauce to enhance the flavors.
- Serve alongside a cup of coffee or a glass of dessert wine to complement the richness of the cheesecake.
- Fresh berries like raspberries or strawberries make not only a great topping but also a refreshing contrast to the creamy cheesecake.
Quick Summary
| Prep Time | Cook Time | Total Time | Servings |
|---|---|---|---|
| 20 minutes | 60 minutes | 1 hour 20 minutes | 8 servings |
- Cool Completely: Let the cheesecake cool to room temperature before freezing.
- Wrap Properly: Use plastic wrap and aluminum foil to prevent freezer burn.
- Freeze Flat: Place the cheesecake on a flat surface for even freezing.
- Thaw Gradually: Move to the fridge for 24 hours to thaw before serving.
- Consume Quickly: Enjoy within 2-3 months for best taste and texture.
- Tip: Use a springform pan for easy removal and serving.
- Tip: Avoid freezing toppings; add them fresh before serving.
Frequently Asked Questions
Can I make this ahead of time? How to store and reheat?
You can absolutely make cheesecake ahead of time! Store it in the refrigerator for up to 5 days, or freeze it for up to 3 months; just thaw in the fridge overnight when you’re ready to enjoy it.
What can I substitute for cream cheese?
If you’re looking for a substitute, you can use mascarpone cheese or a mixture of ricotta and sour cream to mimic the texture and flavor, but the taste may vary slightly.
How do I know when it’s done?
Your cheesecake is done when the edges are set and the center has a slight jiggle—about 45-50 minutes at 325°F (160°C). It will firm up as it cools, so don’t overbake it!
Can I freeze this? How long does it last?
Yes, you can freeze cheesecake after baking! It lasts well in the freezer for up to 3 months if properly wrapped in plastic wrap and then aluminum foil.
What if I don’t have a springform pan?
If you don’t have a springform pan, you can use a regular round cake pan, but be sure to line it with parchment paper for easy removal after baking.