Decadent Oreo No-Bake Cheesecake: Easy Step-by-Step Recipe
If you’re looking for a dessert that combines creamy indulgence with the nostalgic crunch of Oreos, this Oreo no-bake cheesecake is your go-to recipe. It’s a crowd-pleaser for any occasion, whether you’re hosting a dinner party or just want to treat yourself on a cozy night in. Trust me, the rich flavor and silky texture will have everyone coming back for seconds!
Get ready to whip up this delightful cheesecake in no time! With a total time of just 4 hours (including chilling), this recipe falls under easy difficulty and serves 8 people.
| Prep Time | Cook Time | Total Time | Servings | Difficulty |
|---|---|---|---|---|
| 20 minutes | N/A | 4 hours | 8 | Easy |
Origin of Oreo Cheesecake
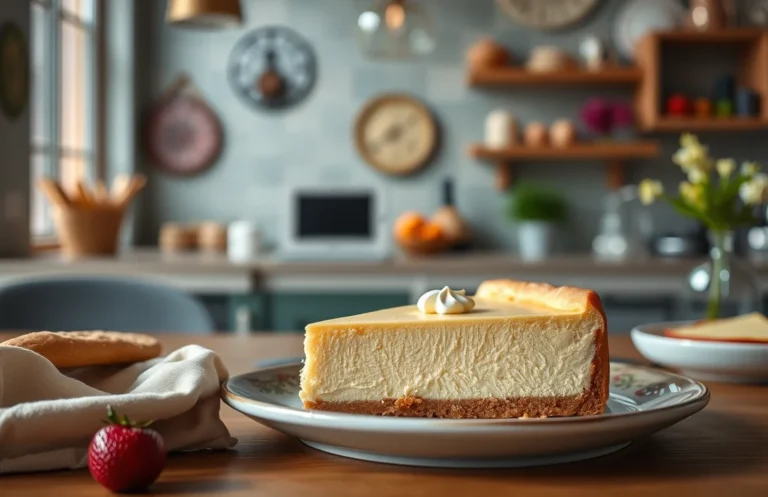
Oreo cheesecake combines the rich, creamy texture of classic cheesecake with the delightful crunch and flavor of Oreo cookies. This dessert has gained immense popularity due to its balance of sweetness and a hint of chocolate, making it a favorite for both casual gatherings and special occasions.
The origin of Oreo cheesecake can be traced back to the rise of no-bake cheesecakes in the late 20th century, where convenience and flavor became the focus for home bakers. The introduction of Oreo cookies in 1912 by Nabisco provided a delicious twist, as their unique flavor complements the creamy filling perfectly.
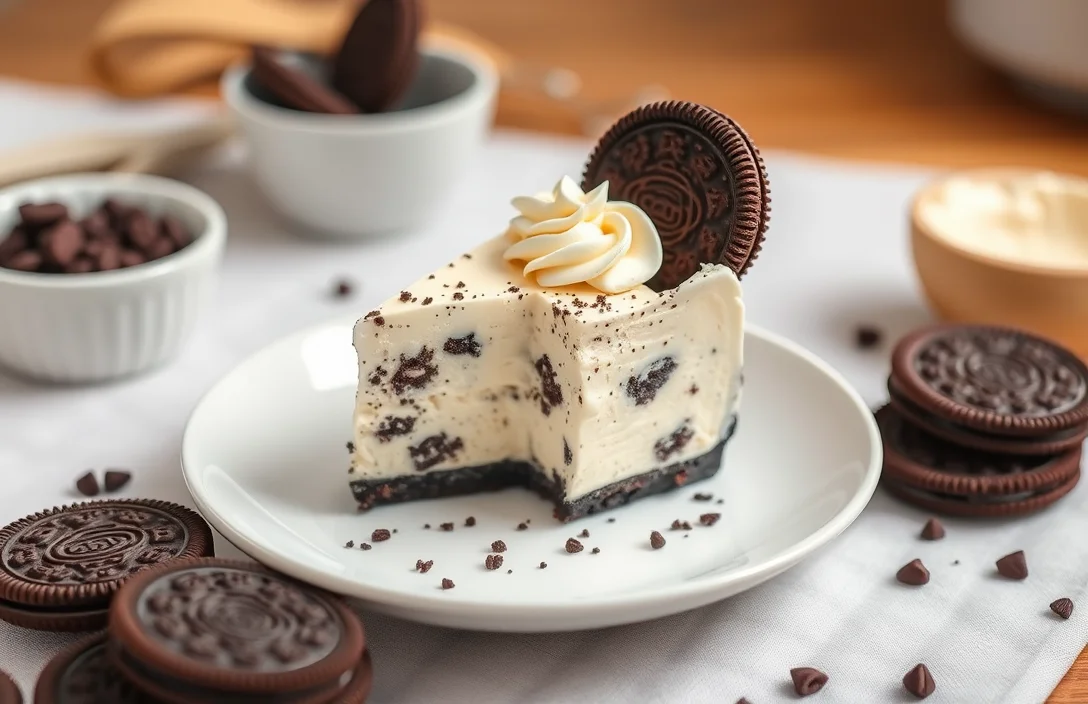
- Texture: The base is typically a crunchy layer made from crushed Oreos mixed with butter, while the filling is smooth and creamy.
- Flavor: The combination of cream cheese, sugar, and whipped cream creates a rich, sweet profile that pairs beautifully with the chocolatey notes of Oreos.
- Visual Appeal: The contrast between the dark cookie crust and the white cheesecake filling makes it an eye-catching dessert.
Chef’s tip: To enhance the Oreo flavor, consider folding in chopped Oreos into the cheesecake filling before chilling.
Oreo no-bake cheesecake is not only delicious but also a breeze to prepare, making it an ideal dessert for home cooks looking to impress without spending hours in the kitchen. Its enduring popularity speaks to the universal love of Oreos and cheesecake alike.
Ingredients List
Gathering the right ingredients is crucial for making a delicious Oreo no-bake cheesecake. Each component contributes to the creamy texture and rich flavor that this dessert is known for. Below is a detailed list of what you will need, along with exact measurements and some helpful notes.
| Item | Amount/Specification | Notes |
|---|---|---|
| Cream Cheese | 16 ounces (450g) | Softened, at room temperature |
| Oreo Cookies | 24 cookies | Crushed, plus extra for garnish |
| Sugar | ½ cup (100g) | Granulated sugar for sweetness |
| Whipped Cream | 1 cup (240ml) | Heavy cream, whipped to soft peaks |
- For a lower-fat version, you can substitute the cream cheese with light cream cheese.
- If you’re gluten-free, use gluten-free Oreo cookies.
- Make sure the cream cheese is softened to avoid lumps in your cheesecake filling.
Necessary Kitchen Equipment
To create a delicious Oreo no-bake cheesecake, having the right kitchen equipment is essential. This section outlines the necessary tools and their specifications to ensure your cheesecake turns out perfectly every time.
| Item | Amount/Specification | Notes |
|---|---|---|
| Mixing Bowls | 2 medium-sized | One for the crust, one for the filling |
| Springform Pan | 9-inch (23 cm) | Allows for easy removal of the cheesecake |
| Electric Mixer | 1 | Handheld or stand mixer; makes mixing the filling easier |
| Rubber Spatula | 1 | For folding ingredients and scraping the bowl |
| Measuring Cups | 1 set | For precise ingredient measurements |
| Measuring Spoons | 1 set | For accurate measurements of smaller ingredients |
- Ensure your mixing bowls are large enough to handle the volume of the filling.
- For the springform pan, check that the latch is secure to prevent leakage.
- Using an electric mixer helps achieve a smooth filling without lumps.
- If you don’t have a springform pan, a regular cake pan will work, but removal may be trickier.
Step-by-Step Instructions
In this section, we’ll guide you through the essential steps to create a delicious Oreo no-bake cheesecake, focusing on preparing the crust, making the filling, and chilling the cheesecake. Each step includes detailed instructions to ensure your dessert turns out perfectly!
- Prepare the Crust: Start by crushing 24 Oreo cookies into fine crumbs using a food processor. If you don’t have one, place the cookies in a resealable plastic bag and crush them with a rolling pin. Combine the crumbs with ½ cup (115g) of melted unsalted butter in a mixing bowl. Stir until the mixture resembles wet sand. Press this mixture firmly into the bottom of a 9-inch (23 cm) springform pan to create an even layer. Refrigerate for at least 15 minutes to set.
- Make the Filling: In a large bowl, beat 16 ounces (450g) of cream cheese using an electric mixer until smooth and creamy, about 2-3 minutes. Gradually add ½ cup (60g) of powdered sugar and 1 teaspoon of vanilla extract, mixing until fully combined. In a separate bowl, whip 1 cup (240ml) of heavy cream until stiff peaks form. Gently fold the whipped cream into the cream cheese mixture, being careful not to deflate it. Finally, fold in 10 crushed Oreo cookies for added texture.
- Chill the Cheesecake: Pour the filling over the chilled crust, spreading it evenly with a spatula. Smooth the top for a nice finish. Cover the cheesecake with plastic wrap and refrigerate for at least 4 hours, or ideally overnight. This chilling time allows the cheesecake to set properly, making it easier to slice. Once set, it should be firm to the touch and have a glossy appearance. Before serving, garnish with additional crushed Oreos or whipped cream if desired.
Pro Tips for Success
Creating the perfect Oreo no-bake cheesecake involves a few key techniques to ensure your dessert turns out creamy and delicious. Here are some expert tips to help you avoid common pitfalls and achieve that ideal consistency.
- Avoid Overmixing: When combining your cream cheese and whipped cream, mix just until smooth and incorporated. Overmixing can introduce too much air into the filling, leading to a lighter texture that may not set properly. Aim for a velvety consistency that is thick yet spreadable.
- Check Consistency: After folding in the whipped cream, your cheesecake mixture should be thick enough to hold its shape. If it seems too runny, consider refrigerating it for an additional 30 minutes before pouring it into the crust. Remember, it will set further in the fridge, so a slightly thicker batter is preferable.
Variations and Substitutions
This section explores delicious alternatives and adjustments for the Oreo no-bake cheesecake, allowing you to cater to dietary needs while still enjoying the rich flavors. Whether you’re looking for gluten-free options or vegan adaptations, there are plenty of ways to customize this dessert.
Gluten-Free Options
If you’re gluten-sensitive, you can easily modify the crust and filling of your cheesecake:
- Use gluten-free Oreo cookies or any gluten-free chocolate sandwich cookies. You’ll need 24 cookies (about 8 ounces) to create a crust similar to the traditional version.
- Ensure that your cream cheese and any other dairy products are certified gluten-free, as some brands may have cross-contamination risks.
Vegan Adaptations
For a vegan version of the Oreo no-bake cheesecake, make the following substitutions:
- Replace the cream cheese with 1 ½ cups of vegan cream cheese or blended soaked cashews (soak 1 cup of cashews in water for at least 4 hours, then drain and blend until smooth).
- Use coconut cream instead of heavy whipping cream. Chill a can of full-fat coconut milk overnight, then scoop out the solid cream for whipping.
- For the crust, opt for vegan chocolate sandwich cookies, using about 24 cookies (8 ounces) as well.
Chef’s tip: For the best flavor, let the cheesecake sit in the refrigerator for at least 4 hours or overnight to allow the flavors to meld.
| Ingredient | Traditional | Gluten-Free | Vegan |
|---|---|---|---|
| Cookies for crust | 24 Oreo cookies | 24 gluten-free cookies | 24 vegan cookies |
| Cream cheese | 2 cups | 2 cups gluten-free cream cheese | 1 ½ cups vegan cream cheese or blended cashews |
| Heavy cream | 1 cup | 1 cup heavy cream | 1 cup coconut cream |
Serving Suggestions
When it comes to presenting your Oreo no-bake cheesecake, a few thoughtful touches can elevate the dessert and impress your guests. From garnishing ideas to beverage pairings, these suggestions will enhance your cheesecake experience and make it even more enjoyable.
Garnishing Ideas
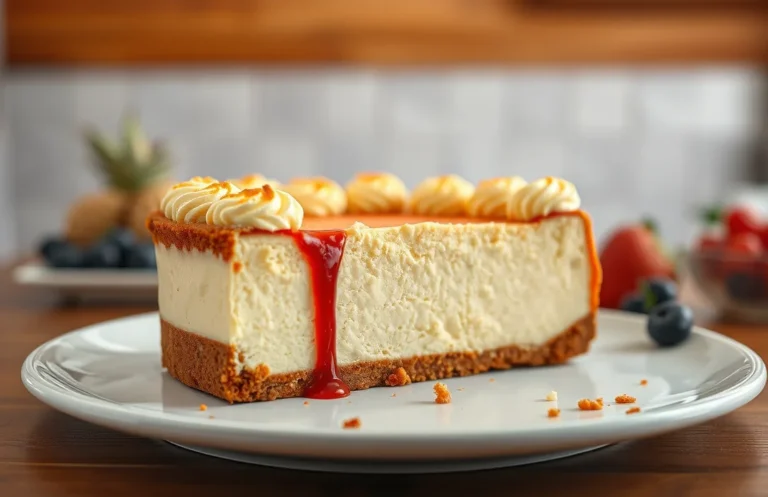
- Whipped Cream: Top each slice with a dollop of freshly whipped cream. For added flair, pipe it using a pastry bag.
- Oreo Crumbles: Sprinkle crushed Oreo cookies over the top for a crunchy texture and visual appeal.
- Chocolate Drizzle: Melt ½ cup of semi-sweet chocolate and drizzle it over the cheesecake for a rich flavor contrast.
- Mint Leaves: Add a few fresh mint leaves to each plate for a pop of color and freshness.
Pairing Beverages
Pairing the right drink with your cheesecake can enhance the flavor profile. Consider these options:
| Beverage | Description |
|---|---|
| Espresso | The boldness of espresso complements the sweetness of the cheesecake perfectly. |
| Red Wine | A sweet dessert wine, like Port, enhances the chocolate flavors. |
| Milkshake | A chocolate or vanilla milkshake adds a fun, nostalgic touch. |
Chef’s tip: Chill your cheesecake slices for 15 minutes before serving to allow the flavors to meld and for a firmer texture.
Quick Summary
| Prep Time | Cook Time | Total Time | Servings |
|---|---|---|---|
| 20 minutes | 0 minutes | 4 hours | 8 servings |
- Crust preparation: Crush 24 Oreo cookies and mix with 5 tablespoons melted butter.
- Cheese mixture: Beat 16 oz cream cheese with 1 cup powdered sugar until smooth.
- Add whipped cream: Fold in 2 cups whipped cream gently to maintain fluffiness.
- Layering: Spread cheese mixture over crust and top with crushed Oreos.
- Chill time: Refrigerate for at least 4 hours to set properly.
- Tip 1: Use full-fat cream cheese for a richer texture.
- Tip 2: Ensure whipped cream is stiff to keep the cheesecake light.
- Tip 3: Let the cheesecake sit at room temperature for 10 minutes before slicing for easier serving.
Frequently Asked Questions
Can I make this ahead of time? How to store and reheat?
You can definitely make this cheesecake up to 2 days ahead of time and store it covered in the refrigerator. Just keep it in an airtight container to maintain freshness.
What can I substitute for cream cheese?
If you’re looking for a substitute, you can use mascarpone cheese for a similar creamy texture and flavor. Greek yogurt can also work, but it may alter the taste slightly.
How do I know when it’s done?
Your no-bake cheesecake is done when it feels firm to the touch and has set properly, typically after 4-6 hours in the fridge. It should hold its shape when you slice into it, but still be creamy.
Can I freeze this? How long does it last?
Yes, you can freeze the cheesecake for up to 2 months. Just be sure to wrap it tightly in plastic wrap and aluminum foil to prevent freezer burn.
Why did my cheesecake turn out too soft?
If your cheesecake is too soft, it may not have set long enough in the fridge; aim for at least 4 hours or overnight. Additionally, ensure you used enough cream cheese and whipped the mixture thoroughly to incorporate air for firmness.

- Decadent Peanut Butter No-Bake Cheesecake: Easy Recipe to Indulge - April 3, 2026
- Delicious Mango No-Bake Cheesecake: Step-by-Step Recipe - April 3, 2026
- Decadent Raspberry No-Bake Cheesecake: Easy Step-by-Step Recipe - April 3, 2026