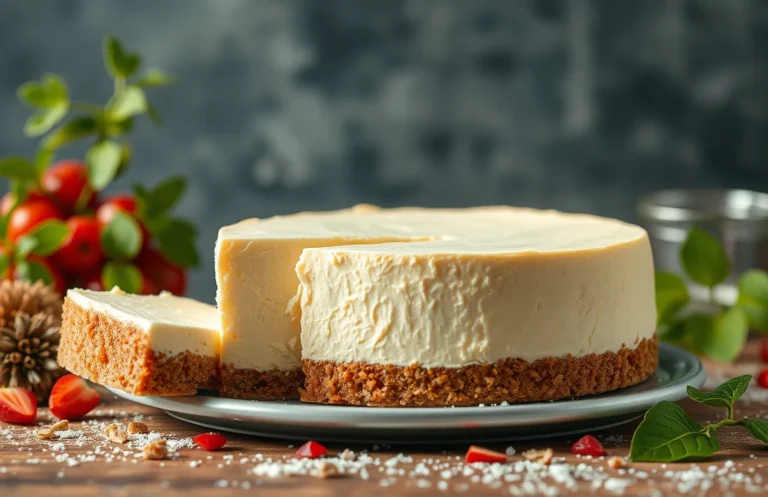
No Bake Cheesecake Filling: Quick and Easy Recipe for Desserts
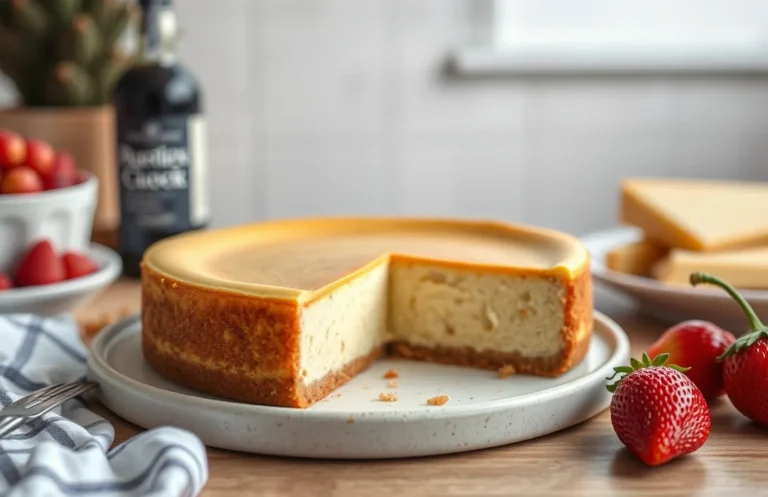
If you’re looking for a dessert that’s creamy, dreamy, and utterly irresistible, this DIY no-bake cheesecake filling is your answer. Perfect for summer gatherings or a cozy weeknight treat, it delivers all the rich, tangy flavor of traditional cheesecake without turning on the oven. Serve it with fruit, chocolate, or even straight from the bowl—every bite is pure bliss!
Get ready to whip up this easy, no-bake cheesecake filling in just 15 minutes! This recipe yields about 4 cups of filling, perfect for multiple desserts, and is beginner-friendly so anyone can nail it.
| Prep Time | Cook Time | Total Time | Servings | Difficulty |
|---|---|---|---|---|
| 15 minutes | 0 minutes | 15 minutes | 4 cups | Easy |
Origin of No Bake Cheesecake
No bake cheesecake has a delightful history that reflects the evolution of dessert-making and the love for creamy, rich flavors. This no-fuss dessert gained popularity in the United States during the 20th century, allowing busy home cooks to create a luscious cheesecake without the need for an oven. This makes it special, as it marries convenience with indulgence.
- Origin: The concept of cheesecake dates back to ancient Greece, but the no bake version emerged much later, catering to modern tastes and kitchen simplicity.
- What Makes It Special: It offers a creamy texture and can be whipped up in a matter of minutes, often using a few basic ingredients that are usually on hand.
- When to Serve: No bake cheesecake is perfect for summer gatherings, potlucks, or any occasion that calls for a cool, refreshing dessert.
Chef’s tip: For a richer flavor, consider adding a splash of vanilla extract or lemon juice to your filling.
This dessert also allows for endless variations, whether you prefer a classic vanilla, rich chocolate, or fruity twists with fresh berries. No bake cheesecake filling is not only easy to make but also a great way to impress your guests without spending hours in the kitchen.
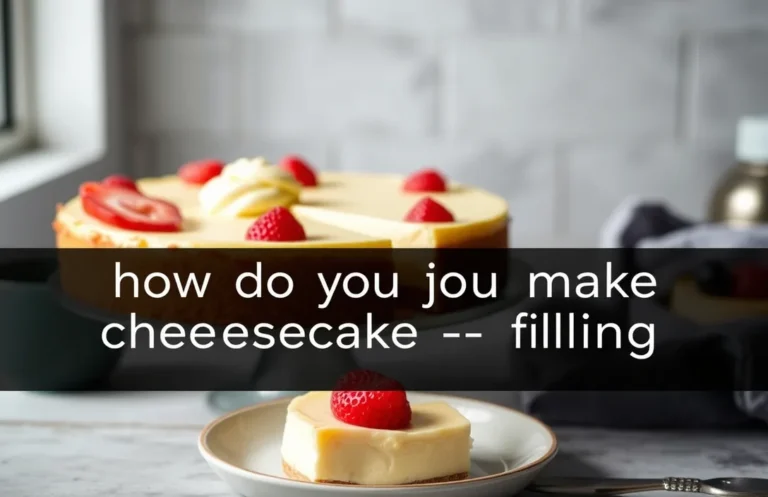
Ingredients List with Measurements
This section provides a complete list of ingredients you’ll need to create a creamy and delicious no bake cheesecake filling. Having the right measurements is crucial for achieving the perfect texture and flavor, so let’s get started!
| Item | Amount/Specification | Notes |
|---|---|---|
| Cream cheese | 8 ounces (226g) | Softened to room temperature |
| Sour cream | 1 cup (240ml) | Can substitute with Greek yogurt for a lighter option |
| Granulated sugar | ¾ cup (150g) | Adjust to taste if desired |
| Vanilla extract | 1 teaspoon (5ml) | Use pure vanilla for the best flavor |
| Heavy whipping cream | 1 cup (240ml) | Chilled for better whipping |
| Powdered sugar | ¼ cup (30g) | Optional for added sweetness |
- Tip: Ensure your cream cheese is softened; this helps in blending smoothly.
- Tip: For a citrus twist, consider adding a teaspoon of lemon juice or zest.
- Tip: If you’re avoiding dairy, you can explore dairy-free cream cheese options available in stores.
Essential Kitchen Equipment
To create a delicious DIY no bake cheesecake filling, having the right kitchen equipment is essential. This section outlines the tools you’ll need to prepare your ingredients and achieve a smooth, creamy texture for your cheesecake filling.
- Mixing Bowls: You’ll need at least two mixing bowls: one for the cream cheese mixture and another for the whipped cream. Opt for a medium mixing bowl (3-quart capacity) for blending the cream cheese and sugar, and a smaller bowl (2-quart capacity) for whipping the cream. This separation helps maintain the fluffy texture of the whipped cream.
- Electric Mixer: A handheld or stand mixer is crucial for achieving the right consistency. Use the mixer on medium speed to beat the cream cheese until it’s completely smooth and free of lumps. If you don’t have a mixer, a sturdy whisk can work, but it will require more effort and time.
- Spatula: A silicone or rubber spatula is perfect for folding the whipped cream into the cream cheese mixture. This ensures you maintain the airiness of the whipped cream. Make sure to scrape down the sides of the bowl to incorporate all ingredients evenly.
- Measuring Cups and Spoons: Precision is key when it comes to baking. Use dry measuring cups for ingredients like sugar and graham cracker crumbs, and liquid measuring cups for items like vanilla extract and heavy cream. Accurate measurements will help you achieve the perfect balance of flavors.
- 9-inch Springform Pan: If you plan to set your cheesecake filling into a crust, a springform pan is ideal. It allows for easy removal of the cheesecake once it has set. Line the bottom with parchment paper for an easier release.
Step-by-Step Instructions
This section provides detailed, step-by-step instructions to prepare a delicious no-bake cheesecake filling. Following these clear steps will ensure your cheesecake has the perfect creamy texture and flavor.
- 8 ounces (226g) cream cheese, softened
- ½ cup (60g) powdered sugar
- 1 teaspoon vanilla extract
- 1 cup (240ml) heavy whipping cream
- In a large mixing bowl, beat 8 ounces of softened cream cheese with an electric mixer on medium speed until smooth and creamy, about 2 minutes. The mixture should be free of lumps and have a light, fluffy texture.
- Gradually add ½ cup of powdered sugar and 1 teaspoon of vanilla extract to the cream cheese. Continue mixing on medium speed until fully combined, about 1-2 minutes. The filling should be sweet and fragrant, with a silky consistency.
- In a separate bowl, pour in 1 cup of heavy whipping cream. Using a clean electric mixer, whip the cream on high speed until stiff peaks form, which should take around 3-4 minutes. The cream should be thick enough to hold its shape when lifted with a spatula.
- Carefully fold the whipped cream into the cream cheese mixture using a spatula. Do this gently to avoid deflating the whipped cream. Continue folding until no streaks remain, and the filling is smooth and airy.
- Once combined, transfer the cheesecake filling into your prepared crust or dish. Smooth the top with a spatula and refrigerate for at least 4 hours, or until set. The filling should feel firm to the touch when ready.
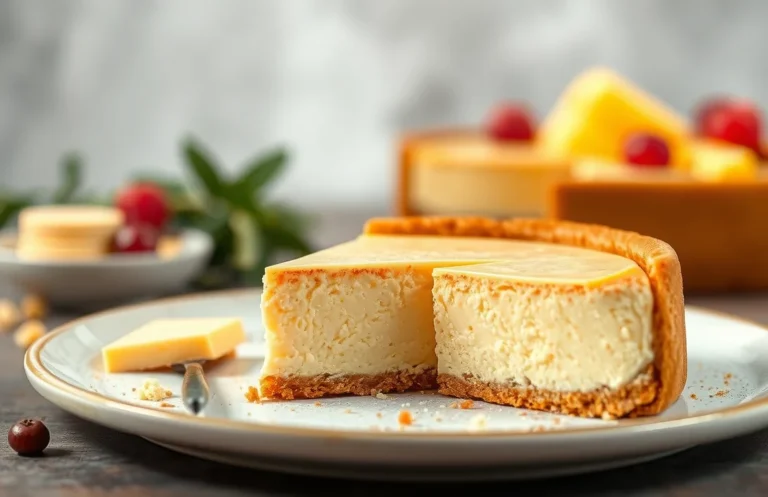
Pro Tips and Common Mistakes
This section highlights essential tips and common pitfalls to avoid when making your DIY no-bake cheesecake filling. Understanding these nuances can help ensure your cheesecake turns out creamy, stable, and delicious every time.
- Use room temperature ingredients: Ensure your cream cheese and other dairy ingredients are at room temperature before mixing. This helps them blend smoothly, resulting in a creamy texture without lumps.
- Whip the cream properly: When whipping the heavy cream, aim for stiff peaks. This means the cream should hold its shape and not droop when you lift the whisk. Under-whipped cream can result in a filling that’s too soft and won’t hold its shape.
- Don’t overmix: Once you combine the whipped cream with the cream cheese mixture, gently fold them together. Overmixing can deflate the whipped cream, leading to a denser filling that lacks the lightness characteristic of no-bake cheesecakes.
- Chill adequately: Allow your cheesecake filling to chill for at least 4 hours, preferably overnight. This time helps the filling set properly and enhances the flavors. A well-chilled filling will slice neatly and hold its shape.
- Check for sweetness: Taste the filling before setting it. Depending on your palate and the type of sweetener used, you may need to adjust the sugar to your liking. Remember that it may taste slightly less sweet once chilled.
- Use a stable base: If you’re using a crust, make sure it’s firm and stable. A crumbly base can lead to a filling that won’t hold together well. Consider using graham cracker crumbs mixed with melted butter for best results.
Flavor Variations and Modifications
This section offers a variety of ways to customize your DIY no bake cheesecake filling, ensuring it suits your taste preferences and dietary needs. Whether you’re looking to switch up flavors or make substitutions for allergies, these ideas will help you create a cheesecake that’s uniquely yours.
Flavor Variations
- Fruit-Infused: Fold in 1 cup of pureed fruit, such as strawberries, raspberries, or mango, for a delicious fruity twist.
- Chocolate: Add ½ cup of melted dark chocolate or ¼ cup of cocoa powder for a rich chocolate cheesecake.
- Nutty: Incorporate ½ cup of finely chopped nuts, like pecans or almonds, for added texture and flavor.
- Spiced: Mix in 1 teaspoon of cinnamon or ½ teaspoon of nutmeg for a warm, spiced flavor.
Dietary Modifications
If you have specific dietary restrictions, here are some alternatives:
- Gluten-Free: Use gluten-free graham crackers or almond flour for the crust.
- Vegan: Substitute cream cheese with 1 cup of cashew cream and use coconut milk instead of heavy cream.
- Dairy-Free: Use almond or soy cream cheese and coconut cream in place of heavy cream.
Chef’s tip: Make sure to taste your filling before setting it, as flavors can intensify when chilled!
| Ingredient | Standard | Vegan | Gluten-Free |
|---|---|---|---|
| Cream Cheese | 8 oz (225g) | 1 cup cashew cream | 8 oz (225g) gluten-free cream cheese |
| Heavy Cream | 1 cup (240ml) | 1 cup coconut cream | 1 cup (240ml) dairy-free heavy cream |
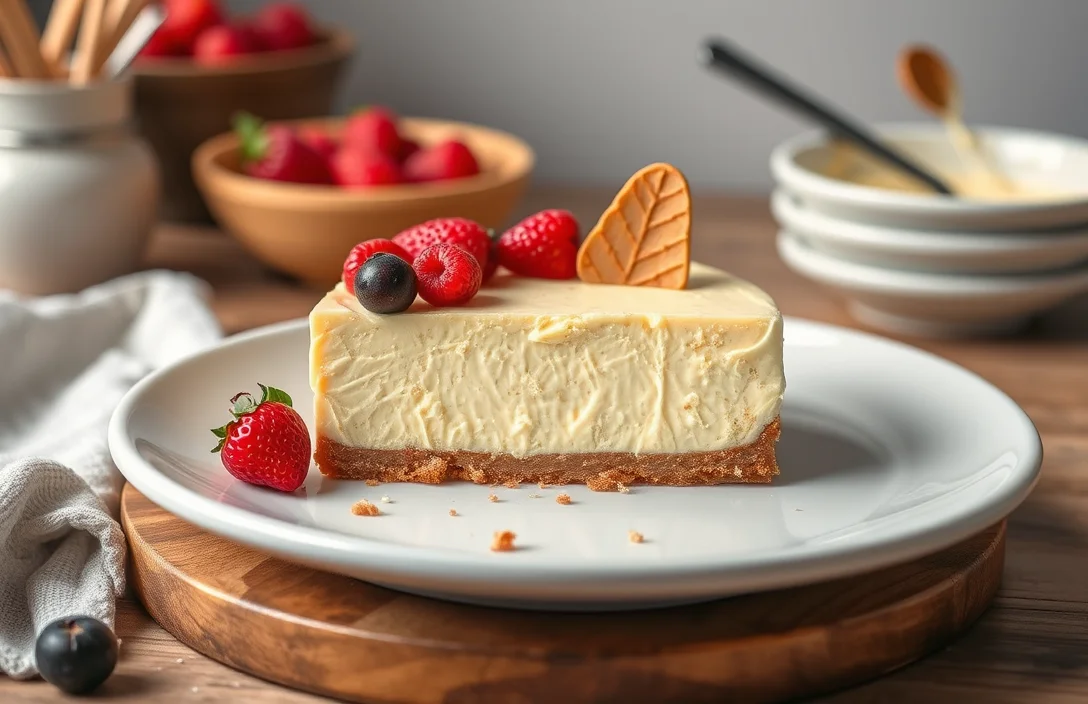
Serving and Plating Suggestions
Serving your DIY no-bake cheesecake filling can elevate your dessert experience and impress your guests. Here are some creative ways to present your cheesecake filling and delicious pairings that enhance its flavor.
- Use a Graham Cracker Crust: For a classic presentation, spoon the filling into a pre-made or homemade graham cracker crust. The crunchy texture complements the creamy filling beautifully.
- Top with Fresh Berries: Add a handful of fresh strawberries, blueberries, or raspberries on top for a pop of color and a burst of flavor. The tartness of the berries balances the sweetness of the cheesecake.
- Drizzle with Chocolate or Caramel: A drizzle of chocolate sauce or caramel adds an indulgent touch. Use a squeeze bottle for precision and a professional look.
- Serve in Individual Glasses: Layer the filling in small glasses with crushed cookies or fruit for a stunning dessert presentation. This makes it easy for guests to serve themselves.
- Add Whipped Cream: A dollop of freshly whipped cream on top enhances the creaminess of the cheesecake filling. To make it special, consider folding in a little vanilla extract for extra flavor.
- Garnish with Mint Leaves: For a fresh touch, add a sprig of mint on top. This not only looks nice but also adds a refreshing aroma that enhances the dining experience.
Remember, the key to a beautiful presentation is to play with colors and textures. Your no-bake cheesecake will not only taste amazing but will also be a feast for the eyes!
Quick Summary
| Prep Time | Cook Time | Total Time | Servings |
|---|---|---|---|
| 15 minutes | 0 minutes | 15 minutes | 8 servings |
- Combine ingredients: Blend 16 oz cream cheese, 1 cup powdered sugar, and 1 tsp vanilla until smooth.
- Add whipped cream: Gently fold in 2 cups of whipped cream for lightness.
- Chill time: Refrigerate for at least 2 hours to set.
- Flavor variations: Add lemon juice or chocolate for different flavors.
- Crust prep: Use a pre-made graham cracker crust for convenience.
- Tip 1: Use room temperature cream cheese for easy blending.
- Tip 2: Don’t overmix the whipped cream to maintain fluffiness.
- Tip 3: Taste and adjust sweetness as needed before chilling.
Frequently Asked Questions
Can I make this ahead of time? How to store and reheat?
You can absolutely make this no-bake cheesecake filling ahead of time! Store it in an airtight container in the refrigerator for up to 3 days, and there’s no need to reheat it.
What can I substitute for cream cheese?
If you’re looking for a substitute, you can use mascarpone cheese for a similar creamy texture, or Greek yogurt for a lighter option, but it may alter the flavor slightly.
How do I know when it’s done?
Your cheesecake filling is ready when it’s smooth, creamy, and holds its shape without any runniness; it should look thick and fluffy after mixing.
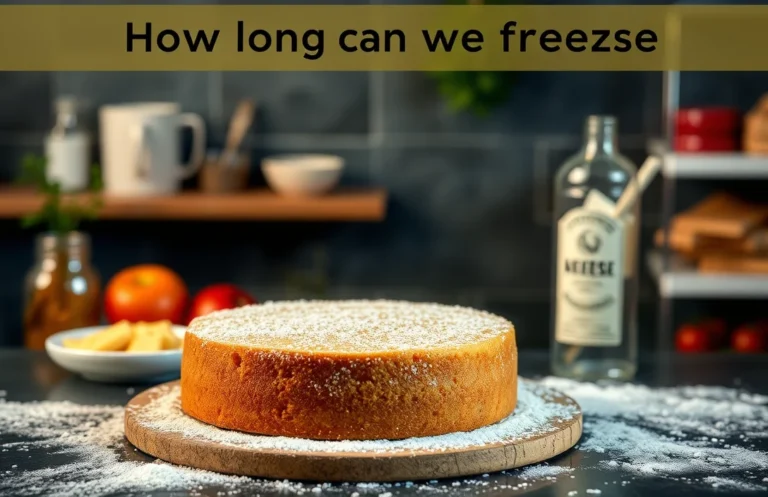
Can I freeze this? How long does it last?
Yes, you can freeze the cheesecake filling for up to 2 months, but be sure to store it in an airtight container to prevent freezer burn. Thaw it in the refrigerator overnight before using.
Why did my filling turn out runny?
If your filling is runny, it may be due to not enough cream cheese or overmixing, which can incorporate too much air. Try adding a bit more cream cheese or chilling it longer to help it set up.

- Decadent Peanut Butter No-Bake Cheesecake: Easy Recipe to Indulge - April 3, 2026
- Delicious Mango No-Bake Cheesecake: Step-by-Step Recipe - April 3, 2026
- Decadent Raspberry No-Bake Cheesecake: Easy Step-by-Step Recipe - April 3, 2026