9 Easy No-Bake Cheesecake Bar Recipes for 9×13 Pans
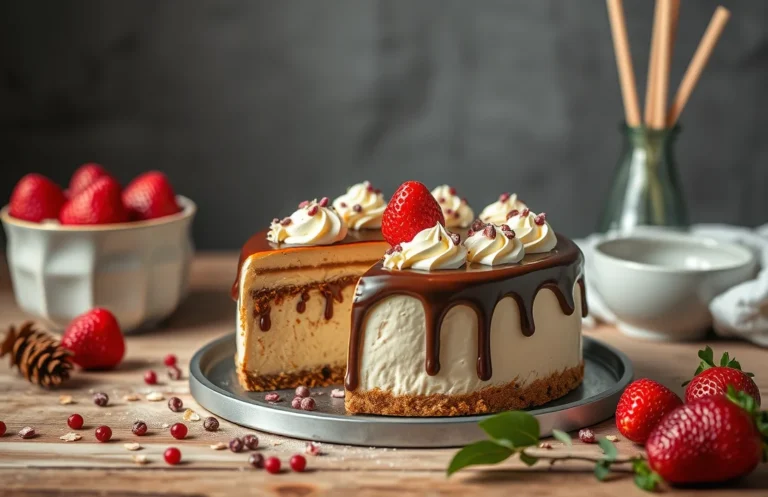
There’s something undeniably satisfying about no-bake cheesecake bars, especially when they’re chilled to perfection and ready to impress. These creamy, dreamy bars are the ultimate crowd-pleaser, perfect for weeknight desserts or special occasions. With a buttery graham cracker crust and luscious filling, they’re pure comfort in every bite.
Key details: Total time: 4 hours, Difficulty: Easy, Servings: 12.
| Prep Time | Cook Time | Total Time | Servings | Difficulty |
|---|---|---|---|---|
| 30 minutes | 0 | 4 hours | 12 | Easy |
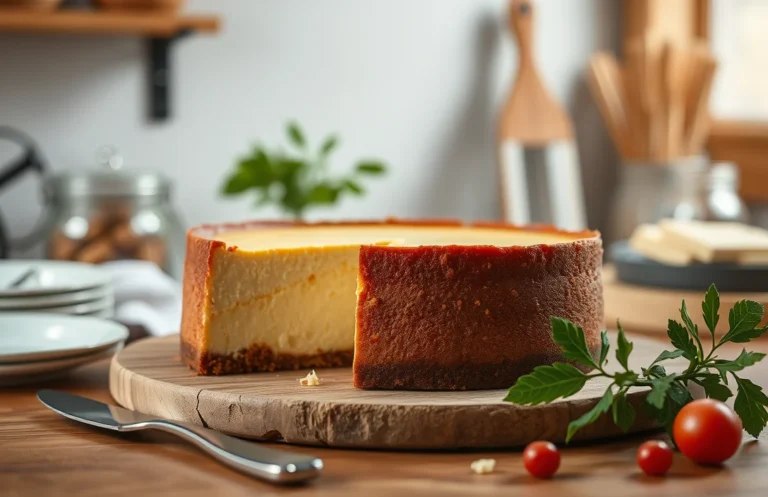
Classic Vanilla No-Bake Cheesecake Bars
These Classic Vanilla No-Bake Cheesecake Bars are the perfect sweet treat for any occasion! With a creamy, smooth filling and a buttery graham cracker crust, they are incredibly easy to whip up and require no baking at all. The rich vanilla flavor shines through, making these bars a favorite among friends and family.
Ingredients
- Graham cracker crumbs (1 ½ cups)
- Unsalted butter, melted (½ cup)
- Granulated sugar (¼ cup)
- Cream cheese, softened (16 oz)
- Powdered sugar (1 cup)
- Vanilla extract (2 teaspoons)
- Sour cream (1 cup)
- Heavy whipping cream (1 cup)
Instructions
- (Total cook time: about 45 minutes) Start by preparing your 9×13 inch pan. Line it with parchment paper, leaving some overhang for easy removal later.
- In a medium bowl, combine the graham cracker crumbs, melted butter, and granulated sugar. Mix until it’s all moistened and crumbly, then press this mixture firmly into the bottom of your prepared pan to form the crust. Chill in the fridge for about 15 minutes to set.
- While the crust is chilling, beat the softened cream cheese in a large bowl using an electric mixer until smooth and creamy. This should take about 2-3 minutes.
- Add the powdered sugar, vanilla extract, and sour cream to the cream cheese and mix until well combined and fluffy, about another 2 minutes.
- In a separate bowl, whip the heavy cream until stiff peaks form. This usually takes about 3-5 minutes. Gently fold the whipped cream into the cream cheese mixture until fully incorporated.
- Spread the cheesecake filling evenly over the chilled crust, smoothing it out with a spatula. Cover and refrigerate for at least 4 hours, or overnight if you can wait!
- Once set, lift the cheesecake out of the pan using the parchment overhang, slice into bars, and enjoy your delicious creation!
Chocolate Swirl No-Bake Cheesecake Bars
If you’re looking for a dessert that’s both creamy and chocolaty without turning on the oven, these Chocolate Swirl No-Bake Cheesecake Bars are just the ticket! The rich, velvety cheesecake is perfectly balanced by a luscious chocolate swirl, making every bite a delightful experience. They’re not just easy to make; they’re sure to impress everyone at your next gathering!
Ingredients
- Graham cracker crumbs (1 ½ cups)
- Unsalted butter, melted (½ cup)
- Granulated sugar (¼ cup)
- Cream cheese, softened (16 oz)
- Powdered sugar (½ cup)
- Vanilla extract (1 teaspoon)
- Sour cream (1 cup)
- Heavy whipping cream (1 cup)
- Semisweet chocolate chips (½ cup)
- Milk (2 tablespoons)
Instructions
- (Total cook time: about 30 minutes) Start by preparing your 9×13-inch pan. Line it with parchment paper, leaving some overhang for easy removal later.
- In a medium bowl, combine the graham cracker crumbs, melted butter, and granulated sugar. Mix until it resembles wet sand. Press this mixture evenly into the bottom of your prepared pan to create a solid crust.
- In a large mixing bowl, beat the softened cream cheese until smooth. Gradually add the powdered sugar and vanilla extract, mixing until well combined. Then, stir in the sour cream until fully incorporated.
- In another bowl, whip the heavy cream until stiff peaks form. Gently fold the whipped cream into the cream cheese mixture until it’s nice and fluffy. Be careful not to deflate it!
- In a small microwave-safe bowl, combine the semisweet chocolate chips and milk. Microwave in 30-second intervals, stirring in between, until the chocolate is melted and smooth.
- Pour the cheesecake mixture over the crust, smoothing it out with a spatula. Drizzle the melted chocolate on top and use a toothpick or knife to swirl it into the cheesecake for that beautiful marbled effect.
- Refrigerate for at least 4 hours, or until set. Once set, lift the bars out using the parchment overhang, slice them into squares, and enjoy the creamy chocolate goodness!
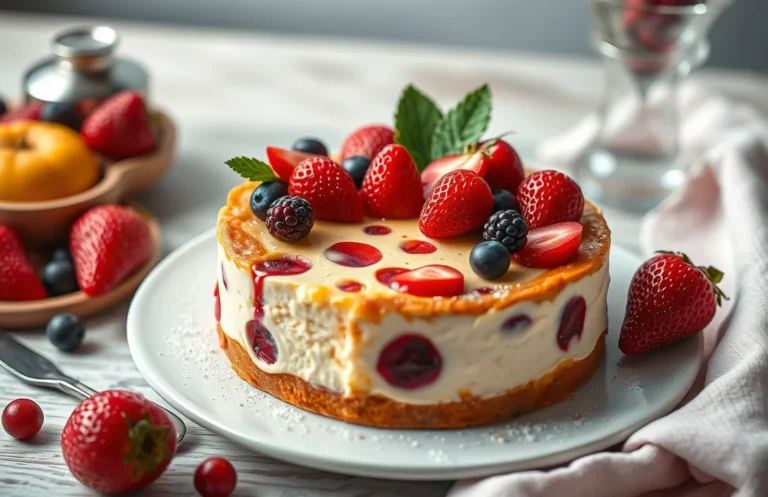
Strawberry No-Bake Cheesecake Bars
If you’re looking for a delightful dessert that combines creamy cheesecake with the freshness of strawberries, these Strawberry No-Bake Cheesecake Bars are your answer! They’re not only easy to make but also incredibly refreshing, making them perfect for warm weather gatherings. The buttery graham cracker crust pairs beautifully with the sweet and tangy cream cheese filling, topped with luscious strawberry sauce — it’s a flavor combination that never disappoints!
Ingredients
- Graham cracker crumbs (1 ½ cups)
- Unsalted butter, melted (½ cup)
- Granulated sugar (¼ cup)
- Cream cheese, softened (16 oz)
- Powdered sugar (½ cup)
- Vanilla extract (1 tsp)
- Heavy cream (1 cup)
- Fresh strawberries, hulled and sliced (2 cups)
- Strawberry jam (½ cup)
Instructions
- (Total cook time: about 45 minutes) Start by preparing your 9×13 pan. Line it with parchment paper, allowing some overhang for easy removal later.
- In a medium bowl, combine the graham cracker crumbs, melted butter, and granulated sugar. Mix until the crumbs are well-coated and resemble wet sand.
- Press the crumb mixture firmly into the bottom of the prepared pan, creating an even layer. Use the back of a measuring cup to pack it down tightly. Place it in the refrigerator to set while you make the filling.
- In a large mixing bowl, beat the softened cream cheese until smooth and creamy. Gradually add the powdered sugar and vanilla extract, continuing to mix until well combined.
- In a separate bowl, whip the heavy cream until stiff peaks form. Gently fold the whipped cream into the cream cheese mixture until fully incorporated. Be careful not to deflate the whipped cream!
- Spread the cream cheese filling evenly over the chilled crust. Smooth the top with a spatula and return it to the fridge for at least 30 minutes to set.
- While the cheesecake is chilling, prepare the strawberry topping by combining the sliced strawberries and strawberry jam in a small bowl. Mix gently until the strawberries are coated.
- Once the cheesecake has set, top it with the strawberry mixture. Slice into bars and serve chilled. Enjoy!
Lemon Zest No-Bake Cheesecake Bars
These Lemon Zest No-Bake Cheesecake Bars are a delightful treat that brings a bright and refreshing twist to the classic cheesecake. With a creamy filling that’s lightened up by zesty lemon, each bite is a perfect balance of sweet and tangy. They’re easy to whip up and require no baking, making them an ideal dessert for warm weather gatherings or anytime you crave something sweet without the fuss!
Ingredients
- Graham cracker crumbs (1 ½ cups)
- Granulated sugar (⅓ cup)
- Unsalted butter, melted (½ cup)
- Cream cheese, softened (16 oz)
- Powdered sugar (1 cup)
- Fresh lemon juice (¼ cup)
- Lemon zest (2 tablespoons)
- Vanilla extract (1 teaspoon)
- Heavy whipping cream (1 cup)
Instructions
- (Total cook time: about 45 minutes) Start by preparing the crust. In a medium bowl, combine the graham cracker crumbs, granulated sugar, and melted butter. Stir until everything is well mixed and resembles wet sand.
- Press the mixture firmly into the bottom of a 9×13 inch pan to form an even layer. Use the back of a measuring cup to really pack it down. Pop it in the fridge to set while you make the filling.
- In a large mixing bowl, beat the softened cream cheese with an electric mixer until smooth and creamy, about 2 minutes. Add in the powdered sugar, fresh lemon juice, lemon zest, and vanilla extract. Beat until everything is well combined.
- In a separate bowl, whip the heavy cream until stiff peaks form, which should take about 3-5 minutes. Gently fold the whipped cream into the cream cheese mixture until no streaks remain, being careful not to deflate the whipped cream.
- Spread the cheesecake filling evenly over the chilled crust in the pan. Smooth the top with a spatula, and then cover it with plastic wrap.
- Chill in the refrigerator for at least 4 hours, or until firm. If you can wait overnight, even better!
- Once set, remove from the fridge, cut into bars, and enjoy the refreshing zing of lemon in every bite!
Peanut Butter No-Bake Cheesecake Bars
If you’re a fan of creamy, dreamy desserts that come together without turning on the oven, then these Peanut Butter No-Bake Cheesecake Bars are going to be your new best friend! The rich, velvety peanut butter filling is perfectly balanced with a buttery, crumbly crust, making every bite a delightful experience. They’re sweet, a little salty, and the perfect treat for any occasion.
Ingredients
- Graham cracker crumbs (1 ½ cups)
- Unsalted butter, melted (½ cup)
- Granulated sugar (¼ cup)
- Cream cheese, softened (8 oz)
- Confectioners’ sugar (½ cup)
- Peanut butter (1 cup)
- Vanilla extract (1 teaspoon)
- Heavy cream (1 cup)
- Chocolate chips, for topping (optional, ½ cup)
Instructions
- (Total cook time: about 30 minutes) Start by preparing your crust. In a mixing bowl, combine the graham cracker crumbs, melted butter, and granulated sugar. Mix until the crumbs are well-coated and resemble wet sand.
- Press the mixture firmly into the bottom of a 9×13 inch pan to form an even layer. You can use the back of a measuring cup to help pack it down tightly.
- In a separate bowl, beat the softened cream cheese until smooth and creamy. Add in the confectioners’ sugar, peanut butter, and vanilla extract; mix until fully combined and smooth.
- In another bowl, whip the heavy cream until stiff peaks form. Gently fold the whipped cream into the peanut butter mixture, being careful not to deflate it. This will keep your cheesecake bars light and fluffy!
- Spread the peanut butter cheesecake filling evenly over the crust in the pan. Smooth the top with a spatula, and if you’re feeling indulgent, sprinkle the chocolate chips on top.
- Cover the pan with plastic wrap or foil and refrigerate for at least 4 hours, or until set. If you can wait overnight, they’ll be even better!
- Once set, slice into bars and serve. Enjoy the creamy peanut butter goodness!
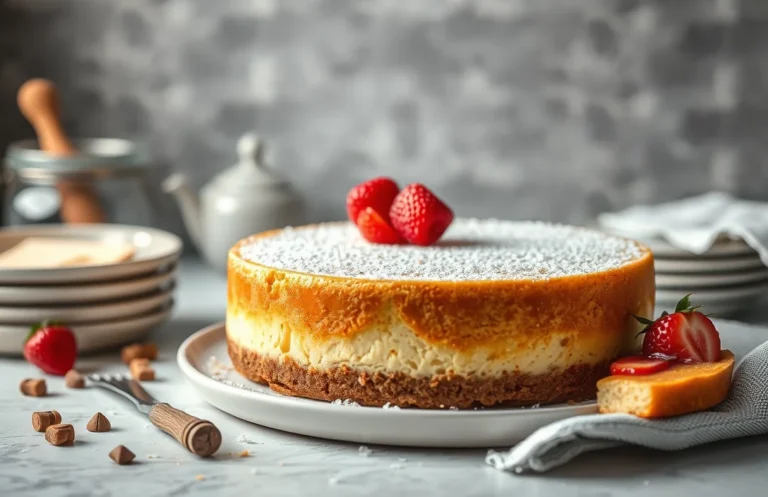
Oreo Crust No-Bake Cheesecake Bars
These Oreo Crust No-Bake Cheesecake Bars are the ultimate sweet treat for those who crave something rich and creamy without the hassle of baking. The combination of the crunchy Oreo crust and the velvety cheesecake filling creates a delightful contrast in textures, while the chocolatey flavor pairs perfectly with the tangy cream cheese. Trust me, once you try these, they’ll become a go-to dessert for any occasion!
Ingredients
- Oreo cookies (24, crushed into fine crumbs)
- Unsalted butter (6 tablespoons, melted)
- Cream cheese (16 ounces, softened)
- Granulated sugar (1 cup)
- Vanilla extract (1 teaspoon)
- Sour cream (1 cup)
- Heavy cream (1 cup, chilled)
- Powdered sugar (1/2 cup)
- Chocolate shavings or mini chocolate chips (for garnish, optional)
Instructions
- (Total cook time: about 45 minutes) Start by preparing the crust. In a medium bowl, mix the crushed Oreo cookies with the melted butter until well combined and crumbly.
- Press the mixture firmly into the bottom of a 9×13-inch baking pan to form an even layer. Use the back of a measuring cup to help pack it down tightly. Set aside.
- In a large mixing bowl, beat the softened cream cheese and granulated sugar together with an electric mixer on medium speed until smooth and creamy, about 2-3 minutes. Scrape down the sides as needed.
- Add the vanilla extract and sour cream to the cream cheese mixture, and continue to mix until fully incorporated and smooth, about another minute.
- In a separate bowl, whip the chilled heavy cream until soft peaks form. Gradually add the powdered sugar while continuing to whip until stiff peaks form.
- Gently fold the whipped cream into the cream cheese mixture using a spatula until fully combined. Be careful not to deflate the whipped cream!
- Pour the cheesecake filling over the prepared Oreo crust and spread it out evenly. Cover the pan with plastic wrap and refrigerate for at least 4 hours, or until set.
- Once set, cut into bars and garnish with chocolate shavings or mini chocolate chips if you’d like. Enjoy!
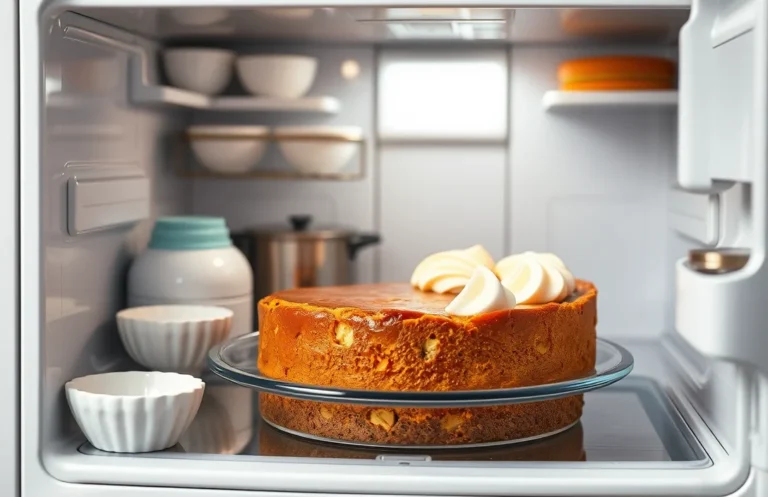
Pumpkin Spice No-Bake Cheesecake Bars
These Pumpkin Spice No-Bake Cheesecake Bars are the perfect fall treat! With a creamy pumpkin filling infused with warm spices nestled on a buttery graham cracker crust, they offer a delightful balance of sweetness and spice. Plus, they come together without ever needing to turn on the oven, making them a breeze to whip up any time you crave a seasonal dessert.
Ingredients
- Graham cracker crumbs (1 ½ cups)
- Unsalted butter, melted (½ cup)
- Granulated sugar (¼ cup)
- Cream cheese, softened (16 oz)
- Powdered sugar (¾ cup)
- Pumpkin puree (1 cup)
- Pumpkin pie spice (2 tsp)
- Vanilla extract (1 tsp)
- Heavy cream (1 cup)
- Whipped cream, for topping (optional)
Instructions
- (Total cook time: about 30 minutes) Start by preparing your crust. In a medium mixing bowl, combine the graham cracker crumbs, melted butter, and granulated sugar until the mixture resembles wet sand.
- Press the crumb mixture firmly into the bottom of a 9×13 inch pan to form an even layer. Make sure to pack it down well! Place the crust in the refrigerator to set while you make the filling.
- In a large bowl, beat the softened cream cheese and powdered sugar together until smooth and creamy, about 2-3 minutes. You want to make sure there are no lumps!
- Add the pumpkin puree, pumpkin pie spice, and vanilla extract to the cream cheese mixture, then beat until fully combined and creamy, about 1-2 minutes.
- In a separate bowl, whip the heavy cream until stiff peaks form. Gently fold the whipped cream into the pumpkin mixture until well combined. Be careful not to deflate the whipped cream too much!
- Spread the pumpkin cheesecake filling evenly over the chilled crust in the pan. Use a spatula to smooth the top.
- Cover with plastic wrap and refrigerate for at least 4 hours, or until set. Once ready, cut into bars and top with whipped cream if desired. Enjoy!
Matcha Green Tea No-Bake Cheesecake Bars
These Matcha Green Tea No-Bake Cheesecake Bars are a delightful twist on the classic cheesecake, bringing a beautiful green hue and a unique earthy flavor that’s simply irresistible! The creamy, smooth texture combined with the subtle bitterness of matcha makes for an elegant dessert that’s perfect for any occasion, whether it’s a weekend family gathering or a chic dinner party.
Ingredients
- Graham cracker crumbs (1 ½ cups)
- Unsalted butter, melted (½ cup)
- Granulated sugar (¼ cup)
- Cream cheese, softened (16 oz)
- Powdered sugar (½ cup)
- Matcha green tea powder (2 tablespoons)
- Vanilla extract (1 teaspoon)
- Sour cream (1 cup)
- Heavy whipping cream (1 cup)
- Fresh mint leaves, for garnish (optional)
Instructions
- (Total cook time: about 30 minutes) Start by preparing the crust. In a medium bowl, mix together the graham cracker crumbs, melted butter, and granulated sugar until well combined. The mixture should resemble wet sand.
- Press the crumb mixture firmly into the bottom of a 9×13 inch pan. Use the back of a measuring cup or your hands to ensure it’s even. Pop it in the fridge to set while you prepare the filling.
- In a large mixing bowl, beat the softened cream cheese with an electric mixer on medium speed until smooth and creamy, about 2-3 minutes.
- Gradually add in the powdered sugar and matcha powder, mixing until fully incorporated. Scrape down the sides of the bowl as needed.
- Mix in the vanilla extract and sour cream until everything is velvety smooth. Make sure there are no lumps!
- In another bowl, whip the heavy cream until stiff peaks form, about 3-4 minutes. Gently fold the whipped cream into the matcha mixture with a spatula until fully combined, being careful not to deflate the air from the whipped cream.
- Spread the creamy matcha filling evenly over the chilled crust, smoothing the top with a spatula. Cover and refrigerate for at least 4 hours or until set.
- Once set, cut into bars, garnish with fresh mint if desired, and serve chilled. Enjoy your delightful treat!
Quick Summary
| Prep Time | 20 minutes |
|---|---|
| Chill Time | 4 hours |
| Total Time | 4 hours 20 minutes |
| Servings | 12 bars |
- Crust prep: Combine 1 ½ cups crushed graham crackers with ½ cup melted butter.
- Cheesecake mix: Beat 16 oz cream cheese with ½ cup sugar until smooth.
- Add flavor: Mix in 2 teaspoons vanilla extract and 1 cup whipped cream.
- Layering: Spread cream cheese mixture over the crust in a 9×13 pan.
- Chill: Refrigerate for at least 4 hours before slicing.
- Tip: Use room temperature cream cheese for a smoother texture.
- Tip: Line the pan with parchment for easy removal.
- Tip: Let bars sit at room temperature for 10 minutes before slicing for clean cuts.
Frequently Asked Questions
Can I make this ahead of time? How to store and reheat?
You can definitely make these cheesecake bars ahead of time; they store well in the refrigerator for up to 5 days. Just cover them tightly with plastic wrap or aluminum foil to keep them fresh.
What can I substitute for cream cheese?
If you need a substitute for cream cheese, you can use mascarpone cheese or a dairy-free cream cheese alternative for a similar texture. Just keep in mind that the flavor may vary slightly.
How do I know when it’s done?
Your cheesecake bars are ready when the filling is set and slightly firm to the touch, which usually takes about 4-6 hours in the fridge. They should not be jiggly in the center when you gently shake the pan.
Can I freeze this? How long does it last?
You can freeze these cheesecake bars for up to 3 months if wrapped tightly in plastic wrap and then aluminum foil. Just thaw them in the refrigerator overnight before serving for the best texture.
What if I don’t have a 9×13 pan?
If you don’t have a 9×13 pan, you can use an 8×8 or 9×9 pan, but remember to adjust the thickness of the bars and possibly the chilling time, as they may need a bit longer to set up properly.