Can You Freeze Cheesecake? Tips for Perfect Texture & Flavor
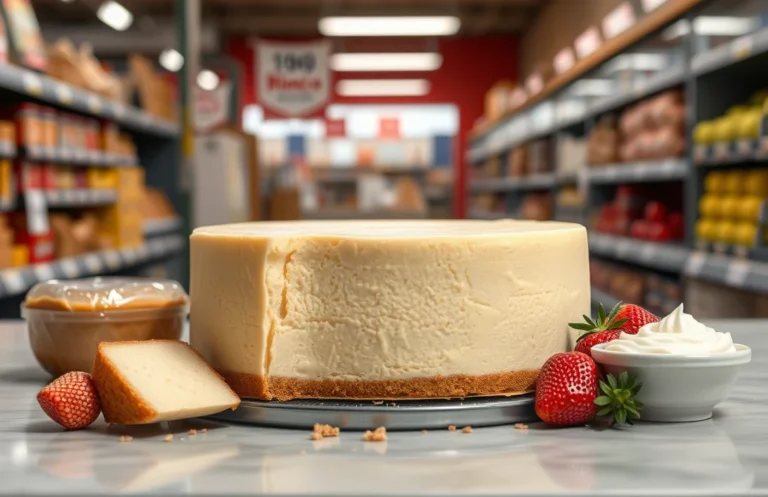
Cheesecake is the ultimate dessert that makes every occasion feel special. Its creamy texture, rich flavor, and buttery crust combine to create a slice of heaven that melts in your mouth. Whether it’s a birthday celebration or a cozy night in, a good cheesecake is always a crowd-pleaser that leaves everyone asking for seconds!
If you’ve ever wondered if cheesecake can be frozen, you’re in the right place! This guide will provide you with step-by-step freezing instructions, tips for thawing and serving, and insights into how freezing affects texture and flavor.
| Prep Time | 20 minutes |
|---|---|
| Cook Time | 60 minutes |
| Total Time | 1 hour 20 minutes |
| Servings | 10 slices |
| Difficulty | Medium |
Cheesecake Origins and Significance
Cheesecake has a rich history that spans centuries and cultures, making it a beloved dessert for many occasions. Understanding its origins and significance can enhance your appreciation of the dish, especially when considering how well it can be frozen for later enjoyment.
Historical Background
Cheesecake is believed to have originated in ancient Greece, where it was served to athletes during the first Olympic Games in 776 B.C. The Greeks made a simple version using cheese and honey, which has influenced many variations over time. The Romans later adapted the recipe, adding eggs and creating a custard-like texture, which led to the diverse styles we see today.
Cultural Variations
Different cultures have embraced cheesecake in unique ways. Here are a few notable examples:
- New York Style: This version is dense and creamy, typically made with cream cheese and sour cream, making it a favorite for special occasions.
- Italian Ricotta Cheesecake: Made with ricotta cheese, this lighter version often includes citrus zest and is popular during holidays.
- Japanese Cotton Cheesecake: Known for its fluffy texture, this cake is light and airy, often enjoyed as a dessert after a meal.
Chef’s tip: Cheesecake is often served at celebrations like birthdays and holidays, making it a dessert that brings people together.
As you explore the freezing potential of cheesecake, keep in mind that the flavors and textures that make this dessert iconic can be somewhat altered by freezing. Let’s delve into how to do it properly in the next section.
Ingredients for Freezing Cheesecake
Before you freeze your cheesecake, it’s essential to gather the right ingredients to ensure the best flavor and texture after thawing. Using high-quality ingredients will help retain the creamy richness of the cheesecake, even after it’s been frozen. Here’s what you’ll need:
| Item | Amount/Specification | Notes |
|---|---|---|
| Cream Cheese | 16 ounces (450g) | Full-fat for best texture |
| Sugar | 1 cup (200g) | Granulated sugar, adjust to taste |
| Eggs | 3 large | Bring to room temperature for even mixing |
| Graham Cracker Crumbs | 1 ½ cups (150g) | For the crust, can substitute with gluten-free crumbs |
| Unsalted Butter | ½ cup (115g) | Melted for crust binding |
- Tip: Use high-quality cream cheese for a smoother texture.
- Make sure your cheesecake is completely cooled before freezing to prevent ice crystals.
- If using a flavored cheesecake, ensure the ingredients complement each other well.
Essential Kitchen Equipment
To successfully prepare and freeze cheesecake, you’ll need some key kitchen tools that will make the process smooth and efficient. Each tool plays a critical role in ensuring your cheesecake is mixed, baked, and stored properly, maintaining its delicious taste and texture even after freezing.
- Mixing Tools: A sturdy mixing bowl (preferably glass or stainless steel) is essential for combining your ingredients. You’ll also need a hand mixer or a stand mixer for a creamy texture, mixing at medium speed until the batter is smooth and fluffy. Make sure to scrape down the sides of the bowl to ensure everything is well incorporated.
- Baking Pan: Use a 9-inch (23 cm) springform pan for baking your cheesecake. This type of pan allows for easy removal once the cheesecake has set. Line the bottom with parchment paper and grease the sides with butter or cooking spray to prevent sticking.
- Freezer Safe Containers: Once your cheesecake is cooled, transfer it to a freezer-safe container or wrap it tightly in plastic wrap followed by aluminum foil. This dual layer helps to prevent freezer burn and keeps the cheesecake fresh. Consider using an airtight container for optimal results, as it shields against any freezer odors that could affect the flavor.
Chef’s tip: Always label your containers with the date and type of cheesecake to keep track of how long it’s been stored in the freezer.
Step-by-Step Freezing Instructions
Freezing cheesecake can be a great way to preserve its rich flavor and creamy texture for later enjoyment. However, it’s essential to follow the right steps to ensure that your cheesecake stays delicious and doesn’t suffer from freezer burn or texture changes. Here’s how to freeze cheesecake properly.
- Baking the Cheesecake: Start by baking your cheesecake according to your recipe, typically at 325°F (160°C) for 60-70 minutes. The cheesecake should be set around the edges but slightly jiggly in the center when you remove it from the oven. Allow it to cool at room temperature for about 1 hour before refrigerating for at least 4 hours or until completely chilled.
- Cooling Process: Once the cheesecake is completely chilled, remove it from the refrigerator. This step is crucial as it helps to firm up the texture, making it easier to slice and freeze. If you plan to freeze individual slices, use a sharp knife to cut the cheesecake into the desired portions. Ensure that you do this while it’s still cold to prevent any crumbling.
- Wrapping for Freezing: Wrap the entire cheesecake tightly with plastic wrap, ensuring there are no exposed areas. For added protection, wrap it in aluminum foil or place it in a freezer-safe container. If you’ve sliced the cheesecake, wrap each piece individually in plastic wrap, then place them in a freezer bag, removing as much air as possible. Label the bags with the date and type of cheesecake for easy identification later.
Pro Tips for Freezing Success
Successfully freezing cheesecake requires careful attention to avoid common pitfalls that can compromise its texture and flavor. Here are some expert tips to ensure your cheesecake remains creamy and delicious after thawing.
- Avoid Ice Crystals: To minimize ice crystals forming on your cheesecake, wrap it tightly in plastic wrap, making sure there are no air pockets. Consider using two layers of wrap for extra protection. This helps maintain the creamy texture and prevents freezer burn.
- Proper Cooling Techniques: Before freezing, allow your cheesecake to cool completely at room temperature for about 1 hour. Then, refrigerate for at least 4 hours, or overnight if possible. This cooling process helps set the texture, which is crucial for a successful freeze.
- Slice Before Freezing: For convenience, consider slicing your cheesecake into individual pieces before freezing. This allows you to thaw only what you need, and helps prevent repeated freezing and thawing, which can degrade the quality.
- Use an Airtight Container: If you prefer to freeze whole cheesecakes, place it in an airtight container once wrapped. This provides an additional barrier against moisture and odors in the freezer, preserving flavor.
- Label and Date: Always label your cheesecake with the date it was frozen. Cheesecakes can be stored in the freezer for up to 3 months, but marking the date ensures you use it at its best quality.
Variations and Dietary Modifications
This section highlights some delightful variations of cheesecake that can be frozen successfully, along with modifications for specific dietary needs. By understanding these alternatives, you can enjoy your favorite dessert while accommodating different preferences.
Gluten-Free Options
If you’re looking for a gluten-free cheesecake, the crust can be easily modified. Instead of traditional graham crackers, try the following substitutes:
- 1 ½ cups gluten-free graham cracker crumbs
- 1 ½ cups almond flour (150g)
- 1 ½ cups crushed gluten-free cookies
Mix your chosen crust ingredients with:
- 5 tablespoons melted butter
- 1 tablespoon sugar
Press the mixture into the bottom of a 9-inch springform pan and bake at 350°F (175°C) for 8-10 minutes until lightly golden. This will set a solid base that freezes well without sacrificing texture.
Vegan Cheesecake
For a vegan alternative, you can replace cream cheese and eggs with plant-based ingredients:
- 1 ½ cups soaked cashews (at least 4 hours) for creaminess
- ½ cup coconut cream for richness
- ½ cup maple syrup for sweetness
Blend these ingredients until smooth and creamy. Pour over your crust of choice (consider using a nut-based crust) and freeze. Make sure to allow it to freeze for at least 4-6 hours for the best results.
Chef’s tip: Always label your frozen cheesecakes with the date and type, so you know what you have when you’re ready to serve!
Thawing and Serving Recommendations
Successfully thawing and serving frozen cheesecake is key to retaining its delicious texture and flavor. Here’s how to do it properly, ensuring that your cheesecake remains creamy and delectable when it’s time to enjoy it.
- Thawing in the Refrigerator: The best method for thawing cheesecake is to place it in the refrigerator. Remove the cheesecake from the freezer and unwrap it. Allow it to thaw for about 6-8 hours or overnight. This slow thawing keeps the texture smooth and prevents excess moisture from forming.
- Quick Thawing Method: If you’re short on time, you can thaw cheesecake at room temperature. Simply take it out of the freezer and let it sit on the countertop for about 2-3 hours. Keep in mind that this method may slightly alter the texture, making it less creamy than the refrigerator method.
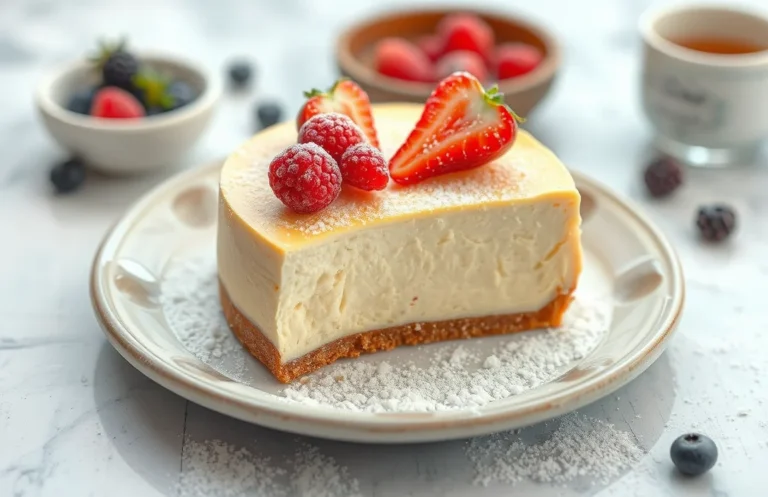
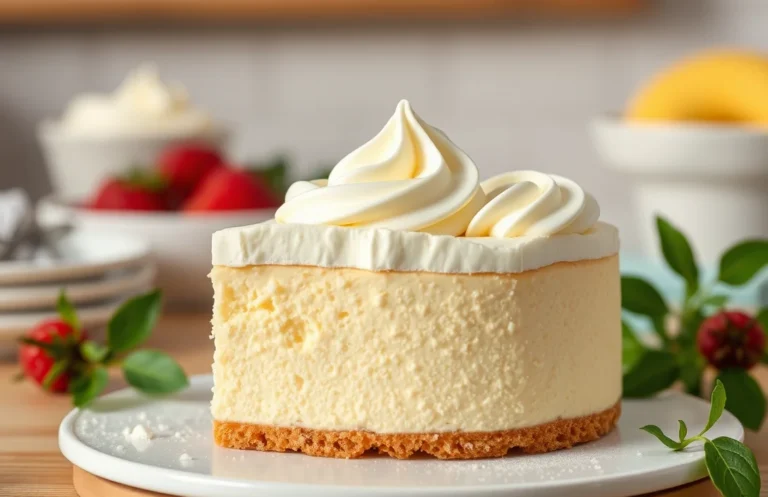
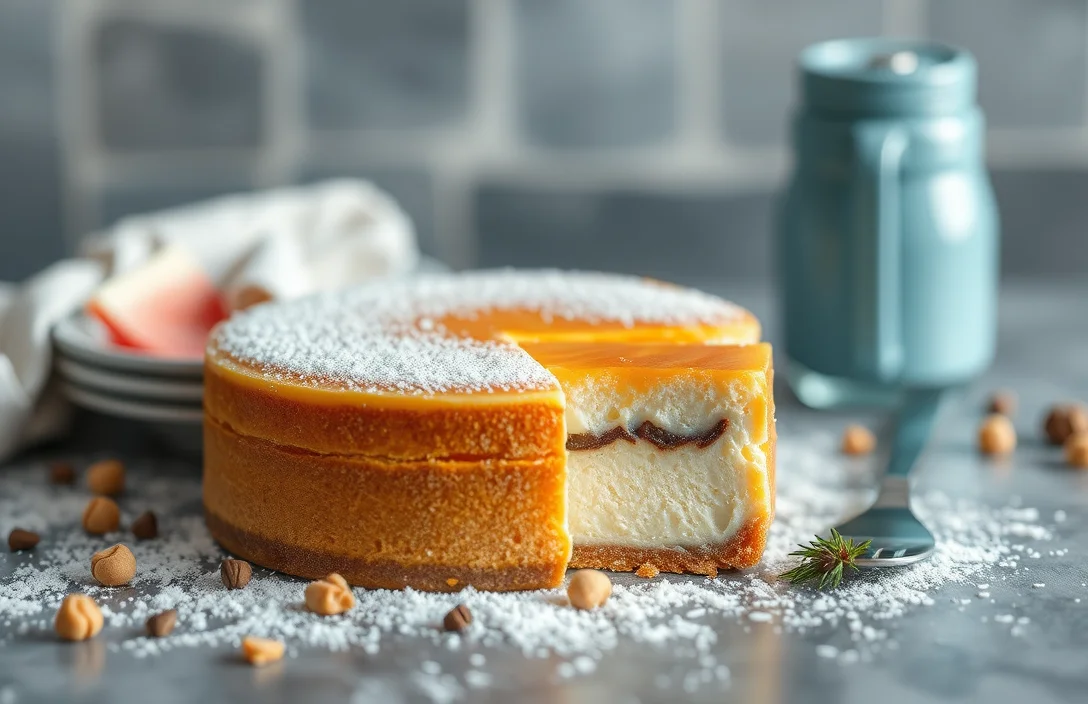
- Serving Suggestions: Once thawed, remove the cheesecake from its pan and place it on a serving platter. For an attractive presentation, top it with fresh berries, a drizzle of chocolate or caramel sauce, or a sprinkle of powdered sugar. Consider adding a dollop of whipped cream for an extra indulgent touch.
- Storage Tips: If you have leftovers after serving, store any remaining cheesecake in an airtight container in the refrigerator for up to 3 days. If you notice any changes in texture or flavor, a quick re-whip of the cream topping can help refresh its appearance.
Chef’s tip: Always slice cheesecake with a warm knife for clean cuts. Dip the knife in hot water, wipe it dry, and cut through the cheesecake for beautiful slices.
Quick Summary
| Prep Time | Cook Time | Total Time | Servings |
|---|---|---|---|
| 15 minutes | 60 minutes | 1 hour 15 minutes | 8 |
- Chill before freezing: Allow cheesecake to cool completely before placing it in the freezer.
- Wrap tightly: Use plastic wrap and aluminum foil to prevent freezer burn.
- Thaw gradually: Move cheesecake to the fridge 24 hours before serving for optimal texture.
- Check for cracks: Avoid overbaking to minimize cracks, which can worsen after freezing.
- Use quality ingredients: A rich cream cheese makes a noticeable difference in flavor and texture.
Frequently Asked Questions
Can I make this cheesecake ahead of time? How do I store and reheat it?
You can absolutely make cheesecake ahead of time! Store it in the refrigerator for up to 5 days, and if you need to reheat, gently warm individual slices in the microwave for 15-20 seconds.
What can I substitute for cream cheese?
If you’re looking for a substitute, you can use Mascarpone cheese or a blend of Greek yogurt and cream cheese for a tangy flavor. Just remember, the texture may be slightly different.
How do I know when my cheesecake is done?
Your cheesecake is done when the edges are set but the center still has a slight jiggle, which usually takes about 55-70 minutes in the oven at 325°F (160°C).
Can I freeze this cheesecake? How long does it last?
You can freeze cheesecake for up to 3 months if it’s wrapped tightly in plastic wrap and then aluminum foil. Thaw it in the refrigerator overnight before serving for the best texture.
Why did my cheesecake turn out cracked?
If your cheesecake has cracks, it may have been baked at too high a temperature or overbaked; ensure you bake at 325°F (160°C) and check for doneness as mentioned. Another tip is to leave it in the oven with the door ajar for about 1 hour after baking to help it cool gradually.

- Decadent Peanut Butter No-Bake Cheesecake: Easy Recipe to Indulge - April 3, 2026
- Delicious Mango No-Bake Cheesecake: Step-by-Step Recipe - April 3, 2026
- Decadent Raspberry No-Bake Cheesecake: Easy Step-by-Step Recipe - April 3, 2026