10 Creative Fruit Designs for Stunning Cheesecake Decorations
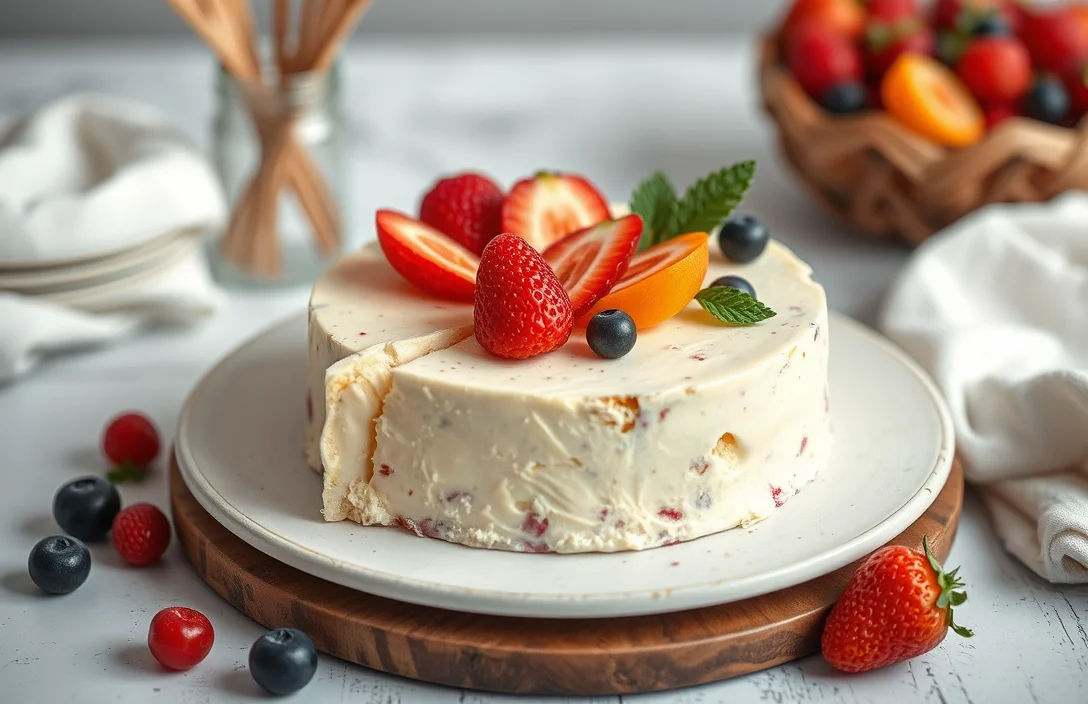
There’s something undeniably delightful about a beautifully decorated cheesecake topped with fresh fruit. The creamy texture of the cheesecake paired with the vibrant colors and natural sweetness of fruits like strawberries and kiwis creates a dessert that’s not only delicious but also visually stunning. It’s perfect for gatherings or just a cozy night in!
Get ready for a fun decorating experience with this cheesecake recipe! You’ll need about 30 minutes of prep time, bake for 55 minutes, and let it chill for at least 4 hours. This recipe serves 8 and has a moderate difficulty level.
| Prep Time | Cook Time | Total Time | Servings | Difficulty |
|---|---|---|---|---|
| 30 minutes | 55 minutes | 4 hours 25 minutes | 8 | Moderate |
History of Cheesecake
Understanding the history of cheesecake provides context for how this beloved dessert has evolved and how its decoration has become an art form. The origins and cultural variations of cheesecake highlight its significance and the creative ways we can enhance its presentation with fruit.
Origin of Cheesecake
- Ancient Beginnings: Cheesecake dates back to ancient Greece, where it was made with simple ingredients like cheese, honey, and flour. The Greeks served it to athletes during the first Olympic Games, showcasing its historical significance as a source of energy.
- Roman Influence: The Romans adopted and adapted the Greek version, adding eggs and baking it, which led to the creation of a firmer texture. This early form laid the groundwork for various regional adaptations that we enjoy today.
Cultural Variations
- New York Style: This variation is known for its rich and creamy texture, typically made with cream cheese. Its popularity has made it a canvas for fruit decorations, allowing for stunning presentations with fresh berries or citrus slices.
- Italian Ricotta Cheesecake: Made with ricotta cheese, this version is lighter and often flavored with lemon or orange zest. Its lighter texture pairs beautifully with fruit compotes or fresh fruit arrangements, enhancing both taste and visual appeal.
Ingredients for Decoration
Decorating your cheesecake with fresh fruit not only enhances its visual appeal but also adds layers of flavor that complement the creamy texture of the cake. In this section, we’ll cover a selection of fruits and other decoration ingredients that will help you create a stunning presentation.
| Item | Amount/Specification | Notes |
|---|---|---|
| Fresh Strawberries | 1 cup (about 150g) | Sliced or whole for garnish |
| Blueberries | ½ cup (75g) | Use fresh for best flavor |
| Kiwi | 1 medium | Peeled and sliced for contrast |
| Raspberries | ½ cup (60g) | Fresh or, if unavailable, frozen (thawed) |
| Mint Leaves | ¼ cup, loosely packed | For garnish, adds color and freshness |
| Honey or Maple Syrup | 2 tablespoons | Drizzle for added sweetness |
| Powdered Sugar | 1 tablespoon | For dusting before serving |
- Choose fruits that are in season for the best flavor and appearance.
- Experiment with color combinations; bright fruits like strawberries and kiwis contrast beautifully against the creamy cheesecake.
- Arrange fruits in a circular pattern around the edges or create a layered effect in the center for visual interest.
- Consider adding a fruit glaze by simmering fruit preserves with a splash of water; brush it over fruits for a shiny finish.
Essential Tools and Prep
To achieve a beautiful fruit decoration on your cheesecake, having the right tools and preparing your ingredients properly is essential. This section will guide you through the necessary equipment and prep steps to ensure your cheesecake looks as good as it tastes.
- Gather Your Tools: You’ll need a sharp paring knife for slicing fruit, a cutting board, a spatula for spreading any toppings, and a small offset spatula or cake lifter for serving. A decorative piping bag can also come in handy if you plan to add whipped cream or other embellishments.
- Choose Your Fruit: Select a variety of fruits that complement the flavor of your cheesecake. Berries like strawberries, raspberries, and blueberries work beautifully. Make sure to wash your fruits thoroughly and dry them gently with a paper towel to avoid excess moisture.
- Prep Your Fruits: For berries, simply remove any stems and leaves. For larger fruits like kiwis or mangoes, peel them and slice into thin, even pieces. Aim for uniformity in size for a polished look. This will also help with even distribution on the cheesecake.
- Arrange Your Workspace: Clear a flat surface where you can work comfortably. Lay out your cheesecake, tools, and prepped fruits within easy reach. This will make the decoration process smoother and more enjoyable.
- Plan Your Design: Before you start decorating, think about how you want your fruit to be arranged. You can create a pattern, a gradient, or a clustered look. Sketching a quick design on paper can help visualize your plan.
Step-by-Step Decoration Techniques
Decorating your cheesecake with fruit not only enhances its flavor but also makes it visually appealing. Below, you’ll find three distinct decoration techniques that will elevate your cheesecake presentation to the next level. Each method is simple and effective, allowing your creativity to shine through.
-
Technique 1: Fruit Fan
Start by selecting your fruits. Strawberries, kiwi, and peaches work beautifully together. Slice the strawberries and peaches into thin, even slices, about ¼ inch thick. For the kiwi, peel and slice into rounds.
- Arrange the fruit slices starting from the outer edge of the cheesecake, overlapping each piece slightly as you move towards the center. This creates a fan-like effect. Aim for a vibrant color contrast, such as red strawberries, green kiwi, and orange peaches.
- Finish by adding a small dollop of whipped cream in the center, and sprinkle with finely chopped mint leaves for a fresh touch. Your cheesecake should look colorful and inviting, with a smooth, glossy finish from the whipped cream.
-
Technique 2: Fruit Layering
Choose a selection of berries like blueberries, raspberries, and blackberries. Start by washing and drying them thoroughly.
- Place a thin layer of the cheesecake filling on top of the crust, then add a layer of mixed berries. Repeat this process until you reach the desired height, ensuring the top layer is visually appealing with whole berries.
- Consider drizzling a light honey or agave syrup over the top before serving. This adds a delightful shine and extra sweetness. The layers should be distinct and well-defined, showcasing the beautiful colors of the berries.
-
Technique 3: Fruit Mosaic
Gather a variety of fruits such as mango, kiwi, and pomegranate seeds. Dice the mango and kiwi into small, uniform pieces, about ½ inch.
- Using the diced fruit, create a mosaic pattern on top of the cheesecake by arranging the pieces in a visually pleasing design. Consider alternating colors for a vibrant look, such as yellow mango and green kiwi.
- Finish with a sprinkle of pomegranate seeds for a pop of color and crunch. Your cheesecake should now have a stunning, artistic appearance; each bite will be a surprise of flavors and textures.
Expert Tips and Common Mistakes
Decorating a cheesecake with fruit can elevate its appearance and flavor, transforming a simple dessert into a stunning centerpiece. However, achieving that perfect design requires some insider knowledge and a few common pitfalls to avoid. Here are some expert tips and frequent mistakes to keep in mind.
Pro Tips for Success
- Choose Fresh, Seasonal Fruits: Opt for ripe, colorful fruits like strawberries, blueberries, or kiwi for a vibrant look. Fresh fruits not only enhance aesthetics but also provide the best flavor.
- Uniform Sizing: Cut fruits into similar sizes for a cohesive look. For example, halve strawberries and slice kiwi into thin rounds; this helps create a balanced design.
- Layering Technique: Start with a base layer of larger fruits, then fill gaps with smaller fruits. This adds depth and visual interest. For example, use halved strawberries as a base and scatter blueberries on top.
- Glaze for Shine: Brush a light layer of warmed apricot jam or honey over the fruit after placing it on the cheesecake. This adds a beautiful shine and helps keep the fruit fresh.
Common Mistakes to Avoid
- Overcrowding the Top: Avoid placing too many fruits on the cheesecake, which can look messy and may cause it to topple. Less is often more.
- Ignoring the Balance: Keep a balance of colors and textures. For instance, pairing tart fruits with sweet ones can enhance flavor and visual appeal.
- Forgetting to Chill: After decorating, chill the cheesecake for at least 1 hour to set the fruit. This helps the flavors meld and maintains the design.
Chef’s tip: Always wash and dry fruits thoroughly to prevent excess moisture from affecting the cheesecake’s texture.
Variations and Substitutions
When it comes to decorating your cheesecake with fruit, there are plenty of options to accommodate different dietary preferences. Whether you’re looking for gluten-free options or vegan alternatives, you can still create a stunning and delicious cheesecake that everyone can enjoy.
Gluten-Free Options
If you’re catering to gluten-sensitive friends or family, consider using gluten-free crust alternatives or simply omitting the crust altogether. Here are some ideas:
- Crustless Cheesecake: Prepare the cheesecake filling and pour it directly into a greased springform pan. Bake at 325°F (160°C) for 50-60 minutes until set.
- Nut-Based Crust: Combine 1½ cups finely ground almonds or walnuts with 3 tablespoons melted coconut oil and 2 tablespoons honey or maple syrup. Press this mixture into the bottom of your pan and bake at 350°F (175°C) for 10-12 minutes.
Vegan Alternatives
For a vegan cheesecake, you can substitute traditional dairy ingredients with plant-based options. Here’s how:
- Cashew Cream: Soak 1 cup of raw cashews in water for at least 4 hours, then blend with ½ cup coconut cream, ¼ cup maple syrup, 2 tablespoons lemon juice, and 1 teaspoon vanilla extract until smooth.
- Plant-Based Yogurt: Use 1½ cups of coconut or almond yogurt instead of cream cheese for a lighter texture.
Chef’s tip: For a pop of color and flavor, top your cheesecake with a mix of vibrant fruits like berries, kiwi, and mango. Arrange them in a spiral pattern for an eye-catching design!
These variations not only cater to dietary needs but also allow for creative freedom in your cheesecake decoration. Enjoy experimenting with different textures and flavors!
Serving and Plating Suggestions
Creating an inviting presentation for your fruit-decorated cheesecake enhances its appeal and elevates any occasion. Here, I’ll share effective plating techniques and pairing suggestions to help you serve your cheesecake beautifully.
Plating Techniques
- Start with a clean, flat serving plate. A white plate can help the colors of your fruit stand out, making the cheesecake the focal point of the presentation. Wipe the edges of the plate with a damp cloth to remove any smudges or crumbs.
- Carefully slice the cheesecake using a sharp knife dipped in hot water. This will create clean edges for each slice. Wipe the knife with a paper towel between cuts to maintain neatness.
- Place a slice of cheesecake off-center on the plate to create visual interest. Leave space on one side for garnishes, which creates a balanced look. Consider a slight angle for a modern touch.
Pairing Suggestions
- Choose fruits that contrast in color and texture. For example, bright red strawberries and deep blue blueberries provide a stunning visual appeal. Arrange them in clusters around the cheesecake for a natural look.
- Add a drizzle of fruit coulis or a complementary sauce, like raspberry or passionfruit, to enhance flavor. Use a squeeze bottle or spoon to create artistic patterns on the plate.
- Sprinkle fresh mint leaves around the plate for a pop of green and added freshness. This not only enhances flavor but also gives a refined touch to the presentation.
Chef’s tip: Always taste the fruit before decorating to ensure it’s sweet and ripe. You want the flavors to complement each other beautifully!
Quick Summary
| Prep Time | Cook Time | Total Time | Servings |
|---|---|---|---|
| 20 minutes | 60 minutes | 1 hour 20 minutes | 8 |
- Choose the right fruits: Opt for colorful and seasonal fruits for visual appeal.
- Prepare the cheesecake: Ensure it’s fully chilled before decorating to prevent fruit from sliding off.
- Use a glaze: Brush a light fruit glaze to enhance shine and flavor.
- Arrange aesthetically: Create patterns or layers for a professional look.
- Keep it simple: Don’t overcrowd; focus on a few key fruits for a clean design.
- Tip: Use fruits with varying textures for added interest.
- Tip: Always wash and dry fruits thoroughly to avoid excess moisture.
Frequently Asked Questions
Can I make this cheesecake ahead of time? How to store and reheat?
You can definitely make cheesecake a day in advance; just cover it tightly with plastic wrap and refrigerate. For best results, serve it cold without reheating, as this helps maintain its creamy texture.
What can I substitute for cream cheese?
You can use mascarpone cheese for a richer flavor or a combination of ricotta and sour cream for a lighter option. Just keep in mind that the texture may vary slightly with substitutions.
How do I know when my cheesecake is done?
Your cheesecake is done when the edges are set and the center has a slight jiggle; it will firm up as it cools. An internal temperature of 150°F (65°C) indicates it’s perfectly baked.
Can I freeze this cheesecake? How long does it last?
You can freeze cheesecake for up to 3 months if wrapped tightly in plastic wrap and aluminum foil. Just thaw it in the refrigerator overnight before serving to retain its creamy texture.
What if I don’t have a springform pan?
If you don’t have a springform pan, you can use a standard cake pan lined with parchment paper to help with removal. Just make sure to gently run a knife around the edges before flipping it out onto a plate.

- Decadent Peanut Butter No-Bake Cheesecake: Easy Recipe to Indulge - April 3, 2026
- Delicious Mango No-Bake Cheesecake: Step-by-Step Recipe - April 3, 2026
- Decadent Raspberry No-Bake Cheesecake: Easy Step-by-Step Recipe - April 3, 2026