Delicious Cheesecake Crusts: 3 Easy Recipes for Every Occasion
There’s something irresistibly comforting about a homemade cheesecake, and the crust is its foundation. A well-made crust adds the perfect crunch and depth to the creamy filling, transforming a simple dessert into a showstopper. Trust me; your friends and family will be begging for seconds!
Get ready for a foolproof cheesecake crust recipe! You’ll enjoy a delicious graham cracker crust that takes just 15 minutes to prepare, requires only 3 ingredients, and is perfect for 8 servings. Difficulty? It’s a breeze!
| Prep Time | Cook Time | Total Time | Servings | Difficulty |
|---|---|---|---|---|
| 15 minutes | 10 minutes | 25 minutes | 8 | Easy |
History of Cheesecake Crusts
Cheesecake has a rich history that dates back thousands of years, and its crust has evolved alongside it, showcasing various cultural influences. Understanding the origin and variations of cheesecake crusts helps to appreciate the depth of flavor and texture they bring to this beloved dessert.
Origin of Cheesecake
- Ancient beginnings: The earliest known cheesecake recipes can be traced back to ancient Greece, where they were made with simple ingredients like cheese, honey, and flour. These early cheesecakes were often served to athletes during the Olympic Games.
- Roman adaptation: As the Romans conquered Greece, they adopted and modified the cheesecake recipe, adding their own ingredients and techniques. This led to variations that spread throughout their empire, influencing desserts in various regions.
Cultural Variations
- New York style: This iconic version features a thick, dense filling made from cream cheese and is often paired with a simple graham cracker crust. It became popular in the United States in the early 20th century, showcasing a rich and creamy texture.
- Japanese cotton cheesecake: This unique variation has a lighter, airy texture achieved through the addition of whipped egg whites. It often omits the crust altogether or uses a very thin base, emphasizing the fluffy filling.
- Italian ricotta cheesecake: Made with ricotta cheese instead of cream cheese, this version is typically less sweet and denser, reflecting the traditional Italian approach to dessert.
Ingredients for Cheesecake Crusts
This section provides you with a complete list of ingredients needed to create delicious cheesecake crusts, including classic graham cracker, rich chocolate, and a gluten-free alternative. Having the right components is essential for achieving the perfect texture and flavor in your cheesecake.
| Item | Amount/Specification | Notes |
|---|---|---|
| Graham Crackers | 1 ½ cups (150g) crushed | About 10-12 full sheets |
| Granulated Sugar | ¼ cup (50g) | Enhances sweetness |
| Unsalted Butter | ½ cup (113g) melted | For binding the crust |
| Cocoa Powder | ½ cup (50g) | For chocolate crust, unsweetened |
| Almond Flour | 1 ½ cups (150g) | For gluten-free option |
| Salt | ¼ teaspoon | Balances sweetness |
- For graham cracker crust: Ensure the crumbs are fine to avoid a gritty texture.
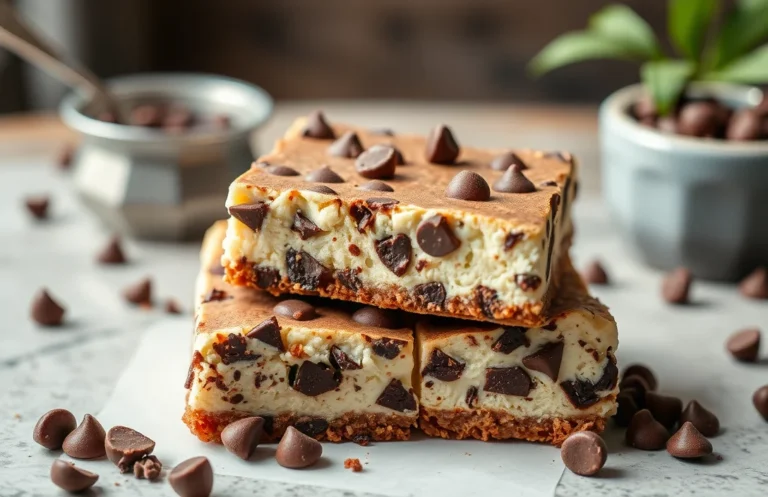
- For a chocolate crust: Use high-quality cocoa powder for a richer flavor.
- For gluten-free crust: Almond flour can be substituted with a gluten-free graham cracker alternative.
- Make sure to pack the crust mixture firmly into the pan for stability.
Necessary Kitchen Equipment
Having the right kitchen tools makes the process of creating a delicious cheesecake crust much easier and more enjoyable. Here’s a rundown of the essential equipment you’ll need to prepare your crust successfully, ensuring a perfect base for your cheesecake.
| Item | Amount/Specification | Notes |
|---|---|---|
| Mixing Bowls | 2 medium-sized | One for dry ingredients and one for wet ingredients. |
| Food Processor | 1 | Great for crushing graham crackers or cookies evenly. |
| Baking Pan | 9-inch springform pan | Preferred for cheesecakes; easy to remove after baking. |
- Tip: If you don’t have a food processor, you can use a zip-top bag and a rolling pin to crush the crackers.
- Make sure your mixing bowls are sturdy to handle vigorous mixing.
- For a gluten-free crust, ensure your food processor is free from gluten residue.
- Consider parchment paper for the bottom of the pan to prevent sticking.
Step-by-Step Crust Instructions
This section provides you with detailed instructions for preparing three different types of cheesecake crusts: graham cracker, chocolate, and gluten-free. Each crust brings a unique flavor and texture to your cheesecake, making it essential to choose the right one for your recipe.
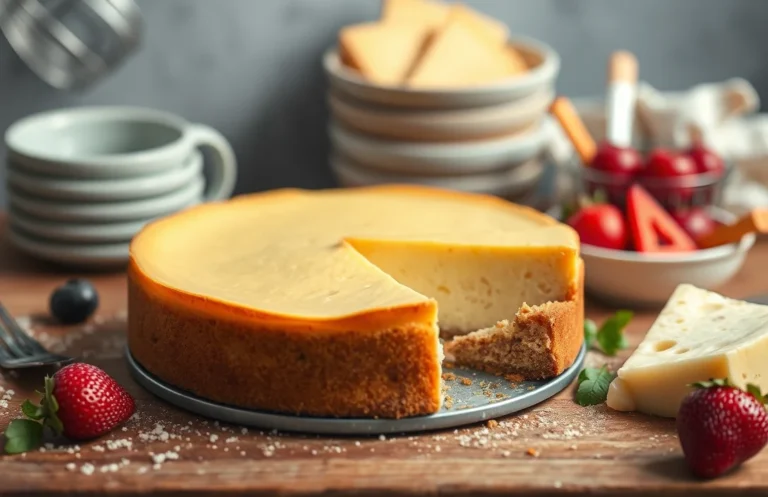
Graham Cracker Crust Steps
- Ingredients: 1 ½ cups graham cracker crumbs (150g), ½ cup granulated sugar (100g), ½ cup unsalted butter, melted (115g), ¼ teaspoon salt.
- Preheat your oven to 350°F (175°C). This temperature ensures that your crust will crisp up nicely without burning.
- In a medium bowl, combine the graham cracker crumbs, granulated sugar, and salt. Mix until well incorporated, then pour in the melted butter. It should resemble wet sand when mixed properly.
- Press the mixture firmly into the bottom of a 9-inch (23 cm) springform pan using the back of a measuring cup. Aim for an even thickness to ensure a stable base. Bake for 8-10 minutes until lightly golden and fragrant. Let it cool before adding your cheesecake filling.
Chocolate Crust Steps
- Ingredients: 1 ½ cups chocolate cookie crumbs (150g), ½ cup unsalted butter, melted (115g), ¼ cup granulated sugar (50g).
- Preheat your oven to 350°F (175°C). This heat will help set your crust perfectly.
- In a bowl, mix the chocolate cookie crumbs and granulated sugar together. Stir in the melted butter until the mixture is moist and holds together.
- Press the mixture into the bottom of your springform pan, smoothing it out evenly. Bake for 8-10 minutes until it’s set. Allow it to cool before adding your cheesecake batter.
Gluten-Free Crust Steps
- Ingredients: 1 ½ cups almond flour (150g), ¼ cup coconut flour (30g), ¼ cup granulated sugar (50g), ½ cup unsalted butter, melted (115g), ¼ teaspoon salt.
- Preheat your oven to 350°F (175°C). This is crucial for achieving the right texture.
- In a mixing bowl, combine the almond flour, coconut flour, granulated sugar, and salt. Mix thoroughly before adding the melted butter.
- Stir until the mixture is well combined and resembles a wet dough. Press it into the bottom of your springform pan, ensuring it’s compact. Bake for 10-12 minutes until lightly golden. Let it cool completely before filling.
Expert Tips for Perfect Crusts
Creating the perfect cheesecake crust requires attention to detail. From baking time to chilling recommendations, these tips will help ensure your crust is deliciously crisp and holds its shape beautifully.
Baking Time Tips
- Pre-bake if necessary: For a traditional graham cracker crust, pre-baking for 8-10 minutes at 350°F (175°C) enhances flavor and sets the crust. You want it to be slightly golden and fragrant.
- Watch for color: Keep an eye on your crust as it bakes. The edges should turn a light brown, indicating that it’s ready. If it starts to darken too much, reduce the temperature and check every couple of minutes.
- Cool completely: Allow the crust to cool completely before adding your cheesecake filling. This ensures the filling doesn’t melt the crust, keeping it firm and intact.
Chilling Recommendations
- Chill before filling: After baking, chill the crust in the refrigerator for at least 30 minutes. This helps it set and makes it easier to slice later.
- Overnight chilling: For optimal texture, refrigerate the assembled cheesecake for at least 4 hours, preferably overnight. This allows the flavors to meld and the crust to absorb some moisture without becoming soggy.
- Freezing option: If you’re preparing in advance, you can freeze the unbaked crust for up to a month. Just wrap it tightly in plastic wrap and foil to prevent freezer burn.
Crust Variations and Substitutions
Finding the right cheesecake crust to match your dietary preferences or ingredient availability can elevate your dessert experience. Below are some delicious alternatives that cater to vegan diets and those with nut allergies, ensuring everyone can enjoy a slice of cheesecake.
Vegan Crust Options
| Item | Amount/Specification | Notes |
|---|---|---|
| Oreo cookies (vegan) | 1 ½ cups (150g) crushed | Replace traditional crust with crushed Oreos for a chocolatey flavor. Use the filling for moisture. |
| Almond flour | 1 cup (100g) | Mix with 2 tablespoons of maple syrup and 2 tablespoons of coconut oil for a nutty base. |
Nut-Based Alternatives
| Item | Amount/Specification | Notes |
|---|---|---|
| Pecan nuts | 1 cup (100g) crushed | Combine with 2 tablespoons of melted coconut oil and 2 tablespoons of brown sugar for sweetness. |
| Sunflower seeds | 1 cup (140g) crushed | Use as a nut-free option, mixed with 2 tablespoons of agave syrup and 2 tablespoons of coconut oil. |
- Tip: Ensure any nut-based crust is finely ground for a smoother texture.
- Tip: Chill the crust for at least 30 minutes before adding the cheesecake filling to help it set properly.
- Common Mistake: Don’t skip the oil or syrup; this helps bind the crust together.
Serving and Plating Suggestions
Presenting your cheesecake beautifully enhances the overall experience, making it even more enjoyable for your guests. Here are some garnishing ideas and pairing suggestions to elevate your cheesecake, regardless of the crust you choose.
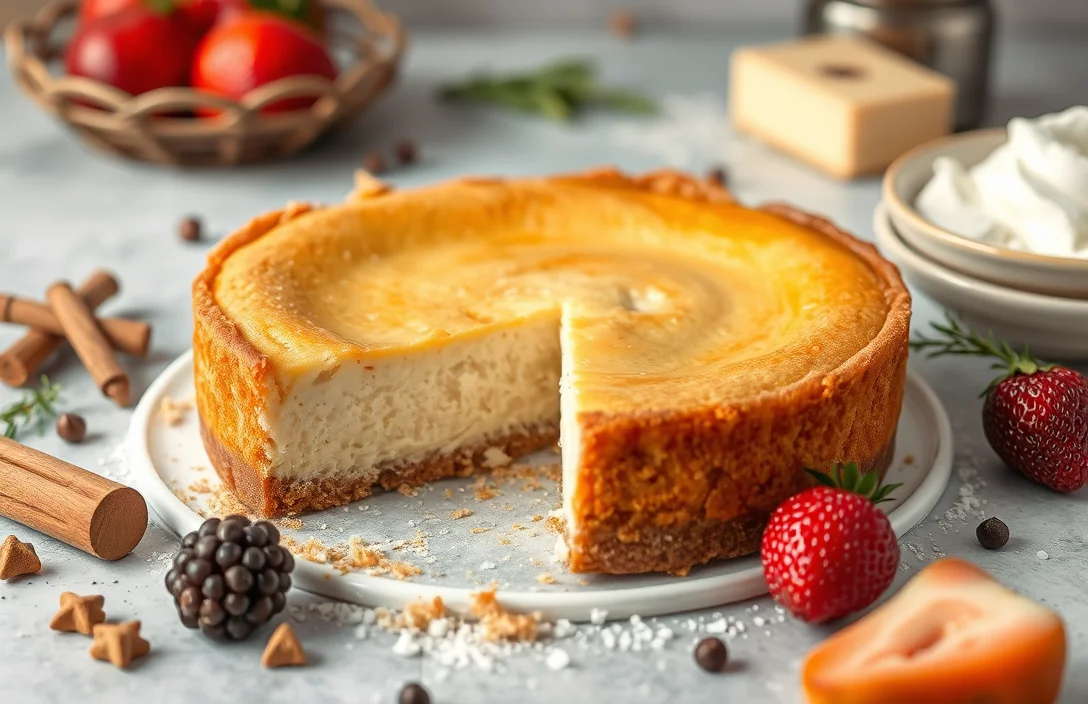
Garnishing Ideas
- Top with fresh berries like strawberries, blueberries, or raspberries for a pop of color and tartness.
- Drizzle with a homemade fruit coulis or chocolate sauce for an elegant touch.
- Sprinkle with crushed nuts, such as pistachios or almonds, for added crunch and flavor contrast.
- Dust with powdered sugar before serving for a classic, sophisticated look.
Pairing Suggestions
Choosing the right accompaniments can enhance your cheesecake’s flavors:
- Serve with a dollop of whipped cream for a rich and creamy texture.
- Pair with a scoop of vanilla or berry ice cream for a delightful contrast in temperatures.
- Offer a side of coffee or espresso to complement the sweetness of the cheesecake.
Tip: Always serve your cheesecake chilled for the best texture and flavor. Allow it to sit at room temperature for about 15 minutes before slicing to make cutting easier.
With these garnishing ideas and pairing suggestions, your cheesecake will not only taste delicious but also look stunning on your dessert table. Enjoy every bite!
Quick Summary
| Prep Time | 10 minutes |
|---|---|
| Cook Time | 10 minutes |
| Total Time | 20 minutes |
| Servings | 1 (9-inch crust) |
- Crust base: Use 1 ½ cups of graham cracker crumbs.
- Butter blend: Melt ½ cup of unsalted butter, then mix with crumbs.
- Press firmly: Pack the mixture into a 9-inch pie pan.
- Bake temperature: Set the oven to 350°F (175°C).
- Bake time: Bake for 10 minutes until slightly golden.
- Key tip: For a crunchier crust, let it cool completely before adding filling.
- Key tip: Use a springform pan for easy removal and presentation.
Frequently Asked Questions
Can I make this cheesecake crust ahead of time? How do I store and reheat it?
You can make the cheesecake crust up to 2 days in advance; just store it tightly wrapped in plastic wrap in the refrigerator. If you need to reheat it, pop it in a 350°F (175°C) oven for about 5-10 minutes to crisp it up again.
What can I substitute for graham cracker crumbs?
If you don’t have graham cracker crumbs, you can use crushed digestive biscuits or vanilla wafer cookies as a substitute for a similar flavor and texture. Just make sure to use the same measurement, about 1 and ½ cups crushed.
How do I know when the cheesecake crust is done?
Your cheesecake crust is done when it is lightly golden brown around the edges and feels firm to the touch, which usually takes about 10-12 minutes in a preheated oven at 350°F (175°C). Let it cool completely before adding the cheesecake filling.
Can I freeze this crust? How long does it last?
Yes, you can freeze the cheesecake crust for up to 3 months; wrap it tightly in plastic wrap and then in aluminum foil. To use, thaw it in the refrigerator overnight before adding your cheesecake filling.
What if I don’t have a springform pan?
If you don’t have a springform pan, you can use a regular pie dish or a 9-inch round cake pan, but make sure to line it with parchment paper for easier removal. Just be cautious when slicing, as it might be harder to get perfect pieces out of a standard pan.

- Decadent Peanut Butter No-Bake Cheesecake: Easy Recipe to Indulge - April 3, 2026
- Delicious Mango No-Bake Cheesecake: Step-by-Step Recipe - April 3, 2026
- Decadent Raspberry No-Bake Cheesecake: Easy Step-by-Step Recipe - April 3, 2026