Make Cheesecake Ahead: Tips for Best Flavor & Texture Up to 2 Weeks
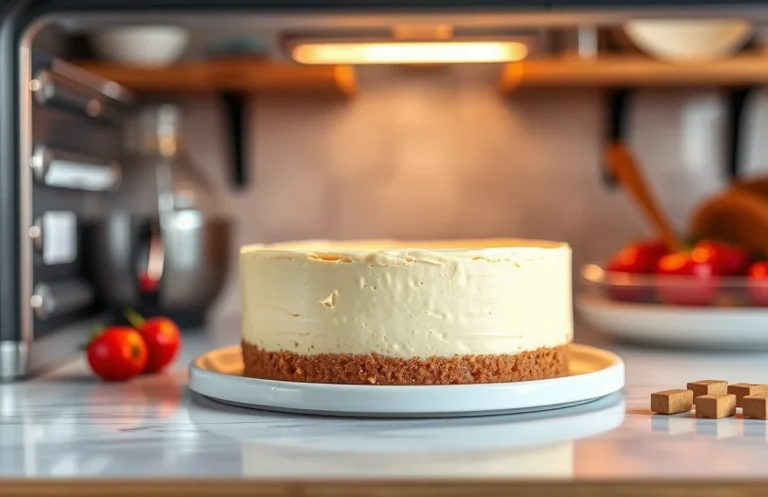
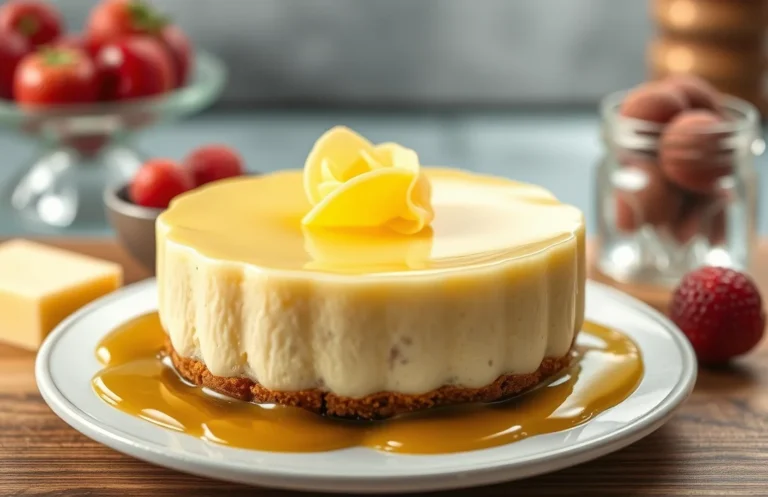
If you’re looking for a dessert that melts in your mouth and pleases every palate, cheesecake is the answer. Its creamy texture and rich flavor make it a celebration on a plate, perfect for gatherings or a cozy night in. Imagine a slice topped with fresh berries or drizzled with chocolate – pure bliss!
In this guide, I’ll share how far in advance you can make cheesecake, including optimal preparation times, storage tips, and how freezing affects texture and flavor. You’ll find everything you need to know to create the perfect cheesecake.
| Prep Time | 20 minutes |
|---|---|
| Cook Time | 60 minutes |
| Total Time | 1 hour 20 minutes |
| Servings | 10 slices |
| Difficulty | Medium |
Cheesecake History and Significance
Understanding the origins and cultural significance of cheesecake can enhance your appreciation for this beloved dessert. Not only does it provide context for its flavors and textures, but it also informs how far in advance you can make it for special occasions.
Origin of Cheesecake
The history of cheesecake dates back to ancient Greece, where it was served to athletes during the first Olympic Games in 776 B.C. The Greeks made a simple version of cheesecake using fresh cheese, honey, and flour. As it spread through Rome, the recipe evolved, incorporating different cheeses and flavors.
- Ancient Greece: Fresh cheese, honey, flour
- Roman Influence: Introduced new ingredients and techniques
- Modern Variations: Cream cheese, sour cream, and flavored toppings
Cultural Significance
Cheesecake holds a special place in many cultures around the world, often associated with celebrations and special occasions. It’s a favorite dessert at weddings, holidays, and family gatherings, making it essential to prepare it correctly and in advance.
| Cultural Context | Common Occasions |
|---|---|
| Greek | Weddings, Festivals |
| Italian | Holidays, Family Gatherings |
| American | Birthdays, Celebrations |
When to Serve Cheesecake
Knowing when to serve cheesecake is crucial for ensuring optimal texture and flavor. Ideally, prepare it 24-48 hours in advance to allow it to set properly and enhance its flavors. If freezing, wrap it tightly and consume within 1-2 months for the best quality. Thawing should be done in the refrigerator overnight to maintain its creamy texture.
Chef’s tip: Cheesecake tastes even better the next day after it has had time to chill in the fridge, allowing all the flavors to meld beautifully.
Ingredients List with Measurements
When preparing cheesecake, the quality and proportions of your ingredients can significantly affect the flavor and texture. Understanding the essential components of cheesecake and their measurements is crucial for achieving a perfect result, especially when planning to make it in advance.
| Item | Amount/Specification | Notes |
|---|---|---|
| Cream Cheese | 24 ounces (680g) | Softened to room temperature for easy mixing |
| Sugar | 1 cup (200g) | Granulated sugar works best for sweetness |
| Eggs | 3 large | Bring to room temperature for better incorporation |
| Vanilla Extract | 1 teaspoon (5ml) | Use pure vanilla for the best flavor |
| Crust (Graham Crackers) | 1 ½ cups (150g) | Crushed finely for a smooth crust |
| Butter | ½ cup (113g) | Melted, to bind the crust |
- Tip: For a gluten-free option, substitute graham crackers with gluten-free cookies.
- Common Mistake: Ensure cream cheese is fully softened to avoid lumps in your batter.
- When using eggs, crack them into a bowl first to check for shells before adding to the mixture.
Equipment and Preparation Steps
Before diving into making your cheesecake, it’s essential to gather the right kitchen tools and prepare your ingredients. This ensures a smooth baking process and helps you manage your time effectively, especially if you’re planning ahead.
- Gather Essential Equipment: You will need a 9-inch (23 cm) springform pan, a mixing bowl, a hand mixer or stand mixer, measuring cups and spoons, a spatula, and a roasting pan for the water bath. The springform pan allows for easy removal of your cheesecake, while a mixer ensures a smooth batter.
- Prepping Ingredients: Make sure to have your ingredients ready: 2 cups (200g) crushed graham crackers for the crust, ½ cup (100g) granulated sugar for sweetness, and 4 (8 oz) packages of cream cheese (room temperature) for a creamy filling. It’s best if the cream cheese is softened to avoid lumps, so take it out of the fridge at least 1 hour before mixing.
- Preheat Your Oven: Preheat your oven to 325°F (163°C) to ensure it’s at the right temperature when you’re ready to bake. This is crucial for even baking. A properly preheated oven helps set the cheesecake’s structure and prevents cracking.
Chef’s tip: If you plan to make your cheesecake a day in advance, it can be stored in the refrigerator, covered tightly with plastic wrap, to enhance its flavor as it chills.
Step-by-Step Cheesecake Instructions
This section provides a detailed, timed guide for making cheesecake, focusing on how far in advance you can prepare it. Understanding the preparation and storage times ensures your cheesecake maintains its delicious flavor and texture, whether you’re planning for a special occasion or simply indulging yourself.
- Making the Crust: Start by preheating your oven to 350°F (175°C). In a medium bowl, combine 1 ½ cups (150g) of graham cracker crumbs, ½ cup (100g) of granulated sugar, and ½ cup (115g) of melted unsalted butter. Mix until the crumbs are evenly moistened, then press the mixture firmly into the bottom of a 9-inch (23cm) springform pan. Bake for 10 minutes until lightly golden and fragrant, then let it cool completely. This crust can be made 1-2 days in advance; just store it in an airtight container at room temperature.
- Preparing the Filling: In a large mixing bowl, beat 24 ounces (680g) of cream cheese until smooth and creamy. Gradually add 1 cup (200g) of granulated sugar and continue beating until well combined. Add 3 large eggs, one at a time, ensuring each is fully incorporated before adding the next. Finally, stir in 1 teaspoon of vanilla extract and ½ cup (120ml) of sour cream until smooth. The mixture should be thick and creamy, with no lumps. You can prepare the filling up to 24 hours in advance; cover it tightly and refrigerate until ready to use.
- Baking Process: Pour the filling over the cooled crust, smoothing the top with a spatula. Bake in the preheated oven for 50-60 minutes, or until the edges are set, and the center is slightly jiggly. Remove from the oven and let it cool at room temperature for about 1 hour before refrigerating. Cheesecake should chill for at least 4 hours, but overnight is ideal for better flavor and texture. You can make cheesecake up to 3 days ahead; store it covered in the refrigerator. If freezing, wrap tightly in plastic wrap and foil, and it can last for up to 2 months.
Pro Tips and Common Mistakes
This section offers valuable insights to help you achieve a perfectly textured cheesecake while avoiding common pitfalls. Understanding these tips can enhance your cheesecake’s flavor and consistency, whether you’re preparing it days in advance or on the day of serving.
Texture Tips
- For a creamy texture: Use room temperature ingredients. Let your cream cheese and eggs sit out for at least 30 minutes before mixing to avoid lumps.
- Mixing: Blend the ingredients on low speed to prevent incorporating too much air, which can cause cracks during baking.
- Water bath: Use a water bath for even baking. Wrap your springform pan in aluminum foil and place it in a larger pan filled with hot water to maintain moisture.
Baking Mistakes
- Overbaking: Check for doneness at 50-60 minutes. The center should be slightly jiggly but not liquid. It will firm up as it cools.
- Opening the oven door: Do not open the oven door during the first 30 minutes to maintain a stable temperature.
- Cooling: Allow the cheesecake to cool in the oven with the door slightly ajar for an hour to prevent sudden temperature changes that cause cracks.
Cooling Tips
Chef’s tip: Chill your cheesecake in the refrigerator for at least 4 hours, preferably overnight, for the best flavor and texture.
For optimal flavor, consider making your cheesecake 1-2 days in advance. This allows the flavors to meld beautifully. If you’re short on time, a minimum of 4 hours in the fridge is necessary for it to set properly.
| Timing | Action |
|---|---|
| 1 day before | Bake and cool cheesecake, then refrigerate. |
| 4 hours before serving | Remove from fridge and serve! |
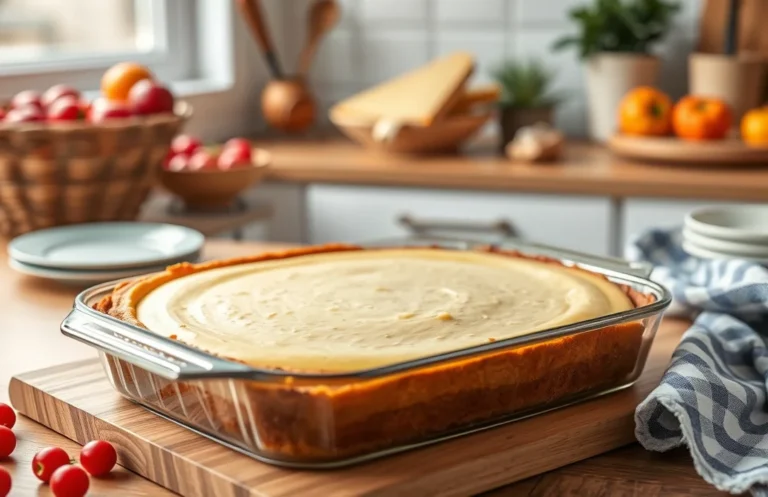
Storage and Freezing Guidelines
Understanding how far in advance you can make cheesecake is essential for planning your dessert. This section outlines effective refrigeration and freezing methods to maintain the cheesecake’s flavor and texture, along with tips for thawing it properly.
- Refrigeration Tips: You can make cheesecake up to 3 days in advance and store it in the refrigerator. Cover the cheesecake tightly with plastic wrap to prevent it from absorbing any odors and to maintain its moisture. Ideally, let it chill in the fridge for at least 4 hours, or overnight, to enhance its flavor and texture.
- Freezing Instructions: If you need to prepare your cheesecake more than 3 days ahead, freezing is a great option. Wrap the cooled cheesecake in plastic wrap, then in aluminum foil to ensure it’s airtight. Freeze for up to 2 months. Keep in mind that cheesecakes with fruit toppings may not freeze as well, as the texture of the fruit can change.
- Thawing Tips: To thaw a frozen cheesecake, transfer it to the refrigerator and let it thaw overnight. This slow process helps preserve the texture. If you’re in a hurry, you can thaw it at room temperature for about 2-3 hours, but avoid thawing it in the microwave, as it can alter the creaminess of the cheesecake.
Serving Suggestions and Pairings
Once you’ve mastered the timing for preparing your cheesecake, the next step is to think about how to serve it for maximum enjoyment. Cheesecake can be dressed up or down, making it a versatile dessert that can shine in any occasion, whether it’s a casual gathering or a formal dinner party.
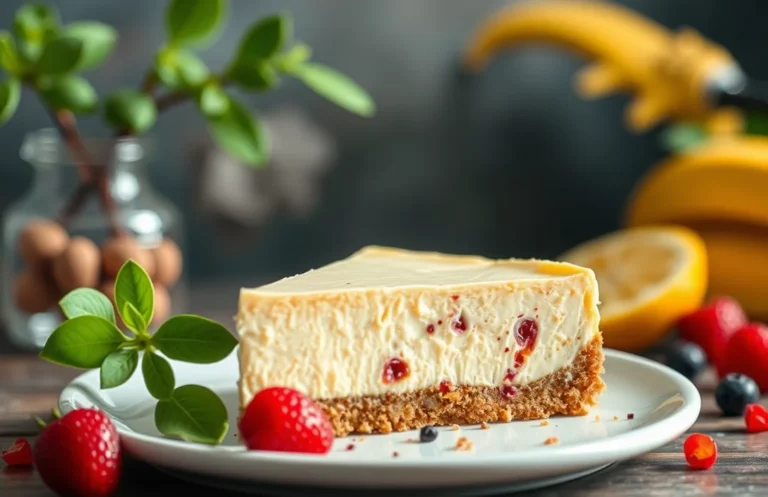
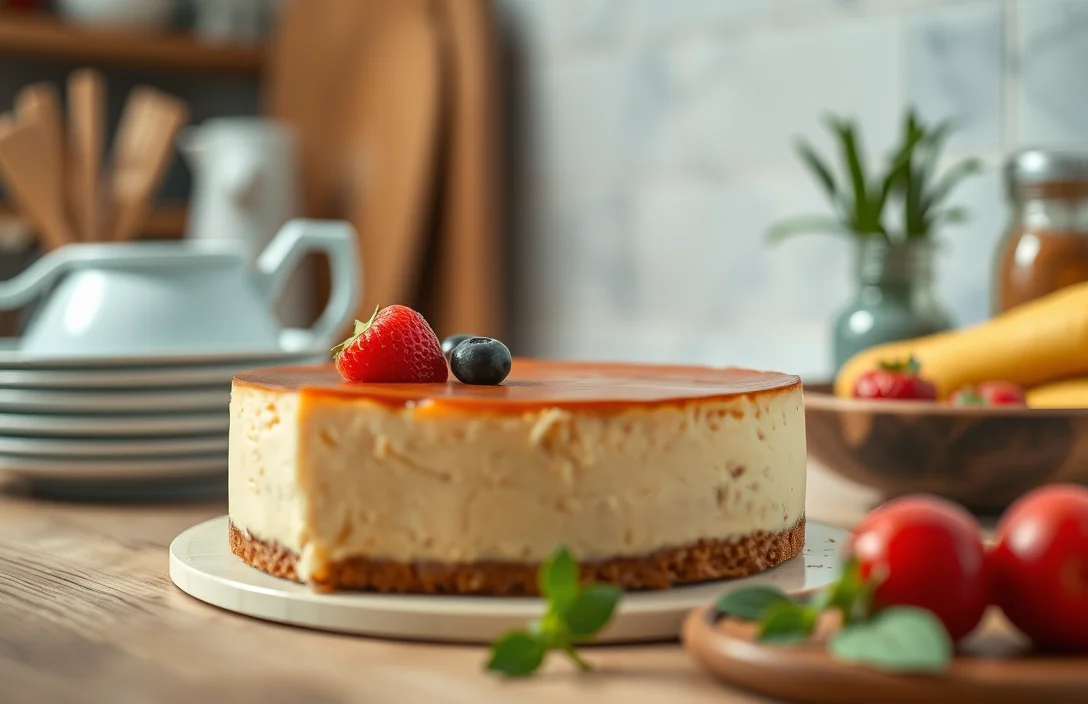
Plating Ideas
- Slice your cheesecake into even portions, ideally about 1-2 inches thick, for a pleasing presentation.
- Serve each slice on a chilled dessert plate to keep it cool longer.
- For a touch of elegance, dust the top with powdered sugar or cocoa powder right before serving.
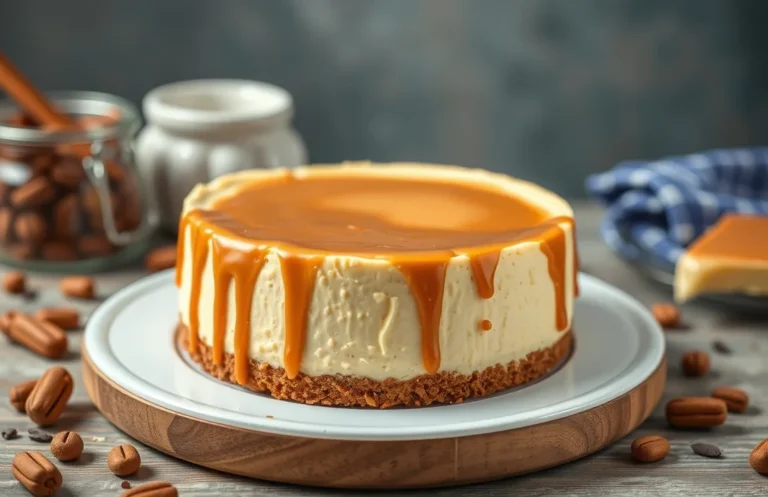
Toppings and Garnishes
Enhance the flavor of your cheesecake with a variety of toppings. Here are some popular choices:
- Fruit Compote: A warm berry compote (like raspberry or blueberry) adds a tangy contrast. Simmer 1 cup of berries with 2 tablespoons of sugar over medium heat for 5-7 minutes.
- Chocolate Ganache: Melt ½ cup of heavy cream with 1 cup of dark chocolate chips over low heat, stirring until smooth. Drizzle over slices for a rich finish.
- Whipped Cream: A dollop of lightly sweetened whipped cream (1 cup heavy cream, whipped with 2 tablespoons of sugar) adds a light touch.
Beverage Pairings
Choosing the right beverage can complement the flavors of your cheesecake beautifully. Consider these pairings:
| Beverage | Flavor Profile |
|---|---|
| Sweet White Wine | Enhances fruity flavors in the cheesecake. |
| Espresso or Coffee | The bitterness balances the sweetness. |
| Herbal Tea | Offers a refreshing contrast without overpowering. |
With these serving suggestions and pairings, your cheesecake will not only be a delectable treat but also a showstopper at any gathering. Enjoy experimenting with flavors and presentations!
Quick Summary
| Prep Time | 20 minutes |
|---|---|
| Cook Time | 60 minutes |
| Total Time | 6 hours (including chilling) |
| Servings | 8 slices |
- Chill Time: Refrigerate cheesecake for at least 4 hours, preferably overnight.
- Make Ahead: Cheesecake can be made up to 3 days in advance.
- Freezing: Freeze for up to 1 month; wrap tightly to prevent freezer burn.
- Room Temperature: Allow to sit for 30 minutes before serving for best texture.
- Crust Prep: Pre-bake the crust for 10 minutes to prevent sogginess.
- Tip: Use room temperature ingredients for a smoother batter.
- Tip: Avoid overmixing to prevent cracks on the surface.
Frequently Asked Questions
Can I make this ahead of time? How to store and reheat?
You can make cheesecake up to 3 days in advance and store it in the refrigerator, tightly covered. For reheating, simply let it sit at room temperature for about 30 minutes before serving.
What can I substitute for cream cheese?
If you need a substitute, you can use mascarpone cheese or a combination of Greek yogurt and sour cream for a similar texture and flavor. Keep in mind that the taste may vary slightly from traditional cheesecake.
How do I know when it’s done?
Your cheesecake is done when the edges are set but the center still has a slight wiggle to it, which typically takes about 50-60 minutes at 325°F (163°C). It will firm up as it cools, so don’t overbake!
Can I freeze this? How long does it last?
Yes, you can freeze cheesecake for up to 3 months if wrapped tightly in plastic wrap and then aluminum foil. Just remember to thaw it in the refrigerator for 8-12 hours before serving.
Why did my cheesecake crack on top?
Cracks often occur due to overmixing or baking at too high a temperature, so ensure you mix just until combined and bake at a gentle temperature. Using a water bath can also help prevent cracks by providing a moist cooking environment.

- Decadent Peanut Butter No-Bake Cheesecake: Easy Recipe to Indulge - April 3, 2026
- Delicious Mango No-Bake Cheesecake: Step-by-Step Recipe - April 3, 2026
- Decadent Raspberry No-Bake Cheesecake: Easy Step-by-Step Recipe - April 3, 2026