Optimal Oven Temperatures for Perfect Cheesecakes Every Time
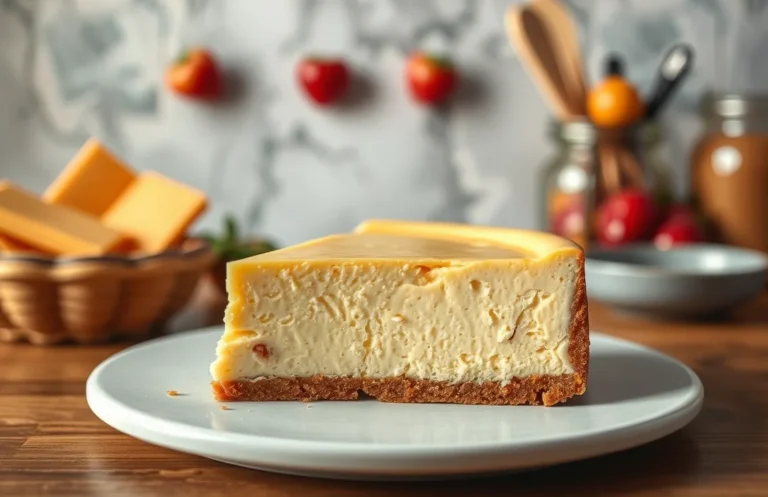
Cheesecake is that dreamy dessert that never fails to impress. Creamy, rich, and just the right amount of sweet, it’s perfect for celebrations or a cozy night in. Imagine slicing into a velvety cheesecake with a buttery crust, each bite melting in your mouth. It’s comfort food at its finest!
In this guide, you’ll discover the perfect oven temperatures for baking cheesecakes, including variations for classic, no-bake, and flavored versions. Expect clear instructions on cooking times, troubleshooting tips, and even visual aids to ensure your cheesecake comes out flawless.
| Prep Time | Cook Time | Total Time | Servings | Difficulty |
|---|---|---|---|---|
| 20 minutes | 60 minutes | 80 minutes | 8 servings | Moderate |
Cheesecake Origins and Traditions
Cheesecake has a rich history that spans centuries and cultures, making it a beloved dessert worldwide. Understanding its origins and significance can enhance your appreciation for this creamy delight, especially when it comes to perfecting the baking process.
- Historical Background: The earliest known cheesecake dates back to Ancient Greece, where it was served to athletes during the first Olympic Games. The Greeks made a simple version with cheese, honey, and flour, laying the groundwork for what we know today. Over time, variations appeared across Europe, with the Romans adding eggs and the New Yorkers famously using cream cheese for their rich, dense version.
- Cultural Significance: Cheesecake is often associated with special occasions and celebrations, from weddings to holidays. Different cultures have their own takes—Italian ricotta cheesecake, Japanese cotton cheesecake, and the classic New York-style cheesecake, each offering unique textures and flavors. The method of baking, including the oven temperature used, can significantly affect the final outcome, making it crucial for home bakers to honor these traditions while achieving the perfect cheesecake.
Ingredients for Perfect Cheesecake
Understanding the right ingredients for your cheesecake is crucial for achieving the perfect texture and flavor. Whether you prefer a classic cheesecake or a flavored variation, having the right measurements and specifications ensures your cheesecake bakes evenly and comes out creamy and delicious.
| Item | Amount/Specification | Notes |
|---|---|---|
| Cream Cheese | 24 oz (680g) | Softened at room temperature for easy mixing |
| Sugar | 1 cup (200g) | Granulated sugar for sweetness |
| Sour Cream | 1 cup (240g) | Adds tanginess and moisture |
| Eggs | 3 large | Room temperature for better incorporation |
| Vanilla Extract | 1 teaspoon | For flavor enhancement |
| Graham Cracker Crumbs | 1½ cups (150g) | For the crust |
| Butter | ½ cup (113g) | Melted for crust binding |
- For flavored cheesecakes: Add ½ cup of your favorite puree (like strawberry or pumpkin) for a unique twist.
- For allergy considerations: Use dairy-free cream cheese and coconut milk as substitutes.
- Common mistakes: Ensure all ingredients are at room temperature to prevent lumps in the batter.
Essential Baking Equipment
When baking a cheesecake, having the right tools can significantly impact the outcome. Proper bakeware and preparation steps ensure an even bake and the ideal creamy texture. Here’s what you’ll need to set yourself up for success.
- Bakeware: Use a 9-inch (23 cm) springform pan for classic cheesecakes. The removable sides allow for easy release without damaging the cake. For a water bath method, ensure your pan is watertight to prevent moisture from entering.
- Mixing Bowls: Mix your ingredients in large mixing bowls, preferably glass or stainless steel, to avoid any chemical reactions with acidic ingredients like cream cheese. A medium bowl (3-quart) works well for combining the cheesecake filling.
- Electric Mixer: An electric hand mixer or stand mixer is essential for achieving a smooth and creamy batter. Beat the cream cheese until it’s light and fluffy, about 2-3 minutes, scraping the bowl occasionally to ensure even mixing.
- Spatula: A rubber spatula is ideal for folding in ingredients gently without deflating the batter. This is crucial when incorporating whipped cream or eggs to maintain a light texture.
- Measuring Cups and Spoons: Precise measurements are key to a successful cheesecake. Use dry measuring cups for solids and liquid measuring cups for liquids. For example, measure out 1 cup of granulated sugar exactly for optimal sweetness.
- Aluminum Foil: If using a water bath, wrap the outside of the springform pan with two layers of heavy-duty aluminum foil. This prevents water from seeping into your batter and ruining the cheesecake.
Baking Instructions and Timing
Baking a cheesecake requires attention to detail, especially when it comes to oven temperature and timing. Understanding the right steps will help you achieve that perfect creamy texture while avoiding cracks and dryness.
- Preheat the Oven: Start by preheating your oven to 325°F (163°C). This temperature is ideal for traditional cheesecakes, allowing them to bake evenly without browning too quickly. If you’re making a no-bake cheesecake, you can skip this step entirely.
- Prepare Your Cheesecake: While the oven is preheating, prepare your cheesecake batter according to your recipe. Ensure all ingredients, especially cream cheese, are at room temperature for a smooth mixture. The batter should be creamy and free of lumps.
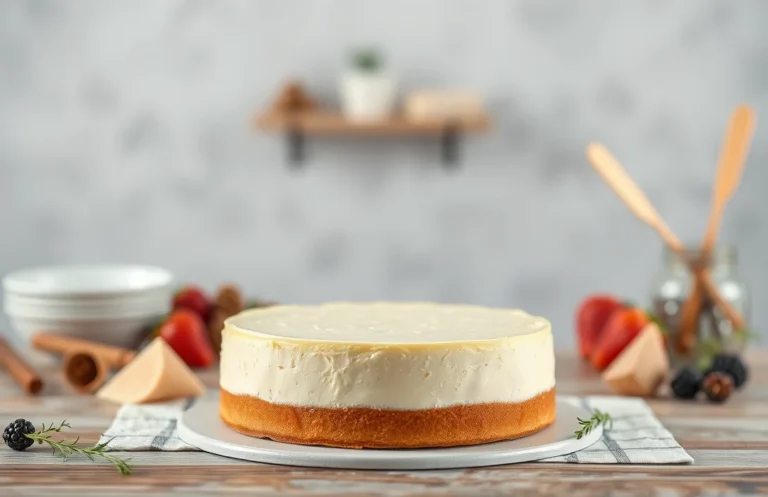
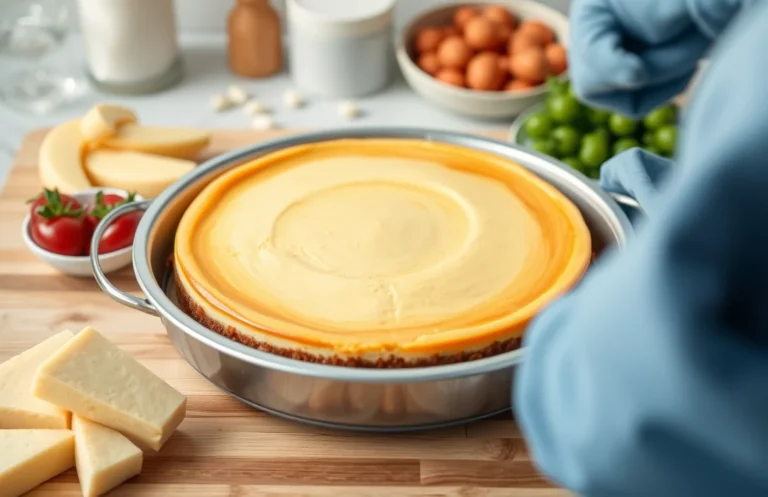
- Bake the Cheesecake: Pour the batter into a prepared springform pan. Place the pan in the preheated oven and bake for 50-60 minutes. The edges should look set, while the center may still jiggle slightly. This indicates it’s not overcooked yet.
- Monitor for Doneness: About 10 minutes before the baking time is up, check the cheesecake. The top should be a light golden color, and a slight puff should be visible around the edges. If you notice cracks forming, your temperature may be too high, so consider reducing it in future bakes.
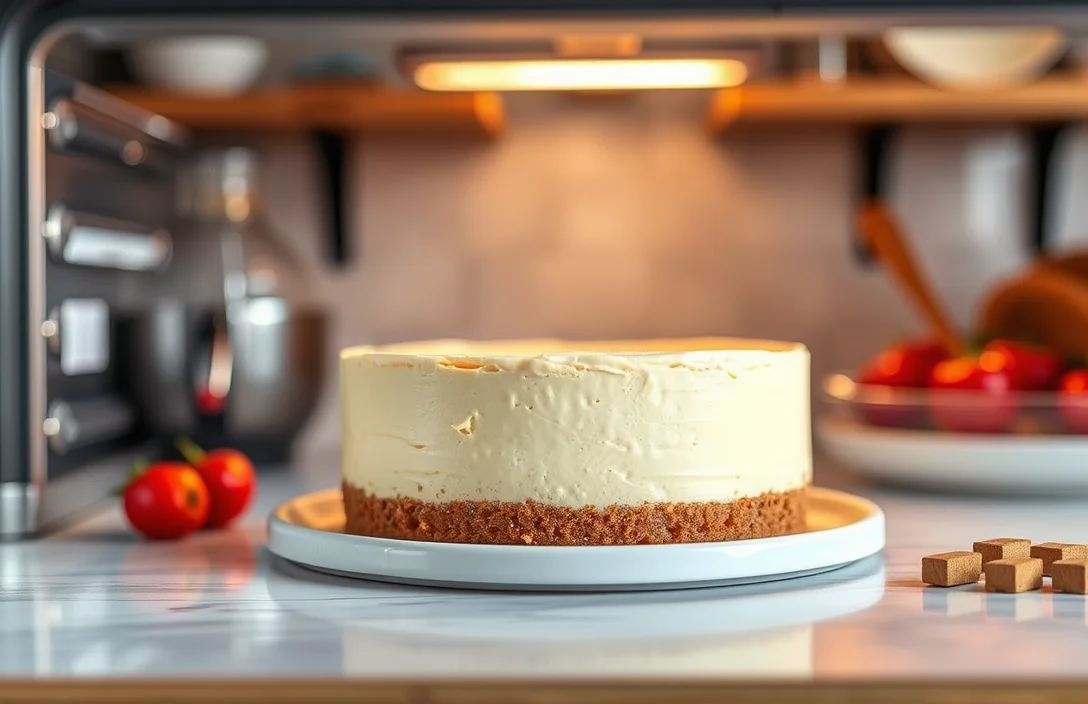
- Cooling Down: Once baked, turn off the oven and crack the door open, allowing the cheesecake to cool gradually for about an hour. This helps prevent cracks from forming as it cools. It should feel firm but slightly soft to the touch in the center.
- Chill Before Serving: After cooling, refrigerate the cheesecake for at least 4 hours, preferably overnight. This helps the flavors meld and the texture to set properly. It should be firm to the touch when ready to serve.
Chef’s tip: Always bake your cheesecake in a water bath to help maintain even temperature and moisture, reducing the risk of cracks.
Pro Tips for Cheesecake Success
Getting the oven temperature just right is crucial for baking a perfect cheesecake. This section shares essential tips to help you avoid cracks and achieve that creamy, luscious texture we all love.
Preventing Cracks
- Use a water bath: Baking your cheesecake in a water bath (or bain-marie) helps maintain a consistent temperature and moisture level. Wrap the bottom of your springform pan in aluminum foil to prevent leaks, and place it in a larger baking dish filled with hot water before putting it in the oven.
- Don’t overmix: Overmixing your batter can incorporate too much air, leading to cracks as the cheesecake rises and falls. Mix just until the ingredients are combined and smooth.
- Aim for 325°F (160°C): This temperature is ideal for most cheesecakes, allowing them to bake evenly without rising too quickly. Keep an eye on your cheesecake, and remember that it will continue cooking after being removed from the oven.
Achieving Creamy Texture
- Bring ingredients to room temperature: Cold ingredients can create a lumpy batter and affect the final texture. Allow cream cheese, eggs, and sour cream to sit out for about 30 minutes before mixing.
- Check for doneness: The edges should be set, but the center should still have a slight jiggle when you gently shake the pan. This indicates it will firm up as it cools.
- Cool slowly: After baking, turn off the oven and crack the door ajar, letting the cheesecake cool gradually. This helps prevent sudden temperature changes that can cause cracks.
Temperature Variations for Cheesecakes
Understanding the optimal oven temperatures for different types of cheesecakes is crucial for achieving that creamy, smooth texture we all love. Whether you’re making a classic baked cheesecake or a no-bake version, the temperature can greatly influence the final outcome.
Classic Cheesecake Temperature
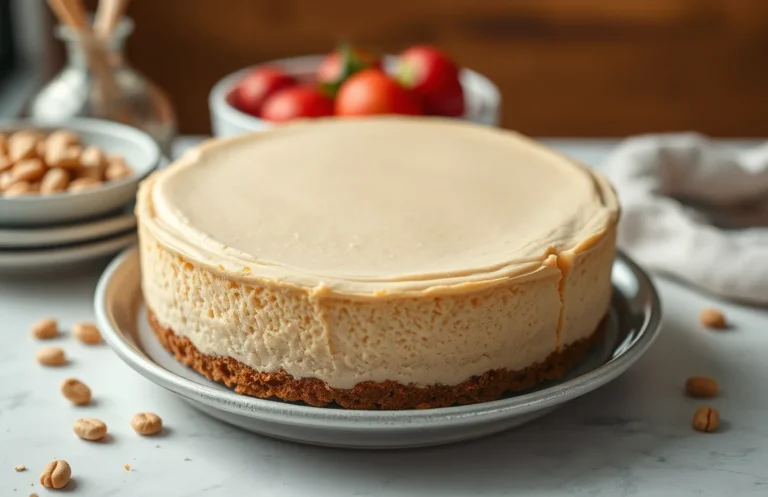
For a classic baked cheesecake, the ideal oven temperature is 325°F (160°C). This moderate temperature allows the cheesecake to bake evenly without cracking. Here’s how to ensure perfect results:
- Preheat your oven to 325°F (160°C). Use an oven thermometer to verify accuracy.
- Bake for 50-60 minutes. The edges should be set, and the center should slightly jiggle when you shake the pan.
- Turn off the oven and crack the door open, allowing the cheesecake to cool gradually for about 1 hour to prevent cracks.
Chef’s tip: Always use room temperature ingredients to ensure a smooth batter and avoid lumps.
No-Bake Cheesecake Temperature
No-bake cheesecakes do not require oven time, but the chilling process is just as critical. Here’s how to get it right:
- After mixing your cheesecake filling, spread it evenly into the crust.
- Refrigerate for at least 4 hours, or overnight for best results. The cheesecake should feel firm but slightly soft to the touch.
Remember, the longer it chills, the better the flavor and texture will be!
| Type of Cheesecake | Temperature / Chilling Time |
|---|---|
| Classic Baked | 325°F (160°C) for 50-60 minutes |
| No-Bake | Chill for 4 hours or overnight |
Serving and Plating Suggestions
Once your cheesecake is perfectly baked and cooled, it’s time to think about how to serve it. Presentation and complementary flavors can elevate your cheesecake from a simple dessert to a stunning centerpiece. Here are some ideas to help you plate your cheesecake beautifully and enhance its flavors.
Presentation Tips
- Use a sharp knife to slice the cheesecake; dip it in hot water and wipe it dry for clean cuts.
- Serve slices on dessert plates, garnished with fresh fruit such as strawberries, raspberries, or blueberries for a pop of color.
- Drizzle a sauce like chocolate ganache or a homemade berry compote over the top for added flavor and flair.
- Dust with powdered sugar or cocoa powder for a sophisticated touch.
- Consider using a cake stand for height and elegance when serving.
Pairing Suggestions
To complement your cheesecake, consider the following flavor pairings:
| Cheesecake Flavor | Pairing |
|---|---|
| Classic Vanilla | Fresh berries and whipped cream |
| Chocolate | Chocolate sauce and crushed nuts |
| Fruit-flavored (e.g., lemon, strawberry) | Mint leaves and citrus zest |
| Caramel | Sea salt flakes and pecans |
Chef’s tip: Serve your cheesecake chilled for the best texture and flavor. A side of coffee or dessert wine can also enhance the experience!
Quick Summary
| Prep Time | Cook Time | Total Time | Servings |
|---|---|---|---|
| 20 minutes | 60 minutes | 1 hour 20 minutes | 8 |
- Preheat oven to 325°F (163°C) for even baking.
- Use a water bath to prevent cracking and ensure even cooking.
- Bake for 60 minutes and turn off the oven, leaving the cheesecake inside.
- Cool gradually to room temperature before refrigerating for at least 4 hours.
- Check for doneness when the center is slightly jiggly.
- Tip: Room temperature ingredients blend better for a smooth texture.
- Tip: Avoid overmixing to prevent incorporating too much air.
Frequently Asked Questions
Can I make this cheesecake ahead of time? How to store and reheat?
You can make cheesecake up to 2 days in advance, storing it in the refrigerator covered tightly with plastic wrap. To serve, simply bring it to room temperature for about 30 minutes before slicing.
What can I substitute for cream cheese?
You can substitute light cream cheese or mascarpone cheese for a lighter option, but keep in mind that the texture and flavor may vary slightly. For a dairy-free version, use cashew cream or a vegan cream cheese alternative.
How do I know when my cheesecake is done?
Your cheesecake is done when the edges are set, but the center still jiggles slightly, which usually takes about 50-60 minutes at 325°F (163°C). It will firm up as it cools, so don’t worry if it seems a bit soft in the middle.
Can I freeze cheesecake? How long does it last?
Yes, you can freeze cheesecake for up to 2-3 months; just wrap it tightly in plastic wrap and then in aluminum foil to prevent freezer burn. Thaw it in the refrigerator overnight before serving for the best texture.
What if I don’t have a springform pan?
If you don’t have a springform pan, you can use a regular cake pan lined with parchment paper to make it easier to remove the cheesecake. Just be sure to let it cool completely before attempting to take it out to avoid breakage.

- Top 10 2nd Hand Espresso Machine 2026 - July 29, 2026
- Top 10 Water Filter For Espresso Machine 2026 - July 29, 2026
- Top 10 Rotary Pump Espresso Machine 2026 - July 29, 2026