Cheesecake Base: Make It Up to 3 Days Ahead for Best Flavor
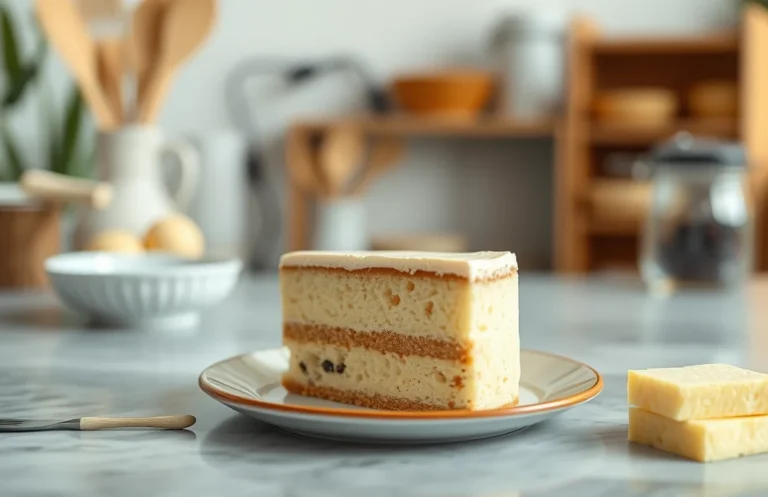
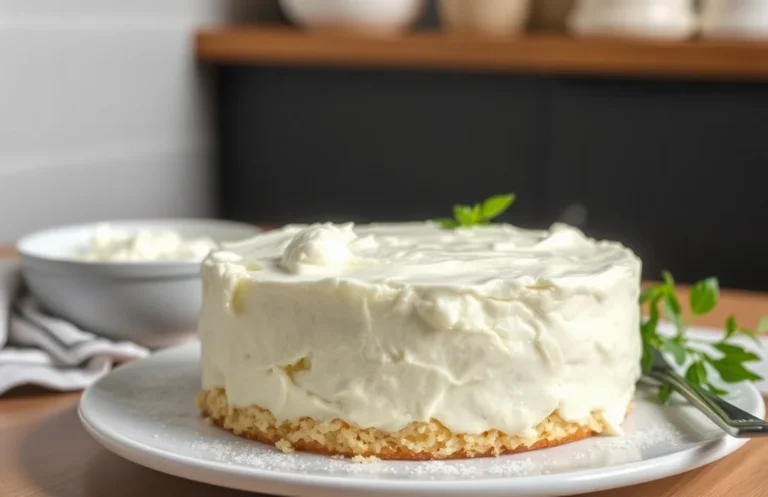
Cheesecake is one of those desserts that makes your heart skip a beat, isn’t it? The creamy, velvety texture paired with a buttery crust is pure bliss. Imagine serving a slice of homemade cheesecake at your next gathering, and watching everyone’s faces light up with joy. It’s truly a crowd-pleaser!
In this guide, you’ll learn how far in advance you can prepare a cheesecake base, ensuring it’s always fresh and delicious. Expect prep times of 20 minutes, chilling times of 4 hours, and serves 8 people, all with a simple difficulty level.
| Prep Time | Cook Time | Total Time | Servings | Difficulty |
|---|---|---|---|---|
| 20 minutes | 0 minutes | 4 hours | 8 | Easy |
Cheesecake Base Origins
The history of cheesecake bases is rich and varied, reflecting cultural influences and culinary evolution over centuries. Understanding these origins not only enhances your appreciation for this delightful dessert but also informs how you can prepare your cheesecake base in advance for the best results.
- History of Cheesecake: Cheesecake dates back to ancient Greece, where it was served to athletes during the first Olympic Games. The Romans later adapted it, adding their own ingredients, which contributed to the evolution of the cheesecake we know today.
- What Makes It Unique: The unique texture and flavor of a cheesecake base come from its creamy blend of cheese, sugar, and eggs, combined with a crust made from crushed cookies or graham crackers. This combination creates a perfect balance of sweetness and creaminess, making it a beloved dessert around the world.
- When to Serve Cheesecake: Cheesecake is a versatile dessert that can be enjoyed at various occasions, from holiday gatherings to casual weeknight treats. Its ability to be made in advance makes it a convenient option for busy home cooks, allowing flavors to meld and improve over time.
When considering how far in advance you can make a cheesecake base, it’s essential to know that it can be prepared up to 2-3 days ahead of serving. Proper storage in an airtight container in the refrigerator will help maintain its freshness and texture. If you wish to prepare it even earlier, freezing the base for up to a month is a viable option, but be aware that thawing may slightly alter its texture. Always allow it to cool completely before storage to ensure the best results.
Ingredients for Cheesecake Base
This section outlines the essential ingredients needed to create a delicious cheesecake base, along with precise measurements and tips for storage. Understanding these ingredients is crucial for making a cheesecake that tastes fresh and maintains its texture, even when prepared in advance.
| Item | Amount/Specification | Notes |
|---|---|---|
| Cream Cheese | 16 ounces (450g) | Softened to room temperature for easy mixing |
| Sugar | ¾ cup (150g) | Granulated sugar is best for sweetness and texture |
| Vanilla Extract | 1 teaspoon | Pure vanilla extract enhances flavor |
| Graham Cracker Crumbs | 1 ½ cups (150g) | Can substitute with digestive biscuits |
| Unsalted Butter | ½ cup (115g) | Melted, for binding crust ingredients |
- Make sure the cream cheese is fully softened before starting to prevent lumps in the batter.
- Store the cheesecake base in an airtight container in the refrigerator for up to 3 days before using.
- If freezing, wrap the base tightly in plastic wrap and then in aluminum foil. It can last up to 2 months in the freezer.
- For best flavor, allow the base to come to room temperature after freezing before using it in your cheesecake.
Required Kitchen Equipment
To successfully prepare a cheesecake base in advance, having the right tools on hand is crucial. The following equipment will help you create a smooth and delicious base while ensuring you can store it properly for later use.
- Mixing Bowls: You will need at least two mixing bowls: one for combining the crust ingredients and another for the filling. Choose a large mixing bowl for the filling that can comfortably hold 4 to 6 cups (about 1 to 1.5 liters) of mixture. Glass or stainless steel works best as they are non-reactive and easy to clean.
- Springform Pan: A 9-inch (23 cm) springform pan is ideal for cheesecake bases. This type of pan allows you to easily remove the cheesecake once it’s set, maintaining its shape. Make sure the pan is properly greased or lined with parchment paper to prevent sticking.
- Electric Mixer: An electric mixer, whether hand-held or stand, is essential for achieving a smooth filling. Use the mixer on medium speed to beat the cream cheese until it’s creamy and free of lumps. This process should take about 3-5 minutes, and you want the mixture to look glossy and fluffy.
Having these items ready will streamline your process and help you prepare your cheesecake base efficiently, while also ensuring that it can be stored properly for future enjoyment.
Step-by-Step Preparation
Preparing a cheesecake base in advance can save you time and stress on the day you plan to serve it. In this section, we’ll go through the detailed steps for mixing the ingredients, preparing the crust, and chilling times so you know exactly how far in advance you can make your cheesecake base while maintaining its flavor and texture.
- Mixing Ingredients: Start by gathering your ingredients: 2 cups (200g) of graham cracker crumbs, ½ cup (100g) of granulated sugar, and ½ cup (115g) of unsalted butter, melted. In a medium bowl, combine the graham cracker crumbs and sugar, then pour in the melted butter. Use a fork to mix until the mixture resembles wet sand.
- Preparing the Crust: Preheat your oven to 350°F (175°C). Press the crumb mixture evenly into the bottom of a 9-inch (23cm) springform pan. Use the back of a measuring cup to compact the crumbs firmly, ensuring there are no loose areas. Bake the crust for 8-10 minutes until it’s lightly golden and fragrant. Let it cool completely in the pan before adding your cheesecake filling.
- Chilling Time: Once your crust has cooled, you can prepare the cheesecake filling. After combining your cream cheese, sour cream, sugar, and eggs, pour the mixture over the cooled crust. If you want to make the cheesecake base in advance, tightly wrap the springform pan in plastic wrap once assembled and refrigerate for up to 3 days. This will keep the cheesecake fresh and flavorful.
Chef’s tip: If you need to prepare the cheesecake base even further in advance, consider freezing it. Wrap the springform pan tightly in plastic wrap and then in aluminum foil. It can be frozen for up to 2 months. Just remember to thaw it in the refrigerator overnight before serving!
Storage Tips for Freshness
Knowing how to properly store your cheesecake base can significantly enhance its quality and longevity. This section will guide you through effective refrigeration methods and freezing techniques to maintain freshness and flavor.
- Refrigeration Methods: If you’re planning to use your cheesecake base within 3-5 days, refrigeration is your best option. After preparing your base, transfer it to an airtight container or wrap it tightly in plastic wrap. Make sure it’s completely cool to avoid condensation, which can lead to unwanted moisture. The base should feel firm to the touch and smell slightly sweet, indicative of its freshness.
- Freezing Techniques: For longer storage, you can freeze your cheesecake base for up to 2-3 months. To do this, pour the base into a freezer-safe container or wrap it tightly in heavy-duty aluminum foil. Be sure to label the container with the date and type of cheesecake. When frozen, the base should feel solid and maintain its creamy texture. Thaw it overnight in the refrigerator before using; this prevents the base from becoming too mushy. If you notice any ice crystals upon thawing, gently whisk the base before proceeding with your recipe.
Chef’s tip: Always cool your cheesecake base completely before storing to prevent sogginess and maintain its texture.
Flavor and Texture Changes
Understanding how the flavor and texture of your cheesecake base change over time is crucial for achieving the perfect dessert. Although a cheesecake base can be made in advance, its quality will fluctuate based on how you store it and how long it sits before use.
Storage Duration Effects
The ideal timeframe for making your cheesecake base in advance is up to 2-3 days. Here’s how the flavor and texture can evolve:
- 1 Day: The base is fresh and creamy, with a rich flavor. The crust will be firm but not hard.
- 2 Days: The flavors meld beautifully, enhancing the overall taste. However, the crust may start to lose some of its crunch.
- 3 Days: The base is still acceptable, but you may notice a slight decline in freshness, and the texture might become a bit softer.
Signs of Spoilage
When storing your cheesecake base, always check for spoilage to ensure quality. Here are the signs to look for:
“If you notice a sour smell or any discoloration, it’s best to discard the base to avoid any health risks.”
To maximize freshness:
- Store in an airtight container.
- Keep it in the refrigerator at a temperature below 40°F (4°C).
| Storage Time | Flavor | Texture |
|---|---|---|
| 1 Day | Fresh and creamy | Firm |
| 2 Days | Enhanced flavor | Softening |
| 3 Days | Declining freshness | Soft |
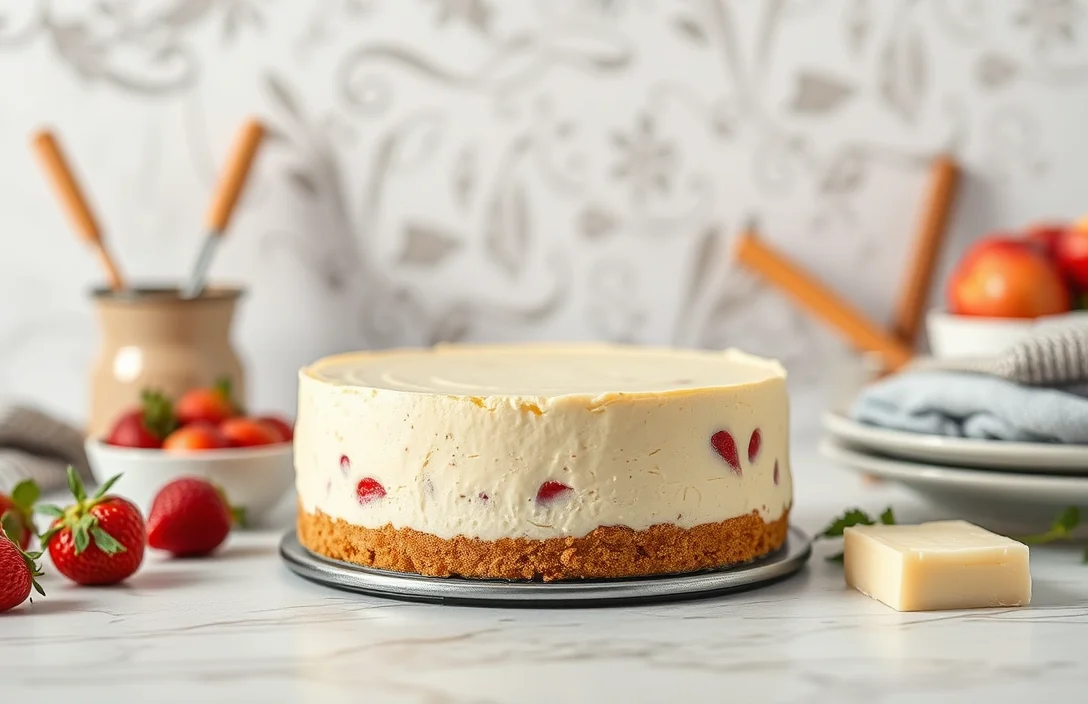
Variations and Substitutions
This section highlights how you can modify your cheesecake base for dietary needs and flavor preferences, while also considering how these variations can be prepared in advance. Understanding these substitutions ensures that you can accommodate different diets without sacrificing taste or texture.
Gluten-Free Options
If you need a gluten-free cheesecake base, simply substitute traditional graham crackers with gluten-free alternatives. Here are a few options:
- 1 ½ cups gluten-free graham cracker crumbs (150g)
- 1 ½ cups almond flour (150g)
- 1 ½ cups crushed gluten-free cookies (like Oreos or other gluten-free brands)
Mix the chosen crumbs with 5 tablespoons (70g) of melted butter, and proceed as you would with a regular base. Ensure that all other ingredients used are also gluten-free, especially any flavorings or toppings.
Vegan Alternatives
For a vegan cheesecake base, replace cream cheese with a mixture of soaked cashews and coconut cream. Here’s how:
- 1 ½ cups soaked cashews (soaked for at least 4 hours in water)
- 1 cup coconut cream (about 1 can)
- ¼ cup maple syrup (60ml)
Blend the soaked cashews, coconut cream, and maple syrup until smooth and creamy. This mixture can be made in advance and stored in the refrigerator for up to 3 days. Just make sure to whip it before spreading on your prepared crust.
Chef’s tip: If you’re making a vegan cheesecake, consider adding a splash of lemon juice or vanilla extract to enhance the flavor profile.
Both gluten-free and vegan bases can be prepared a day or two in advance, stored in an airtight container in the refrigerator, ensuring that they retain their freshness and flavor.
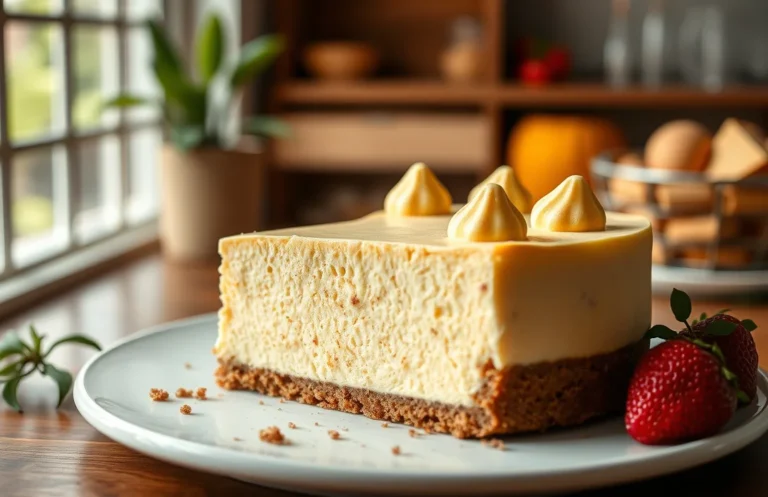
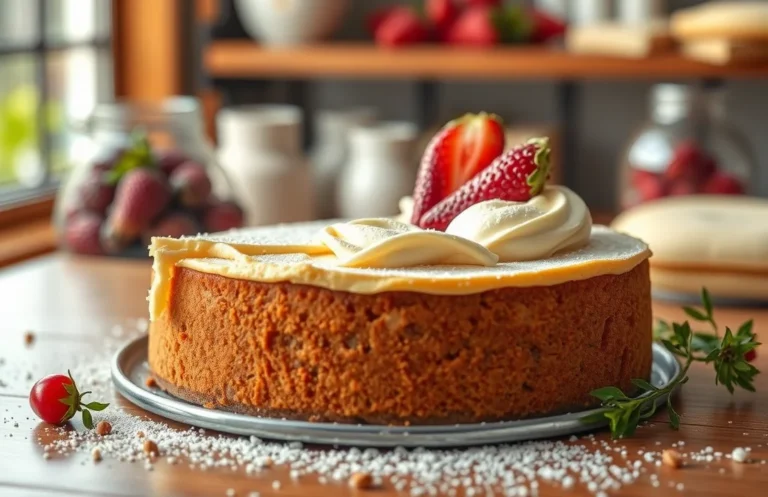
Serving and Pairing Suggestions
Once you’ve prepared your cheesecake base, serving it correctly enhances its flavor and presentation. A well-plated cheesecake can be a showstopper, and pairing it with the right beverages can elevate the entire experience. Here are some tips to ensure your cheesecake shines on the table.
Plating Techniques
- Use a springform pan to create a clean edge; remove the sides carefully after chilling.
- For a beautiful presentation, dust the top with powdered sugar or cocoa powder using a fine mesh sieve.
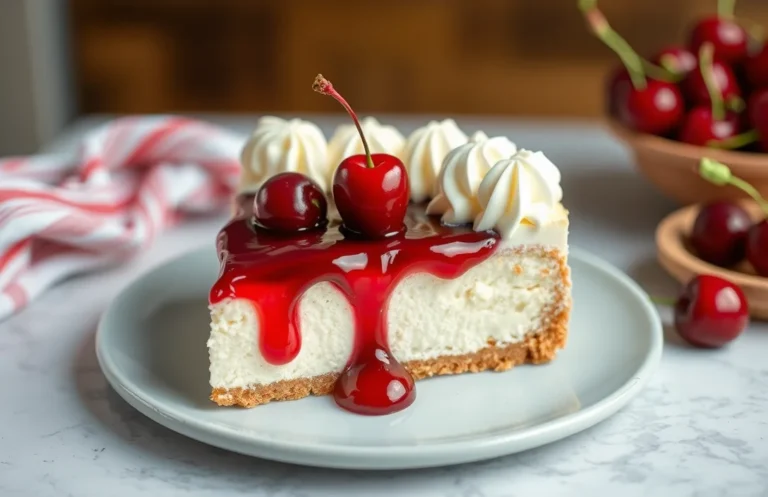
- Add fresh fruits like raspberries or strawberries on top for a pop of color and freshness.
- Drizzle with a fruit coulis or chocolate sauce for an elegant touch.
Beverage Pairings
Choosing the right drink can enhance the flavors of your cheesecake base. Here are some excellent options:
| Beverage | Flavor Profile |
|---|---|
| Sweet Riesling | Fruity and floral, complements creamy textures. |
| Espresso | Rich and bold, contrasts the sweetness of cheesecake. |
| Herbal Tea | Light and refreshing, pairs well with fruit-topped cheesecakes. |
| Chocolate Milkshake | Decadent and indulgent, perfect for dessert lovers. |
Chef’s tip: Serve your cheesecake slightly chilled for the best texture and flavor!
Quick Summary
| Prep Time | 20 minutes |
|---|---|
| Cook Time | 60 minutes |
| Total Time | 1 hour 20 minutes |
| Servings | 8 |
- Chill the base: Refrigerate for at least 4 hours, or overnight for best results.
- Use room temperature ingredients: This ensures a smooth, lump-free mixture.
- Pre-bake the crust: Bake at 350°F (175°C) for 10 minutes to enhance flavor.
- Wrap tightly: If making in advance, wrap the base in plastic wrap to prevent drying out.
- Prepare up to 2 days ahead: A cheesecake base can be made and stored for up to 2 days before assembly.
Frequently Asked Questions
Can I make this ahead of time? How to store and reheat?
You can make the cheesecake base up to 3 days in advance. Store it covered in the refrigerator, and there’s no need to reheat before adding your cheesecake filling.
What can I substitute for cream cheese?
If you’re looking for a substitute, you can use mascarpone cheese in a 1:1 ratio for a similar creamy texture. Greek yogurt can also work, but it may alter the flavor slightly.
How do I know when it’s done?
Your cheesecake base is done when the edges are set and the center is slightly jiggly; it will firm up as it cools. Typically, this takes around 50-60 minutes at 325°F (160°C).
Can I freeze this? How long does it last?
Yes, you can freeze the cheesecake base for up to 2 months. Wrap it tightly in plastic wrap and aluminum foil to prevent freezer burn.
Why did my cheesecake base turn out too dense?
If your cheesecake base is too dense, it may be due to overmixing or using cold cream cheese directly from the fridge. Always soften your cream cheese and mix just until combined.

- Decadent Peanut Butter No-Bake Cheesecake: Easy Recipe to Indulge - April 3, 2026
- Delicious Mango No-Bake Cheesecake: Step-by-Step Recipe - April 3, 2026
- Decadent Raspberry No-Bake Cheesecake: Easy Step-by-Step Recipe - April 3, 2026