Tube Pan Showdown: Choosing the Best for Perfect Cakes
If you’re looking for a cake that’s as stunning as it is delicious, mastering the right tube pan is essential! Whether it’s a fluffy angel food cake that rises to perfection or a rich bundt cake that impresses at every gathering, the right pan can make all the difference. Your taste buds are in for a treat!
Get ready to bake with confidence! This guide features different types of tube pans, their effects on cake texture, and specific recipes for each. You’ll also find tips for perfect baking, a comparison chart, and answers to your FAQs.
| Prep Time | Cook Time | Total Time | Servings | Difficulty |
|---|---|---|---|---|
| 15 minutes | 45 minutes | 1 hour | 8 servings | Easy |
History of Tube Pans
Tube pans have a rich history that reflects their importance in baking, particularly for cakes that require even cooking and a light, airy texture. Understanding their origins and cultural significance can help you make informed choices in your baking endeavors.
- Origins of Tube Pans: The concept of the tube pan dates back to the early 20th century, originally designed for angel food cakes. The central tube allows for better heat circulation, ensuring that the cake bakes evenly and rises properly. Traditional metal tube pans were crafted to maximize airflow, creating that signature lightness in the cake.
- Cultural Significance: Tube cakes, especially angel food and chiffon cakes, have become staples in various cultures. They are often associated with celebrations and gatherings, showcasing the baker’s skill. In the United States, tube cakes are commonly enjoyed at family reunions and holiday festivities.
- When to Serve Tube Cakes: Tube cakes are versatile and can be served at any occasion, from casual brunches to formal events. Their light texture makes them perfect for pairing with fresh fruits or whipped cream, making them a favorite for summer gatherings and festive occasions alike.
Types of Tube Pans
Understanding the different types of tube pans is essential for baking the perfect cake. Each pan has unique features that can significantly affect the texture and appearance of your baked goods. Let’s take a closer look at three popular types: Angel Food Cake Pan, Bundt Pan, and Regular Tube Pan.
Angel Food Cake Pan
The angel food cake pan is designed with a removable bottom and tall sides, allowing for maximum volume and height in your cake. Its unique shape helps the cake rise and maintain its airy texture. Here are some key points:
- Material: Usually made of aluminum for even heat distribution.
- Features: Straight sides and a center tube that helps stabilize the cake as it bakes.
- Ideal for: Light, fluffy cakes that require beating egg whites.
Bundt Pan
Bundt pans come in various shapes and sizes, often with intricate designs. They typically have fluted sides and a decorative center tube. Tips to note:
- Material: Can be made from non-stick metal or ceramic.
- Features: Provides an attractive presentation but can lead to uneven cooking if not properly greased.
- Ideal for: Rich, dense cakes, such as chocolate or pound cakes.
Regular Tube Pan
This pan is a versatile option for many types of cakes. It has a removable bottom but less intricate designs compared to Bundt pans. Key considerations include:
- Material: Commonly made of metal, offering good heat conduction.
- Features: Straight sides, which help produce even, uniform cakes.
- Ideal for: Classic recipes like chiffon or pound cakes.
Pro tip: Always grease and flour your tube pan for easy cake release, especially with Bundt pans to avoid sticking!
Ingredients for Tube Cake
Understanding the right ingredients for your tube cake is essential for achieving the perfect texture and flavor. Different tube pans, such as bundt and angel food pans, may require slight adjustments in your ingredient choices to ensure optimal results.
| Item | Amount/Specification | Notes |
|---|---|---|
| All-purpose flour | 2 ½ cups (312g) | For a denser cake, sift before measuring. |
| Sugar | 1 ½ cups (300g) | Granulated sugar for sweetness and structure. |
| Baking powder | 1 tablespoon (12g) | Ensure it’s fresh for the best rise. |
| Salt | ½ teaspoon (3g) | Enhances the flavors. |
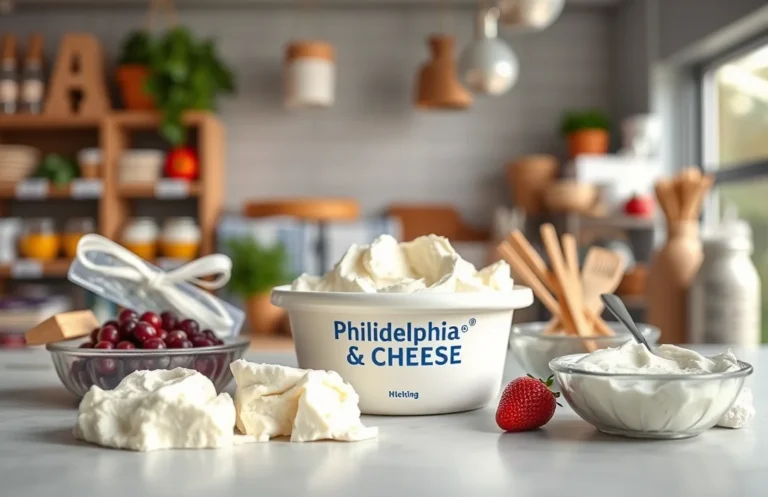
| Butter | 1 cup (226g), unsalted | Softened for easy mixing. |
| Eggs | 4 large | Room temperature for better emulsification. |
| Milk | 1 cup (240ml) | Can substitute with almond milk for allergies. |
| Vanilla extract | 1 teaspoon (5ml) | Optional, but adds lovely flavor. |
- For gluten-free options, substitute all-purpose flour with a 1:1 gluten-free blend.
- Make sure to preheat your oven to 350°F (175°C) before mixing your ingredients.
- Check your baking powder for freshness; it should be active for the cake to rise properly.
- If using a bundt pan, consider greasing it thoroughly to prevent sticking.
Essential Baking Equipment
Choosing the right baking equipment is crucial for achieving the best results when making tube cakes. This section outlines the essential tools you’ll need, along with preparation steps and the importance of preheating your oven for optimal baking conditions.
- Tube Pans: The primary tool for baking tube cakes is a tube pan, which can vary in design. Common types include angel food cake pans, which have a removable bottom and straight sides, perfect for light, airy cakes. Bundt pans, on the other hand, feature intricate designs and are great for denser batter. Ensure your chosen pan is non-stick or well-greased to prevent sticking.
- Mixing Bowls: You’ll need at least two mixing bowls: one for dry ingredients and another for wet ingredients. Use a large bowl for combining flour, sugar, and leavening agents, while a medium bowl is ideal for eggs, liquids, and flavorings. Choose glass or metal bowls for better mixing.
- Electric Mixer: An electric stand or hand mixer is essential for achieving a well-aerated batter, particularly for cakes that rely on whipped egg whites or heavy creaming. Mix on medium speed until the batter is smooth and fluffy, which usually takes about 3-5 minutes.
- Measuring Tools: Accurate measurements are key to successful baking. Use a set of dry measuring cups for flour and sugar, and liquid measuring cups for milk and oils. A kitchen scale can also be helpful for precise measurements, especially when working with flour.
- Preheating the Oven: Preheat your oven to 350°F (175°C) before you start mixing your batter. This ensures that the cake cooks evenly. Allow the oven to heat for about 15-20 minutes until it reaches the desired temperature. You can check if it’s ready with an oven thermometer to avoid underbaking.
Step-by-Step Baking Instructions
In this section, we’ll discuss how to mix your ingredients, fill your tube pan, and determine the perfect baking time for your cake. Understanding these steps will help ensure your cake bakes evenly and achieves a delightful texture.
- Mixing Ingredients: Start by preheating your oven to 350°F (175°C). In a large mixing bowl, combine 2 cups all-purpose flour (240g), 1 ½ cups granulated sugar (300g), and 1 tablespoon baking powder. Whisk the dry ingredients until well blended. Then, in another bowl, beat 4 large eggs and mix in ½ cup vegetable oil (120ml) and 1 cup milk (240ml). Gradually fold the wet ingredients into the dry mixture until just combined—be careful not to overmix, as this can result in a dense cake. The batter should be smooth with a few small lumps.
- Filling the Pan: Prepare your tube pan by lightly greasing it with butter or cooking spray. Pour the batter into the pan, ensuring it fills about two-thirds of the way up. This allows space for the cake to rise without overflowing. Gently tap the pan on the counter to remove any air bubbles. Make sure the batter is evenly distributed, as this will help the cake bake uniformly.
- Baking Time: Place the filled pan in the center of your preheated oven. Bake for 45-50 minutes, or until a toothpick inserted into the center comes out clean. Keep an eye on the cake after 40 minutes; it should have a golden-brown top and spring back when lightly pressed. Do not open the oven door during the first 20 minutes to prevent the cake from collapsing.
Expert Tips for Success
This section provides essential tips to help you avoid common pitfalls while baking tube cakes, ensuring you achieve the best results. Understanding the nuances of different tube pans and their impact on your cake can make all the difference.
Common Mistakes
- Choosing the wrong pan: Not all tube pans are created equal. For light cakes like angel food, use a straight-sided pan to allow the cake to climb and rise properly. Bundt pans are fantastic for denser cakes but can lead to sticking if not greased well.
- Overmixing the batter: Overmixing can result in a tough cake. Mix just until the ingredients are combined; the batter should be smooth but not overly elastic.
- Not preheating the oven: Always preheat your oven to 350°F (175°C) before baking. This ensures even cooking and helps your cake rise properly from the get-go.
Tips for Even Baking
- Use the right rack position: Place your cake on the center rack of the oven for optimal air circulation. If it’s too low, the bottom may burn; too high can lead to uneven baking.
- Rotate the pan halfway through: For even baking, rotate your cake pan 180 degrees halfway through the cooking time. This helps counteract any hot spots in your oven.
Cooling Techniques
- Cool in the pan: Let your cake cool in the pan for about 10-15 minutes before inverting onto a wire rack. This helps set the structure and prevents crumbling.
- Use a wire rack: After cooling in the pan, transfer the cake to a wire rack. This allows air to circulate around the cake, preventing sogginess.
Recipe Variations and Substitutions
This section provides alternatives for dietary needs and flavor variations when making cakes in tube pans. Understanding these options can help you create a cake that suits your preferences and dietary restrictions while still achieving fantastic results.
Gluten-Free Options
If you need a gluten-free cake, you can easily adapt your recipe by using gluten-free flour blends. Here’s a simple substitution:
- Replace 1 cup of all-purpose flour with 1 cup of gluten-free all-purpose flour blend (ensure it contains xanthan gum for better texture).
As you mix the batter, it should still feel smooth and pourable, similar to traditional cake batter. Bake at the same temperature of 350°F (175°C) for about 30-35 minutes or until a toothpick inserted in the center comes out clean.
Vegan Substitutes
If you prefer a vegan cake, consider these substitutions:
- Replace 1 large egg with ¼ cup unsweetened applesauce or 1 tablespoon ground flaxseed mixed with 2.5 tablespoons of water (let it sit for 5 minutes to thicken).
- Use ½ cup coconut oil or vegetable oil instead of butter.
The batter will be slightly thicker than a traditional cake batter but should still pour easily. Bake at 350°F (175°C) for 25-30 minutes, watching for a golden top.
Flavor Variations
To add unique flavors to your cake, try these ideas:
- For a chocolate cake, mix in ½ cup unsweetened cocoa powder and reduce the flour by the same amount.
- Add 1 teaspoon of almond or vanilla extract for a deeper flavor.
- Incorporate citrus zest (like lemon or orange) to brighten the taste.
Chef’s tip: Always taste your batter before baking, and adjust sweetness or flavorings as needed!
| Ingredient | Substitution |
|---|---|
| All-purpose flour | Gluten-free flour blend |
| Egg | Applesauce or flaxseed mixture |
| Butter | Coconut oil or vegetable oil |
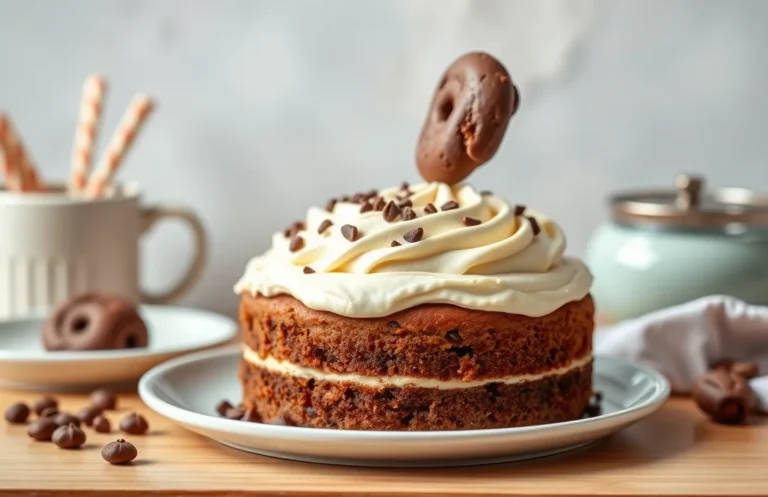
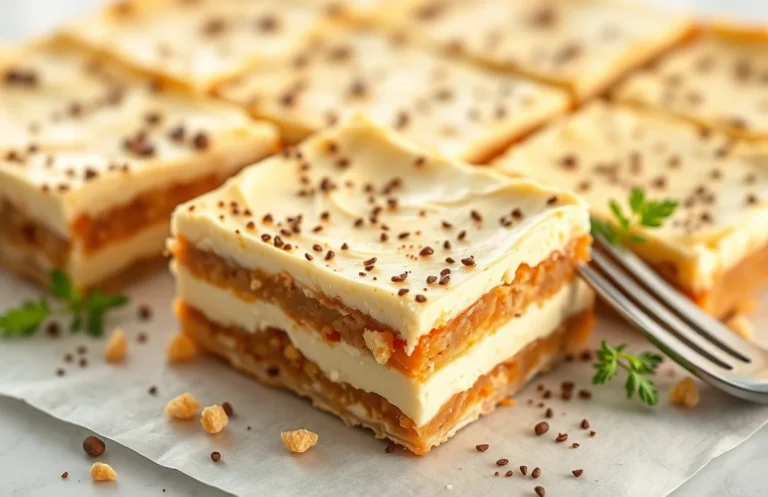
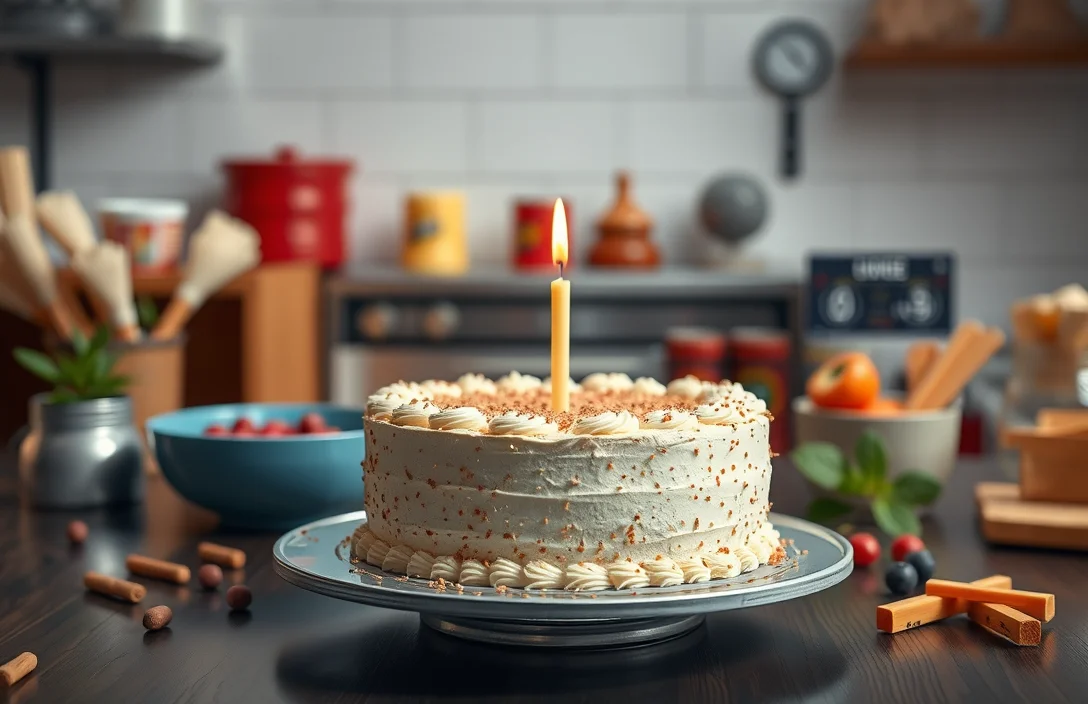
Serving and Plating Ideas
Presenting your tube cake beautifully can elevate the entire dessert experience. Here are some practical tips on how to plate your cake, along with pairing suggestions and serving temperatures to ensure every bite is delightful.
Plating Tips
- Use a cake stand or a decorative plate to elevate your tube cake, allowing it to take center stage.
- Dust the top with powdered sugar or cocoa powder for an elegant touch.
- Drizzle a simple glaze or a ganache around the base of the cake for added flavor and visual appeal.
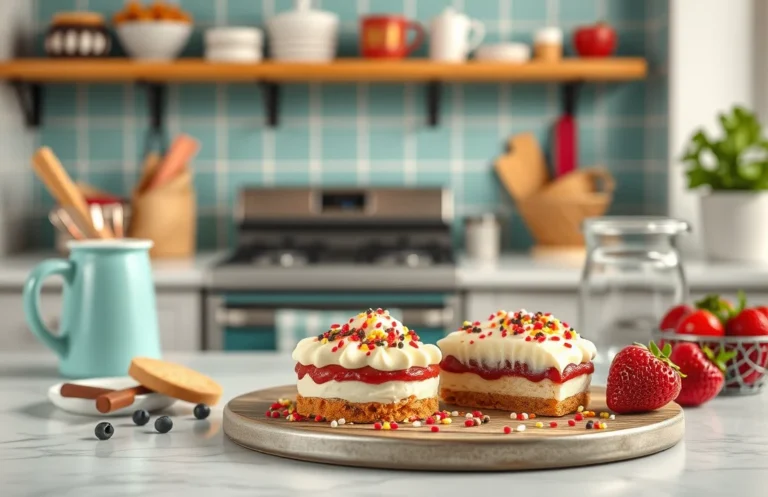
- For a pop of color, consider garnishing with fresh berries, mint leaves, or edible flowers.
Pairing Suggestions
| Cake Type | Recommended Pairings |
|---|---|
| Angel Food Cake | Fresh berries, whipped cream, citrus zest |
| Bundt Cake | Ice cream, caramel sauce, chopped nuts |
| Chiffon Cake | Citrus syrup, chocolate sauce, fruit coulis |
Serving Temperatures
For optimal enjoyment, serve your tube cakes at the following temperatures:
- Angel Food Cake: Best served chilled or at room temperature (65°F – 75°F / 18°C – 24°C).
- Bundt Cake: Serve slightly warm (around 70°F / 21°C) or at room temperature.
- Chiffon Cake: Ideal at room temperature to highlight its airy texture.
Chef’s tip: To warm cake slices, place them in the microwave for 10-15 seconds. Just be careful not to overdo it, as it can dry out the cake!
Quick Summary
| Prep Time | 15 minutes |
|---|---|
| Cook Time | 30 minutes |
| Total Time | 45 minutes |
| Servings | 8 servings |
- Preheat the oven: Set to 350°F (175°C) before mixing ingredients.
- Grease the tube pan: Use butter or non-stick spray for easy release.
- Mix dry ingredients: Whisk together flour, baking powder, and salt separately.
- Incorporate wet ingredients: Cream butter and sugar until light before adding eggs.
- Bake until golden: Check for doneness with a toothpick after 30 minutes.
- Cool before serving: Let the cake sit in the pan for 10 minutes before inverting.
- Key Tip: Use room temperature ingredients for better emulsification.
- Key Tip: Don’t overmix the batter to keep the cake tender and fluffy.
Frequently Asked Questions
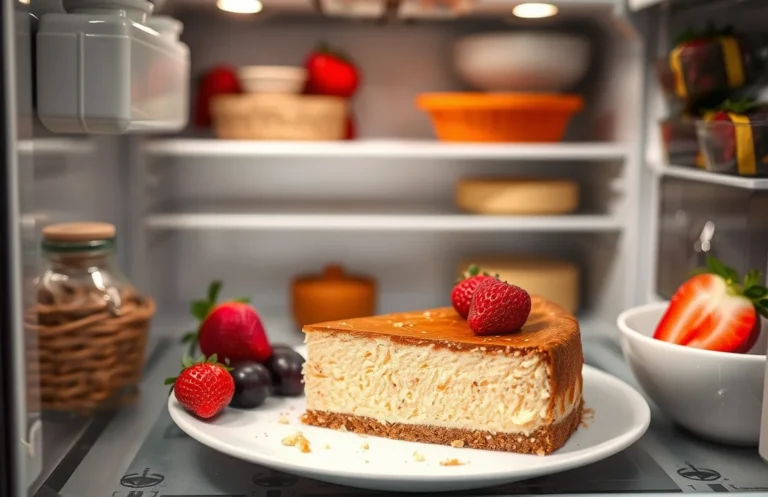
Can I make this ahead of time? How to store and reheat?
Yes, you can make the cake ahead of time. Store it in an airtight container at room temperature for up to 3 days, or refrigerate it for up to a week; reheat individual slices in the microwave for about 15-20 seconds.
What can I substitute for a tube pan?
If you don’t have a tube pan, you can use a bundt pan instead, as it will provide similar results. Just make sure to adjust the baking time, checking for doneness a few minutes earlier.
How do I know when it’s done?
Your cake is done when a toothpick inserted in the center comes out clean or with a few moist crumbs. The edges should start to pull away from the pan and the top should be a light golden brown.
Can I freeze this cake? How long does it last?
Absolutely, you can freeze the cake for up to 3 months. Wrap it tightly in plastic wrap and then in aluminum foil to prevent freezer burn.
Why did my cake turn out dense?
Your cake may have turned out dense if you overmixed the batter or used too much flour. Always spoon and level your flour instead of scooping directly from the bag to avoid adding excess flour.