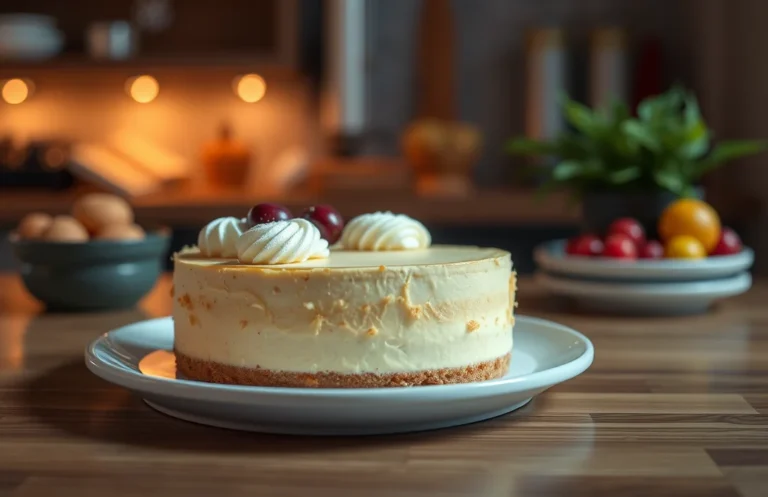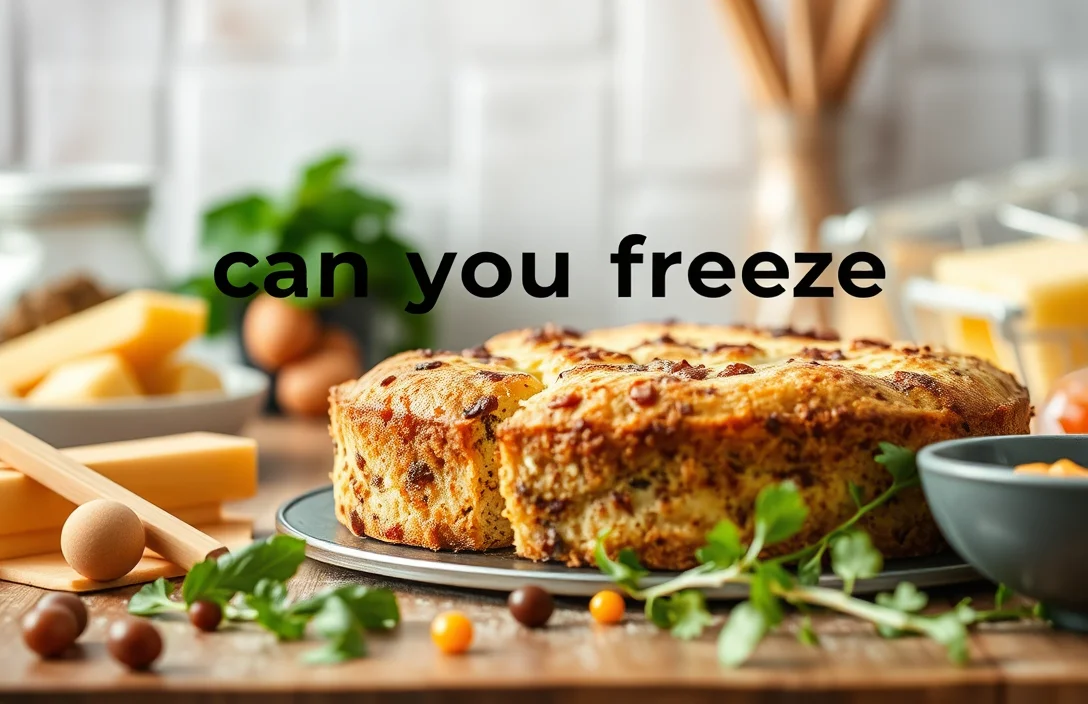
Can You Freeze Baked Cheesecake? Tips for Perfect Results!
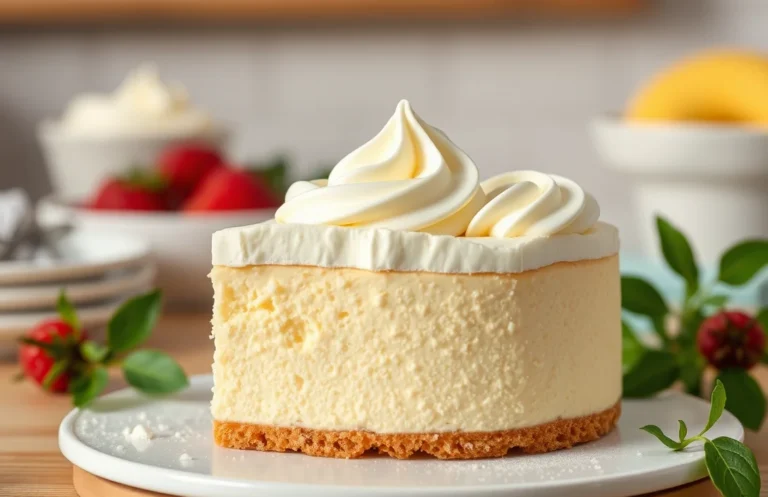
There’s nothing quite like a slice of rich, creamy baked cheesecake to satisfy your sweet tooth. Whether enjoyed at a family gathering or as a weeknight treat, this dessert is a true crowd-pleaser that never disappoints. Imagine sinking your fork into that velvety texture, paired with a hint of tanginess — it’s pure bliss!
If you’ve ever wondered, can you freeze a baked cheesecake? The answer is yes! You’ll get clear instructions on how to freeze, thaw, and tips to maintain that luscious texture. This guide covers everything you need to know for 8 servings, taking about 20 minutes to prep and 60 minutes to bake.
| Prep Time | Cook Time | Total Time | Servings | Difficulty |
|---|---|---|---|---|
| 20 minutes | 60 minutes | 80 minutes | 8 | Medium |
Origin of Cheesecake
The history of cheesecake is rich and varied, deeply rooted in ancient cultures and special occasions. Understanding its origins not only enhances our appreciation for this delicious dessert but also informs how we handle it, especially when considering freezing options.
- Ancient Beginnings: The earliest records of cheesecake date back to ancient Greece around 2000 B.C. where it was served to athletes during the first Olympic Games. The Greeks made a simple version using fresh cheese, flour, and honey.
- Roman Influence: As the Romans conquered Greece, they adopted and adapted cheesecake recipes. They added ingredients like eggs and baked it, shaping what we now recognize as baked cheesecake.
- Cultural Variations: Cheesecake has taken many forms across different cultures, from the creamy, dense versions found in New York to the lighter, fluffier styles in Europe. Each culture’s interpretation brings distinct flavors and textures.
- Special Occasions: Traditionally, cheesecake has been a centerpiece at celebrations, weddings, and holidays. Its rich taste and creamy texture make it a beloved dessert for marking significant milestones.
Knowing the origins and significance of cheesecake can help you appreciate the nuances in flavor and texture, especially when considering how freezing may affect your favorite baked recipes.
Ingredients for Cheesecake
This section outlines the essential ingredients you’ll need to create a delicious baked cheesecake. Understanding these ingredients is crucial, especially if you’re considering freezing your cheesecake later, as different ingredients can affect the freezing process and final texture.
| Item | Amount/Specification | Notes |
|---|---|---|
| Cream cheese | 16 ounces (450g) | Full-fat is best for a rich texture |
| Sugar | 1 cup (200g) | Granulated sugar for sweetness |
| Eggs | 3 large | Room temperature for better incorporation |
| Vanilla extract | 1 teaspoon | Enhances flavor; optional but recommended |
| Graham cracker crumbs | 1 ½ cups (150g) | For the crust; can substitute with gluten-free crumbs |
| Butter | ½ cup (115g) | Melted; binds the crust ingredients |
- For a lighter cheesecake, consider using low-fat cream cheese, but be aware it may affect the texture.
- Room temperature ingredients mix more smoothly, reducing lumps in your batter.
- Freeze your cheesecake without toppings, as fruits or whipped cream can become watery upon thawing.
- If you’re freezing, wrap the cheesecake tightly in plastic wrap and then in aluminum foil for best results.
Essential Kitchen Tools
To successfully freeze a baked cheesecake while maintaining its delicious texture and flavor, you’ll need some specific kitchen tools for both preparation and storage. Having the right equipment on hand will make the process smoother and ensure your cheesecake comes out perfectly every time.
- Mixing Bowls: Use a large mixing bowl (at least 3-quart capacity) for combining your ingredients. A glass or stainless steel bowl works best for even mixing and is easy to clean. Make sure it’s dry before adding ingredients to avoid any clumping.
- Electric Mixer: An electric stand mixer or hand mixer is ideal for achieving a smooth, creamy consistency in your cheesecake batter. When mixing, aim for a fluffy texture that is slightly thicker than pancake batter, which helps create a rich cheesecake.
- Baking Pan: A 9-inch springform pan is the best choice for baking cheesecake. The removable sides allow for easy removal after baking. Line the bottom with parchment paper to prevent sticking, ensuring a clean presentation when you serve it.
- Cooling Rack: After baking, transfer the cheesecake to a cooling rack to cool completely at room temperature. This usually takes about 1-2 hours. A cooling rack allows air to circulate around the cheesecake, preventing sogginess.
- Plastic Wrap or Aluminum Foil: For freezing, have high-quality plastic wrap or aluminum foil ready. Wrap the cooled cheesecake tightly to prevent freezer burn, ensuring it maintains its flavor and texture. Double-wrapping is often a good idea for extra protection.
Freezing Instructions
Properly freezing a baked cheesecake is essential to maintain its creamy texture and rich flavor. By following these steps, you can ensure your cheesecake stays delicious even after freezing.
- Cool Down: Allow your baked cheesecake to cool completely at room temperature for about 1 hour. This prevents condensation from forming inside the wrapping, which can lead to ice crystals. Once cooled, refrigerate the cheesecake for at least 4 hours or overnight; this helps it set firmly.
- Wrap Techniques: Use plastic wrap to tightly cover the cheesecake. Make sure to wrap it in two layers, pressing the wrap directly against the surface to minimize air exposure. For added protection, place the wrapped cheesecake in a freezer-safe airtight container or a heavy-duty freezer bag. Squeeze out as much air as possible before sealing.
- Freezer Storage: Label the container or bag with the date and type of cheesecake. Place it in the freezer, where it can be stored for up to 3 months. Keep it away from items with strong odors, as cheesecakes can easily absorb unwanted flavors. When ready to use, avoid stacking heavy items on top of it to maintain its shape.
Thawing Process
Thawing a frozen cheesecake properly is essential to preserve its creamy texture and rich flavor. Using the right method will ensure that your cheesecake remains delicious when it’s time to serve. Here are two effective ways to thaw your baked cheesecake.
- Refrigerator Method: Place your frozen cheesecake in the refrigerator for 6-8 hours, or ideally overnight. This slow thawing process helps maintain the cheesecake’s texture and prevents it from becoming watery. When it’s ready, the cheesecake should feel firm but soft to the touch and should not be cold in the center.
- Quick Thaw Method: If you’re pressed for time, you can thaw the cheesecake at room temperature. Remove the cheesecake from the freezer, unwrap it completely, and let it sit on the counter for about 2-3 hours. Ensure it’s covered loosely with plastic wrap to prevent drying out. The cheesecake should be soft to the touch but still slightly chilled when you’re ready to serve.
Chef’s tip: Avoid using a microwave to thaw your cheesecake, as it can alter the texture and create hot spots, making it unevenly thawed.
Maintaining Quality
Freezing a baked cheesecake can be a great way to preserve its deliciousness for later enjoyment, but it’s critical to take steps to maintain its original texture and flavor. Here are some practical tips to ensure your cheesecake remains as delightful as when it was freshly baked.
Avoiding Freezer Burn
- Wrap it tightly: Once your cheesecake has cooled completely, wrap it securely in plastic wrap, ensuring there are no gaps. This prevents air from reaching the surface, which can cause freezer burn.
- Use aluminum foil: After wrapping in plastic, cover the cheesecake with a layer of aluminum foil for an extra barrier against air and moisture loss.
- Airtight containers: Alternatively, consider placing the cheesecake in an airtight container. Just make sure it’s large enough to avoid squishing the cheesecake. This adds another layer of protection against freezer burn.
Flavor Retention Tips
- Freeze promptly: Store the cheesecake in the freezer as soon as it’s fully cooled. The sooner it’s frozen, the better the taste will be when you thaw it out.
- Avoid strong odors: Keep your cheesecake away from potent-smelling foods in the freezer. Odors can seep into the cheesecake, affecting its flavor. Use separate compartments if possible.
- Thawing gently: When ready to enjoy, thaw your cheesecake slowly in the refrigerator for 6-8 hours or overnight. This gradual thawing helps maintain the texture and prevents excess moisture from forming on the surface.
Variations on Cheesecake
Understanding how different types of cheesecakes react to freezing can help you make the most of your dessert creations. Whether it’s a fruit-topped, chocolate variation, or a dietary modification, each has unique characteristics that affect the freezing process.
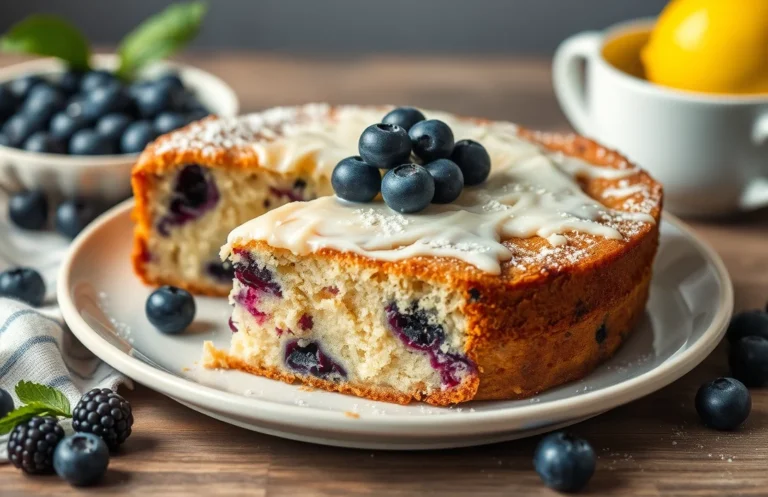
- Fruit-Topped Cheesecakes: These cheesecakes contain fresh fruits or fruit compotes, which can introduce moisture that may affect texture upon freezing. To freeze, remove the fruit topping and store it separately in an airtight container. Wrap the cheesecake tightly in plastic wrap and then in aluminum foil before placing it in the freezer. Thaw in the refrigerator overnight before re-adding the topping.
- Chocolate Variations: Chocolate cheesecakes are generally very freezable due to their dense texture. Make sure to let your cheesecake cool completely to room temperature before wrapping it tightly in plastic wrap. For the best flavor, consume within 2-3 months. When ready to serve, thaw in the refrigerator for about 6-8 hours, and it should be creamy and rich, just like freshly made.
- Dietary Modifications: If you’ve made a gluten-free or dairy-free cheesecake, the freezing process remains largely the same, but be aware that some alternative ingredients may alter the texture. Use a high-quality dairy-free cream cheese for better freezing results. Store as you would a traditional cheesecake and allow it to thaw completely in the fridge to ensure the best texture and taste.
Serving Suggestions
Once your baked cheesecake is successfully frozen and thawed, serving it can be a delightful experience. Enhancing your cheesecake with garnishes and pairing it with the right beverages can elevate the overall flavor and presentation. Here are some ideas to make your cheesecake even more enjoyable.
Garnishes
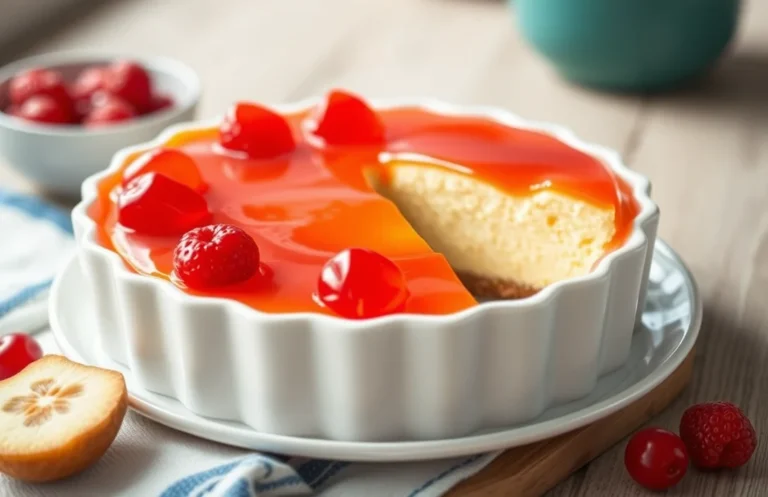
- Fresh Berries: Top your cheesecake with a mix of strawberries, blueberries, and raspberries for a pop of color and freshness. Use about 1 cup (150g) of mixed berries for a generous topping.
- Chocolate Shavings: For a richer flavor, sprinkle ¼ cup (30g) of dark chocolate shavings over the cheesecake.
- Whipped Cream: Serve with a dollop of freshly whipped cream made from 1 cup (240ml) heavy cream, whipped until soft peaks form.
- Caramel or Chocolate Sauce: Drizzle 2-3 tablespoons of caramel or chocolate sauce on top for added sweetness.
Beverage Pairings
The right drink can complement your cheesecake beautifully. Here are some beverage suggestions:
| Beverage | Description |
|---|---|
| Coffee | The rich, bold flavors of coffee balance the creaminess of cheesecake. A cup of freshly brewed coffee pairs perfectly. |
| Sweet Wine | A glass of sweet dessert wine, like Riesling or Moscato, enhances the flavors of the cheesecake. |
| Herbal Tea | Chamomile or mint tea can provide a soothing contrast to the richness of the cheesecake. |
Chef’s tip: Always serve cheesecake chilled for the best texture and flavor. Enjoy your delicious creation!
Quick Summary
| Prep Time | Cook Time | Total Time | Servings |
|---|---|---|---|
| 15 minutes | 60 minutes | 75 minutes | 8 servings |
- Cool Completely: Allow cheesecake to cool in the pan for at least 1 hour before freezing.
- Wrap Securely: Use plastic wrap and aluminum foil to prevent freezer burn.
- Label Clearly: Write the date and flavor on the outside for easy identification.
- Thaw Properly: Move to the fridge 24 hours before serving for best texture.
- Avoid Toppings Before Freezing: Add fruit or whipped cream after thawing for freshness.
Frequently Asked Questions
Can I make this ahead of time? How to store and reheat?
You can absolutely make a baked cheesecake ahead of time! Store it in the refrigerator for up to 5 days, and reheat individual slices in the microwave for about 10-15 seconds.
What can I substitute for cream cheese?
If you don’t have cream cheese, you can use mascarpone cheese or a vegan cream cheese alternative for a similar texture and flavor.
How do I know when it’s done?
Your cheesecake is done when the edges are set but the center still has a slight jiggle; it will firm up as it cools. Aim for an internal temperature of around 150°F (65°C) for perfect doneness.
Can I freeze this? How long does it last?
You can definitely freeze a baked cheesecake! It lasts in the freezer for up to 2-3 months when properly wrapped in plastic wrap and aluminum foil.
What if I don’t have a springform pan?
If you don’t have a springform pan, you can use a regular cake pan lined with parchment paper to help with removal after baking. Just be sure to grease it well to avoid sticking!

- Decadent Peanut Butter No-Bake Cheesecake: Easy Recipe to Indulge - April 3, 2026
- Delicious Mango No-Bake Cheesecake: Step-by-Step Recipe - April 3, 2026
- Decadent Raspberry No-Bake Cheesecake: Easy Step-by-Step Recipe - April 3, 2026