Make Cheesecake Ahead: Tips for Perfect Storage & Serving
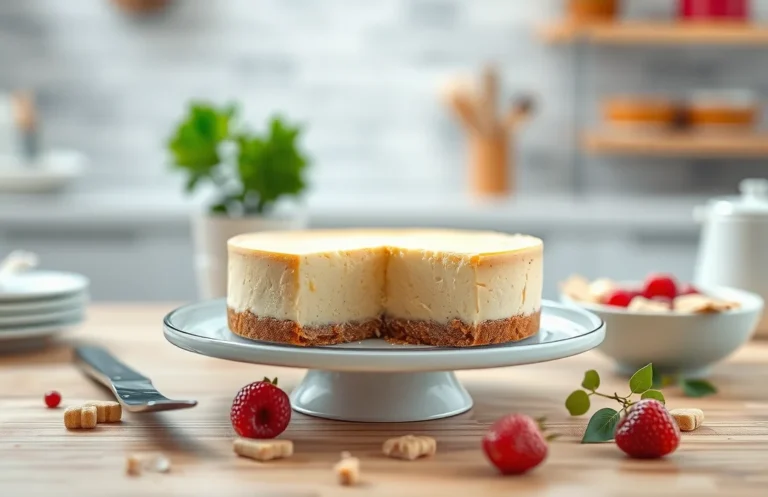
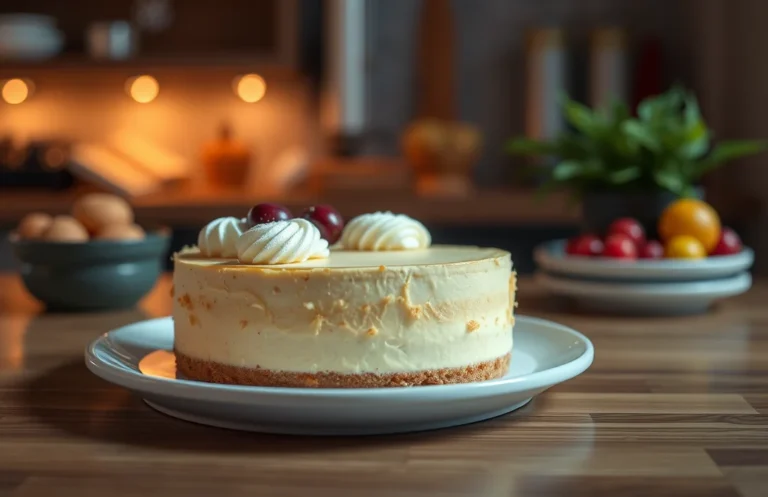
Cheesecake is one of those desserts that brings joy to any gathering. With its creamy filling and buttery crust, it’s a dessert that feels indulgent yet comforting. Imagine slicing into a perfectly chilled cheesecake, the rich flavors melting in your mouth, making it an irresistible centerpiece for any occasion.
If you’re wondering can you make cheesecake in advance, you’re in the right place! This guide provides step-by-step instructions, along with tips for storage and serving to keep your cheesecake tasting fresh. You’ll find everything you need, from measurements to troubleshooting.
| Prep Time | Cook Time | Total Time | Servings | Difficulty |
|---|---|---|---|---|
| 20 minutes | 60 minutes | 4 hours (chill time) | 8 servings | Moderate |
History of Cheesecake
Cheesecake has a rich history that dates back to ancient Greece, where it was first served to athletes during the first Olympic Games in 776 B.C. Understanding its origins provides valuable context for why making cheesecake in advance can be a practical choice for modern home cooks.
- Cultural Origins: Ancient Greeks created a simple cheesecake made with cheese, honey, and flour. This early version laid the groundwork for various cultural adaptations, from the Roman cheesecake featuring ricotta and a crust made of crushed bread to the creamy, rich American cheesecake we know today, often made with cream cheese and a graham cracker crust.
- Modern Variations: Today, cheesecakes come in numerous flavors and styles, including no-bake, baked, and even vegan versions. Each type often has its own unique storage methods and best practices for making ahead of time, ensuring that busy home cooks can still enjoy this delightful dessert without the last-minute rush.
Understanding the history of cheesecake can help you appreciate the different ways it has evolved, and how making it in advance can enhance its flavors and textures. Many modern recipes benefit from a day in the fridge, allowing the flavors to meld beautifully while also providing convenience for gatherings or special occasions.
Ingredients for Cheesecake
This section outlines the essential ingredients you’ll need to prepare a delicious cheesecake, especially if you’re considering making it in advance. Understanding the right ingredients and their measurements is crucial for achieving the perfect texture and flavor, even after it has been stored.
| Item | Amount/Specification | Notes |
|---|---|---|
| Cream Cheese | 24 ounces (680g) | Softened to room temperature for easy mixing. |
| Sugar | 1 cup (200g) | Granulated sugar works best; adjust to taste. |
| Sour Cream | 1 cup (240ml) | Adds creaminess and tang; can substitute with Greek yogurt. |
| Eggs | 4 large | Room temperature for better incorporation. |
| Vanilla Extract | 1 teaspoon (5ml) | Use pure vanilla for the best flavor. |
| Crust (Graham Crackers) | 1 ½ cups (150g) crushed | Can substitute with Oreo crumbs for a different flavor. |
| Butter | ½ cup (115g) | Melted; binds the crust together. |
- For optimal taste, allow the cheesecake to chill in the refrigerator for at least 4 hours or overnight after baking.
- If storing for more than 2 days, consider wrapping it tightly in plastic wrap to prevent drying.
- For freezing, slice the cheesecake and wrap individual pieces in plastic wrap, then place in an airtight container.
- To refresh the texture before serving, let it sit at room temperature for 30 minutes.
Essential Kitchen Tools
Making cheesecake in advance requires specific tools to ensure a perfect outcome. Each tool plays a critical role in the preparation, cooling, and serving process, ensuring your cheesecake maintains its delicious flavor and creamy texture.
- Baking Pan: A 9-inch springform pan is ideal for cheesecake. This type of pan allows for easy removal of the cheesecake without damaging its sides. Make sure to grease the bottom and sides with butter or line them with parchment paper to prevent sticking.
- Mixer: A stand mixer or hand mixer is essential for achieving a smooth, creamy filling. Use the mixer on medium speed to blend the cream cheese until it’s soft and free of lumps, about 2-3 minutes. Then, gradually add sugar, eggs, and other ingredients, mixing until just combined to avoid over-beating.
- Cooling Rack: Once your cheesecake is baked, it needs to cool properly. Place it on a cooling rack for at least 1 hour at room temperature. Afterward, refrigerate the cheesecake for at least 4 hours, preferably overnight. This helps to set the texture and allows the flavors to meld beautifully.
Chef’s tip: If you plan to make the cheesecake a day in advance, cover it with plastic wrap after it has cooled completely to prevent it from absorbing any odors from the fridge.
Step-by-Step Cheesecake Recipe
Making cheesecake in advance is a fantastic way to save time and ensure that your dessert is ready for any occasion. This section will guide you through the steps for prepping the crust, mixing the filling, and the baking process, with tips on how to store it for the best flavor and texture.
- Prepping the Crust: Begin by preheating your oven to 350°F (175°C). In a medium bowl, combine 1 ½ cups of graham cracker crumbs (150g) with ⅓ cup of granulated sugar (67g) and ½ cup of melted unsalted butter (115g). Mix until the texture resembles wet sand, and then press the mixture firmly into the bottom of a 9-inch (23 cm) springform pan. Bake for 10 minutes until lightly golden and fragrant, then let cool completely.
- Mixing the Filling: In a large mixing bowl, beat 24 ounces (680g) of softened cream cheese with an electric mixer on medium speed until smooth, about 2-3 minutes. Gradually mix in 1 cup (200g) of granulated sugar and 1 teaspoon of vanilla extract until fully incorporated. Add 3 large eggs, one at a time, mixing just until combined to prevent overmixing. The filling should be creamy and slightly thick.
- Baking Process: Pour the filling over the cooled crust, smoothing the top with a spatula. Bake in the preheated oven for 50-60 minutes until the edges are set but the center still has a slight jiggle. Turn off the oven, crack the door slightly, and let the cheesecake cool in the oven for 1 hour to prevent cracking. After it cools, refrigerate for at least 4 hours, or overnight for the best flavor.
Chef’s tip: If you plan to make the cheesecake in advance, store it covered in the refrigerator for up to 5 days. For longer storage, freeze it for up to 3 months, wrapping it tightly in plastic wrap and aluminum foil.
Pro Tips for Perfect Cheesecake
Making cheesecake in advance can save time and reduce stress on the day of serving. However, a few key tips can help you avoid common pitfalls and ensure your cheesecake maintains its delightful texture and flavor over time. Here’s how to prepare, store, and serve your cheesecake while keeping it as delicious as the day it was made.
- Avoiding Cracks: To prevent cracks in your cheesecake, always bake it in a water bath. Wrap the bottom of your springform pan in aluminum foil to keep water out, and place it in a larger pan filled with about 1 inch of hot water. This gentle heat helps cook the cheesecake evenly. Also, avoid overmixing the batter, which can incorporate too much air, leading to cracks.
- Cooling Tips: After baking, allow your cheesecake to cool in the oven with the door slightly ajar for about 1 hour. This gradual cooling helps prevent sudden temperature changes that can cause cracks. Once it’s at room temperature, refrigerate for at least 4 hours or overnight for optimal flavor and texture.
- Flavor Enhancements: If preparing your cheesecake in advance, consider enhancing the flavors. Add a teaspoon of vanilla extract or a tablespoon of citrus zest to the batter for extra depth. If you’re using fruit toppings, add them just before serving to maintain their freshness and prevent sogginess.
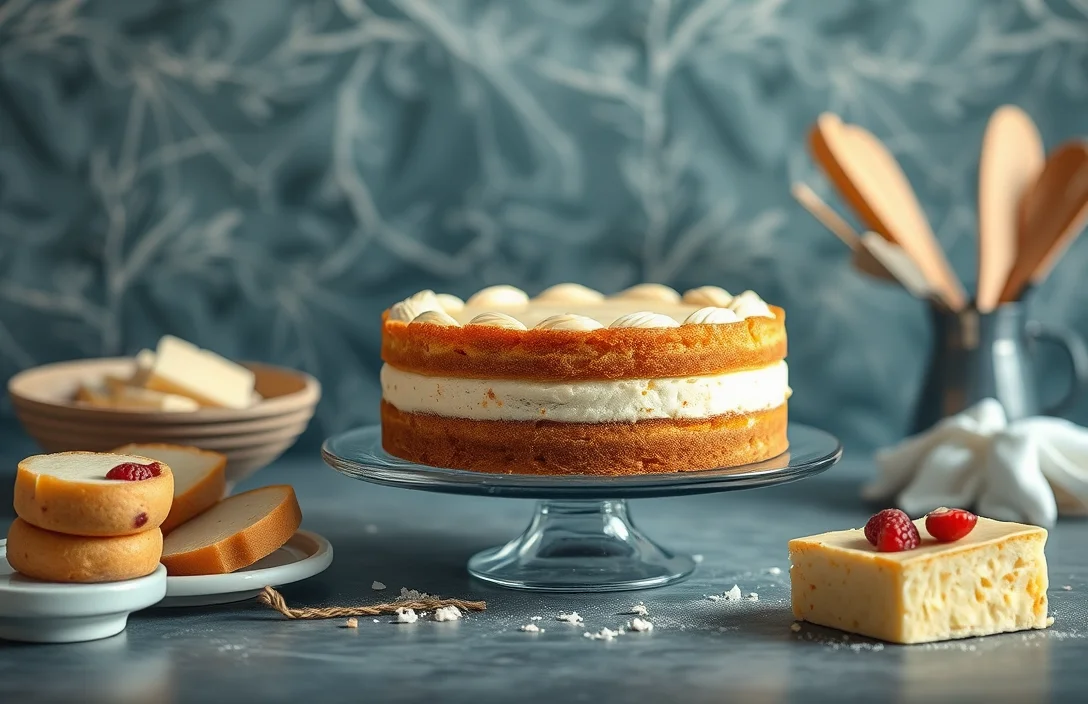
Variations and Substitutions
Whether you’re accommodating dietary restrictions or simply want to experiment with flavors, there are numerous variations and substitutions you can explore while making cheesecake in advance. This section will guide you through gluten-free options, vegan alternatives, and delicious flavor add-ins to enhance your cheesecake experience.
Gluten-Free Options
To make a gluten-free cheesecake, substitute traditional graham cracker crust with gluten-free alternatives. Here are a few suggestions:
- 1 ½ cups gluten-free graham cracker crumbs
- 1 ½ cups almond flour mixed with ¼ cup coconut flour
- 1 ½ cups finely ground oats (ensure they are labeled gluten-free)
Use the same amount of melted butter (about ¼ cup) to bind the crust. Bake at 350°F (175°C) for 10 minutes until lightly golden and fragrant.
Vegan Alternatives
If you’re looking for a vegan cheesecake, you can replace the cream cheese and eggs with plant-based options:
- 16 ounces of vegan cream cheese (such as Tofutti or Kite Hill)
- ½ cup silken tofu, blended until smooth
- ¾ cup coconut cream for richness
For the crust, use a mixture of almond flour and coconut oil to keep it vegan-friendly. Follow the same baking instructions for a traditional cheesecake.
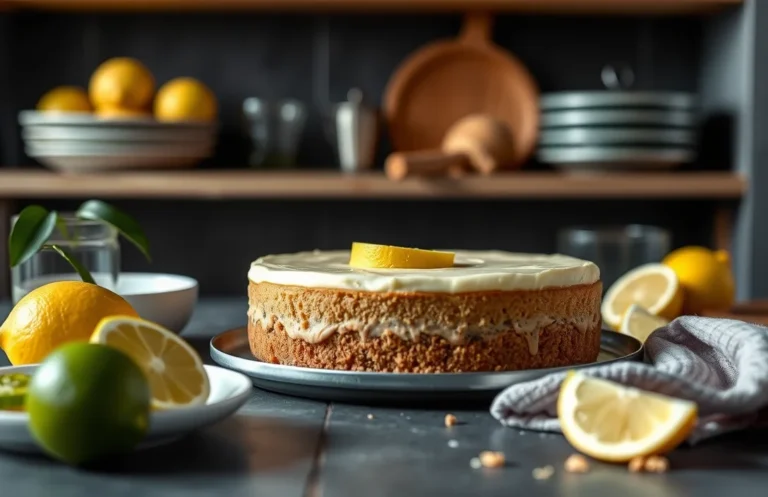
Flavor Add-ins
Elevate your cheesecake with these delightful add-ins:
- 1 teaspoon vanilla extract for a classic taste
- 2 tablespoons lemon juice for a zesty kick
- ½ cup melted chocolate or caramel sauce for a rich twist
Chef’s tip: Fold in ½ cup of your favorite fruit puree into the filling for a fruity delight!
These variations allow you to customize your cheesecake while ensuring it can still be made ahead of time, without compromising on flavor or texture.
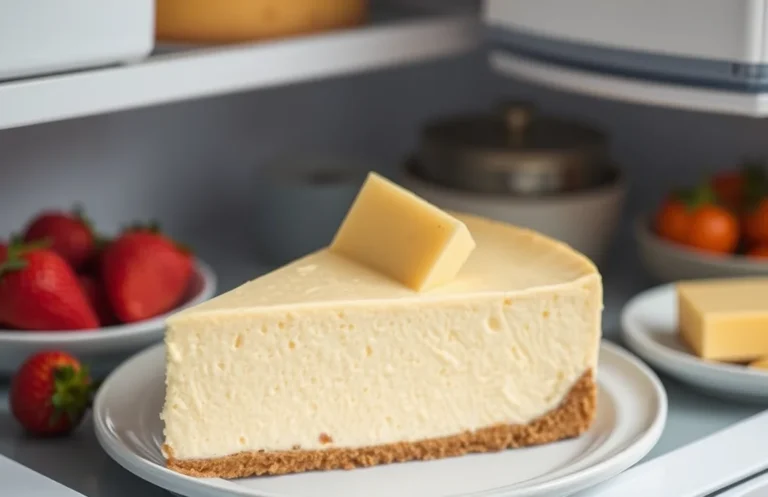
Cheesecake Storage Methods
Knowing how to properly store your cheesecake can significantly affect its texture and flavor, especially when making it in advance. Whether you’re refrigerating or freezing, these methods ensure your cheesecake stays delicious until you’re ready to serve it.
-
Refrigeration Tips
Once your cheesecake has cooled completely, wrap it tightly in plastic wrap or aluminum foil to prevent drying out. Place it in the refrigerator for up to 5 days. When ready to serve, remove it from the fridge about 30 minutes prior for the best flavor and texture.
-
Freezing Instructions
To freeze your cheesecake, make sure it’s fully cooled and set. Wrap it in plastic wrap, followed by a layer of foil to avoid freezer burn. It can be frozen for up to 3 months. Consider cutting it into slices before freezing for easier serving later.
-
Thawing Process
When you’re ready to enjoy your frozen cheesecake, transfer it to the refrigerator to thaw overnight. Avoid quick-thaw methods like microwaving, as they can alter the texture. Once thawed, allow it to sit at room temperature for about 30 minutes before serving for optimal creaminess.
Chef’s tip: For the best results, avoid refreezing cheesecake after it has been thawed, as this can compromise its texture. Always slice before freezing if you plan to use it in portions.
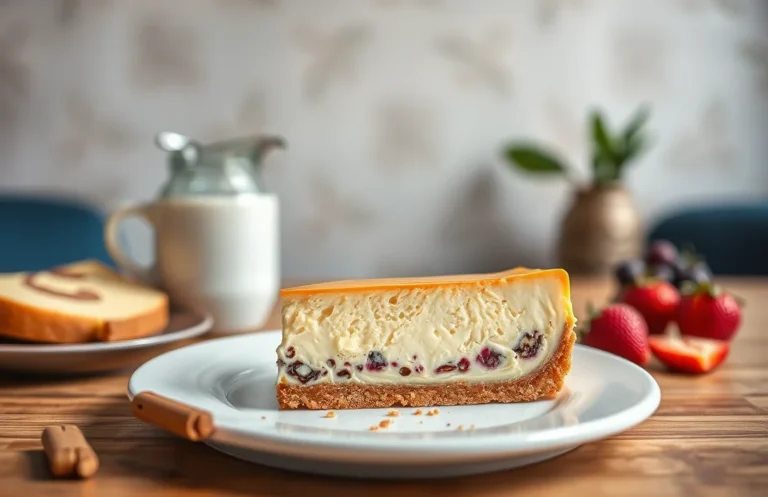
Serving and Pairing Ideas
Understanding how to serve and pair your cheesecake can enhance the overall experience and flavor. Whether you’ve made your cheesecake in advance or are preparing it fresh, these tips will help you achieve the perfect presentation and complementary flavors.
Garnishing
Garnishes not only add visual appeal but also elevate the taste of your cheesecake. Here are some ideas:
- Fresh Berries: Top with a handful of mixed berries (raspberries, blueberries, strawberries) for a pop of color and tartness.
- Chocolate Drizzle: Melt 1/2 cup semisweet chocolate chips with 1 tablespoon of vegetable oil and drizzle over the cheesecake for a rich finish.
- Whipped Cream: Serve with a dollop of freshly whipped cream (1 cup heavy cream, whipped to soft peaks) for added richness.
Beverage Pairings
Pairing the right drink with your cheesecake can enhance its flavors. Here are some great options:
| Beverage | Notes |
|---|---|
| Sweet Dessert Wine | Pairs beautifully with the creamy texture and sweetness of cheesecake. |
| Coffee or Espresso | The bitterness contrasts nicely with the sweetness, making each bite more enjoyable. |
| Herbal Tea | A light herbal tea adds a refreshing element that balances the richness of the cheesecake. |
Serving Temperature
For the best flavor and texture, serve cheesecake chilled. Ideally, it should be refrigerated for at least 4 hours or overnight after baking. Remove it from the fridge about 15-20 minutes before serving to allow it to soften slightly. This way, the flavors will be more pronounced, and the cheesecake will have a pleasant, creamy consistency.
Chef’s tip: Always use a clean, warm knife to slice your cheesecake for clean edges!
Quick Summary
| Prep Time | Cook Time | Total Time | Servings |
|---|---|---|---|
| 20 minutes | 60 minutes | 4-24 hours (chill time) | 8 servings |
- Prepare crust: Mix 1 ½ cups of graham cracker crumbs with ½ cup melted butter and press into a springform pan.
- Make filling: Blend 24 oz cream cheese with 1 cup sugar, 3 eggs, and 1 tsp vanilla until smooth.
- Bake: Place in a preheated oven at 325°F (163°C) for 60 minutes.
- Cool: Let the cheesecake cool to room temperature before refrigerating for at least 4 hours.
- Serve: Top with your favorite fruit or sauce before serving.
- Chill time: Allow at least 4 hours in the fridge for best texture.
- Wrap carefully: To store, wrap in plastic wrap to prevent odors.
Frequently Asked Questions
Can I make this cheesecake ahead of time? How to store and reheat?
You can make cheesecake up to 2-3 days in advance. Store it covered in the refrigerator to keep it fresh, and simply let it sit at room temperature for about 30 minutes before serving for the best texture.
What can I substitute for cream cheese?
You can substitute cream cheese with mascarpone cheese or a mixture of Greek yogurt and sour cream for a lighter option. Keep in mind that this may slightly alter the flavor and texture.
How do I know when it’s done?
Your cheesecake is done when the edges are set but the center still has a slight jiggle (about 1 inch) when you gently shake the pan. It will firm up as it cools in the refrigerator.
Can I freeze this? How long does it last?
You can freeze cheesecake for up to 1-2 months. Wrap it tightly in plastic wrap and then foil to prevent freezer burn, and thaw it overnight in the refrigerator before serving.
What if I don’t have a springform pan?
If you don’t have a springform pan, you can use a regular cake pan lined with parchment paper, but be careful when removing the cheesecake. Allow it to cool completely and use a knife to gently loosen the edges before flipping it out onto a plate.

- Decadent Peanut Butter No-Bake Cheesecake: Easy Recipe to Indulge - April 3, 2026
- Delicious Mango No-Bake Cheesecake: Step-by-Step Recipe - April 3, 2026
- Decadent Raspberry No-Bake Cheesecake: Easy Step-by-Step Recipe - April 3, 2026