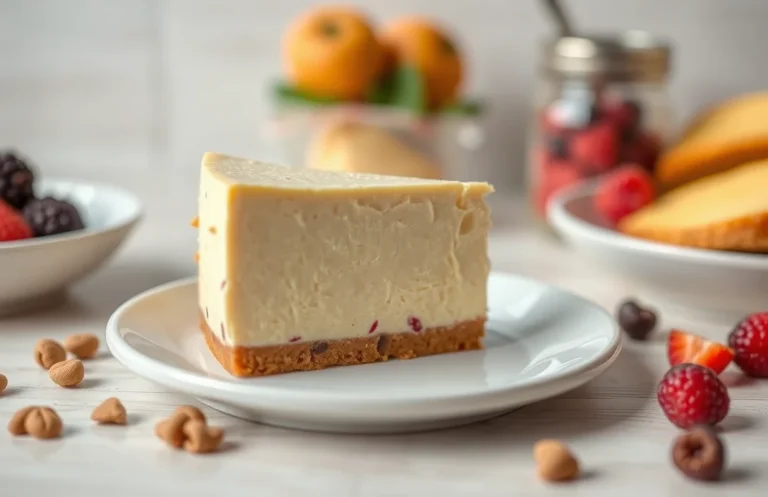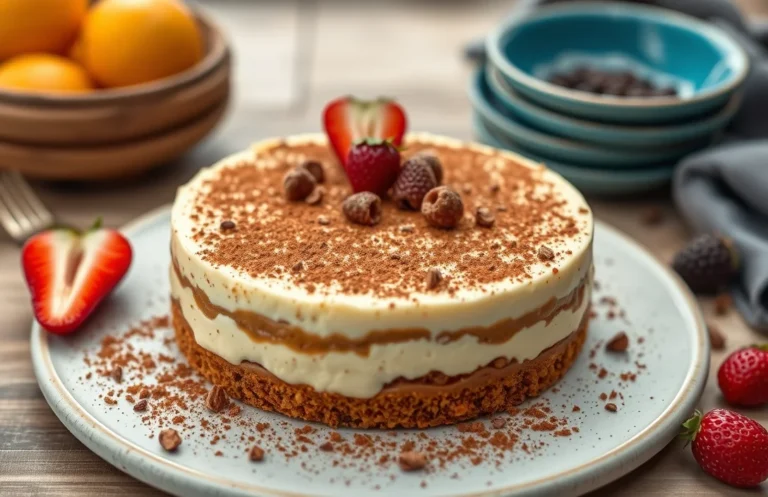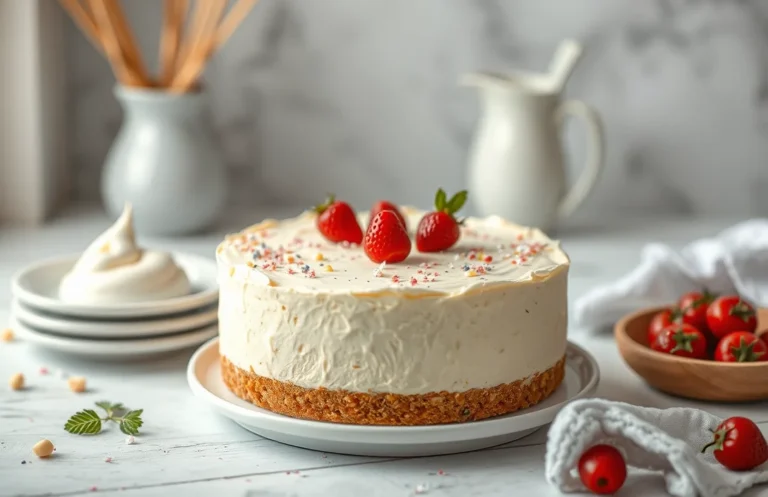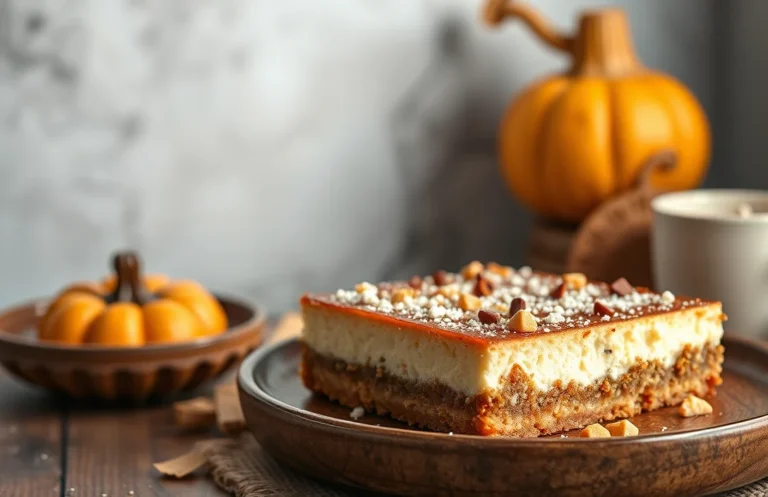
Can You Freeze Homemade Cheesecake? Tips for Perfect Texture
Homemade cheesecake is one of those desserts that brings pure joy to any gathering. The creamy texture, buttery crust, and rich flavor make it a crowd-pleaser, perfect for celebrations or a sweet weeknight treat. Imagine slicing into a perfectly chilled cheesecake topped with fresh berries — it’s simply irresistible!
Wondering if you can freeze your delicious creation? You’ll find out how to properly freeze homemade cheesecake, tips for thawing, and how freezing affects texture and flavor. This guide will ensure your cheesecake remains delightful even after freezing.
| Prep Time | 20 minutes |
|---|---|
| Cook Time | 60 minutes |
| Total Time | 80 minutes + chilling |
| Servings | 8 servings |
| Difficulty | Medium |
Cheesecake Origins and Special Features
Understanding the origins and unique qualities of cheesecake adds depth to your baking experience, especially when considering whether to freeze this delightful dessert. Cheesecake has a rich history and a variety of textures that can influence its freezing process.
History of Cheesecake
Cheesecake dates back to ancient Greece, where it was served to athletes during the first Olympic Games in 776 B.C. The Romans later adopted this delicious treat, introducing it to other parts of Europe. As cheesecake evolved, it found its way to America, where various regional adaptations emerged, including the iconic New York-style cheesecake.
What Makes It Special
Cheesecake’s creamy texture and rich flavor come from its main ingredients: cream cheese, sugar, and eggs. The unique combination of these elements creates a dessert that is both decadent and versatile. Cheesecake can be served plain, topped with fruits, or flavored with chocolate, caramel, or spices. Key characteristics include:
- Texture: Smooth and velvety, which can be affected by freezing.
- Flavor: Rich and creamy, often enhanced by various toppings.
- Versatility: Can be made in different styles, such as baked or no-bake.
When to Serve Cheesecake
Cheesecake is a crowd-pleaser, perfect for celebrations, holidays, or even simple family dinners. However, if you’re considering freezing homemade cheesecake, it’s essential to know:
“Freezing can change the texture of cheesecake, making it grainy. Proper wrapping and thawing are crucial for maintaining quality.”
Ingredients for Homemade Cheesecake
Understanding the ingredients for homemade cheesecake is crucial, especially when considering freezing it for later enjoyment. The quality and proportions of each component can affect how well the cheesecake holds up in the freezer and its texture upon thawing. Below is a detailed list of the exact measurements you’ll need.
| Item | Amount/Specification | Notes |
|---|---|---|
| Cream Cheese | 16 oz (450g) | Softened, full-fat for best results |
| Sugar | 1 cup (200g) | Granulated; adjust to taste for sweetness |
| Eggs | 3 large | Room temperature for better mixing |
| Vanilla Extract | 1 teaspoon (5ml) | Pure vanilla enhances flavor |
| Graham Cracker Crumbs | 1½ cups (150g) | For crust; can substitute with gluten-free crumbs |
| Unsalted Butter | ½ cup (115g) | Melted for crust |
- When using cream cheese, ensure it is well softened to avoid lumps.
- For a richer flavor, consider using a blend of cream cheese and sour cream.
- Be cautious with overmixing the eggs; this can incorporate too much air and cause cracks during baking.
- Freeze in portions if you’re unsure about thawing the whole cheesecake at once.
Essential Kitchen Equipment
To successfully make and freeze homemade cheesecake, having the right kitchen equipment is crucial. Each tool plays a key role in ensuring your cheesecake comes out perfectly textured and delicious, even after freezing.
| Item | Amount/Specification | Notes |
|---|---|---|
| Mixing Bowls | 2 large bowls | One for the crust and one for the filling; glass or stainless steel preferred. |
| Springform Pan | 9-inch (23 cm) | Allows for easy release of the cheesecake after baking. |
| Mixer | Hand or stand mixer | Use to beat cream cheese until smooth; avoid lumps for a creamy texture. |
| Oven | Preheat to 325°F (160°C) | Ensure the oven is fully preheated for even baking. |
- Choose a quality springform pan: A leak-proof model is best to prevent any batter from spilling into the oven.
- Use room temperature ingredients: Soften cream cheese and eggs for a smoother mixture, avoiding lumps.
- Keep a close eye on baking time: Overbaking can lead to cracks; the cheesecake should be slightly jiggly in the center when done.
How to Freeze Homemade Cheesecake
Freezing homemade cheesecake can be a fantastic way to preserve your delicious creation for later enjoyment. Properly freezing your cheesecake ensures that it retains its creamy texture and rich flavor, making it just as delightful when thawed. Here’s how to do it step-by-step.
- Preparation for Freezing: Allow your cheesecake to cool completely at room temperature for about 1-2 hours after baking. Once cooled, place it in the refrigerator for at least 4 hours, or preferably overnight, to set fully. This helps prevent cracks and ensures a smooth texture upon thawing.
- Wrapping Techniques: Once set, remove the cheesecake from the springform pan. Wrap it tightly with plastic wrap, ensuring no air pockets remain, which can cause freezer burn. For added protection, wrap it in aluminum foil or place it in an airtight freezer-safe container. Make sure to label it with the date and type of cheesecake for easy identification later.
- Storage Tips: Place the wrapped cheesecake in the freezer, where it can be stored for up to 3 months. For best results, keep the temperature at 0°F (-18°C) or lower. Avoid storing it in the door of the freezer, as the temperature can fluctuate more there than in the main compartment.
Chef’s tip: When ready to serve, slice your cheesecake before freezing to make it easier to thaw and enjoy individual portions.
Thawing Frozen Cheesecake
Thawing your frozen cheesecake properly is crucial to maintaining its creamy texture and rich flavor. In this section, we’ll go through the best methods for thawing, how long it takes, and what pitfalls to avoid to ensure your cheesecake remains a delightful treat.
- Refrigerator Thawing: The best and safest way to thaw cheesecake is by placing it in the refrigerator. Transfer your cheesecake from the freezer to the fridge and let it thaw for about 6-8 hours, or overnight if possible. This slow thawing process helps maintain the texture and flavor, preventing any unwanted sogginess.
- Counter Thawing: If you’re short on time, you can thaw your cheesecake on the countertop. Remove the cheesecake from the freezer and let it sit at room temperature for about 2-3 hours. Keep an eye on it to ensure it doesn’t get too warm, as this can lead to a change in texture. Aim for a slightly firm but not frozen center when it’s done.
- Microwave Thawing (not recommended): While it may be tempting to use the microwave for a quick thaw, this method is not advisable. Microwaving can cause uneven thawing, leading to a compromised texture and flavor. If you must use this method, set the microwave to a low power setting and heat in short bursts of 10-15 seconds, checking frequently.
Chef’s tip: Always ensure your cheesecake is completely sealed in plastic wrap or an airtight container before freezing to prevent freezer burn, which can affect the taste during thawing.
By following these thawing methods, you can enjoy your cheesecake just as you intended, with no loss in quality.
Texture and Flavor After Freezing
Understanding how freezing impacts the texture and flavor of your homemade cheesecake is crucial for maintaining its delightful qualities. While cheesecake can be frozen successfully, it’s essential to know what changes to expect and how to preserve its deliciousness.
Expected Changes
Freezing can alter the texture and flavor of your cheesecake in several ways:
- Texture: Upon thawing, the cheesecake may become slightly grainy or lose some creaminess due to the separation of fats. This is particularly true for cheesecakes made with cream cheese.
- Flavor: The overall flavor may be slightly muted after freezing, as some of the delicate flavors can diminish. Adding a fresh fruit topping or a drizzle of chocolate sauce upon serving can help enhance the taste.
How to Maintain Quality
To ensure your cheesecake retains its quality after freezing, consider the following tips:
Chef’s tip: Wrap the cheesecake tightly in plastic wrap and then cover it with aluminum foil to prevent freezer burn.
Here are some additional strategies:
- Freeze your cheesecake without any toppings to avoid sogginess.
- Thaw the cheesecake slowly in the refrigerator for 6-8 hours or overnight to help maintain its texture.
- For best results, consume the frozen cheesecake within 1-2 months.
By following these guidelines, you can enjoy your cheesecake just as deliciously as when it was freshly made, ensuring every bite is a treat!
Common Mistakes in Freezing Cheesecake
Freezing cheesecake can be a bit tricky, and avoiding common mistakes can ensure you enjoy a delicious dessert later. Here are some typical errors to watch for and pro tips for best results.
- Not cooling completely: If you freeze cheesecake while it’s still warm, it can develop ice crystals and an undesirable texture. Always let your cheesecake cool to room temperature for at least 1-2 hours before wrapping it for freezing.
- Skipping the wrap: Failing to wrap your cheesecake properly can lead to freezer burn and loss of flavor. Use plastic wrap followed by aluminum foil for a tight seal. Make sure to cover every exposed area.
- Freezing with toppings: If your cheesecake has toppings, freeze it plain. Toppings like fruits or whipped cream can become soggy and change texture when frozen. Add them fresh after thawing for the best presentation and taste.
- Long freezing times: While cheesecake can be frozen for up to 3 months, keeping it in the freezer longer can compromise its quality. Aim to consume it within this time frame for optimal flavor and texture.
- Thawing too quickly: Thawing your cheesecake in the microwave or at room temperature can lead to sogginess. Instead, transfer it to the refrigerator for at least 6-8 hours or overnight for gentle thawing.
Chef’s tip: Always label your cheesecake with the freezing date to keep track of its freshness!
Quick Summary
| Prep Time | Cook Time | Total Time | Servings |
|---|---|---|---|
| 20 minutes | 60 minutes | 80 minutes | 8 |
- Cool Completely: Let cheesecake cool to room temperature before freezing.
- Wrap Properly: Use plastic wrap followed by aluminum foil to prevent freezer burn.
- Freeze Flat: Place cheesecake on a flat surface for even freezing.
- Thaw Slowly: Defrost in the fridge for 6-8 hours before serving.
- Use Fresh Ingredients: Ensure all ingredients are fresh for the best texture.
- Tip 1: Avoid freezing with toppings to maintain texture.
- Tip 2: Slice cheesecake before freezing for easy serving later.
Frequently Asked Questions
Can I make this ahead of time? How to store and reheat?
You can definitely make homemade cheesecake ahead of time! Just store it in an airtight container in the refrigerator for up to 5 days, and reheat individual slices in the microwave for about 10-15 seconds.
What can I substitute for cream cheese?
If you’re looking for a substitute, you can use mascarpone cheese for a similar creamy texture, or Greek yogurt for a lighter version, though the flavor will be slightly different.
How do I know when it’s done?
Your cheesecake is done when the edges are set but the center is slightly jiggly, which usually takes 55-60 minutes at 325°F (160°C). It will continue to firm up as it cools.
Can I freeze this? How long does it last?
Yes, you can freeze homemade cheesecake for up to 3 months by wrapping it tightly in plastic wrap and placing it in an airtight container. Thaw it overnight in the refrigerator before serving.
What if I don’t have a springform pan?
If you don’t have a springform pan, you can use a regular round cake pan lined with parchment paper, though removing the cheesecake may be trickier. Just run a knife around the edges and carefully lift it out.

- 10 Best Knife For Ice Cream Cake 2026 - September 12, 2026
- 10 Best Knife For Imperial Plaid Gloves 2026 - September 12, 2026
- 10 Best Knife For Home Defense 2026 - September 12, 2026