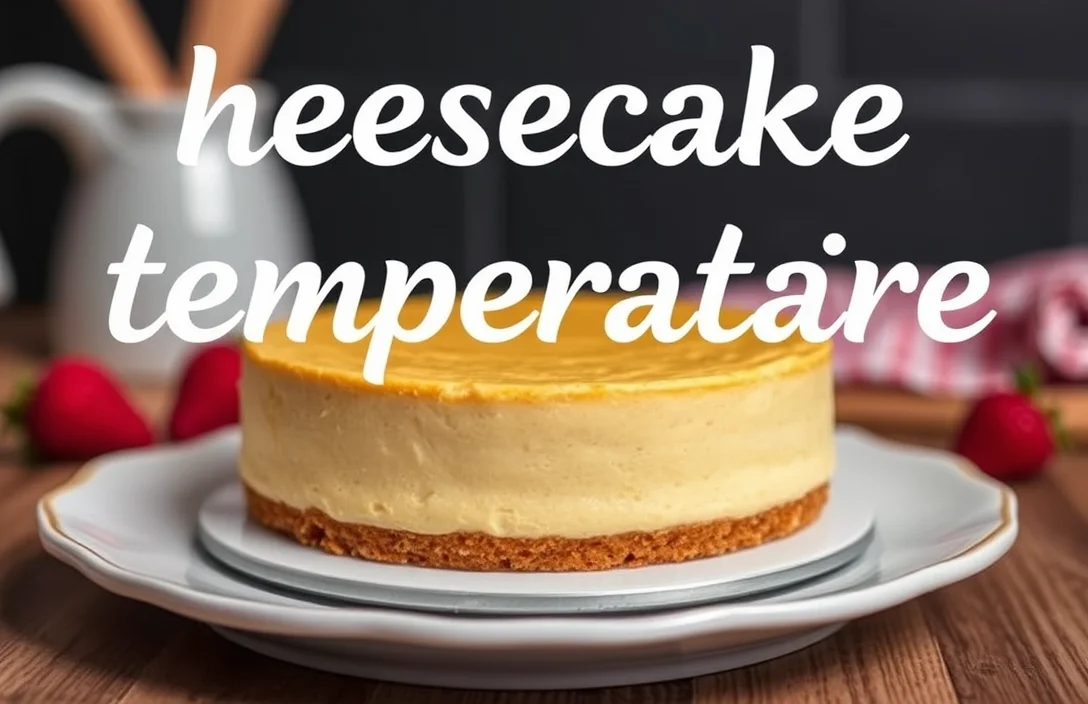
Perfect Cheesecake Baking Temperatures: Tips for Texture & Cracks
If you’re craving a dessert that’s rich, creamy, and utterly satisfying, cheesecake is the answer. Its velvety texture and delightful sweetness can turn any ordinary day into something special, making it perfect for celebrations or a cozy evening at home. One bite of this luscious treat, and you’ll understand why it’s a classic favorite!
Here, I’ll share the ideal baking temperatures for classic, no-bake, and flavored cheesecakes, along with tips to prevent cracks and achieve that perfect texture. Expect to spend about 20 minutes prep, 60 minutes baking, yielding 8 servings with a medium difficulty level.
| Prep Time | Cook Time | Total Time | Servings | Difficulty |
|---|---|---|---|---|
| 20 minutes | 60 minutes | 80 minutes | 8 servings | Medium |
History of Cheesecake
Cheesecake has a rich history that dates back to ancient civilizations, evolving through the centuries into the beloved dessert we know today. Understanding its origins is essential as it can influence how we perceive baking temperatures and techniques for achieving the perfect texture.
Ancient Origins
The earliest known cheesecake can be traced back to ancient Greece around 2000 B.C., where it was made with simple ingredients like cheese, flour, and honey. The Greeks served it to athletes during the first Olympic Games, showcasing its importance in their culture. As cheesecake spread throughout Europe, each region adapted the recipe using local ingredients.
Modern Variations
In the United States, cheesecake took a new turn with the introduction of cream cheese in the late 19th century. This led to the creation of the New York-style cheesecake, known for its dense yet creamy texture. Different cultures have embraced cheesecake, leading to variations such as:
- Japanese Cheesecake: Light and fluffy, often steamed, rather than baked.
- Italian Ricotta Cheesecake: Made with ricotta cheese, giving it a grainier texture.
- No-Bake Cheesecake: Uses gelatin instead of baking, resulting in a lighter dessert.
Understanding these variations is crucial because the baking temperatures and techniques can differ significantly. For instance, a traditional New York cheesecake is typically baked at 325°F (160°C) to create a firm texture without cracks, while a Japanese cheesecake may require a lower temperature and a water bath for a delicate rise.
Pro tip: To prevent cracks in your cheesecake, avoid sudden temperature changes and consider using a water bath during baking.
| Cheesecake Type | Baking Temperature |
|---|---|
| New York Style | 325°F (160°C) |
| Japanese Style | 300°F (150°C) |
| Ricotta Style | 350°F (175°C) |
Ingredients for Cheesecake
In this section, we’ll cover the essential ingredients needed to create a delicious cheesecake, including precise measurements for the cream cheese and crust components. Having the right ingredients not only ensures a perfect bake but also plays a crucial role in achieving that creamy texture and preventing cracks.
| Item | Amount/Specification | Notes |
|---|---|---|
| Cream Cheese | 24 ounces (680g) | Softened to room temperature for easy mixing |
| Sugar | 1 cup (200g) | Granulated white sugar; adjust for sweetness preference |
| Vanilla Extract | 1 teaspoon (5ml) | Pure vanilla extract for best flavor |
| Eggs | 3 large | Room temperature to prevent shock during mixing |
| Sour Cream | 1 cup (240ml) | For additional creaminess and flavor |
| Graham Cracker Crumbs | 1 ½ cups (150g) | For crust; can substitute with digestive biscuits |
| Unsalted Butter | ½ cup (115g) | Melted for crust binding |
| Salt | ¼ teaspoon | Enhances flavor |
- For a gluten-free option, use almond flour or gluten-free graham crackers.
- Ensure the cream cheese is well-softened to prevent lumps in your batter.
- Room temperature eggs and sour cream help in achieving a smooth mixture.
- If your cheesecake cracks, it may be due to overmixing or baking at too high a temperature.
Essential Equipment and Prep
Before you start baking your cheesecake, having the right equipment and preparing your oven properly is essential for achieving that creamy texture without cracks. This section will guide you through the necessary tools and the steps to prep your oven for the perfect cheesecake baking temperature.
- Baking Pan Types: For cheesecakes, a 9-inch (23 cm) springform pan is ideal, as it allows for easy removal without damaging the cake. If you prefer a water bath for more even baking, use a larger roasting pan to hold the springform pan. Alternatively, a ceramic or glass pie dish can work if you’re making a crustless cheesecake.
- Prepping the Oven: Preheat your oven to 325°F (163°C) for a standard cheesecake. This temperature is optimal for baking creamy cheesecakes without overcooking. Before placing your cheesecake in the oven, ensure the oven is fully preheated; use an oven thermometer to confirm accuracy. If you’re using a water bath, place the larger pan in the oven while it preheats to get the water warm, which helps regulate the temperature around the cheesecake.
- Cooling the Oven: After removing the cheesecake from the oven, turn off the heat but leave the door slightly ajar for about 1 hour. This gradual cooling process helps prevent cracks. If your cheesecake still shows signs of cracking, don’t worry; a fruit topping or whipped cream can cover up imperfections!
Baking Steps and Timing
This section outlines the crucial steps and timing involved in baking a cheesecake, with a focus on achieving the ideal texture and preventing cracks. Getting the baking temperature right is essential for a smooth, creamy cheesecake that doesn’t rush to crack under the pressure of heat.
- Preheat the Oven: Start by preheating your oven to 325°F (163°C). This moderate temperature is ideal for baking cheesecakes slowly and evenly, allowing the filling to set without forming cracks. Make sure the oven reaches the temperature before you place the cheesecake inside.
- Prepare the Water Bath: Fill a large roasting pan with hot water and place it on the lower rack of the oven. This water bath helps regulate the temperature and provides moisture, preventing the cheesecake from drying out during baking. The steam created will help to ensure a creamy texture.
- Bake the Cheesecake: Place your cheesecake on the middle rack above the water bath. Bake for 55-70 minutes. The edges should look set while the center remains slightly jiggly, similar to a quivering gelatin. This indicates that it’s ready to be removed from the oven.
- Cool Gradually: After baking, turn off the oven and crack the door open. Allow the cheesecake to cool in the oven for about 1 hour. This gradual cooling helps prevent sudden temperature changes that can cause cracks.
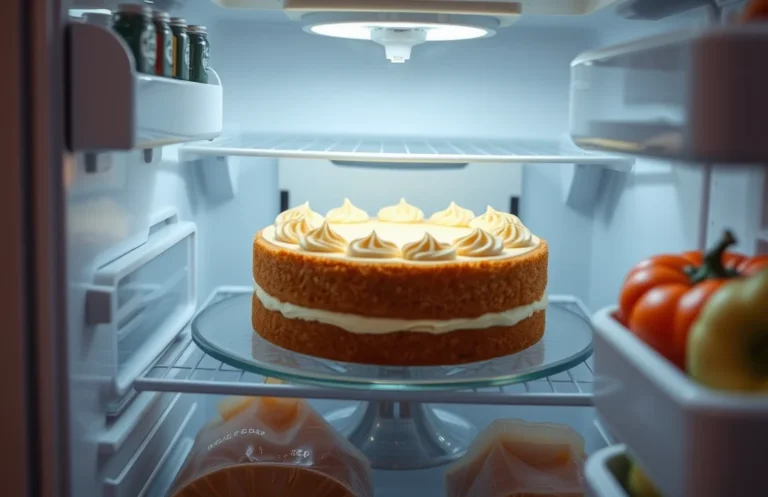
- Chill in the Refrigerator: Once cooled, transfer the cheesecake to the refrigerator and chill for at least 4 hours, preferably overnight. This chilling process allows the flavors to meld and the texture to firm up, ensuring a delightful slice.
Chef’s tip: For a flavored cheesecake, consider lowering the baking temperature to 300°F (149°C) if adding ingredients like chocolate or fruit puree, as they can change the texture.
Pro Tips for Perfect Cheesecake
Baking the perfect cheesecake requires attention to detail, particularly when it comes to temperature management. Understanding the ideal baking temperatures will help you achieve that creamy texture and avoid unwanted cracks. Here are some professional tips to ensure your cheesecake comes out flawless every time.
- Start with a low temperature: Begin baking your cheesecake at 325°F (160°C) for a gentle rise. This prevents the filling from cooking too quickly and helps maintain a smooth, creamy texture. You’ll know you’re on the right track when the edges are set, but the center still has a slight jiggle.
- Use a water bath: To maintain moisture and even cooking, place your cheesecake pan inside a larger pan filled with hot water. This method creates a humid environment, which helps prevent cracks. Just ensure your springform pan is tightly wrapped in foil to prevent water from leaking in.
- Monitor the internal temperature: For perfectly baked cheesecake, aim for an internal temperature of 150°F (65°C). Use an instant-read thermometer to check the center; it should be slightly wobbly but not liquid. Remember, the cheesecake will continue to set as it cools.
- Cool gradually: After baking, turn off the oven and crack the door open, letting your cheesecake cool slowly for about an hour. This gradual cooling prevents sudden temperature changes that can cause cracks. When you take it out, expect a slight puffiness that will settle as it cools.
- Chill before serving: Refrigerate your cheesecake for at least 4 hours, ideally overnight. This not only enhances the flavor but also allows the texture to firm up, making slicing easier and cleaner.
Temperature Variations for Types
Understanding the ideal baking temperatures for different types of cheesecakes is essential for achieving the perfect texture and flavor. Each variation requires specific attention to temperature and time to prevent cracks and ensure a creamy consistency.
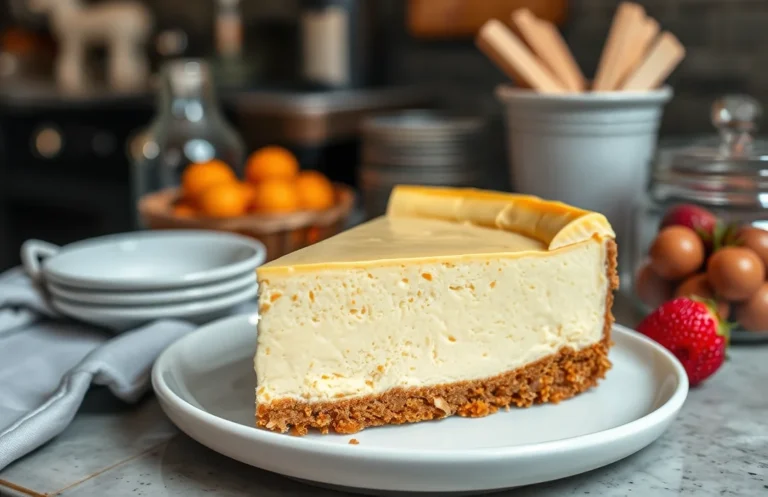
Classic Cheesecake
For a classic cheesecake, the recommended baking temperature is 325°F (160°C). This lower temperature allows for an even bake without overcooking the edges. Here’s how to get it right:
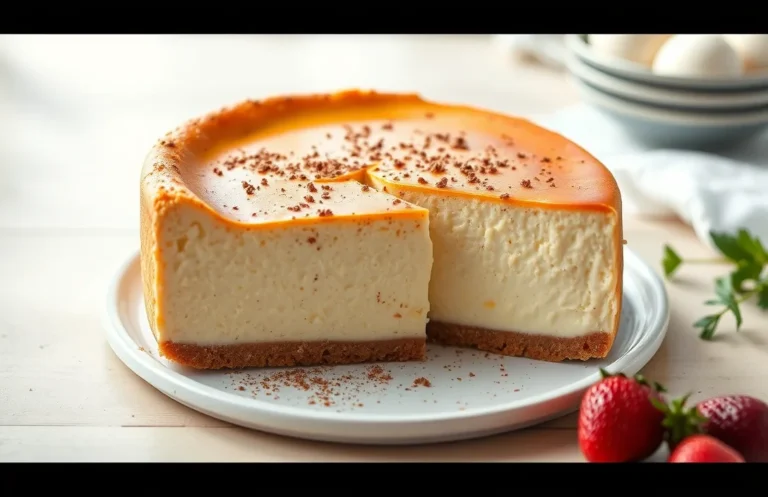
- Bake for 50-60 minutes until the edges are set but the center still has a slight jiggle.
- The top should be a light golden brown, and you’ll notice a pleasant aroma wafting through your kitchen.
Chef’s tip: Let the cheesecake cool in the oven with the door ajar for about 1 hour to prevent cracks.
Flavored Cheesecakes
Flavored cheesecakes, such as chocolate or fruit-infused varieties, can be baked at a slightly higher temperature of 350°F (175°C). The process is as follows:
- Bake for 40-50 minutes until the center is just set and the edges are firm.
- Look for a smooth surface with no cracks and a rich aroma that indicates the flavor has melded beautifully.
Note: If using a water bath, maintain the same temperature, but increase baking time by about 10-15 minutes.
| Cheesecake Type | Baking Temperature | Baking Time |
|---|---|---|
| Classic Cheesecake | 325°F (160°C) | 50-60 minutes |
| Flavored Cheesecake | 350°F (175°C) | 40-50 minutes |
By following these temperature guidelines, you’ll ensure that your cheesecakes come out perfect every time. Remember, patience is key when it comes to cooling to avoid cracks!
Serving and Plating Ideas
Once your cheesecake has cooled properly and set beautifully, it’s time to think about how to serve and present it. The way you plate your cheesecake can elevate its appeal and enhance the overall dining experience. Here are some delicious garnishing options and beverage pairings to consider.
Garnishing Options
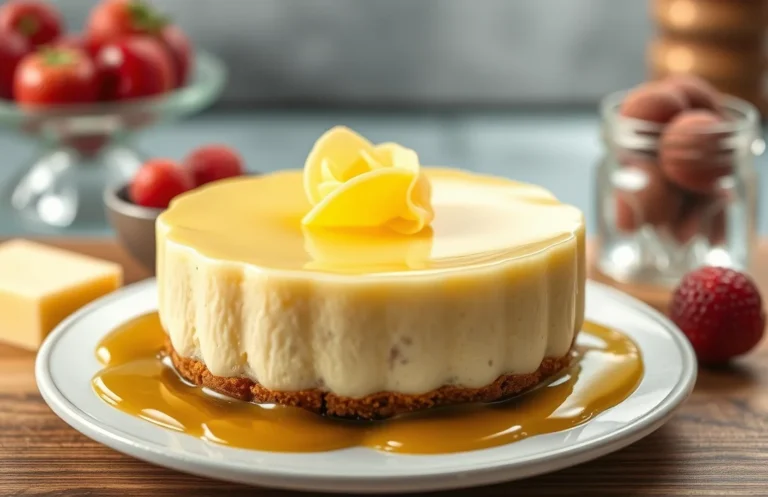
- Fresh Berries: Top with a mix of raspberries, blueberries, and strawberries for a pop of color and natural sweetness.
- Chocolate Ganache: Drizzle warm chocolate ganache over the cheesecake for a rich, indulgent touch.
- Citrus Zest: Grate some lemon or orange zest over the top for a refreshing contrast.
- Whipped Cream: Pipe a swirl of lightly sweetened whipped cream on each slice to add creaminess.
- Caramel Sauce: Drizzle homemade or store-bought caramel sauce for a decadent flavor pairing.
Beverage Pairings
Complementing your cheesecake with the right beverage can enhance its flavors and make for a memorable experience. Here are some great options:
- Coffee: A rich espresso or cappuccino pairs wonderfully with the creamy texture of cheesecake.
- Tea: Herbal teas, like chamomile or peppermint, provide a soothing balance to the dessert.
- Wine: A late-harvest Riesling or a Moscato works beautifully, accentuating the sweetness of the cheesecake.
Pro tip: Serve your cheesecake chilled but not too cold; this allows the flavors to shine through and the texture to be creamy.
Quick Summary
| Prep Time | 20 minutes |
|---|---|
| Cook Time | 60 minutes |
| Total Time | 1 hour 20 minutes |
| Servings | 8 |
- Preheat oven to 325°F (163°C) for optimal baking.
- Use a water bath to prevent cracking and ensure even cooking.
- Bake for 60 minutes, until edges are set and center is slightly jiggly.
- Cool gradually by leaving in the oven with the door ajar for 1 hour.
- Chill in the fridge for at least 4 hours before serving for best texture.
- Tip: Avoid overmixing to prevent air bubbles that can cause cracks.
- Tip: Use room temperature ingredients for a smoother batter.
Frequently Asked Questions
Can I make this cheesecake ahead of time? How do I store and reheat it?
You can definitely make cheesecake ahead of time; it actually tastes better after a day in the fridge! Store it in an airtight container in the refrigerator for up to 5 days and reheat gently in the oven at 200°F (93°C) for about 15 minutes if you prefer it warm.
What can I substitute for cream cheese?
If you need a substitute for cream cheese, you can use mascarpone cheese for a similar texture or Greek yogurt for a lighter option, but keep in mind it may alter the flavor slightly.
How do I know when my cheesecake is done baking?
Your cheesecake is done when the edges are set but the center still slightly jiggles; it should look firm and smooth. Bake until the internal temperature reaches about 150°F (65°C) for best results.
Can I freeze cheesecake? How long does it last?
Yes, you can freeze cheesecake for up to 3 months if wrapped tightly in plastic wrap and then foil. Just thaw it overnight in the refrigerator before serving for the best texture.
What if I don’t have a springform pan?
If you don’t have a springform pan, you can use a regular cake pan lined with parchment paper to help remove the cheesecake easily after baking. Just make sure to let it cool completely before attempting to take it out.