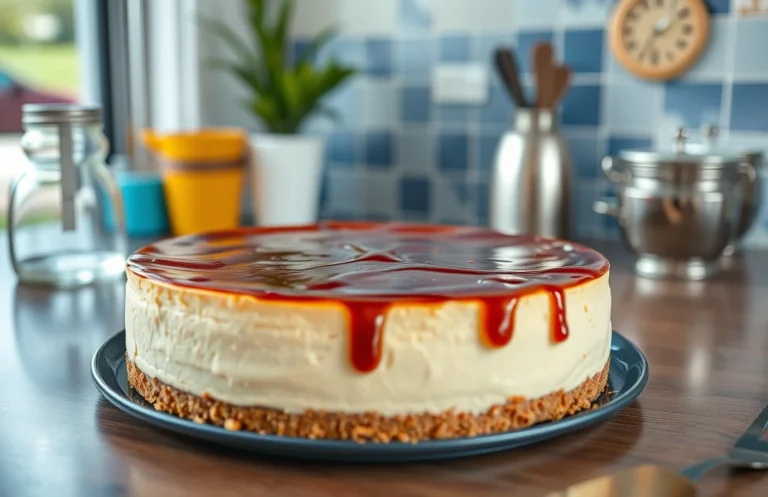
Cheesecake vs. Pie: Discover Recipes & Key Differences Explained
If you’ve ever craved a dessert that combines the creamy richness of cheesecake with the comforting structure of a pie, you’re in for a treat! This delightful hybrid not only satisfies your sweet tooth but also impresses guests with its elegant presentation. Imagine a velvety filling nestled in a buttery crust, making it the ultimate crowd-pleaser for any occasion.
Here’s what you can expect: Total time: 1 hour 30 minutes, Difficulty level: Easy, Servings: 8. This cheesecake pie is straightforward and forgiving, perfect for both novice and seasoned bakers.
| Prep Time | Cook Time | Total Time | Servings | Difficulty |
|---|---|---|---|---|
| 15 minutes | 60 minutes | 1 hour 30 minutes | 8 | Easy |
Origin of Cheesecake Pie
The cheesecake pie is a delightful blend of rich flavors and textures that has evolved over centuries. Understanding its origins and cultural significance can enhance our appreciation for this beloved dessert, which straddles the line between pie and cake.
Cultural Significance
Cheesecake, in its various forms, has been enjoyed across different cultures, each adding its unique twist. The concept of a cheesecake pie highlights the fusion of ingredients and cooking methods that define culinary traditions worldwide.
- Greek Tradition: Originating from ancient Greece, cheesecake was made with simple ingredients like cheese, honey, and flour. It was often served to athletes during the first Olympic Games.
- Roman Influence: The Romans adapted the Greek recipe, introducing eggs and baking the mixture, which led to the soft, creamy texture we love today.
- American Variations: In the U.S., the introduction of cream cheese transformed the cheesecake into a staple dessert, often found in pie form, served chilled or baked.
Historical Variations
Throughout history, cheesecake has seen numerous variations that reflect regional ingredients and preferences. The cheesecake pie is a testament to these adaptations, making it a popular choice for celebrations and holidays.
“The beauty of cheesecake lies in its versatility; from baked to no-bake, each version tells a story of its own.”
| Region | Main Ingredients | Cooking Method |
|---|---|---|
| Greece | Cheese, Honey, Flour | Unbaked |
| Rome | Cheese, Eggs, Honey | Baked |
| USA | Cream Cheese, Sugar, Eggs | Baked or No-Bake |
Ingredients for Cheesecake Pie
To create a delicious cheesecake pie, you’ll need to gather specific ingredients for both the crust and the filling. Each component plays a crucial role in achieving that creamy texture and delightful flavor that makes cheesecake so beloved. Below, I’ve outlined the necessary ingredients with exact measurements to help you get started.
| Item | Amount/Specification | Notes |
|---|---|---|
| Graham cracker crumbs | 1 ½ cups (150g) | For the crust; can substitute with crushed cookies. |
| Granulated sugar | ⅓ cup (67g) | For the crust; adjust to taste. |
| Unsalted butter | 6 tablespoons (85g), melted | Provides richness to the crust. |
| Cream cheese | 16 oz (450g), softened | Must be at room temperature for easy blending. |
| Sour cream | 1 cup (240ml) | Adds tanginess and creaminess to the filling. |
| Granulated sugar | 1 cup (200g) | For the filling; balances sweetness. |
| Vanilla extract | 2 teaspoons | Use pure vanilla for the best flavor. |
| Eggs | 3 large | Bring to room temperature before using. |
- Tip: For a gluten-free option, use gluten-free graham crackers or almond flour for the crust.
- Warning: Ensure cream cheese is softened completely to avoid lumps in your filling.
- Consider adding a pinch of salt to enhance the flavors.
Essential Kitchen Tools
To create a delicious cheesecake pie, having the right tools on hand is crucial. This section will guide you through the essential mixing and baking equipment you’ll need to ensure your pie turns out perfectly every time. Let’s dive into the must-haves for your cheesecake pie adventure!
Mixing Tools
- Mixing Bowls: You’ll need a set of mixing bowls in various sizes, preferably glass or stainless steel. A large bowl (at least 4 quarts) is essential for mixing the filling, while smaller bowls come in handy for combining crust ingredients.
- Electric Mixer: A hand mixer or stand mixer is ideal for blending your cream cheese and sugar to a smooth consistency. Beat on medium speed for about 2-3 minutes until the mixture is fluffy and well combined. Avoid lumps, as they will affect the texture of your cheesecake pie.
- Spatula: A silicone or rubber spatula is necessary for scraping down the sides of your mixing bowl and folding ingredients together gently. This ensures that everything is evenly mixed without overworking the batter.
Baking Essentials
- 9-inch Pie Pan: A standard glass or ceramic pie dish works best for baking your cheesecake pie. The clear sides allow you to monitor browning and texture as it bakes.
- Parchment Paper: Line the bottom of your pie pan with parchment paper for easier removal of the cheesecake pie once it’s cooled. This step prevents sticking and makes serving much simpler.
- Oven Thermometer: To ensure your cheesecake pie bakes at the correct temperature, use an oven thermometer. Oven temps can often be inaccurate; aim for a baking temperature of 325°F (163°C) for optimal results.
Step-by-Step Baking Instructions
This section provides you with clear, detailed instructions for preparing your cheesecake pie, from the crust to the filling and baking process. Each step includes exact measurements and timings to help you achieve a flawless cheesecake pie.
Preparing the Crust
- Preheat your oven to 350°F (175°C). In a mixing bowl, combine 1 ½ cups (150g) of graham cracker crumbs, ⅓ cup (40g) of granulated sugar, and ½ cup (115g) of melted butter. Stir until the mixture resembles wet sand.
- Press the crumb mixture firmly into the bottom and up the sides of a 9-inch (23cm) pie pan. Use the bottom of a measuring cup to create an even layer. Bake the crust for 8-10 minutes until it’s lightly golden and fragrant. Let it cool completely on a wire rack.
Making the Filling
- In a large mixing bowl, beat 16 ounces (450g) of softened cream cheese with an electric mixer on medium speed for about 2 minutes until smooth and creamy. Scrape down the sides of the bowl to ensure even mixing.
- Add ¾ cup (150g) of granulated sugar, 1 teaspoon of vanilla extract, and 3 large eggs, one at a time. Beat on low speed until just combined, being careful not to overmix, which can lead to cracks in the pie.
- Pour the filling into the cooled crust and smooth the top with a spatula. Tap the pan gently on the counter to release any air bubbles.
Baking Process
- Bake the cheesecake pie for 35-40 minutes. The edges should be set, while the center remains slightly jiggly. To avoid cracking, place a shallow pan of water on the bottom rack of the oven during baking.
- Once baked, turn off the oven and crack the door open, allowing the pie to cool slowly for about 1 hour. This will help prevent sudden temperature changes that can cause cracks.
- Remove the pie from the oven and chill it in the refrigerator for at least 4 hours, or preferably overnight, before serving. The cheesecake pie should be firm yet creamy to the touch.
Pro Tips for Perfect Cheesecake
Creating the perfect cheesecake, especially when aiming for a pie-like consistency, requires attention to detail and a few essential techniques. This section will highlight key tips for achieving that creamy texture and share common pitfalls to avoid during the baking process.
Texture Troubleshooting
- Cracked tops: If your cheesecake develops cracks, it may be due to overmixing or baking at too high a temperature. Aim for a gentle mixing until just combined, and bake at 325°F (160°C) for a slower, even cook.
- Dense texture: A dense cheesecake can result from overbaking or using cold ingredients. Ensure your cream cheese, eggs, and sour cream are at room temperature before mixing, and bake until the edges are set but the center is slightly jiggly.
- Grittiness: If your cheesecake feels gritty, it could be from unblended sugar or improperly creamed ingredients. Thoroughly blend your sugar with cream cheese until smooth before adding eggs.
Baking Tips
- Water bath: To achieve a silky texture, consider using a water bath. Wrap your springform pan in aluminum foil and place it in a larger baking dish filled with water to create steam during baking, which helps prevent cracks.
- Cooling slowly: After baking, turn off the oven and crack the door, allowing your cheesecake to cool gradually. This helps prevent sudden temperature changes that can cause cracking.
- Chill properly: Once cooled to room temperature, refrigerate your cheesecake for at least 4 hours or overnight. This resting period will enhance the flavors and improve the texture.
Variations and Substitutions
Adapting recipes to fit dietary needs or to add a creative twist can elevate your cheesecake pie experience. Below, you’ll find options for gluten-free and vegan modifications, ensuring everyone can enjoy this delicious dessert.
Gluten-Free Options
For a gluten-free cheesecake pie, simply substitute the crust. Traditional graham crackers can be replaced with gluten-free alternatives. Here’s a quick breakdown of suitable options:
- 1 ½ cups gluten-free graham cracker crumbs (about 150g)
- ¾ cup almond flour (75g)
- 1 cup crushed gluten-free cookies (about 120g)
Mix the gluten-free crumbs with 5 tablespoons melted butter and press into a 9-inch pie pan. Bake at 350°F (175°C) for 10 minutes, until golden and fragrant.
Vegan Modifications
For a vegan cheesecake pie, you can use plant-based ingredients to achieve a creamy texture. Here’s how to modify the filling:
- 1 ½ cups soaked cashews (soaked for at least 4 hours)
- ½ cup coconut cream
- ¾ cup maple syrup or agave nectar
- 2 tablespoons lemon juice
- 1 teaspoon vanilla extract
Blend these ingredients in a high-speed blender until smooth and creamy. Pour into your prepared crust and chill in the refrigerator for at least 4 hours, or until set.
Chef’s tip: Check the consistency of your filling; it should be smooth and pourable but not too runny.
By following these variations, you can enjoy delicious cheesecake pie that caters to different dietary requirements without sacrificing flavor or texture!
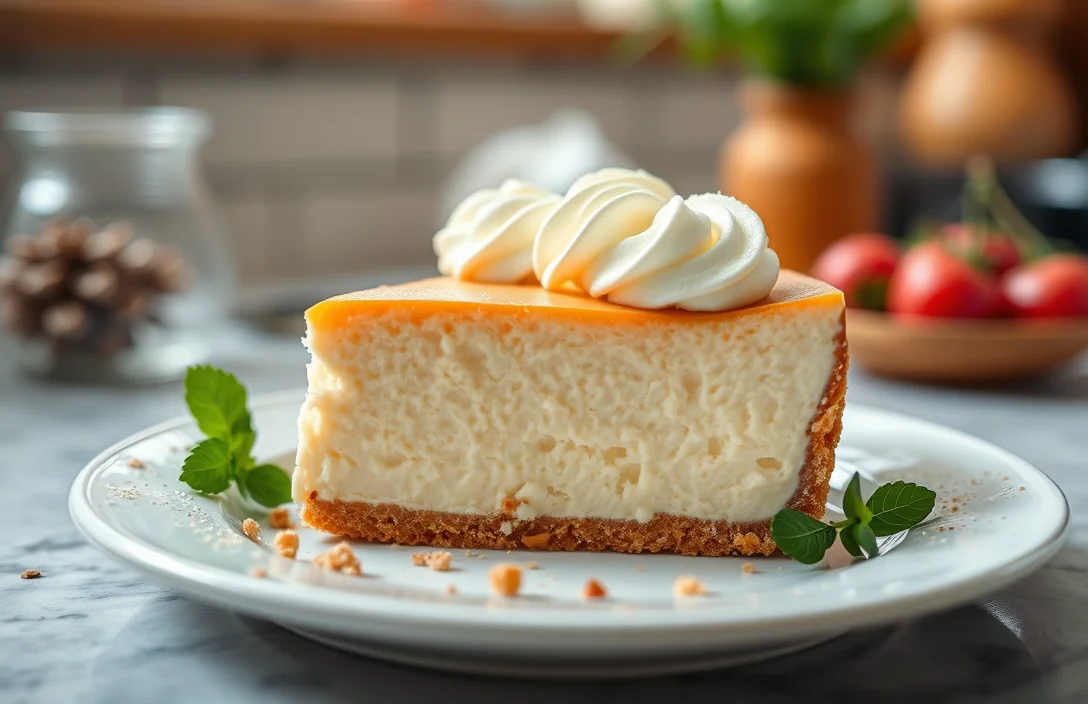
Serving and Plating Ideas
Presenting your cheesecake pie can elevate the entire experience, making it not just a dessert but a centerpiece. Thoughtful garnishes and beverage pairings can enhance the flavors and aesthetics, creating a delightful treat for your guests.
Garnishes
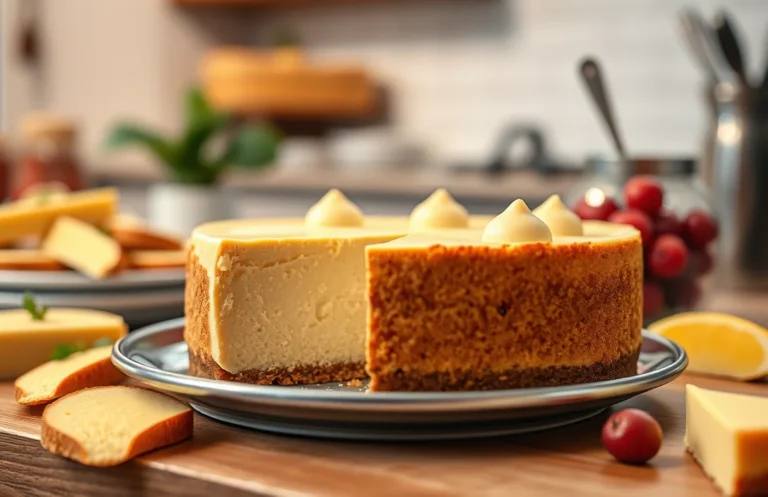
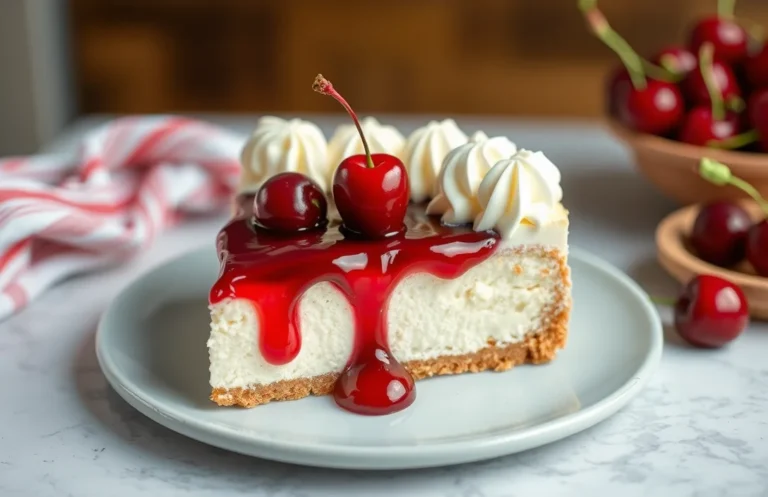
- Fresh Berries: Top your cheesecake pie with a mix of fresh strawberries, raspberries, and blueberries for a pop of color and a tart contrast to the sweetness.
- Chocolate Shavings: Use a vegetable peeler to create shavings from a high-quality dark chocolate bar, adding richness and sophistication.
- Whipped Cream: Pipe or dollop lightly sweetened whipped cream around the edges or on top for a creamy texture. Use about 1 cup heavy whipping cream, whipped until soft peaks form.
- Mint Leaves: A few fresh mint leaves can add a refreshing note and a dash of green to your presentation.
Pairing Suggestions
Choosing the right beverage can complement your cheesecake pie beautifully. Here are some recommendations:
| Beverage | Flavor Profile |
|---|---|
| Sweet Riesling | Fruity and floral, enhancing the pie’s sweetness. |
| Coffee | The bitterness of coffee balances the creamy sweetness of the pie. |
| Herbal Tea | Chamomile or mint adds a soothing finish. |
Chef’s tip: Serve slices of cheesecake pie slightly chilled for the best flavor and texture. Let it sit at room temperature for about 15 minutes before serving for optimal creaminess.
Quick Summary
| Prep Time | 20 minutes |
|---|---|
| Cook Time | 50 minutes |
| Total Time | 1 hour 10 minutes |
| Servings | 8 |
- Mix the crust: Combine 1 ½ cups graham cracker crumbs, ½ cup sugar, and ½ cup melted butter.
- Preheat the oven: Set to 325°F (163°C) for even baking.
- Beat the filling: Whip 16 oz cream cheese, ½ cup sugar, and 3 large eggs until smooth.
- Bake the pie: Pour filling over crust and bake for 50 minutes until set.
- Cool down: Refrigerate for at least 4 hours before serving for best texture.
- Tip: Ensure cream cheese is at room temperature for a lump-free filling.
- Tip: Avoid overmixing once eggs are added to prevent cracks.
Frequently Asked Questions
Can I make this ahead of time? How to store and reheat?
You can definitely make cheesecake pie ahead of time; it’s best to chill it in the refrigerator for at least 4 hours before serving. To store, cover it tightly with plastic wrap and keep it in the fridge for up to 5 days.
What can I substitute for cream cheese?
If you need a substitute for cream cheese, you can use mascarpone cheese or a mixture of Greek yogurt and sour cream for a similar texture and tang.
How do I know when it’s done?
Your cheesecake pie is done when the edges are set, but the center is still slightly jiggly; it will firm up as it cools. Look for a slight golden color around the edges and a soft, slightly puffed center.
Can I freeze this? How long does it last?
You can freeze cheesecake pie for up to 3 months by wrapping it tightly in plastic wrap and then aluminum foil. Just thaw it overnight in the refrigerator before serving.
Why did my cheesecake pie crack on top?
Your cheesecake pie may crack if it was baked at too high a temperature; aim for a gentle 325°F (163°C) to avoid this. Also, remember to let it cool slowly in the oven with the door ajar to prevent sudden temperature changes.