Can You Freeze Homemade Cheesecake? Tips for Perfect Storage
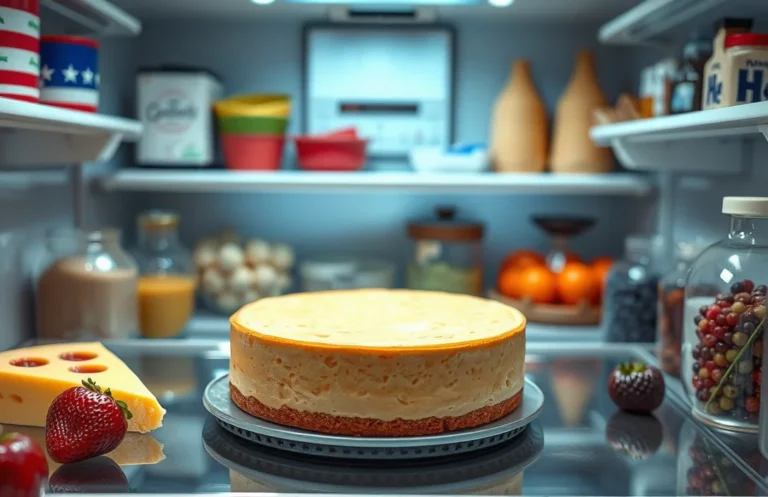
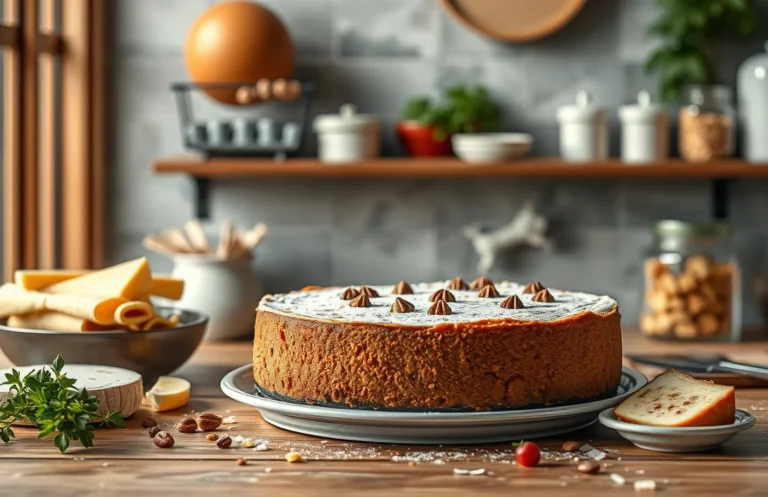
Homemade cheesecake is one of those delightful desserts that brings joy to any gathering, from cozy family dinners to celebratory parties. With its creamy, rich texture and a perfectly sweetened flavor, it melts in your mouth and leaves everyone asking for seconds. Imagine cutting into a slice that’s as beautiful as it is delicious!
Wondering if you can freeze your leftover cheesecake? The answer is yes! This guide offers step-by-step freezing instructions, tips for preserving texture and flavor, and thawing methods. Get ready to enjoy your cheesecake any time!
| Prep Time | Cook Time | Total Time | Servings | Difficulty |
|---|---|---|---|---|
| 15 minutes | 1 hour | 1 hour 15 minutes | 8 slices | Easy |
History of Cheesecake
The history of cheesecake is as rich and layered as the dessert itself. Understanding its origins and cultural significance can enhance your appreciation for this classic dish, especially if you’re considering whether to freeze your homemade cheesecake for later enjoyment.
- Origin of cheesecake: Cheesecake dates back to ancient Greece, where it was served to athletes during the first Olympic Games in 776 B.C. The earliest known recipe comes from a Greek physician, Aegimus, who wrote about making a cheese-based dessert. As the dish traveled through Europe, it evolved, with different regions adding their own twists, such as the use of cream cheese in America.
- Cultural significance: Throughout history, cheesecake has become a symbol of celebration and indulgence in many cultures. In the United States, it is often served during holidays and special occasions, making it a beloved dessert at gatherings and family meals. Its creamy texture and rich flavors resonate with many, creating a sense of comfort and nostalgia.
- When to serve cheesecake: Cheesecake is versatile and can be served at any time of the year. It’s a popular choice for birthdays, anniversaries, and holidays like Thanksgiving and Christmas. The option to freeze homemade cheesecake allows for easy preparation in advance, ensuring you have a delightful dessert ready for any occasion.
Ingredients for Cheesecake
To successfully freeze homemade cheesecake, it’s essential to have the right ingredients on hand. Each component contributes to the texture and flavor, ensuring your cheesecake remains delicious even after thawing. Below is a complete list of ingredients you’ll need, along with specific measurements and helpful notes for optimal results.
| Item | Amount/Specification | Notes |
|---|---|---|
| Cream Cheese | 24 ounces (680g) | Softened to room temperature for easy mixing |
| Sugar | 1 cup (200g) | Granulated sugar helps sweeten the filling |
| Eggs | 3 large | Room temperature for better blending |
| Vanilla Extract | 1 teaspoon (5ml) | Pure vanilla extract enhances flavor |
| Graham Cracker Crust | 1 ½ cups (150g) crumbs | Store-bought or homemade; ensure it’s packed tightly |
- Tip: For a gluten-free option, substitute the graham cracker crust with crushed gluten-free cookies.
- Tip: Ensure your cream cheese is well softened; this prevents lumps in your cheesecake.
- Tip: If you want a richer flavor, consider adding a tablespoon of lemon juice to the filling.
Necessary Kitchen Equipment
To successfully freeze your homemade cheesecake, having the right equipment on hand is essential. This section will detail the necessary tools you’ll need for preparing, baking, and storing your cheesecake, ensuring everything goes smoothly from start to finish.
- Springform Pan: A 9-inch springform pan is perfect for cheesecake. Its removable sides make it easy to release the cake without damaging it. Ensure the pan is sealed tightly to avoid any leakage during baking.
- Mixing Bowls: Use at least two mixing bowls—one for the crust and one for the filling. A large bowl (at least 3 quarts) works well for the filling to allow for easy whisking and mixing without splatter.
- Electric Mixer: An electric mixer makes blending the cream cheese smooth and easy, which is crucial for a creamy texture. Mix on medium speed until fully combined and fluffy, about 3-4 minutes, scraping down the sides as needed.
- Oven: Preheat your oven to 325°F (160°C) for baking the cheesecake. Make sure to calibrate your oven if it tends to run hot or cold, as this can affect the baking process.
- Cooling Rack: After baking, allow the cheesecake to cool in the pan on a wire cooling rack for at least 1 hour. This helps prevent condensation, which can affect the texture when freezing.
Freezing Cheesecake Steps
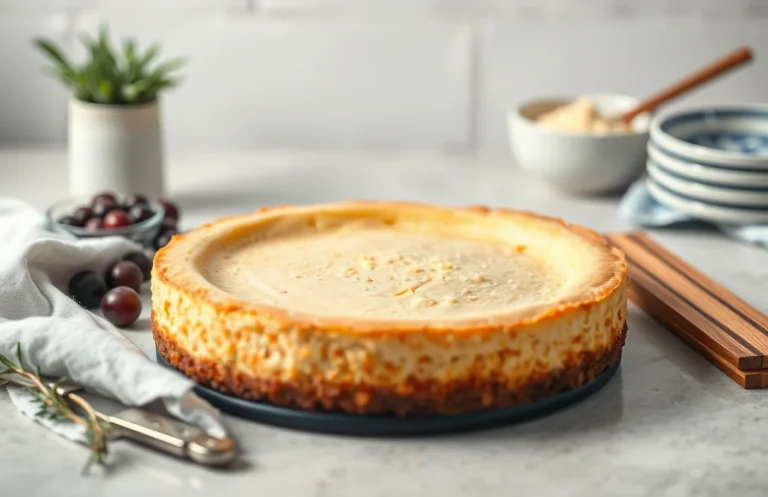
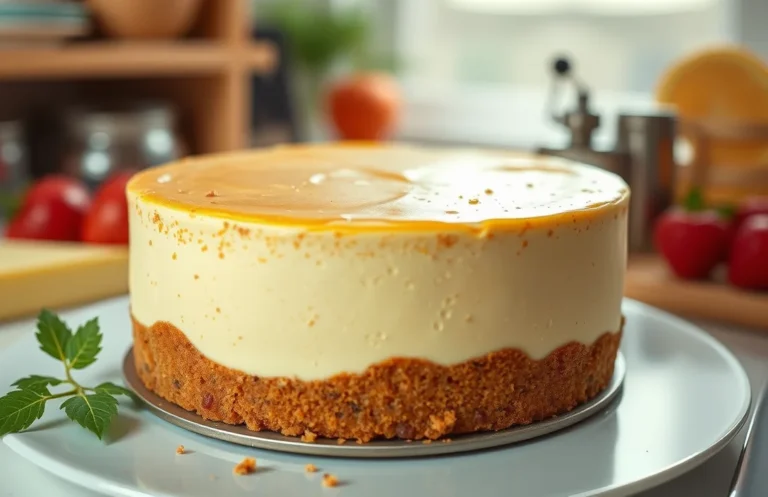
Freezing homemade cheesecake is a fantastic way to preserve its deliciousness for later enjoyment. Follow these steps to ensure your cheesecake freezes well and maintains its creamy texture and rich flavor when you’re ready to indulge.
- Prepare the Cheesecake: After baking your cheesecake, allow it to cool at room temperature for about 1 hour. This step is crucial to prevent condensation from forming when you freeze it, which can lead to an undesirable texture.
- Cool Completely: Once the cheesecake has cooled for an hour, transfer it to the refrigerator. Let it chill for at least 4 hours or overnight to ensure it’s completely set. The cheesecake should feel firm to the touch but still have a slight give when pressed gently.
- Wrap Properly: To prevent freezer burn, wrap the cheesecake tightly in plastic wrap. Make sure to cover all sides and seal it well. For added protection, wrap it again in aluminum foil. This double-wrapping ensures your cheesecake stays fresh for up to 3 months in the freezer.
- Label and Date: Use a permanent marker to label the foil with the date and type of cheesecake. This will help you keep track of how long it has been frozen. Remember, while cheesecake can last a while, it’s best enjoyed within the first month for optimal flavor and texture.
Tips for Best Results
Freezing homemade cheesecake can be a great way to enjoy it later, but there are specific techniques you should follow to ensure it retains its delicious flavor and texture. Here are some pro tips and common mistakes to avoid to achieve the best results.
- Avoiding freezer burn: To prevent freezer burn, make sure your cheesecake is wrapped tightly. Use a layer of plastic wrap followed by aluminum foil. This double-layering creates a barrier against moisture and air, which can dry out your cheesecake and affect its creamy texture.
- Importance of cooling: Before freezing, allow your cheesecake to cool completely at room temperature for at least 1 hour. This step is crucial as it helps to prevent condensation from forming inside the wrapping, which can lead to ice crystals and affect the cheesecake’s texture.
- Choosing the right wrap: Invest in high-quality freezer-safe plastic wrap or vacuum-sealable bags. If using plastic wrap, make sure to press it directly onto the surface of the cheesecake to minimize air exposure. If using a vacuum-sealed bag, remove as much air as possible before sealing.
Chef’s tip: Label your wrapped cheesecake with the date and type for easy identification later.
Variations and Substitutions
Exploring variations and substitutions for your homemade cheesecake can make it accessible for different dietary preferences while still allowing you to freeze it successfully. Whether you’re gluten-free, vegan, or simply looking to experiment with flavors, these options ensure that everyone can enjoy a slice of cheesecake without compromising on taste or texture.
Gluten-Free Crust
If you need a gluten-free option, you can easily substitute the traditional graham cracker crust. Here’s how to prepare a delicious gluten-free crust:
- 1 ½ cups almond flour (150g)
- ¼ cup melted coconut oil (60ml)
- 2 tablespoons honey or maple syrup (30ml)
- Pinch of salt
Mix these ingredients until crumbly, then press the mixture into the bottom of your springform pan. Bake at 350°F (175°C) for 10 minutes until slightly golden. Allow it to cool before adding your cheesecake filling.
Vegan Cheesecake
To make a vegan cheesecake that can also be frozen, use the following ingredients:
- 1 ½ cups raw cashews, soaked for 4 hours
- ½ cup coconut cream (120ml)
- ¼ cup maple syrup (60ml)
- 2 tablespoons lemon juice (30ml)
- 1 teaspoon vanilla extract
Blend all ingredients until smooth and creamy, then pour over your prepared crust. Freeze for at least 4 hours before serving.
Flavor Variations
Feel free to get creative with flavors! Here are a few ideas:
- Chocolate Cheesecake: Add ½ cup melted dark chocolate (90g) to the filling for a rich flavor.
- Berry Swirl: Fold in ½ cup of pureed berries just before pouring the filling into the crust.
- Matcha Cheesecake: Mix in 2 tablespoons of matcha powder for a unique flavor and color.
Chef’s tip: If using a fruit puree, freeze the cheesecake for a shorter time to maintain a creamy texture!
With these variations, you can create a cheesecake that fits your dietary needs while still being freezer-friendly. Just ensure to store it properly in an airtight container to avoid freezer burn!
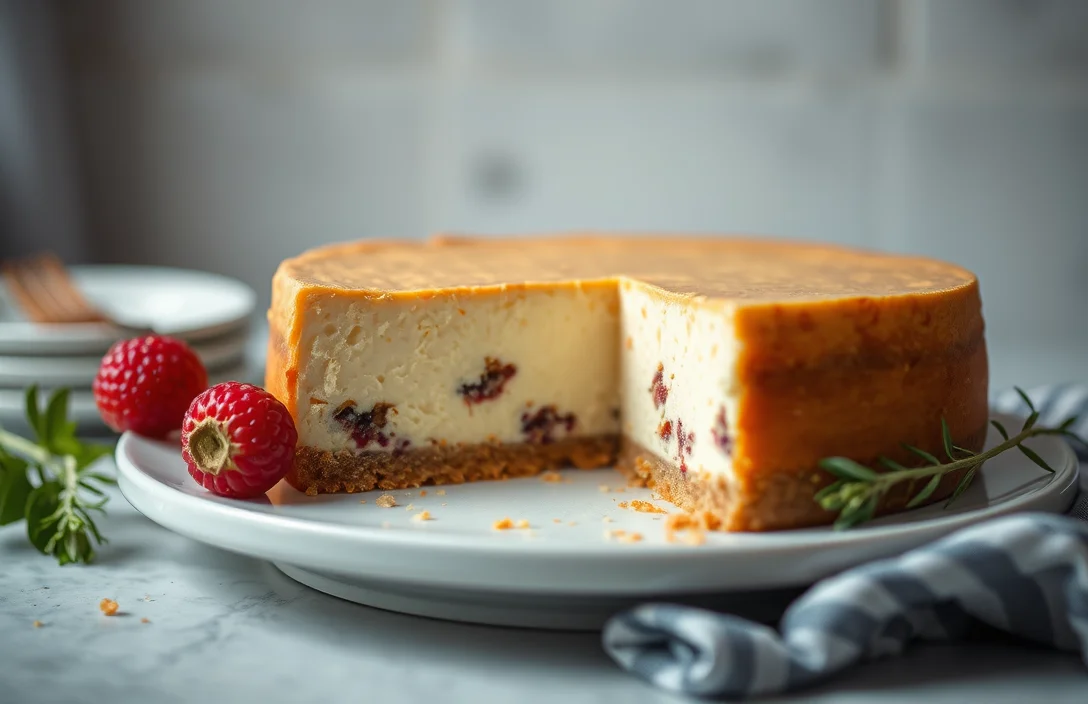
Serving and Pairing Ideas
Now that you know how to freeze and store your homemade cheesecake, let’s talk about the best ways to serve it and what delightful pairings can elevate the experience. The right garnishes and beverages can enhance the flavors of your cheesecake, making it a memorable dessert for any occasion.
Garnishing Ideas
- Fresh Berries: Top with ½ cup fresh strawberries, raspberries, or blueberries for a pop of color and natural sweetness.
- Chocolate Drizzle: Melt 4 ounces of dark chocolate and drizzle over the cheesecake for a rich contrast.
- Citrus Zest: Grate the zest of 1 lemon or orange for a refreshing, aromatic touch.
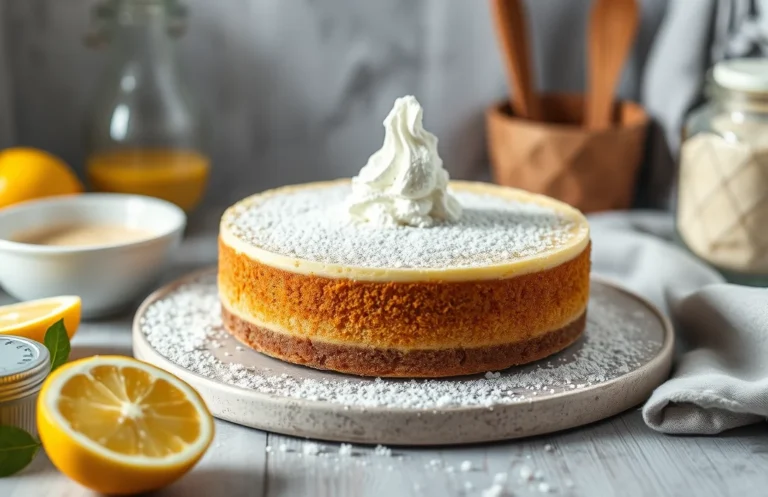
- Whipped Cream: Serve with a dollop of sweetened whipped cream (1 cup heavy cream, whipped with 2 tablespoons sugar) for added creaminess.
Beverage Pairings
Complement your cheesecake with beverages that enhance its flavors:
- Coffee: A strong espresso or a smooth latte pairs beautifully, balancing the sweetness of the cheesecake.
- Tea: Consider a fragrant Earl Grey or a calming chamomile for a soothing match.
- Sparkling Wine: A light Prosecco or Moscato can add a festive touch, especially for special occasions.
Serving Temperature
For the best flavor and texture, serve cheesecake slightly chilled. After thawing from the freezer, let it sit at room temperature for about 30 minutes before slicing. This allows the cheesecake to soften slightly, making it easier to cut and enhancing the creaminess with every bite.
Chef’s tip: Always use a sharp knife to slice your cheesecake for clean edges. Dip the knife in warm water and wipe it dry between cuts for the best results!
Quick Summary
| Prep Time | 15 minutes |
|---|---|
| Cook Time | 60 minutes |
| Total Time | 1 hour 15 minutes |
| Servings | 8 |
- Cool Completely: Let cheesecake cool in the pan for 1 hour before removing.
- Wrap Properly: Use plastic wrap and aluminum foil to prevent freezer burn.
- Freeze Flat: Place cheesecake in the freezer on a flat surface for even freezing.
- Thaw Gradually: Thaw in the refrigerator for 8-12 hours before serving.
- Check for Freshness: Freeze within 2 days of baking for best quality.
- Tip: Avoid freezing toppings until ready to serve.
- Tip: Use a springform pan for easy removal after freezing.
Frequently Asked Questions
Can I make this ahead of time? How to store and reheat?
You can definitely make cheesecake ahead of time! Store it covered in the refrigerator for up to 5 days, and reheat individual slices in the microwave for about 10-15 seconds.
What can I substitute for cream cheese?
You can substitute mascarpone cheese or a mixture of cottage cheese and Greek yogurt for a lighter version. However, keep in mind that the texture and flavor may vary slightly.
How do I know when it’s done?
Your cheesecake is done when the edges are set, but the center still has a slight jiggle, which usually takes about 45-50 minutes at 325°F (163°C). It will continue to firm up as it cools.
Can I freeze this? How long does it last?
You can freeze homemade cheesecake for up to 3 months if wrapped tightly in plastic wrap and then aluminum foil. Thaw it in the refrigerator overnight for the best texture.
What if I don’t have a springform pan?
If you don’t have a springform pan, you can use a regular round cake pan lined with parchment paper for easy removal. Just be sure to let it cool completely before attempting to take it out.

- Decadent Peanut Butter No-Bake Cheesecake: Easy Recipe to Indulge - April 3, 2026
- Delicious Mango No-Bake Cheesecake: Step-by-Step Recipe - April 3, 2026
- Decadent Raspberry No-Bake Cheesecake: Easy Step-by-Step Recipe - April 3, 2026