Why Cheesecake Must Be Refrigerated: Tips for Perfect Storage
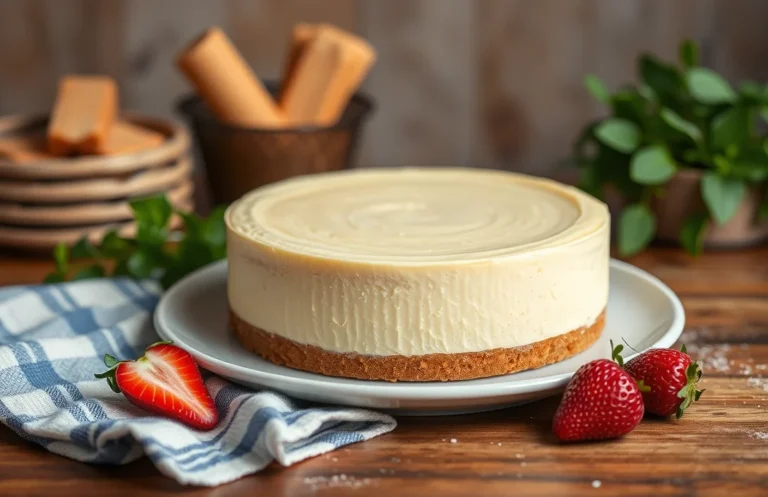
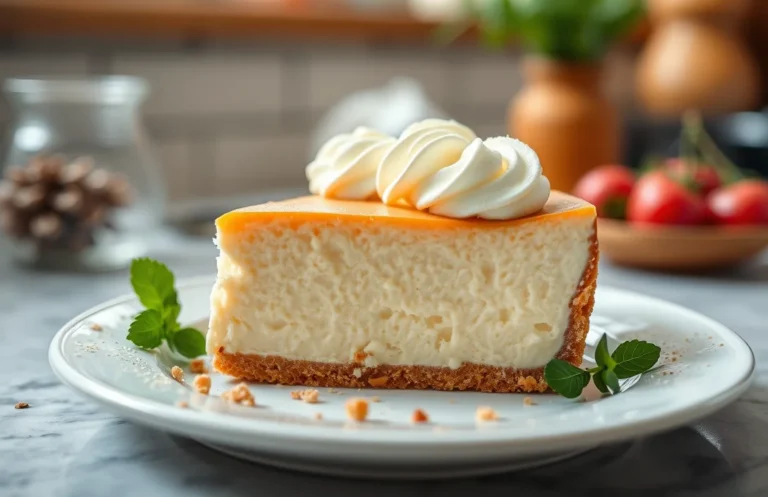
Cheesecake is the ultimate indulgence, a rich and creamy dessert that melts in your mouth and leaves you craving more. Whether it’s a festive celebration or just a cozy weeknight treat, nothing beats that velvety texture paired with a buttery graham cracker crust. Trust me, once you taste it, you’ll be hooked!
Key details: This cheesecake takes 60 minutes to prepare, is rated medium difficulty, and serves 8 people. Remember, it needs to be refrigerated for at least 4 hours before serving for the best flavor and texture!
| Prep Time | Cook Time | Total Time | Servings | Difficulty |
|---|---|---|---|---|
| 20 minutes | 40 minutes | 60 minutes + 4 hours chilling | 8 | Medium |
Cheesecake Origins
Understanding the origins of cheesecake not only enhances our appreciation of this beloved dessert but also sheds light on why proper refrigeration is crucial for its safety and quality. Cheesecake has a rich history across various cultures, and its significance is highlighted in how it is served and stored.
- Ancient Beginnings: Cheesecake’s earliest known origins date back to ancient Greece, where it was enjoyed by athletes at the first Olympic Games in 776 B.C. The Greeks used simple ingredients like cheese, honey, and flour, revealing the dessert’s rustic roots.
- Cultural Variations: Over the centuries, cheesecake has evolved into various forms, from the Italian ricotta-based cheesecake to the creamy New York style. Each culture has its own traditions surrounding when and how to serve cheesecake, often as a celebratory dish at weddings and holidays.
- Refrigeration Necessity: Given its dairy components, cheesecake must be refrigerated to prevent spoilage. The cream cheese and eggs in a classic cheesecake can harbor bacteria if left at room temperature for too long, which is why it’s best served chilled.
- Serving Temperature: While cheesecake is best served cold, letting it sit at room temperature for about 15-30 minutes before serving enhances its flavor and texture. This slight warming allows the cheesecake to soften, making each bite rich and creamy.
By understanding cheesecake’s origins and the importance of refrigeration, we ensure that this delicious dessert remains safe and enjoyable for all occasions.
Essential Ingredients
This section outlines the essential ingredients needed for a delicious cheesecake, along with specific measurements and notes on their importance. Understanding these ingredients is crucial, especially since cheesecake requires proper refrigeration to maintain its creamy texture and rich flavor.
| Item | Amount/Specification | Notes |
|---|---|---|
| Cream Cheese | 24 ounces (680g) | Use full-fat for best texture; soften to room temperature. |
| Sugar | 1 cup (200g) | Granulated sugar works best for sweetness. |
| Sour Cream | 1 cup (240g) | Adds creaminess; can substitute with Greek yogurt. |
| Vanilla Extract | 2 teaspoons | Pure vanilla extract enhances flavor. |
| Eggs | 4 large | Use at room temperature for easier mixing. |
| Graham Cracker Crumbs | 1 ½ cups (150g) | For the crust; crush finely. |
| Unsalted Butter | ½ cup (113g) | Melted, for binding the crust. |
| Salt | ¼ teaspoon | Enhances overall flavor. |
- Make sure to check the expiration date on cream cheese, as freshness is key.
- For a gluten-free version, use gluten-free graham cracker crumbs or almond flour.
- Keep the cheesecake in the refrigerator for at least 4 hours before serving to allow it to set properly.
- Overmixing after adding eggs can lead to cracks, so mix just until incorporated.
Required Kitchen Tools
Having the right kitchen tools is essential for successfully preparing and storing your cheesecake, especially since proper refrigeration plays a crucial role in its texture and flavor. The following list includes the necessary mixing tools and baking pans that will help ensure your cheesecake turns out perfectly every time.
- Mixing Bowls: Use at least two mixing bowls—one large for the cream cheese mixture and a medium-sized one for combining the crust ingredients. Glass or stainless steel bowls work best as they are easy to clean and won’t retain odors.
- Electric Mixer: A stand mixer or a hand mixer is ideal for achieving a smooth, creamy filling. Beat the cream cheese until it’s fluffy and free of lumps, which usually takes about 2-3 minutes on medium speed.
- Spatula: A silicone spatula is perfect for folding in ingredients and scraping down the sides of the bowl to ensure everything is well combined. This is especially important when adding eggs or heavy cream.
- Measuring Cups and Spoons: Accurate measurements are key to a successful cheesecake. Use a set of measuring cups for dry ingredients and a liquid measuring cup for wet ingredients to ensure precision.
- Baking Pan: A 9-inch springform pan is recommended for cheesecakes, as it allows for easy removal. Make sure it’s tightly sealed to prevent water from leaking in during the water bath method, if you choose to use one.
- Aluminum Foil: Use heavy-duty aluminum foil to wrap the outside of the springform pan. This helps prevent water from seeping into the pan if using a water bath, which can ruin the texture of the cheesecake.
Cooking Instructions
In this section, we’ll focus on mixing the cheesecake batter and baking it to perfection. These steps are crucial as they directly influence the texture and flavor of your cheesecake, which needs refrigeration afterward to set properly and enhance its creamy goodness.
- Mixing the batter: In a large mixing bowl, combine 16 ounces (450g) of cream cheese, softened to room temperature, with ¾ cup (150g) granulated sugar. Using an electric mixer, beat on medium speed until the mixture is smooth and creamy, about 2-3 minutes. Scrape down the sides of the bowl to ensure all ingredients are incorporated.
- Add eggs and flavoring: Gradually add 3 large eggs, one at a time, mixing well after each addition. Then, add 1 teaspoon of vanilla extract and 2 tablespoons of lemon juice for a hint of brightness. Mix until just combined; over-mixing can introduce air bubbles, which may lead to cracks during baking.
- Baking time and temperature: Preheat your oven to 325°F (160°C). Pour the batter into a prepared springform pan lined with parchment paper. Bake for 50-60 minutes or until the edges are set and the center has a slight jiggle. The cheesecake should look slightly puffed and may have a light golden hue around the edges.
- Cooling: Once baked, turn off the oven and leave the cheesecake inside for an additional hour with the door ajar to prevent cracking. After that, remove it from the oven and let it cool to room temperature on a wire rack before refrigerating. This cooling step is essential to ensure a smooth texture.
Chef’s tip: Refrigerate your cheesecake for at least 4 hours, preferably overnight, to let the flavors meld and achieve the perfect creamy consistency.
Storage Tips
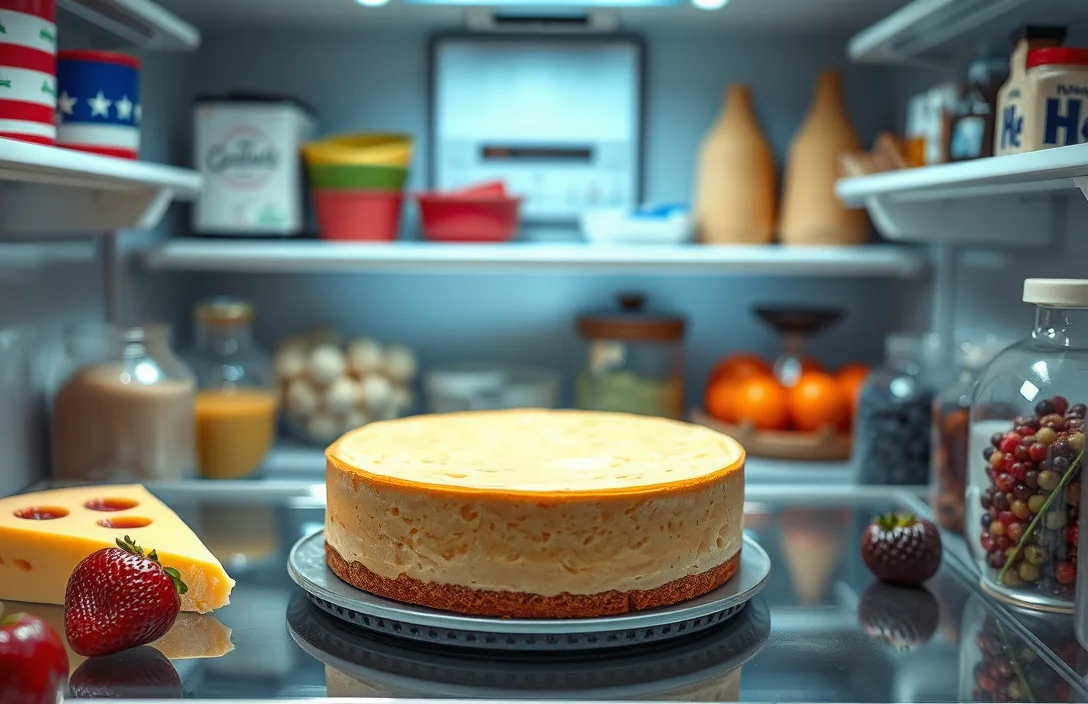
Storing your cheesecake properly is crucial for maintaining its flavor and texture. Refrigeration not only preserves the cheesecake but also prevents spoilage, ensuring that you can enjoy each slice at its best.
- Refrigerate immediately: After baking and cooling your cheesecake, cover it with plastic wrap or aluminum foil and place it in the refrigerator. This helps to set the filling and enhances the flavors. Ideally, refrigerate for at least 4 hours, but overnight is best for optimal taste.
- Use an airtight container: If you have leftover cheesecake, transfer it to an airtight container. This prevents it from absorbing any other odors in the fridge and keeps it fresh for up to 5 days.
- Freeze for longer storage: To extend the life of your cheesecake, consider freezing it. Wrap the cheesecake tightly in plastic wrap, followed by aluminum foil, and freeze for up to 3 months. When ready to enjoy, thaw it in the refrigerator for several hours or overnight.
- Avoid leaving it out: Never leave your cheesecake out at room temperature for more than 2 hours. Bacteria can grow rapidly in perishable foods, and cheesecake is no exception. If you’re serving it, keep it chilled until just before serving to maintain quality.
- Check for spoilage: If your cheesecake has an off smell, unusual texture, or visible mold, it’s best to discard it. Always trust your senses when it comes to food safety.
Variations and Substitutions
This section highlights options for modifying cheesecake recipes to accommodate dietary preferences and allergies, ensuring that everyone can enjoy this delicious dessert. Whether you’re looking for a gluten-free crust or a vegan alternative, these substitutions will help you create a cheesecake that meets your needs while still requiring refrigeration for optimal flavor and texture.
Gluten-Free Crusts
If you or your guests have gluten sensitivities, you can easily create a gluten-free cheesecake. Here are some alternatives you can use for the crust:
- 1 ½ cups almond flour (150g) mixed with 2 tablespoons melted coconut oil and 2 tablespoons honey or maple syrup
- 1 ½ cups crushed gluten-free graham crackers (about 150g) mixed with 5 tablespoons melted butter
- 1 ½ cups crushed pecans or walnuts (about 150g) mixed with 3 tablespoons coconut oil and 1 tablespoon sugar
Vegan Cheesecake Alternatives
For a plant-based option, you can create a vegan cheesecake using the following ingredients:
- 2 cups raw cashews (soaked in water for 4 hours and drained)
- ¾ cup coconut cream
- ½ cup maple syrup
- 1 teaspoon vanilla extract
- 1 tablespoon lemon juice
Blend all the filling ingredients until smooth, and pour it over your chosen crust. Refrigerate for at least 4 hours until set.
Chef’s tip: Use a springform pan for easy removal of your cheesecake, especially if it’s vegan or gluten-free, as these can be more delicate.
| Ingredient | Amount |
|---|---|
| Almond flour | 1 ½ cups (150g) |
| Raw cashews | 2 cups |
| Coconut cream | ¾ cup |
| Maple syrup | ½ cup |
Remember to refrigerate your cheesecake for at least 4 hours, or overnight for best results, to allow flavors to develop and the texture to firm up. Enjoy your deliciously adapted cheesecake!
Serving Suggestions
Serving cheesecake is an art that can elevate its rich, creamy flavor profile. Proper garnishing and beverage pairing can enhance your cheesecake experience while ensuring it remains perfectly chilled and refreshing. Here are some delightful ways to serve your refrigerated cheesecake, along with tips for garnishing and drink pairings.
Garnishing Techniques
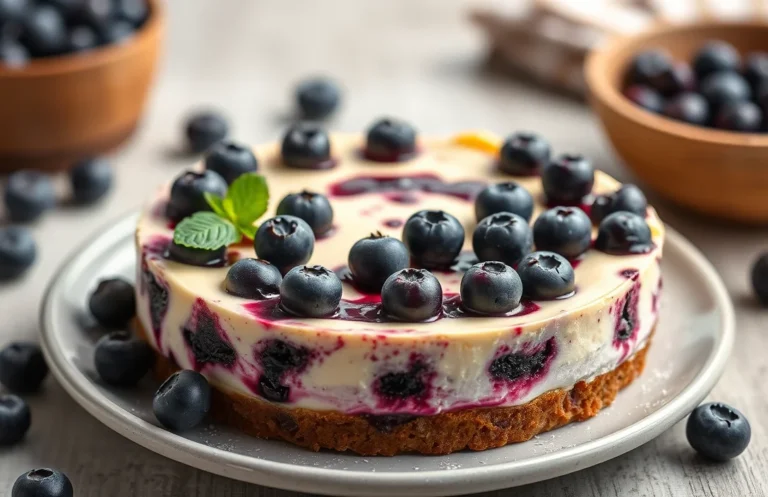
- Fresh Berries: Top your cheesecake with a mix of fresh strawberries, blueberries, and raspberries for a burst of color and flavor. Aim for about ½ cup total of mixed berries.
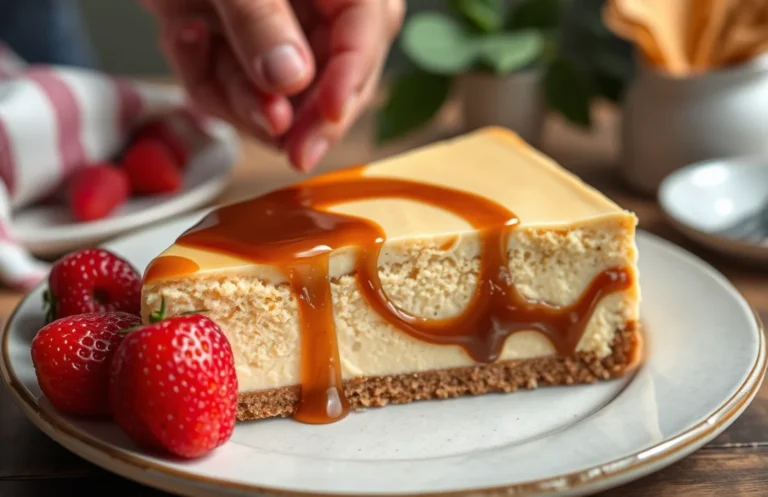
- Chocolate Drizzle: Melt 2 ounces of dark chocolate and drizzle over the cheesecake just before serving for a sweet contrast. Let it set for a few minutes before slicing.
- Whipped Cream: Serve each slice with a dollop of freshly whipped cream (1 cup heavy cream whipped until soft peaks form). This adds a light, airy texture that complements the cheesecake’s richness.
Beverage Pairings
| Beverage | Flavor Profile |
|---|---|
| Coffee | Rich and robust, balances the sweetness of cheesecake. |
| Sweet Dessert Wine | Enhances the creamy texture, especially with fruit toppings. |
| Herbal Tea | Light and refreshing, perfect for a lighter dessert option. |
Chef’s tip: Always serve cheesecake cold to maintain its structure and flavor. Allow it to sit at room temperature for about 10-15 minutes before slicing for easier serving.
Remember to keep your cheesecake refrigerated until you’re ready to serve, as it can spoil quickly if left out. Enjoy your culinary creation with these serving suggestions!
Quick Summary
| Prep Time | Cook Time | Total Time | Servings |
|---|---|---|---|
| 20 minutes | 60 minutes | 4 hours (including chilling) | 8 |
- Prepare the crust: Combine 1 ½ cups of graham cracker crumbs with ½ cup melted butter.
- Bake the crust: Press into a springform pan and bake at 350°F for 10 minutes.
- Mix the filling: Blend 24oz cream cheese, 1 cup sugar, and 3 eggs until smooth.
- Bake the cheesecake: Pour filling into crust and bake at 325°F for 60 minutes.
- Cool and refrigerate: Chill for at least 4 hours, or overnight for best results.
- Key cooling: Always cool the cheesecake in the oven to prevent cracks.
- Chill time: Don’t skip refrigeration; it enhances flavor and texture.
- Use room temperature ingredients: This ensures a smooth filling without lumps.
Frequently Asked Questions
Can I make this ahead of time? How to store and reheat?
You can absolutely make cheesecake ahead of time; in fact, it’s best if you refrigerate it for at least 4 hours or overnight for optimal flavor. Store it in the fridge, tightly covered with plastic wrap or in an airtight container, and avoid reheating as it’s best served chilled.
What can I substitute for cream cheese?
If you’re looking for a substitute for cream cheese, you can use mascarpone cheese for a similar creamy texture, or blended silken tofu for a dairy-free option. Keep in mind that the flavor and consistency may vary slightly.
How do I know when it’s done?
Your cheesecake is done when the edges are set but the center still has a slight jiggle (about 2 inches) when you gently shake the pan. It will continue to firm up as it cools in the refrigerator.
Can I freeze this? How long does it last?
You can freeze cheesecake for up to 3 months if it’s wrapped tightly in plastic wrap and then aluminum foil. To thaw, place it in the fridge overnight before serving for the best texture.
What if I don’t have a springform pan?
If you don’t have a springform pan, you can use a 9-inch round cake pan lined with parchment paper, but be careful when removing the cheesecake as it won’t come out as easily. Just let it cool completely, then slice and serve directly from the pan!

- Decadent Peanut Butter No-Bake Cheesecake: Easy Recipe to Indulge - April 3, 2026
- Delicious Mango No-Bake Cheesecake: Step-by-Step Recipe - April 3, 2026
- Decadent Raspberry No-Bake Cheesecake: Easy Step-by-Step Recipe - April 3, 2026