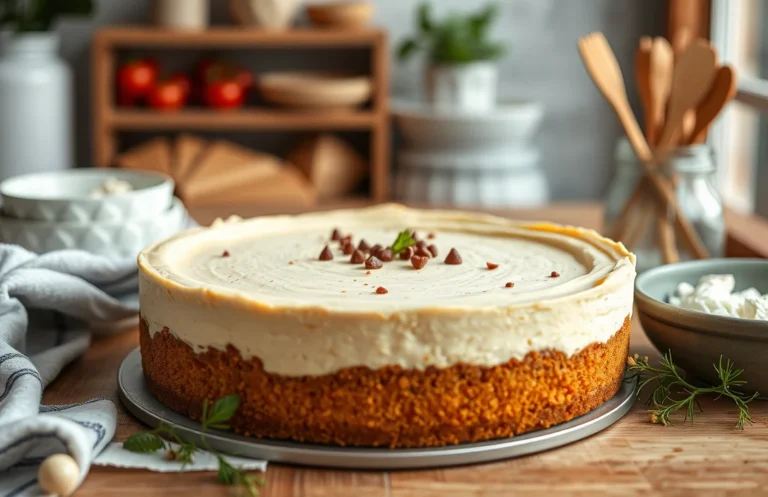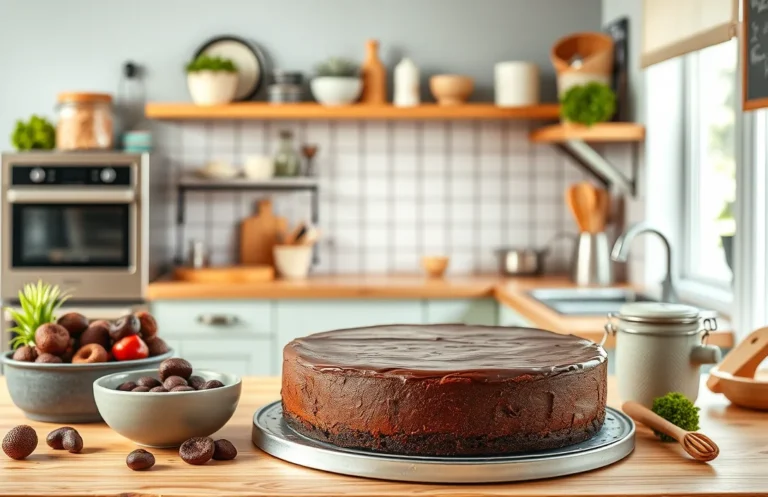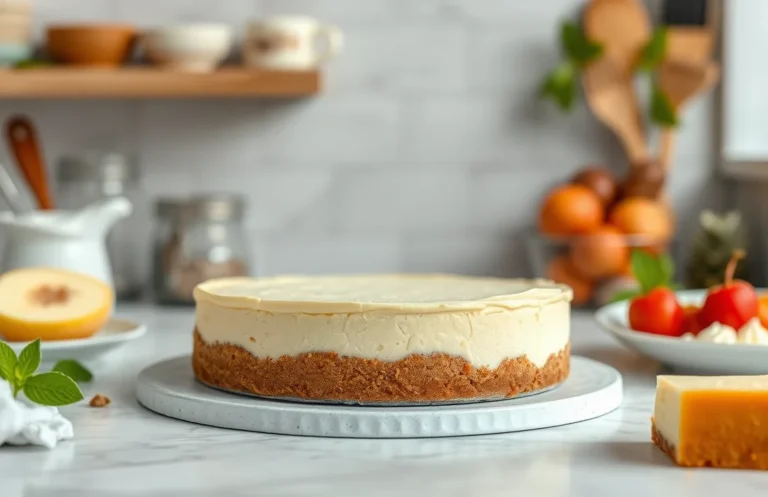
Delicious Crushed Kurma Cheesecake Crust: Easy Step-by-Step Recipe
If you’re looking for a cheesecake crust that’s not only easy to make but also packs a punch of flavor, this crushed kurma cheesecake crust is your answer. The natural sweetness of kurma, or dates, combined with the crunchiness of nuts creates a delightful base that elevates any cheesecake to a whole new level of deliciousness. You’ll want to dive right in!
Key details: This recipe takes about 20 minutes to prepare, has a medium difficulty level, and serves 8 people. Perfect for gatherings or a cozy night in!
| Prep Time | Cook Time | Total Time | Servings | Difficulty |
|---|---|---|---|---|
| 20 minutes | 0 minutes | 20 minutes | 8 | Medium |
Origin of Kurma Cheesecake Crust
The crushed kurma cheesecake crust is a delightful twist on traditional cheesecake bases, bringing a rich and unique flavor profile that reflects its cultural significance. Kurma, or dates, are not just a sweet treat; they are packed with history and nutrition, making them a favored ingredient in many desserts.
Cultural Significance
Dates have been cultivated for thousands of years, particularly in Middle Eastern cultures, where they are celebrated for their sweetness and health benefits. They are often used in festive occasions and gatherings, symbolizing hospitality and abundance.
- Rich in fiber, vitamins, and minerals
- Often served during Ramadan as a nutritious fast-breaking food
- In many cultures, dates are a staple in sweets and desserts, adding natural sweetness
When to Serve
This cheesecake crust can be served on various occasions, making it versatile and appealing to many palates:
- Family gatherings and celebrations
- Holiday feasts, especially during fall and winter
- As a delightful dessert option for potlucks or brunches
Chef’s tip: Pair your kurma cheesecake crust with a light citrus-flavored filling to balance the sweetness of the dates!
Ingredients for Kurma Crust
This section highlights the essential ingredients needed to create a delicious crushed kurma cheesecake crust. Using the right components is crucial for achieving the perfect balance of flavor and texture, so let’s get started!
| Item | Amount/Specification | Notes |
|---|---|---|
| Kurma (dates) | 1 cup (about 150g) | Medjool or Deglet Noor are preferred for their sweetness and softness. |
| Graham cracker crumbs | ½ cup (50g) | For added texture; you can substitute with gluten-free crumbs if needed. |
| Unsalted butter | ¼ cup (60g) | Melted, for binding the crust together. |
| Brown sugar | 2 tablespoons (30g) | Adds sweetness; can be adjusted based on your preference. |
| Salt | ¼ teaspoon | Enhances flavors; sea salt works well. |
- For best results, ensure your kurma is fresh and soft. If they are hard, soak them in warm water for about 10 minutes to soften.
- Be sure to measure your ingredients accurately for consistent results.
- When mixing, aim for a sandy texture that holds together when pressed, but isn’t too wet.
- If you prefer a nuttier flavor, consider adding ¼ cup of finely chopped nuts to the mixture.
Essential Kitchen Equipment
To create a delicious crushed kurma cheesecake crust, you’ll need a few essential tools that will make the process smoother and more efficient. Having the right equipment not only saves time but also ensures the best texture and flavor for your crust.
| Item | Amount/Specification | Notes |
|---|---|---|
| Food Processor | 1 | Ideal for crushing kurma and mixing other ingredients evenly. |
| Baking Dish | 9-inch (23 cm) round | Choose a springform pan for easy removal of the cheesecake. |
- Food Processor Tip: If you don’t have a food processor, you can use a rolling pin to crush kurma by placing them in a zip-top bag and rolling over them until finely crushed.
- Baking Dish Warning: Ensure your baking dish is properly greased or lined to prevent sticking.
- Cleanup Tip: Line the bottom of your baking dish with parchment paper for easier cleanup.
Preparation Instructions
In this section, we will prepare the crushed kurma for your cheesecake crust, ensuring a rich and flavorful base. Proper preparation is key to achieving the right texture and sweetness, so follow these steps carefully for the best results.
- Chop the kurma: Start by gathering 1 cup (about 150g) of dried kurma (dates). Remove the pits by slicing each date lengthwise with a sharp knife and gently pulling out the pit. After pitting, chop the kurma into small pieces, approximately ¼ inch in size. This ensures even blending and a smooth texture in your crust.
- Preheat the oven: While you chop the kurma, preheat your oven to 350°F (175°C). This temperature is ideal for setting the crust without burning it. Allow the oven to fully preheat; you can check by using an oven thermometer if you have one, as this ensures the crust will bake evenly.
Chef’s tip: If you prefer a sweeter taste, you can soak the chopped kurma in warm water for 10 minutes before using. This will soften them further and enhance their natural sweetness.
Make sure to keep an eye on the kurma while you chop, as they can be sticky. If you find them difficult to handle, lightly coat your knife and cutting board with a bit of cooking oil to prevent sticking. Once both steps are complete, you’ll be ready to move on to the next part of your cheesecake crust preparation!
Step-by-Step Cooking Process
This section will guide you through the process of creating a delicious crushed kurma cheesecake crust. Following these steps will ensure your crust is perfectly textured and flavorful, setting the stage for your cheesecake filling.
- 1. Gather your ingredients: You will need 1 ½ cups of crushed kurma (about 250g), ½ cup of unsalted butter (113g), melted, and ½ cup of granulated sugar (100g). If you have a nut allergy, you can substitute the kurma with crushed graham crackers or digestive biscuits.
- 2. Preheat your oven: Set your oven to 350°F (175°C). This temperature is optimal for achieving a golden, crisp crust that has a lovely toasted flavor.
- 3. Mix the crust ingredients: In a large mixing bowl, combine the crushed kurma, melted butter, and sugar. Use a fork or your hands to mix until the mixture resembles wet sand and holds together when pressed. The smell should be sweet and buttery.
- 4. Press the mixture into the pan: Transfer the crust mixture into a 9-inch springform pan. Use the back of a measuring cup or your fingers to firmly press the mixture evenly across the bottom and slightly up the sides of the pan. This should take about 5 minutes.
- 5. Bake the crust: Place the crust in the preheated oven and bake for 10-12 minutes until it’s golden and fragrant. Keep an eye on it, as you want it to be set but not too dark. When done, it should feel firm to the touch.
- 6. Cool before adding filling: Once baked, remove the crust from the oven and let it cool completely in the pan on a wire rack. This cooling period is crucial to ensure your cheesecake filling sets properly on a warm crust.
Pro Tips for Perfect Crust
Creating a delicious crushed kurma cheesecake crust requires attention to detail and a bit of technique. Here are some expert tips to help you avoid common mistakes and achieve the perfect texture and flavor for your cheesecake crust.
- Choose the right kurma: Use fresh, soft kurma for the best flavor and texture. If your kurma is too dry, soak it in warm water for 10-15 minutes to soften before crushing. This ensures a smooth, cohesive crust.
- Achieve the right consistency: Crush the kurma until it resembles a fine paste, about 1-2 minutes in a food processor. If it’s too chunky, it won’t bind well with the other crust ingredients, leading to a crumbly texture.
- Balance moisture with dry ingredients: Combine the crushed kurma with 1 cup of graham cracker crumbs and ¼ cup of melted butter. The moisture from the kurma should be balanced by the dry ingredients to create a sturdy crust that holds together.
- Press firmly: When forming the crust, use the bottom of a measuring cup or your fingers to press the mixture evenly into the bottom of the springform pan. This helps the crust to hold its shape and prevents it from crumbling when sliced.
- Bake for optimal texture: Pre-bake the crust at 350°F (175°C) for 8-10 minutes until it’s set and slightly golden. This step enhances the flavor and provides a firmer texture, ensuring your cheesecake has a solid base.
Variations and Substitutions
Creating a crushed kurma cheesecake crust offers delightful opportunities for adaptation, especially for those with specific dietary needs or flavor preferences. Below, find options to make this crust gluten-free or vegan, ensuring everyone can enjoy a slice of your cheesecake.
Gluten-Free Options
If you or your guests are avoiding gluten, you can easily modify the crust to suit your needs. Here are some substitutions:
- Replace the traditional graham cracker crumbs with gluten-free graham crackers or almond flour. Use 1 cup of gluten-free graham cracker crumbs or ½ cup of almond flour.
- If using almond flour, consider adding 2 tablespoons of coconut oil to help bind the mixture.
Vegan Alternatives
For a vegan version of the crushed kurma cheesecake crust, use the following substitutions:
- Instead of butter, use coconut oil. Measure out ½ cup and melt it before mixing with your crust ingredients.
- For the sweetener, stick with maple syrup or agave nectar as a vegan-friendly alternative to honey.
Chef’s tip: When making a vegan crust, ensure the coconut oil is melted but not hot, as it could cook other ingredients if combined while too warm.
| Ingredient | Regular | Gluten-Free | Vegan |
|---|---|---|---|
| Cracker crumbs | 1 cup graham cracker crumbs | 1 cup gluten-free crackers | 1 cup gluten-free crackers |
| Butter | ½ cup unsalted butter | ½ cup coconut oil | ½ cup coconut oil |
| Sweetener | ¼ cup honey | ¼ cup maple syrup | ¼ cup maple syrup |
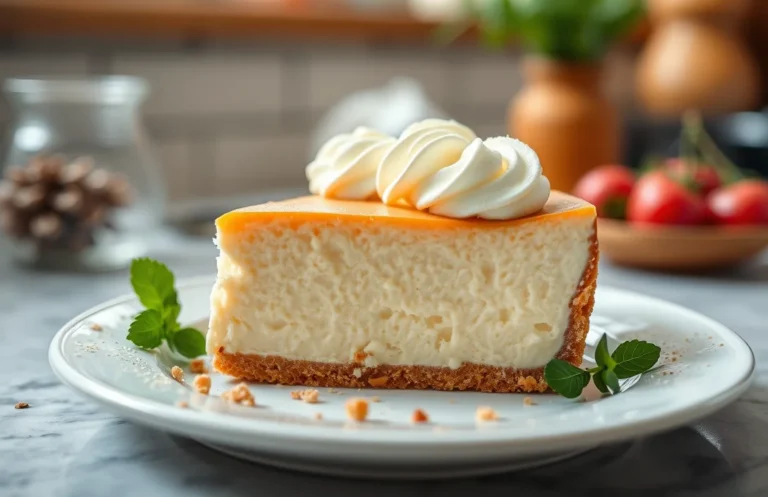
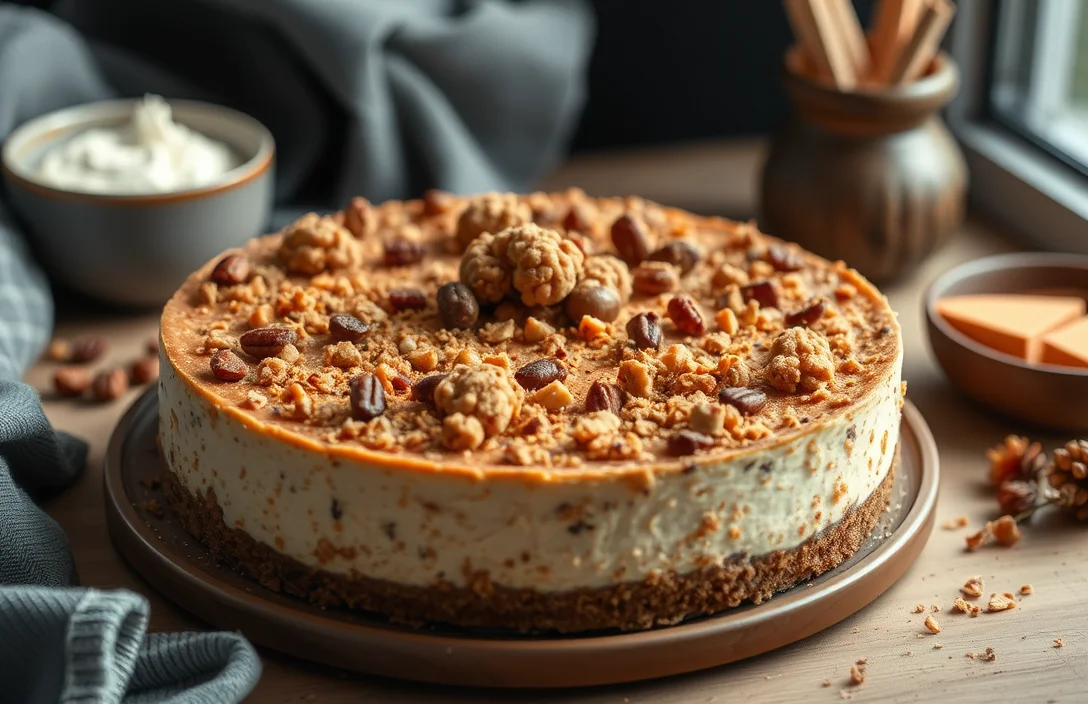
Serving and Plating Suggestions
Presenting your crushed kurma cheesecake crust beautifully enhances the overall dining experience. Not only does it add visual appeal, but it also allows you to showcase your creativity and make the dessert more enticing for your guests.
Pairing with Toppings
The crushed kurma cheesecake crust pairs wonderfully with a variety of toppings that can complement its rich flavor. Here are some delicious options:
- Fresh Fruits: Top with sliced strawberries, blueberries, or kiwi for a burst of freshness.
- Chocolate Ganache: Drizzle a simple ganache made from ½ cup heavy cream and 1 cup dark chocolate, melted together. Chill until slightly thickened, then pour over the cheesecake.
- Caramel Sauce: A homemade caramel sauce made from 1 cup sugar, 6 tablespoons butter, and ½ cup cream adds a sweet, buttery touch.
Garnishing Tips
Garnishing not only adds flavor but also elevates the presentation. Keep it simple yet elegant:
Chef’s tip: Use edible flowers or mint leaves for a pop of color and freshness that contrasts beautifully with the cheesecake.
Here are some garnishing ideas:
- Whipped Cream: Lightly sweetened whipped cream can be piped around the edges for a decorative touch.
- Chopped Nuts: Sprinkle toasted pistachios or almonds on top for added crunch and flavor.
- Cocoa Powder: Dust the top with cocoa powder or powdered sugar for a refined finish.
By thoughtfully pairing and garnishing your cheesecake, you’ll not only make it more visually appealing but also enhance the overall flavor profile, making every bite a delightful experience for you and your guests.
Quick Summary
| Prep Time | Cook Time | Total Time | Servings |
|---|---|---|---|
| 15 minutes | 10 minutes | 25 minutes | 8 servings |
- Crush the kurma: Use a food processor for a fine texture.
- Mix with butter: Combine 1 cup crushed kurma with 4 tablespoons melted butter.
- Press firmly: Ensure the crust is compact in the springform pan.
- Chill before baking: Refrigerate for at least 30 minutes to set.
- Bake at 350°F: Bake for 10 minutes for a perfect crust.
- Tip: Use fresh kurma for enhanced flavor.
- Tip: Adjust butter based on kurma moisture for ideal consistency.
Frequently Asked Questions
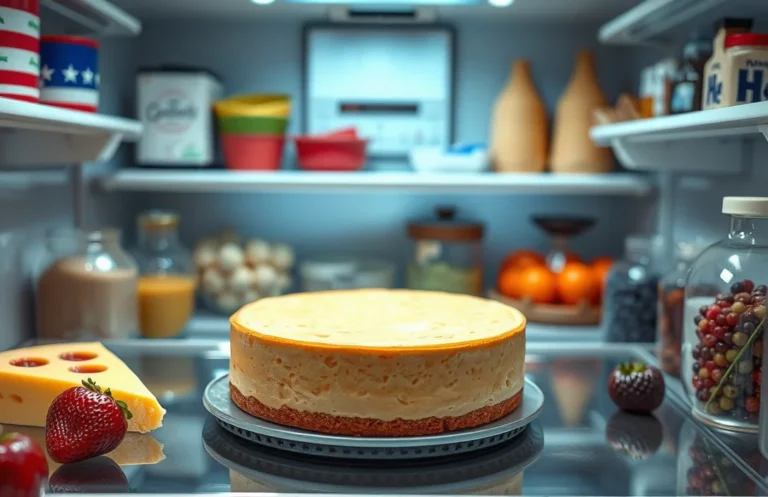
Can I make this ahead of time? How to store and reheat?
You can definitely make the crushed kurma cheesecake crust ahead of time! Store it in an airtight container in the fridge for up to 3 days, and it can be served cold or at room temperature without reheating.
What can I substitute for kurma in the crust?
If you can’t find kurma, you can use dates as a perfect substitute, as they provide similar sweetness and texture. Just make sure to remove the pits and chop them finely to blend well with the crust ingredients.
How do I know when the crust is done?
The crust is done when it looks golden brown around the edges and feels firm to the touch, usually about 10-12 minutes in the oven at 350°F (175°C). Let it cool before adding the cheesecake filling to ensure it sets properly.
Can I freeze this? How long does it last?
Yes, you can freeze the crushed kurma cheesecake crust for up to 2 months. Wrap it tightly in plastic wrap or foil, and make sure to place it in a freezer-safe container to prevent freezer burn.
What if I don’t have a food processor?
If you don’t have a food processor, you can use a zip-top bag and rolling pin to crush the kurma and any nuts or biscuits by hand until finely ground. Just be patient and ensure the mixture is uniform for the best crust texture.

- Decadent Peanut Butter No-Bake Cheesecake: Easy Recipe to Indulge - April 3, 2026
- Delicious Mango No-Bake Cheesecake: Step-by-Step Recipe - April 3, 2026
- Decadent Raspberry No-Bake Cheesecake: Easy Step-by-Step Recipe - April 3, 2026