Delicious 9×13 Cheesecake Bars: Easy Recipe with Tips for Success
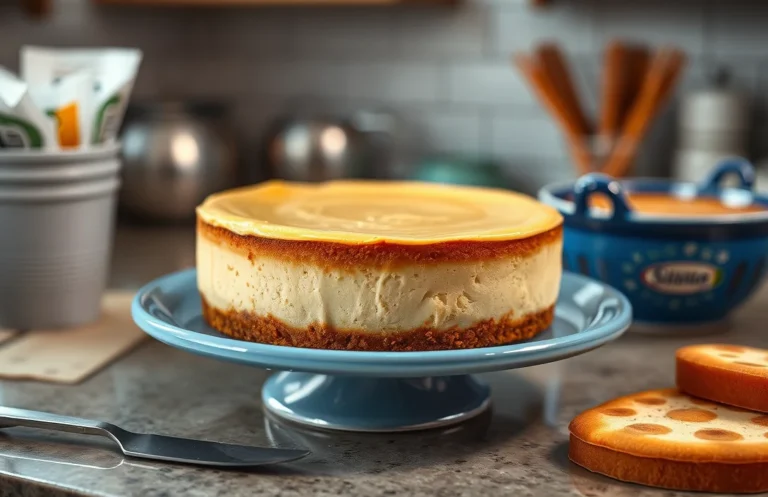
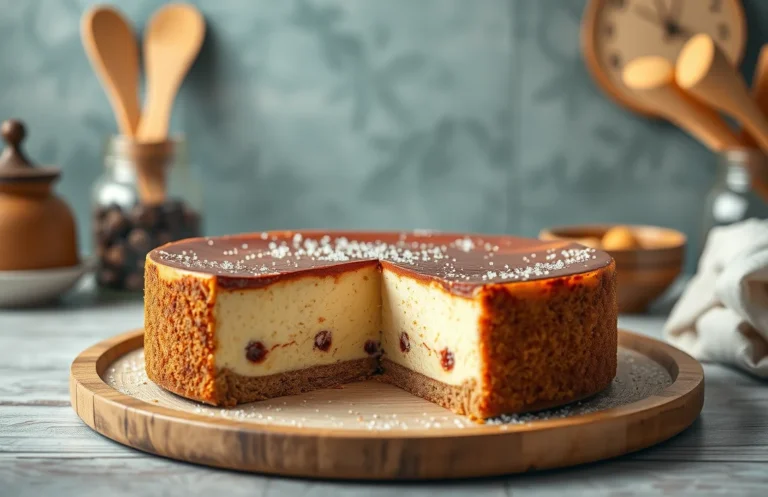
Cheesecake bars are the ultimate treat for any occasion, bringing together a creamy, rich filling and a buttery crust that melts in your mouth. They’re perfect for weeknight desserts, potlucks, or just when you need a little sweet comfort. Trust me, once you bite into these luscious squares, you’ll be craving more!
These cheesecake bars take 45 minutes to prepare and bake, serve 12, and are easy enough for any home cook to master. You’ll get precise measurements, step-by-step instructions, and tips to ensure your bars come out perfect every time.
| Prep Time | Cook Time | Total Time | Servings | Difficulty |
|---|---|---|---|---|
| 20 minutes | 25 minutes | 45 minutes | 12 | Easy |
Origin of Cheesecake Bars
Cheesecake bars are a delightful twist on the classic cheesecake, combining the rich, creamy filling we love with a convenient, portable format. These bars have become popular not just for their taste but also for their cultural significance and versatility in serving occasions.
Cultural Significance
Cheesecake itself has ancient roots, with origins tracing back to ancient Greece, where it was served to athletes during the first Olympic Games. Over centuries, this dessert evolved, particularly in Europe and eventually in the United States, where the New York-style cheesecake emerged. Cheesecake bars offer a modern, shareable version, making them perfect for gatherings and celebrations.
- Adaptable Flavors: Cheesecake bars can be customized with various flavors, such as chocolate, pumpkin, or raspberry, catering to different tastes.
- Convenient Serving: Unlike traditional cheesecakes, which require slicing and serving from a pan, bars can be cut into squares and easily served at parties, potlucks, or picnics.
- Quick Preparation: They often require less time to prepare and bake compared to their round counterparts, making them a favorite for busy home cooks.
When to Serve
Cheesecake bars are versatile and suitable for various occasions:
- Birthday Parties: Celebrate with a sweet treat that everyone can enjoy.
- Holidays: Perfect for festive gatherings, they can be made to match seasonal flavors.
- Casual Get-Togethers: Easy to transport, they make an excellent choice for potlucks and picnics.
Chef’s tip: Serve cheesecake bars chilled for the best texture and flavor, and consider garnishing with fresh fruit or a drizzle of chocolate sauce.
Ingredients for Cheesecake Bars
To create the perfect cheesecake bars in a 9×13 inch baking dish, you’ll need a combination of ingredients for both the base and the creamy filling. Each ingredient plays a vital role in achieving that rich, smooth texture and delicious flavor. Below is a detailed list of what you’ll need.
| Item | Amount/Specification | Notes |
|---|---|---|
| Graham cracker crumbs | 2 cups (200g) | Crushed finely for the base |
| Granulated sugar | ½ cup (100g) | For the base |
| Unsalted butter | ½ cup (115g), melted | Helps bind the crumbs |
| cream cheese | 24 oz (680g) | Softened to room temperature |
| Granulated sugar | 1 cup (200g) | For the filling |
| Vanilla extract | 1 teaspoon | For flavor |
| Eggs | 3 large | At room temperature for easier mixing |
| Sour cream | ½ cup (120ml) | Adds creaminess |
- For a gluten-free option, substitute graham cracker crumbs with gluten-free cookies or almond flour.
- Ensure cream cheese is softened to avoid lumps in your filling.
- Room temperature eggs mix better and help create a smoother texture.
Essential Kitchen Tools
Before you dive into making your cheesecake bars, having the right tools on hand will make the process smoother and more enjoyable. Here’s a list of essential kitchen equipment you’ll need, along with some prep instructions to ensure everything is ready to go.
- 9×13 inch Baking Dish: This is the star of the show, where your cheesecake bars will come to life. Choose a glass or metal baking dish that can withstand the oven’s temperature of 325°F (160°C). If using a metal dish, consider greasing it lightly with cooking spray or lining it with parchment paper for easy removal later.
- Mixing Bowls: You’ll need at least two mixing bowls—one for the crust and one for the cheesecake filling. Opt for medium to large-sized bowls to comfortably mix ingredients without splattering. Glass or stainless steel works best for easy cleaning.
- Electric Mixer: A hand mixer or stand mixer will make whipping the cream cheese and sugar effortless. If using a hand mixer, make sure it’s fully charged or plugged in, as you’ll need to mix until the mixture is fluffy and well combined, about 2-3 minutes on medium speed.
- Rubber Spatula: This tool is perfect for scraping down the sides of your mixing bowls and folding ingredients together. Choose a heat-resistant silicone spatula to ensure it can withstand the warm batter and make mixing easier.
- Measuring Cups and Spoons: Accurate measurements are critical for baking. Have a set of dry measuring cups (for flour and graham cracker crumbs) and liquid measuring cups (for melted butter and sour cream) on hand. Also, include measuring spoons for precise ingredient additions.
- Whisk: A whisk is essential for blending together the cheesecake filling ingredients. Choose a medium-sized whisk to easily incorporate air into the mixture, resulting in a lighter texture.
Chef’s tip: Always preheat your oven to 325°F (160°C) before starting your batter to ensure even baking.
Step-by-Step Baking Instructions
Making cheesecake bars in a 9×13 inch baking dish is a straightforward process that results in a creamy and delectable dessert. In this section, we’ll cover how to prepare the crust, make the filling, and bake and chill your bars perfectly.
- Prepare the Crust: Preheat your oven to 350°F (175°C). In a medium bowl, combine 1 ½ cups (150g) of graham cracker crumbs, ½ cup (100g) of granulated sugar, and ½ cup (115g) of melted unsalted butter. Mix until the crumbs are evenly coated and resemble wet sand. Press the mixture firmly into the bottom of your greased 9×13 inch baking dish. Bake for 10 minutes until golden and fragrant.
- Make the Filling: While the crust cools, in a large mixing bowl, beat together 24 ounces (680g) of softened cream cheese and 1 cup (200g) of granulated sugar using an electric mixer on medium speed until smooth and creamy, about 3-4 minutes. Add 3 large eggs, one at a time, mixing well after each addition. Finally, incorporate 1 teaspoon of vanilla extract and ½ cup (120ml) of sour cream until fully blended. The mixture should be silky and free of lumps.
- Bake and Chill: Pour the filling over the cooled crust and smooth the top with a spatula. Bake in the preheated oven for 30-35 minutes, or until the edges are set but the center has a slight jiggle. Do not open the oven door during the first 20 minutes to maintain even baking. Once baked, remove from the oven and allow to cool at room temperature for 1 hour before refrigerating for at least 4 hours, or overnight for best results.
Pro Tips for Perfect Bars
Achieving the perfect cheesecake bars requires attention to detail and a few expert insights. These tips will help you avoid common pitfalls and ensure your bars have the right texture and flavor every time.
Texture Tips
- Use room temperature ingredients: Make sure your cream cheese, eggs, and sour cream are at room temperature before mixing. This helps create a smooth batter without lumps.
- Avoid overmixing: Mix until just combined to prevent incorporating too much air, which can lead to cracks in the surface during baking.
- Check for doneness: The cheesecake bars should be set around the edges but slightly jiggly in the center when you take them out of the oven. They will continue to firm up as they cool.
Baking Mistakes
- Preheat your oven: Always preheat to 325°F (160°C) before baking. This ensures even cooking and helps prevent the bars from being too soft or unevenly baked.
- Use a water bath: For a creamier texture, place your baking dish in a larger pan filled with hot water while baking. This helps regulate temperature and prevents cracks.
- Don’t rush the cooling process: Allow the bars to cool in the pan for at least an hour before transferring them to the refrigerator. This helps set the filling properly and improves the overall texture.
Variations and Substitutions
Cheesecake bars are incredibly versatile, allowing you to explore different flavors and accommodate various dietary needs. Whether you’re craving a fruity twist or need a gluten-free option, these variations and substitutions will help you create a delicious dessert that suits your preferences.
Flavor Variations
- Berry Delight: Fold in 1 cup of fresh or frozen berries (like blueberries or raspberries) into the cheesecake mixture before pouring it over the crust.
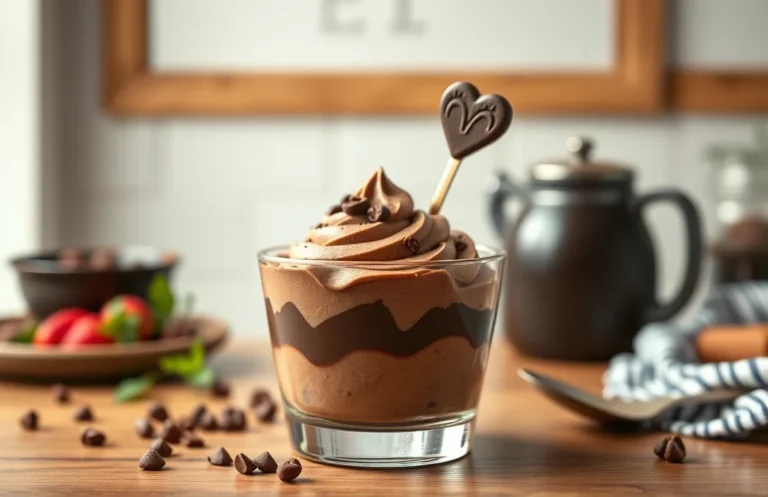
- Chocolate Swirl: Melt 4 ounces of semi-sweet chocolate and swirl it into the cream cheese mixture for a rich chocolate flavor.
- Mint Chocolate: Add 1 teaspoon of peppermint extract and top with crushed mint chocolate candies.
- Citrus Zest: Incorporate the zest of 1 lemon or lime for a refreshing citrus flavor.
Dietary Adjustments
| Ingredient | Substitution |
|---|---|
| All-Purpose Flour | 1:1 Gluten-Free Flour Blend |
| Sugar | Stevia or Erythritol (use half the amount) |
| Cream Cheese | Vegan Cream Cheese or Silken Tofu for a dairy-free option |
| Butter | Coconut Oil or Vegan Butter |
Chef’s tip: Always taste your batter before baking; this is your chance to adjust sweetness or flavors!
These variations and substitutions not only allow for creativity but also make it easier to cater to specific dietary requirements. Enjoy experimenting with different ingredients to find your perfect cheesecake bar combination!
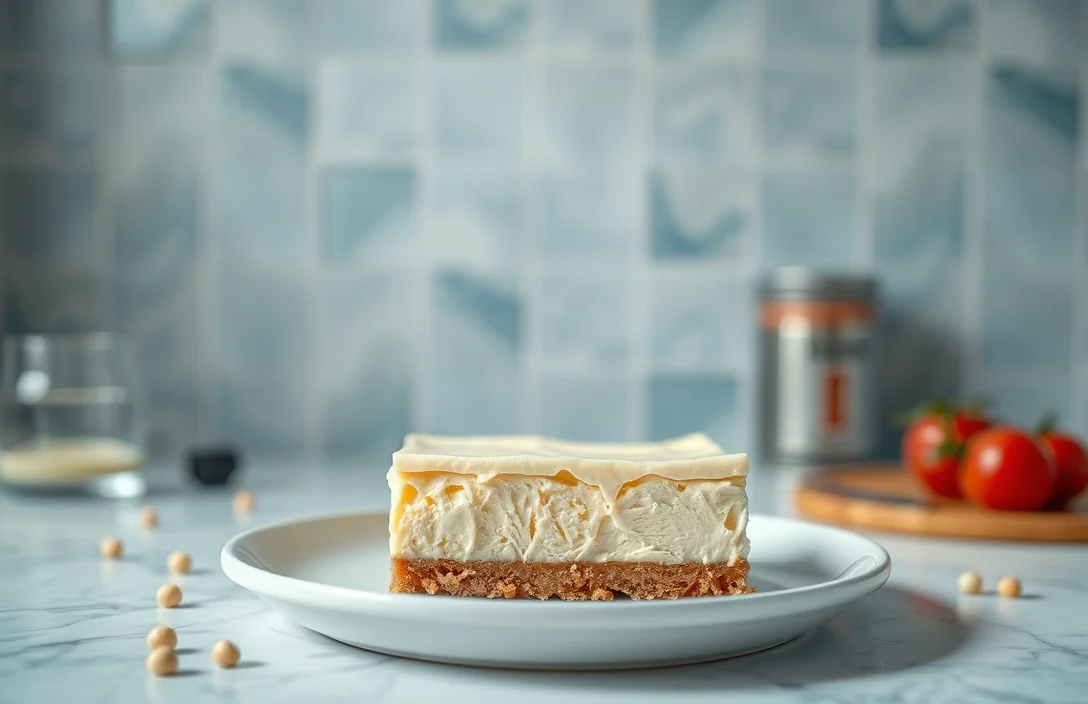
Serving and Plating Ideas
Serving your cheesecake bars beautifully can elevate the dessert experience for both you and your guests. Here are some garnishing tips and pairing options that will make your cheesecake bars not only delicious but also visually appealing.
Garnishing Tips
- Dust the tops of the cooled cheesecake bars with powdered sugar for a touch of elegance. Use a fine mesh sieve to achieve an even layer, which adds a delicate sweetness and a beautiful contrast against the creamy filling.
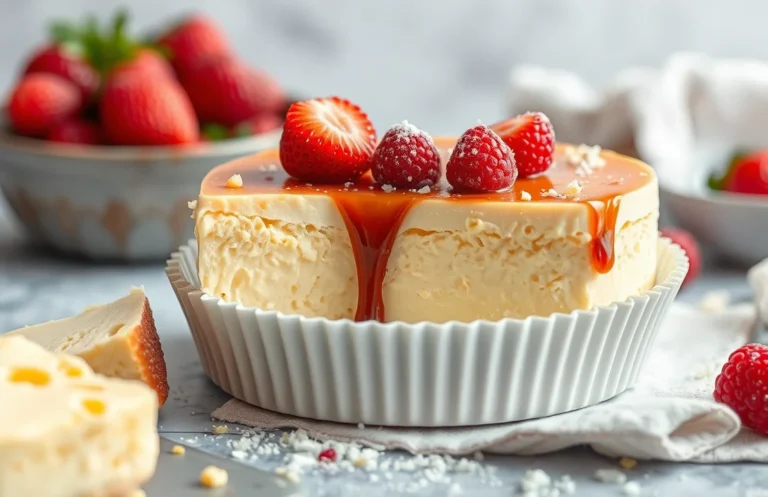
- Drizzle homemade or store-bought fruit sauce, such as raspberry or strawberry, over each bar before serving. This adds a pop of color and a burst of flavor that complements the rich cheesecake.
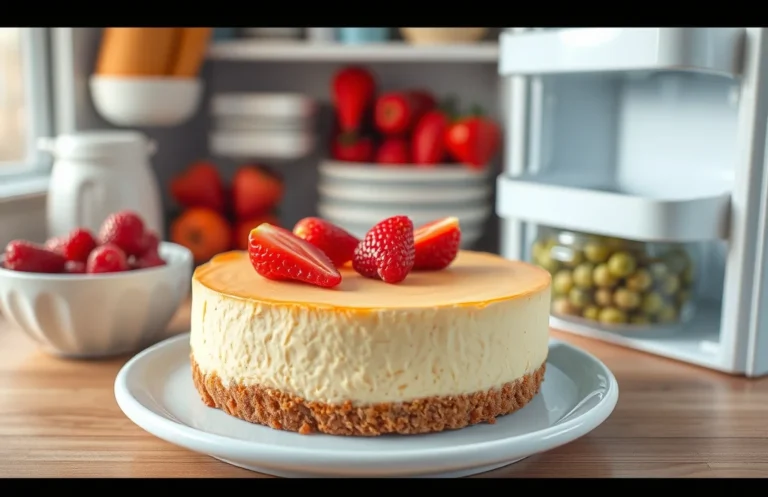
- Add fresh fruit as a garnish; slices of strawberries, blueberries, or even a few mint leaves work wonderfully. Not only do they look great, but they also offer a refreshing contrast to the creamy texture of the cheesecake.
Pairing Options
- Serve with a scoop of vanilla ice cream or whipped cream on the side. The creaminess of the ice cream enhances the cheesecake bars, creating a luscious combination.
- A cup of freshly brewed coffee or espresso pairs beautifully with cheesecake bars, balancing the sweetness and richness of the dessert. Consider offering flavored coffee options like hazelnut or vanilla for added depth.
- For a refreshing twist, pair with a glass of iced tea or lemonade. The citrus notes will brighten the flavors of the cheesecake and provide a nice contrast to its richness.
Quick Summary
| Prep Time | 20 minutes |
|---|---|
| Cook Time | 30 minutes |
| Total Time | 50 minutes |
| Servings | 9 bars |
- Preheat oven to 325°F (163°C) to ensure even baking.
- Prepare crust by mixing 1 ½ cups graham cracker crumbs with ⅓ cup melted butter.
- Beat cream cheese until smooth before adding sugar and eggs for a lump-free filling.
- Bake the cheesecake bars for 30 minutes, or until the center is set but slightly jiggly.
- Chill in the fridge for at least 2 hours before slicing for clean edges.
- Tip: Use room temperature cream cheese for a smoother batter.
- Tip: Line the pan with parchment paper for easy removal.
- Tip: Don’t overbake; bars will firm up as they cool.
Frequently Asked Questions
Can I make this ahead of time? How to store and reheat?
You can definitely make cheesecake bars ahead of time! Store them in an airtight container in the refrigerator for up to 5 days, and enjoy them cold or let them sit at room temperature for about 30 minutes before serving.
What can I substitute for cream cheese?
If you need a substitute for cream cheese, you can use Greek yogurt or mascarpone cheese in the same amount (8 oz) for a similar creamy texture.
How do I know when it’s done?
Your cheesecake bars are done when the edges are set and the center has a slight jiggle, which usually takes about 25-30 minutes at 325°F (163°C).
Can I freeze this? How long does it last?
You can freeze cheesecake bars for up to 3 months; just make sure to wrap them tightly in plastic wrap and then place them in an airtight container.
What if I don’t have a 9×9 inch pan?
If you don’t have a 9×9 inch pan, you can use an 8×8 inch pan instead, but be sure to check for doneness a bit earlier, as they may take a few minutes longer to bake.

- Decadent Peanut Butter No-Bake Cheesecake: Easy Recipe to Indulge - April 3, 2026
- Delicious Mango No-Bake Cheesecake: Step-by-Step Recipe - April 3, 2026
- Decadent Raspberry No-Bake Cheesecake: Easy Step-by-Step Recipe - April 3, 2026