Do Cheesecakes Need Sealing Before Freezing? Tips & Best Practices
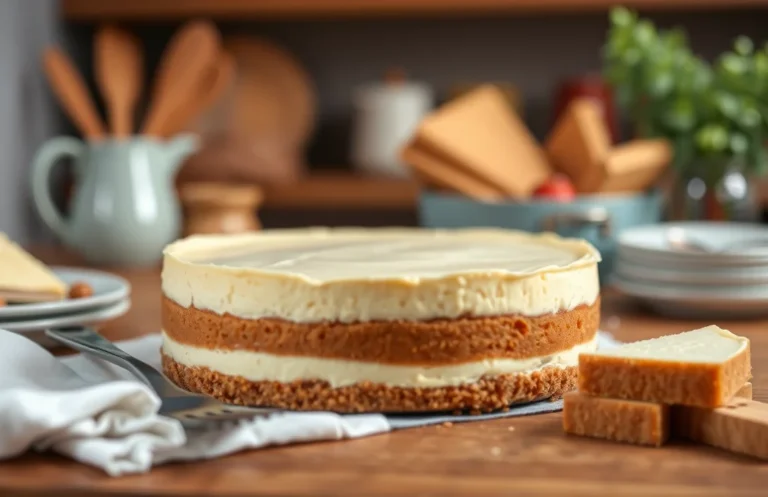
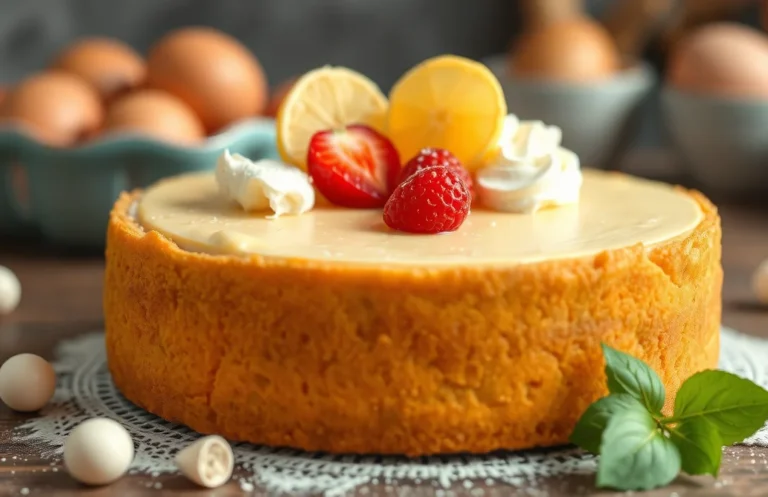
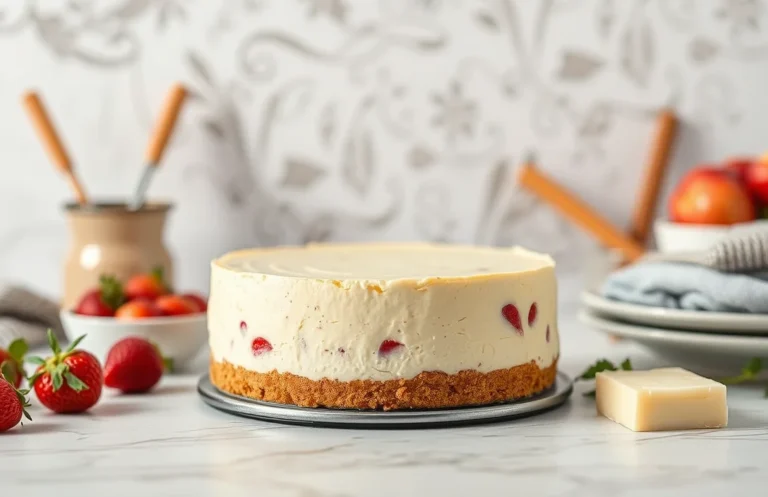
Cheesecake is one of those desserts that brings everyone together, whether it’s a special occasion or just a weeknight treat. Its creamy texture and rich flavor can make any meal feel like a celebration. Just imagine slicing into a perfectly chilled cheesecake, the velvety filling melting in your mouth — it’s pure bliss!
Wondering if cheesecakes need to be sealed before freezing? You’re in the right place! You’ll learn about the best practices for freezing and thawing cheesecakes, including step-by-step sealing instructions, recommended materials, and tips to maintain that luxurious texture and flavor.
| Prep Time | Cook Time | Total Time | Servings | Difficulty |
|---|---|---|---|---|
| 20 minutes | 1 hour | 1 hour 20 minutes | 8 servings | Easy |
Cheesecake Origins
Cheesecake is a beloved dessert with a rich history that dates back to ancient Greece. It’s celebrated for its creamy texture and delightful sweetness, making it a perfect choice for special occasions and everyday indulgence alike. Understanding its origins can enhance your appreciation for this delightful treat, especially when considering how best to preserve it through freezing.
- Ancient Greece: The earliest known cheesecake was served to athletes during the first Olympic Games around 776 B.C.
- Roman Influence: The Romans adapted the Greek recipe, adding eggs and baking it, which led to the creamier versions we enjoy today.
- New York Style: The classic New York-style cheesecake, known for its dense and rich texture, was popularized in the early 20th century.
Chef’s tip: The key to a great cheesecake is using room temperature ingredients, which ensures a smooth batter without lumps.
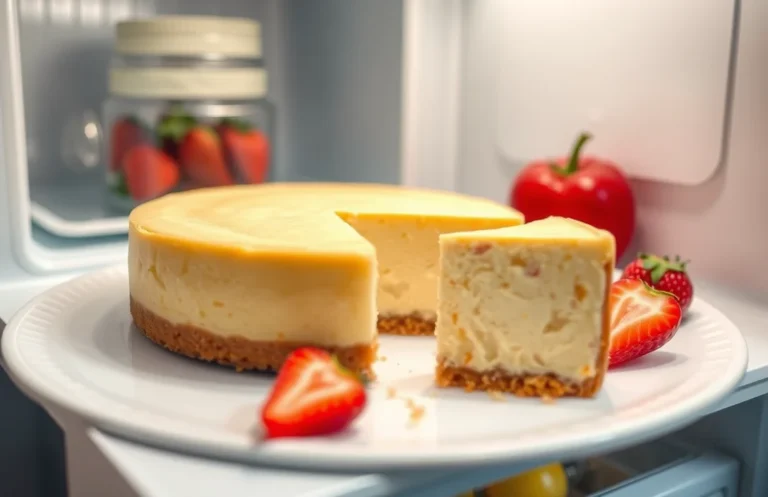
Knowing how to properly freeze cheesecake is important to maintain its quality. Sealing your cheesecake before freezing is crucial for several reasons:
- Preservation: Proper sealing prevents freezer burn, which can ruin the texture and flavor.
- Odor Absorption: Cheesecake can absorb odors from your freezer, so sealing it helps to keep its delightful taste intact.
- Longevity: A well-sealed cheesecake can be stored in the freezer for up to 2-3 months without significant loss of quality.
When sealing, consider using plastic wrap followed by aluminum foil for extra protection. This two-layer method will ensure your cheesecake stays fresh and delicious for whenever you’re ready to enjoy it!
Ingredients for Cheesecake
When preparing to freeze your cheesecake, having the right ingredients is essential for achieving that creamy texture and rich flavor. This section provides a complete list of ingredients with exact measurements, ensuring you have everything you need for a delicious cheesecake that can be frozen effectively.
| Item | Amount/Specification | Notes |
|---|---|---|
| Graham cracker crumbs | 1 ½ cups (150g) | For the crust; can substitute with gluten-free crumbs if needed. |
| Granulated sugar | ⅓ cup (67g) | Adjust for sweetness preference. |
| Unsalted butter | ½ cup (113g) | Melted; can use coconut oil for dairy-free option. |
| Cream cheese | 16 oz (450g) | Softened to room temperature for easier mixing. |
| Sour cream | 1 cup (240g) | Can be substituted with Greek yogurt. |
| Granulated sugar | 1 cup (200g) | For filling; adjust based on taste. |
| Vanilla extract | 1 teaspoon (5ml) | Use pure vanilla for best flavor. |
| Eggs | 3 large | At room temperature; prevents cracking during baking. |
- Ensure all ingredients are at room temperature before mixing to avoid lumps.
- For best results, freeze the cheesecake in a sealed container or wrap it tightly in plastic wrap, ensuring no air can reach it.
- If not sealed properly, the cheesecake may absorb odors from the freezer or develop freezer burn, affecting its taste and texture.
Essential Kitchen Tools
Having the right kitchen tools is crucial when preparing to freeze a cheesecake. Proper sealing not only helps maintain the quality of your cheesecake but also prevents freezer burn and unwanted odors from affecting the flavor. Below are the essential tools you’ll need for sealing and freezing your cheesecake effectively.
- Plastic Wrap: High-quality plastic wrap is essential for sealing your cheesecake. Use a heavy-duty version to ensure a tight seal. Wrap the cheesecake tightly in plastic wrap, ensuring there are no gaps where air can enter.
- Aluminum Foil: After wrapping in plastic wrap, cover the cheesecake with aluminum foil. This extra layer provides added protection against freezer burn. Make sure the foil is snug against the cheesecake to avoid any air pockets.
- Freezer-Safe Container: If you prefer, use a large, airtight freezer-safe container. Place the cheesecake inside, and ensure the lid seals tightly to keep out air and moisture. This is particularly useful for preventing any odors from other foods in the freezer.
- Labeling Materials: Use masking tape and a permanent marker to label your cheesecake with the date and type. This helps you keep track of how long it’s been in the freezer. Consider using waterproof labels if you regularly freeze baked goods.
- Sharp Knife: When it’s time to slice your cheesecake for freezing, a sharp knife is essential. Dip it in hot water and wipe it dry for clean cuts. This will help you maintain the cheesecake’s appearance and texture when serving.
Sealing Cheesecakes Steps
Sealing your cheesecake before freezing is crucial to maintain its texture and flavor. Proper sealing prevents freezer burn and keeps your cheesecake tasting fresh once thawed. Follow these steps to ensure your cheesecake is well-prepared for freezing.
- Let the Cheesecake Cool Completely: After baking, allow your cheesecake to cool in the pan at room temperature for at least 1 hour. This prevents condensation from forming when you seal it, which could lead to ice crystals. Once cooled, remove it from the pan and place it on a wire rack to cool for another 30 minutes.
- Wrap with Plastic Wrap: Tear off a piece of plastic wrap about 24 inches long. Starting at one end, tightly wrap the cheesecake, ensuring it’s covered all the way around with no gaps. This creates an airtight seal that helps lock in moisture and flavor.
- Use Aluminum Foil for Extra Protection: For added protection against freezer burn, follow up with a layer of aluminum foil. Cut a piece large enough to cover the cheesecake completely, then wrap it securely. This dual-layer approach is especially effective for long-term storage.
- Label and Date Your Cheesecake: Use a permanent marker to write the date and type of cheesecake on the foil. This helps you keep track of how long it has been in the freezer. Cheesecakes can be stored for up to 2-3 months without losing flavor or texture.
Chef’s tip: Thaw your cheesecake in the refrigerator overnight for best results, rather than at room temperature, to maintain its creamy texture.
Recommended Sealing Materials
When it comes to freezing cheesecakes, selecting the right sealing materials is crucial to maintaining their texture and flavor. Proper sealing prevents freezer burn and keeps your cheesecake fresh for future enjoyment. Here are some recommended materials to use when sealing your cheesecakes before freezing.
- Plastic Wrap: This is one of the best options for sealing cheesecakes. Use a heavy-duty plastic wrap to tightly cover the entire surface of the cheesecake, ensuring no air pockets remain.
- Aluminum Foil: For an extra layer of protection, wrap the cheesecake in aluminum foil after covering it with plastic wrap. This helps block out any odors from the freezer.
- Freezer Bags: Place the cheesecake in a freezer-safe resealable bag after wrapping it. Squeeze out as much air as possible before sealing the bag.
- Freezer-Safe Containers: If you prefer, use a rigid, airtight container to store your cheesecake. Just make sure it’s large enough to avoid any contact with the lid.
Chef’s tip: Always label your cheesecake with the date and type before freezing. This way, you’ll know what you have and how long it’s been stored.
| Material | Benefits |
|---|---|
| Plastic Wrap | Flexible and tight seal |
| Aluminum Foil | Extra protection against odors |
| Freezer Bags | Space-saving and easy to store |
| Freezer-Safe Containers | Sturdy and reusable |
Freezing and Thawing Tips
When it comes to freezing cheesecakes, sealing them properly is crucial for maintaining their creamy texture and flavor. Sealing prevents freezer burn and keeps out unwanted odors, ensuring that your cheesecake tastes just as delightful when thawed as it did fresh out of the oven.
- Use Plastic Wrap: Wrap your cheesecake tightly in plastic wrap, ensuring no air pockets are trapped. This method helps maintain moisture and prevents freezer burn, which can dry out the cheesecake.
- Aluminum Foil for Extra Protection: For an additional layer of protection, after wrapping in plastic, cover the cheesecake with aluminum foil. This double-sealing technique is particularly useful for long-term storage.
- Use an Airtight Container: If you prefer, place the wrapped cheesecake into an airtight container. This not only offers protection from odors but also makes it easier to stack in your freezer.
- Label and Date: Always label your cheesecake with the date it was frozen. Cheesecakes can be stored for up to 2-3 months in the freezer, but knowing when you froze it helps you keep track of freshness.
- Thaw Gradually: When it’s time to enjoy your cheesecake, thaw it in the refrigerator for 4-6 hours or overnight. This gradual thawing helps maintain the texture and prevents a watery cheesecake.
Impact of Not Sealing
Not sealing your cheesecake before freezing can significantly affect its texture and flavor. When exposed to air, cheesecakes can develop freezer burn, which leads to dry spots and an unpleasant texture. Moreover, the flavors can become muted or altered, compromising the overall taste experience.
- Freezer Burn: This occurs when moisture evaporates from the cheesecake’s surface, creating ice crystals that can lead to dry and grainy areas.
- Flavor Loss: Air exposure can cause the cheesecake to absorb odors from the freezer, altering its intended taste.
- Texture Changes: Without proper sealing, the creamy consistency can become crumbly or overly dense upon thawing.
Pro tip: Always wrap your cheesecake in plastic wrap before placing it in an airtight container to ensure maximum freshness.
| Potential Issue | Impact | Solution |
|---|---|---|
| Freezer Burn | Dry, grainy texture | Seal tightly with plastic wrap and foil |
| Flavor Absorption | Altered taste | Store in a well-sealed container |
| Texture Changes | Crumbly consistency | Freeze quickly and seal properly |
To prevent these issues, aim to seal your cheesecake thoroughly. When you’re ready to freeze, wrap it in a couple of layers of plastic wrap, followed by aluminum foil for added protection. This will help maintain its luscious texture and rich flavor, ensuring that every slice tastes as delightful as the day you made it.
Quick Summary
| Prep Time | Cook Time | Total Time | Servings |
|---|---|---|---|
| 20 minutes | 60 minutes | 4 hours (including cooling) | 8 servings |
- Always seal: Wrap cheesecakes tightly in plastic wrap to prevent freezer burn.
- Cool completely: Let the cheesecake cool at room temperature before freezing.
- Use a sturdy base: Freeze on a solid surface to maintain shape when wrapping.
- Label & date: Mark your cheesecake with the date to track storage time.
- Thaw properly: Defrost in the refrigerator overnight for best texture.
- Tip: Avoid using aluminum foil directly; it can react with the cheesecake.
- Tip: If using a springform pan, freeze with the sides on for easy removal later.
Frequently Asked Questions
Can I make this ahead of time? How to store and reheat?
You can definitely make your cheesecake a day in advance. Store it in the fridge, covered with plastic wrap or foil, and enjoy it cold or let it sit at room temperature for about 30 minutes before serving.
What can I substitute for cream cheese?
If you’re looking for a substitute, you can use mascarpone cheese or a vegan cream cheese alternative for a similar texture and taste. Just ensure the alternative has a similar fat content for the best results.
How do I know when it’s done?
Your cheesecake is done when the edges are set and the center still has a slight jiggle, about 5-10 minutes before the timer goes off. It will firm up as it cools, so don’t overbake!
Can I freeze this? How long does it last?
You can freeze your cheesecake for up to 3 months if properly sealed. Make sure to wrap it tightly in plastic wrap and then in aluminum foil to prevent freezer burn.
What if I don’t have a springform pan?
If you don’t have a springform pan, you can use a regular cake pan lined with parchment paper, but be mindful that removing the cheesecake may be trickier. Just let it cool completely before trying to lift it out gently with the parchment.