Does Cheesecake Use Real Cheese? Discover Types and Recipes!
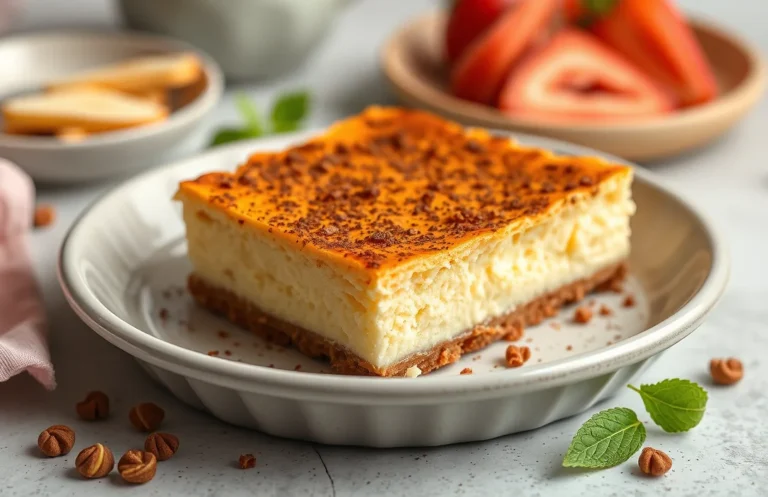
Cheesecake is that magical dessert that brings joy to any gathering, perfectly creamy with a hint of tanginess that dances on your taste buds. Whether you’re hosting a dinner party or indulging in a sweet treat after dinner, this luscious dessert never fails to impress. Just imagine cutting into a slice and watching it glide effortlessly from the pan!
Key details: Total time: 1 hour 30 minutes, Difficulty level: Easy, Servings: 8.
| Prep Time | Cook Time | Total Time | Servings | Difficulty |
|---|---|---|---|---|
| 20 minutes | 50 minutes | 1 hour 30 minutes | 8 | Easy |
Cheesecake Origins
Cheesecake has a rich history that dates back to ancient Greece, and understanding its origins sheds light on the role of cheese in this beloved dessert. The use of actual cheese is not merely a modern twist; it is deeply rooted in the traditional recipes that have evolved over centuries.
- Historical Background: The earliest known cheesecake recipe comes from ancient Greece, where it was made with simple ingredients like cheese, flour, and honey. This mixture was then baked on an altar to the Greek goddess Hera. The Romans later adopted this dessert, introducing it to their empire, which spread its popularity across Europe.
- Cultural Significance: Over time, cheesecake took on various forms in different cultures. In Italy, for instance, the introduction of ricotta cheese transformed the dessert into its own unique style, while in New York, cream cheese became the star ingredient, creating the dense, rich version we know today. Each variation represents the local tastes and ingredients, showcasing how cheese has been integral to cheesecake’s identity.
Types of Cheese Used
When it comes to cheesecake, the type of cheese you choose is crucial for achieving that rich, creamy texture and delightful flavor. Below are the most commonly used cheeses in cheesecake recipes, along with their measurements and characteristics to help you create the perfect dessert.
Cream Cheese
Cream cheese is the star of most cheesecake recipes, providing a smooth and creamy base. It has a mild flavor that blends well with sweeteners and flavorings.
- 16 ounces (450g) cream cheese, softened
Ricotta Cheese
Ricotta adds a lighter texture to cheesecake and a slightly sweet flavor. It’s a great option for those looking for a less dense dessert.
- 15 ounces (425g) ricotta cheese, drained
Mascarpone Cheese
Mascarpone contributes a rich, buttery flavor and velvety texture, making your cheesecake decadently creamy.
- 8 ounces (225g) mascarpone cheese
Others
While cream cheese, ricotta, and mascarpone are the most popular choices, you can experiment with other cheeses for unique flavors:
- Goat Cheese: 8 ounces (225g), for a tangy twist
- Neufchâtel Cheese: 8 ounces (225g), a lower-fat alternative to cream cheese
| Cheese Type | Amount | Notes |
|---|---|---|
| Cream Cheese | 16 oz (450g) | Best for traditional cheesecakes |
| Ricotta Cheese | 15 oz (425g) | Lighter texture |
| Mascarpone Cheese | 8 oz (225g) | Rich and creamy |
| Goat Cheese | 8 oz (225g) | Tangy alternative |
| Neufchâtel Cheese | 8 oz (225g) | Lower fat option |
Chef’s tip: When using ricotta, ensure it is well-drained to avoid a watery cheesecake.
Essential Kitchen Tools
When preparing a delicious cheesecake, having the right kitchen tools is crucial for achieving the perfect texture and flavor. These tools will help you handle the actual cheese, mix your ingredients thoroughly, and bake your cheesecake evenly.
- Mixing Bowls: A set of mixing bowls in various sizes is essential. Use a large bowl (at least 4 quarts) for combining your cheese and other ingredients. Glass or stainless steel bowls work best as they allow you to see the texture of your batter, which should be smooth and creamy without lumps.
- Springform Pan: A high-quality 9-inch springform pan is necessary for baking cheesecakes. This type of pan allows you to remove the cheesecake easily without damaging its delicate structure. Make sure to grease the sides lightly with butter or non-stick spray to prevent sticking.
- Mixer: An electric mixer is ideal for achieving the right consistency of your cream cheese mixture. Use a hand mixer or a stand mixer with the paddle attachment on medium speed for about 3-5 minutes until the mixture is fluffy and light, with no lumps remaining. This step is crucial, as it directly affects the smoothness of your cheesecake.
Chef’s tip: If you don’t have a springform pan, you can use a regular pie dish, but be cautious when serving as it will be harder to remove the cheesecake without damaging the edges.
Step-by-Step Instructions
This section will guide you through the process of making a delicious cheesecake using actual cheese. The type of cheese you choose can significantly affect the flavor and texture of your cheesecake, so understanding the steps involved is crucial for a successful outcome.
Preparing the Crust
- Preheat your oven to 350°F (175°C). In a mixing bowl, combine 1 ½ cups (150g) of graham cracker crumbs, ½ cup (100g) of granulated sugar, and ½ cup (115g) of melted unsalted butter. Mix until the crumbs are fully coated and the mixture resembles wet sand.
- Press the crumb mixture firmly into the bottom of a 9-inch (23 cm) springform pan. Aim for an even layer, about ¼ inch thick. Bake in the preheated oven for 10 minutes until set and lightly golden. Remove and let cool while you prepare the filling.
Mixing the Filling
- In a large mixing bowl, beat 16 ounces (450g) of cream cheese at room temperature until smooth and creamy, about 2-3 minutes. Make sure there are no lumps, as this will affect the texture of your cheesecake.
- Add 1 cup (200g) of granulated sugar and 1 teaspoon of vanilla extract to the cream cheese. Beat for another 2 minutes until well combined. The mixture should be glossy and smooth.
- In a separate bowl, whisk together 3 large eggs until frothy. Gradually add the eggs to the cream cheese mixture, beating on low speed until just combined. Ensure not to overmix, as this can incorporate too much air into the batter, leading to cracks.
Baking Process
- Pour the cream cheese filling over the cooled crust in the springform pan. Smooth the top with a spatula. Bake in the preheated oven for 45-50 minutes. The edges should be set, while the center remains slightly jiggly.
- Turn off the oven and crack the oven door, allowing the cheesecake to cool gradually for about 1 hour. This helps prevent cracks from forming. After cooling, refrigerate for at least 4 hours, preferably overnight, before serving.
Chef’s tip: Use full-fat cream cheese for a richer flavor and creamier texture. If you have a dairy allergy, consider using a dairy-free cream cheese alternative.
Pro Tips and Common Mistakes
Understanding the types of cheese used in cheesecake and how to handle them properly can dramatically affect the final texture and flavor of your dessert. Here are essential tips to ensure your cheesecake is creamy and delicious while avoiding common pitfalls.
Avoid Overmixing
One of the most common mistakes when making cheesecake is overmixing the batter. This can incorporate too much air, leading to cracks and a dense texture. Follow these pointers:
- Mix the cream cheese until smooth, about 1-2 minutes on medium speed. Stop just before it looks fluffy.
- Add sugars and mix until just combined, scraping down the sides of the bowl as needed.
- When adding eggs, mix one at a time on low speed, just until incorporated. Aim for a smooth, homogenous batter without air bubbles.
Cooling Tips
Cooling your cheesecake properly is crucial for preventing cracks and achieving the right consistency. Here are some cooling strategies:
- After baking, turn off the oven and crack the door open for about 1 hour. This gradual cooling helps prevent sudden temperature changes.
- Once cooled, refrigerate the cheesecake for at least 4 hours, preferably overnight. This allows the flavors to meld and the texture to set perfectly.
Chef’s tip: If your cheesecake cracks, don’t fret! A dollop of whipped cream or a fruit compote can cover imperfections beautifully.
| Common Mistakes | Solutions |
|---|---|
| Overmixing the batter | Mix just until ingredients are combined. |
| Sudden temperature changes | Cool gradually in the oven, then refrigerate. |
| Cracked surface | Use a water bath during baking for even heat. |
Recipe Variations
This section explores how actual cheese is used in cheesecakes and offers variations for those seeking alternatives, including vegan and gluten-free options. Understanding these variations allows you to customize your cheesecake to fit your dietary preferences and taste buds.
Vegan Options
If you’re looking for a dairy-free cheesecake, you can create a creamy texture using cashews or tofu. Here’s a simple vegan cheesecake recipe that replaces traditional cheese:
- 1½ cups raw cashews (soaked for at least 4 hours)
- ⅓ cup coconut oil (melted)
- ⅓ cup maple syrup
- 2 tablespoons lemon juice
- 1 teaspoon vanilla extract
Blend all the ingredients until smooth, then pour into a prepared crust and refrigerate for at least 4 hours until set. The mixture should feel silky and have a pleasant sweetness.
Chef’s tip: Soaking cashews helps achieve that creamy texture. If you’re short on time, you can use silken tofu instead!
Gluten-Free Variations
If you’re avoiding gluten, many cheesecake recipes can easily be adapted. Use a gluten-free cookie crust, such as crushed gluten-free graham crackers or almond flour. Here’s a quick reference for a gluten-free crust:
- 1½ cups gluten-free graham cracker crumbs
- ⅓ cup melted butter
- 2 tablespoons sugar
Mix the crumbs, melted butter, and sugar together, press into the bottom of a springform pan, and bake at 350°F (175°C) for 10 minutes until slightly golden. This crust should be firm and fragrant.
| Ingredient | Amount |
|---|---|
| Raw Cashews | 1½ cups |
| Coconut Oil | ⅓ cup |
| Maple Syrup | ⅓ cup |
Remember, using actual cheese gives cheesecake its classic flavor, but these variations allow for incredible versatility, making it accessible to everyone!
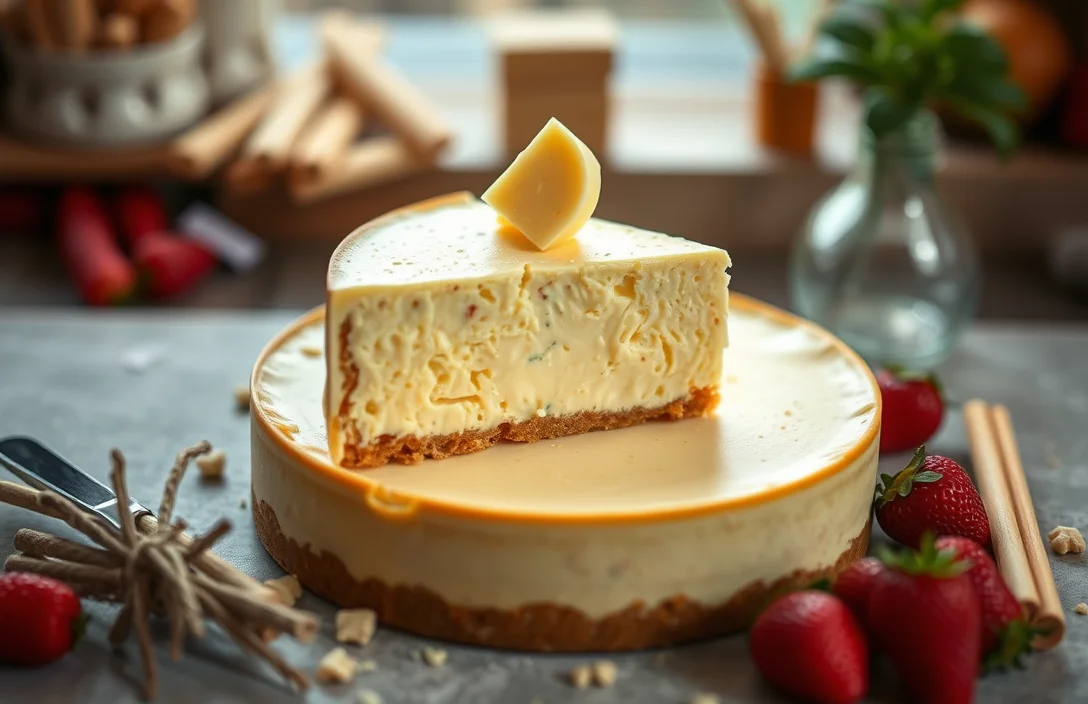
Serving and Plating
When serving cheesecake, the way you present it can elevate the entire dessert experience. This section offers garnishing ideas and pairing suggestions that highlight the creamy richness of the cheesecake while complementing its flavor profile.
Garnishing Ideas
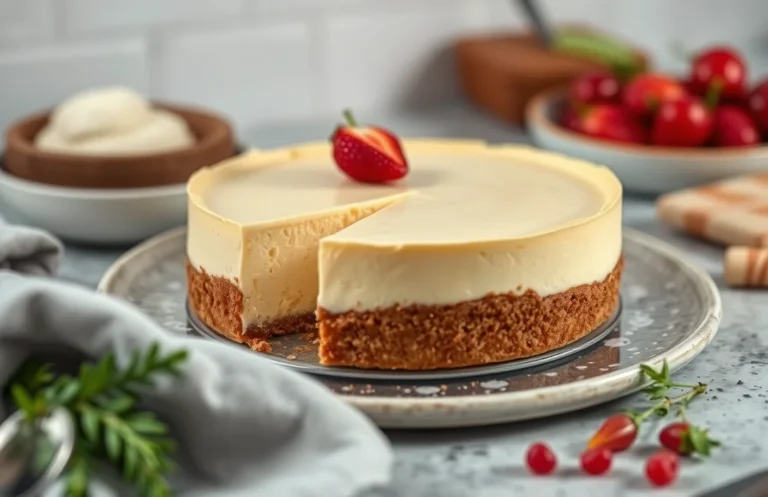
- Fresh Berries: Top with a mix of strawberries, blueberries, and raspberries for a burst of color and freshness.
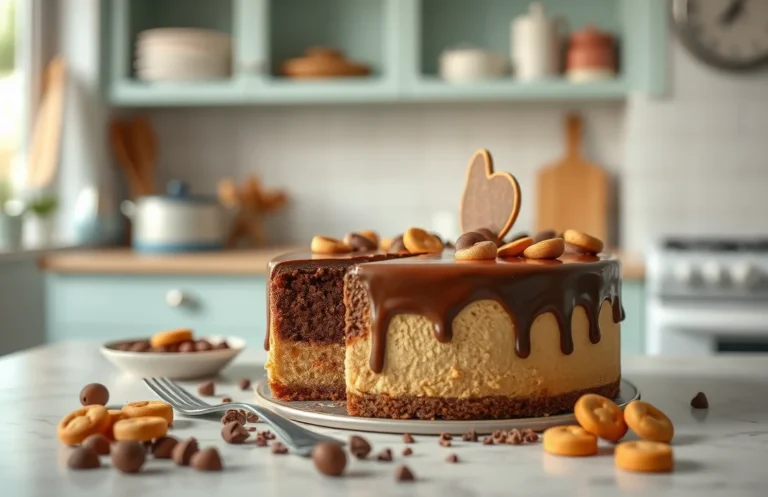
- Chocolate Drizzle: Melt 2 ounces of semi-sweet chocolate and drizzle over the cheesecake for a decadent touch.
- Whipped Cream: Pipe fresh whipped cream around the edges or on top for a classic look. Use 1 cup of heavy cream, whipped until soft peaks form.
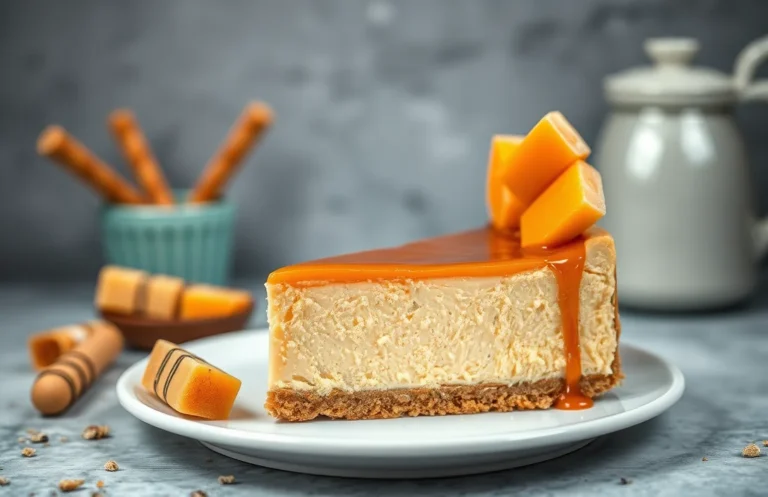
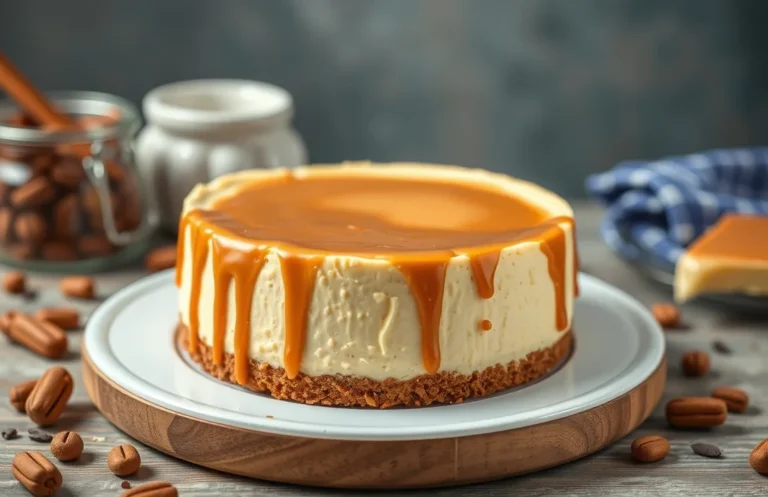
- Caramel Sauce: Drizzle homemade or store-bought caramel over each slice for added sweetness.
- Mint Leaves: Garnish with fresh mint leaves to add a pop of green and a refreshing aroma.
Pairing Suggestions
| Pairing | Why It Works |
|---|---|
| Coffee | The bitterness of coffee balances the sweetness of the cheesecake. |
| Fruit Compote | Adds acidity and fruitiness that complements the rich creaminess. |
| Red Wine | A fruity red like Merlot enhances the flavors without overpowering. |
| Ice Cream | Vanilla or caramel ice cream provides a creamy contrast to the cheesecake. |
“Chef’s tip: Serve cheesecake chilled for the best texture and flavor. Let it sit at room temperature for about 15 minutes before slicing for easier serving.”
Quick Summary
| Prep Time | Cook Time | Total Time | Servings |
|---|---|---|---|
| 20 minutes | 60 minutes | 1 hour 20 minutes | 8 servings |
- Use cream cheese: Essential for a rich texture and flavor.
- Room temperature ingredients: Ensures a smooth batter without lumps.
- Bake in a water bath: Prevents cracking and promotes even cooking.
- Cool gradually: Let the cheesecake cool in the oven to avoid sudden temperature changes.
- Chill before serving: Refrigerate for at least 4 hours for the best taste and texture.
- Tip: Always check for lumps when mixing cream cheese with other ingredients.
- Tip: Use a springform pan for easy removal and presentation.
Frequently Asked Questions
Do I really need to use actual cheese in a cheesecake?
Yes, using actual cream cheese gives your cheesecake the rich, creamy texture and flavor that’s essential for a classic cheesecake. Substitutes like ricotta or mascarpone can work, but the taste and texture will differ.
Can I make this cheesecake ahead of time? How do I store it?
You can absolutely make this cheesecake up to 3 days in advance. Store it covered in the refrigerator to keep it fresh and creamy.
How do I know when my cheesecake is done?
Your cheesecake is done when the edges are set, but the center still has a slight jiggle. It will firm up as it cools, so avoid overbaking.
Can I freeze this cheesecake? How long does it last?
Yes, you can freeze your cheesecake for up to 2 months. Wrap it tightly in plastic wrap and then in aluminum foil to prevent freezer burn.
What if I don’t have a springform pan?
If you don’t have a springform pan, you can use a regular round cake pan but be sure to line it with parchment paper for easy removal. Just keep in mind, it may be a bit tricky to slice without the springform’s easy release feature.

- Decadent Peanut Butter No-Bake Cheesecake: Easy Recipe to Indulge - April 3, 2026
- Delicious Mango No-Bake Cheesecake: Step-by-Step Recipe - April 3, 2026
- Decadent Raspberry No-Bake Cheesecake: Easy Step-by-Step Recipe - April 3, 2026