Find Philadelphia No-Bake Cheesecake Filling in Canada: Tips & Recipes
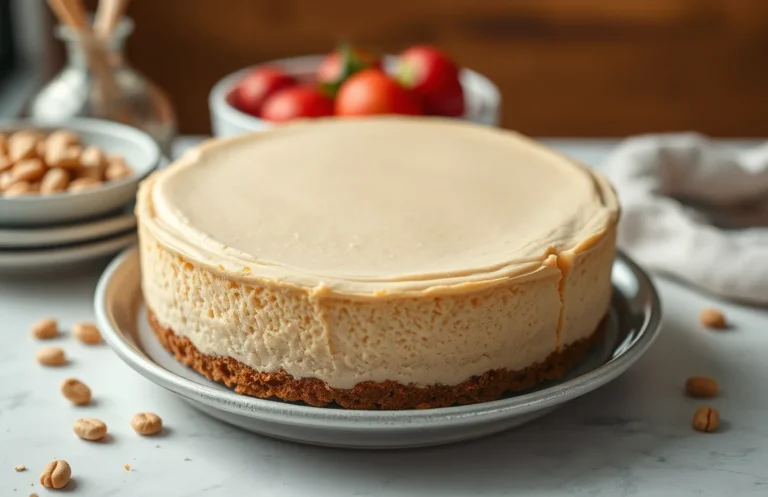
If you’re craving a dessert that combines creamy goodness with a hint of sweetness, no-bake cheesecake is the answer. This luscious treat brings all the joy of cheesecake without the hassle of baking, making it perfect for weeknight indulgences or gatherings with friends. Trust me, one bite and you’ll be hooked!
You’ll find detailed information about the availability of Philadelphia brand no-bake cheesecake filling in Canadian stores, along with alternatives, and 2-3 tested recipes to guide you through the process. Total time for these recipes is around 15 minutes, and they serve 8-10 people with a difficulty level of easy.
| Prep Time | Cook Time | Total Time | Servings | Difficulty |
|---|---|---|---|---|
| 15 minutes | 0 minutes | 15 minutes | 8-10 | Easy |
Origin of No-Bake Cheesecake
No-bake cheesecake has a delightful history that reflects the evolution of this beloved dessert. Unlike its baked counterpart, no-bake cheesecake offers a lighter, creamier texture and a quicker preparation method, making it a popular choice for home cooks and bakers alike.
- History of Cheesecake: Cheesecake dates back to ancient Greece, where it was made with simple ingredients like cheese, honey, and flour. It evolved through various cultures, with each adding its twist, leading to the rich, creamy versions we enjoy today.
- Why No-Bake? No-bake cheesecake emerged as a practical alternative, especially for those who may not have access to an oven. It typically requires simple ingredients like cream cheese, sugar, and whipped cream, allowing for easy assembly and a refreshing taste.
- Cultural Significance: In many cultures, cheesecake is a staple dessert for celebrations and gatherings. The no-bake version has become a favorite due to its versatility, allowing for endless flavor combinations and easy customization.
- Convenience Factor: No-bake cheesecakes are also perfect for warm weather, as they require no baking time and can chill in the refrigerator, making them a go-to dessert for summer parties.
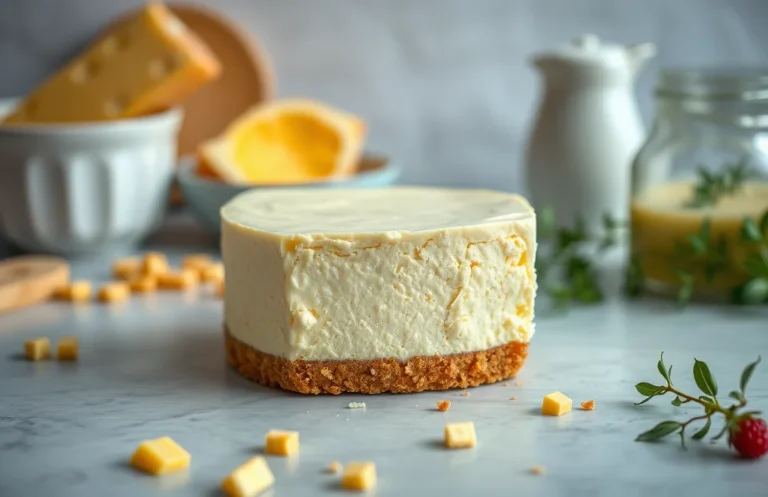
Ingredients for No-Bake Cheesecake
This section will outline the essential ingredients needed to create a delicious no-bake cheesecake, focusing on the availability of Philadelphia brand no-bake cheesecake filling in Canadian stores, as well as alternative options for your crust and filling. Knowing the exact measurements and specifications will help ensure your cheesecake turns out perfect every time.
| Item | Amount/Specification | Notes |
|---|---|---|
| Philadelphia No-Bake Cheesecake Filling | 1 container (450g) | Check local grocery stores like Loblaws or Walmart |
| Graham Cracker Crumbs | 1 ½ cups (150g) | Use store-bought or crush your own graham crackers |
| Unsalted Butter | ½ cup (115g) | Melted for crust |
| Sugar | ¼ cup (50g) | Granulated, for crust sweetness |
| Heavy Whipping Cream | 1 cup (240ml) | Whipped to soft peaks for filling |
| Vanilla Extract | 1 teaspoon (5ml) | Pure vanilla for flavor |
- Substitution for crust: Use gluten-free crackers if gluten is a concern.
- For a richer flavor, consider adding a tablespoon of lemon juice to the filling.
- If Philadelphia filling is unavailable, you can make your own by mixing cream cheese, sugar, and whipped cream.
Essential Kitchen Equipment
To create a delicious no-bake cheesecake using Philadelphia brand cheesecake filling, having the right kitchen equipment is essential. This section outlines the necessary mixing tools and storage containers you’ll need to make your dessert preparation smooth and successful.
- Mixing Bowls: You’ll need at least two mixing bowls, one for combining the cheesecake filling and another for whipping cream if you’re enhancing the texture. A large bowl should be around 3 quarts (2.8 liters) to accommodate all the ingredients comfortably. Look for a bowl made of glass or stainless steel for easy mixing and cleanup.
- Electric Mixer: A hand mixer or stand mixer will make your life easier when whipping cream or blending the filling. If using a hand mixer, ensure it has at least two speed settings so you can whip the cream on low speed initially to avoid splatter, then increase to high speed until stiff peaks form. This should take about 2-4 minutes.
- Spatula: A rubber spatula is essential for folding in whipped cream or any other ingredients without deflating them. Look for one with a flat edge to scrape down the sides of the mixing bowl effectively. This helps incorporate everything evenly, ensuring a creamy texture.
- 9-inch Springform Pan: For serving, a springform pan allows for easy release of your cheesecake without damaging its shape. Ensure the pan is tightly sealed to prevent leaks. After pouring in the batter, gently tap the pan on the counter to remove any air bubbles.
- Storage Containers: If you have leftovers, use airtight containers to keep your cheesecake fresh in the refrigerator. Glass containers with lids are preferable as they do not absorb odors and are easy to clean.
Step-by-Step Cheesecake Instructions
Creating a delicious cheesecake can be straightforward when you follow the right steps. Here, I’ll guide you through preparing the crust, mixing the filling, and setting the cheesecake, ensuring you achieve that creamy texture and rich flavor. Let’s dive into the details!
-
Preparing the Crust:
Start by preheating your oven to 350°F (175°C). In a medium bowl, combine 1 ½ cups of graham cracker crumbs (150g) with ½ cup of granulated sugar (100g) and ½ cup of melted unsalted butter (115g). Mix until the crumbs are evenly coated and resemble wet sand. Press this mixture firmly into the bottom of a 9-inch (23cm) springform pan. Bake for 8-10 minutes until golden and fragrant, then let it cool completely. -
Mixing the Filling:
In a large mixing bowl, combine 2 cups (500g) of Philadelphia brand no-bake cheesecake filling with 1 cup (240ml) of heavy whipping cream. Use an electric mixer on medium speed for about 3-4 minutes until the mixture is smooth and thick. Scrape down the sides of the bowl to ensure everything is well blended. The filling should be thick enough to hold its shape when spooned. -
Setting the Cheesecake:
Pour the cheesecake filling over the cooled crust, smoothing the top with a spatula. Cover the pan tightly with plastic wrap and refrigerate for at least 4 hours, or overnight if possible. The cheesecake should become firm to the touch and have a slight jiggle in the center when gently shaken. For best results, allow it to set overnight for maximum flavor and texture.
Pro Tips for Perfect Cheesecake
Making a no-bake cheesecake can be wonderfully rewarding, but there are some common pitfalls that can lead to disappointment. Here are some expert tips to ensure your cheesecake turns out perfectly smooth and creamy, especially when using Philadelphia brand no-bake cheesecake filling.
- Avoiding Cracks: To prevent cracks in your cheesecake, make sure to not overmix the filling. Mix just until combined; overmixing can incorporate too much air, which leads to cracks as the cheesecake sets. Additionally, let your cheesecake cool slowly at room temperature before refrigerating it to avoid sudden temperature changes.
- Chilling Time: Allow your cheesecake to chill for at least 4-6 hours, or preferably overnight. This gives the filling enough time to set properly. The cheesecake should be firm to the touch and have a slight jiggle in the center when ready. If you cut it too soon, it may be too soft and not hold its shape.
- Ingredient Temperature: Use room temperature cream cheese for a smoother texture. If you’re using Philadelphia no-bake cheesecake filling, ensure it’s not too cold when you start mixing; this helps avoid lumps and ensures an even consistency.
- Pan Preparation: Always line your springform pan with parchment paper to make removal easier. If you’re using a regular pie dish, consider lightly greasing it to help with serving later.
Chef’s tip: If your cheesecake does crack, don’t stress! You can cover it up with a delicious fruit topping or chocolate ganache to hide imperfections.
Variations and Substitutions
This section explores alternatives for the Philadelphia brand no-bake cheesecake filling, especially for those with dietary restrictions or preferences. Whether you’re looking for gluten-free options or vegan alternatives, there are several ways to adapt your cheesecake without sacrificing flavor or texture.
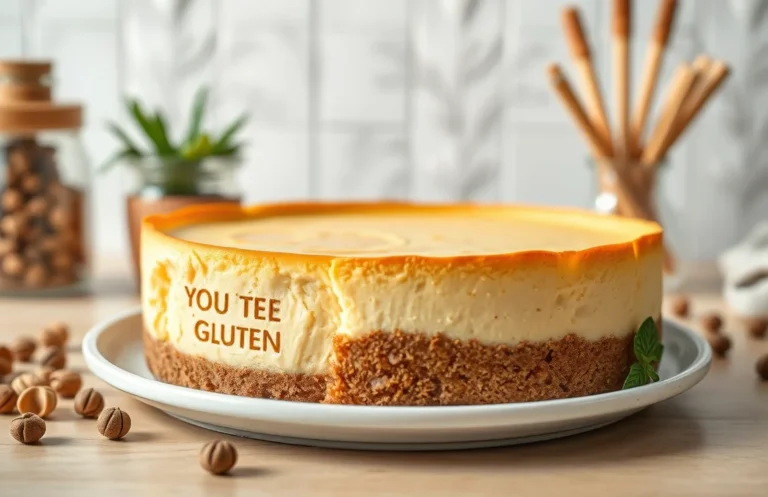
Gluten-Free Options
If you’re avoiding gluten, you can still enjoy a delightful cheesecake. Here’s how to make a gluten-free version:
- Use a gluten-free graham cracker crust: Look for brands specifically labeled gluten-free, or make your own using gluten-free cookies blended with ½ cup (60g) melted butter.
- Ensure any additional ingredients, like flavorings or toppings, are also gluten-free. Always check labels for hidden gluten.
Vegan Alternatives
For those who follow a vegan diet, there are several substitutes to create a creamy filling:
- Replace the Philadelphia filling with 1 cup (240g) of silken tofu blended until smooth to mimic the texture.
- Add ½ cup (120ml) of coconut cream for richness and flavor.
- Sweeten with ⅓ cup (70g) of powdered sugar or maple syrup, adjusting to taste.
Chef’s tip: For an extra flavor boost, mix in 1 teaspoon of vanilla extract or a splash of lemon juice into your vegan cheesecake filling.
| Ingredient | Measurement |
|---|---|
| Silken tofu | 1 cup (240g) |
| Coconut cream | ½ cup (120ml) |
| Powdered sugar | ⅓ cup (70g) |
By exploring these variations and substitutions, you can create a cheesecake that fits your dietary needs while still being delicious! Always keep an eye on the consistency of your filling; it should be smooth and creamy before pouring it into the crust. If the mixture seems too thick, add a splash of non-dairy milk or water to achieve the desired texture.
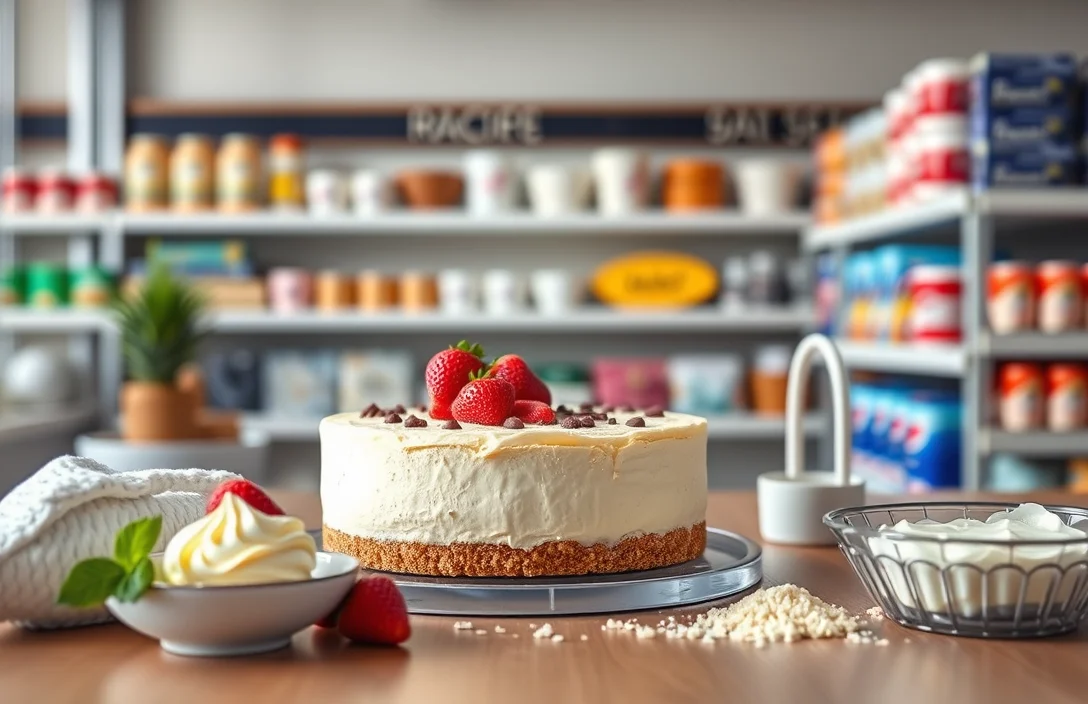
Serving and Plating Suggestions
Serving your no-bake cheesecake made with Philadelphia brand filling can elevate your dessert experience. The way you present it can enhance flavors and make it visually appealing, ensuring that your guests are as excited about the dessert as they are about the meal. Here’s how to garnish and pair your cheesecake for the best results.
Garnishing Ideas
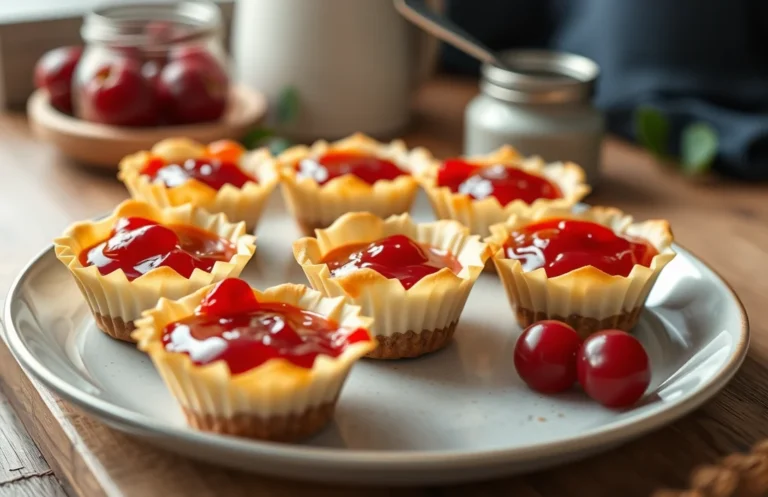
- Fresh Berries: Top with a mix of strawberries, blueberries, and raspberries for a burst of color and tartness.
- Chocolate Drizzle: Melt ½ cup dark chocolate and drizzle over the cheesecake for a rich complement.
- Whipped Cream: Pipe or dollop whipped cream on top for a creamy texture; consider adding a hint of vanilla or almond extract to the cream.
- Nuts: Sprinkle chopped nuts like pecans or walnuts for added crunch.
Beverage Pairings
Choosing the right beverage can enhance the flavors of your cheesecake. Here are some delightful pairings:
| Beverage | Flavor Profile |
|---|---|
| Sweet Riesling | Fruity sweetness balances the richness of the cheesecake. |
| Espresso | The bold, bitter notes contrast beautifully with the creamy texture. |
| Herbal Tea | Chamomile or mint tea adds a soothing, refreshing element. |
Chef’s tip: Serve slices with a small side of fruit compote to enhance flavor and presentation.
By paying attention to how you serve and pair your cheesecake, you ensure a delightful experience that will impress your friends and family.
Quick Summary
| Prep Time: | 10 minutes |
| Total Time: | 10 minutes |
| Servings: | 8 |
- Check Availability: Look for Philadelphia No Bake Cheesecake Filling in major Canadian grocery stores.
- Consider Alternatives: If unavailable, use cream cheese, sugar, and whipped cream as a substitute.
- Read Labels: Ensure it’s the No Bake version to avoid confusion with other products.
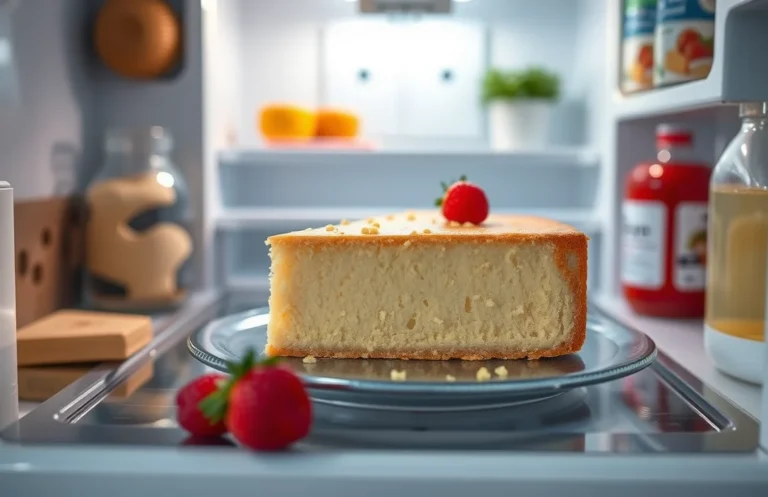
- Storage Tips: Keep it refrigerated until ready to use for best results.
- Serving Suggestions: Pair with fresh fruit or chocolate sauce for added flavor.
Frequently Asked Questions
Can I make this ahead of time? How to store and reheat?
You can make the cheesecake filling ahead of time and store it in the refrigerator for up to 5 days. Just keep it in an airtight container and give it a good stir before using it.
What can I substitute for Philadelphia brand no bake cheesecake filling?
If you can’t find the filling, you can substitute it with a mixture of 8 oz cream cheese, 1 cup powdered sugar, and 1 cup whipped cream for a similar texture and flavor.
How do I know when it’s done?
smooth and creamy without any lumps, and it holds its shape when piped or spread.
Can I freeze this? How long does it last?
You can freeze the cheesecake filling for up to 2 months in an airtight container, but it may lose some texture when thawed. To use, thaw it in the refrigerator overnight before serving.
What if I don’t have a mixer?
If you don’t have a mixer, you can use a whisk and some elbow grease; it will take longer, but you can still achieve a smooth consistency with patience.

- Decadent Peanut Butter No-Bake Cheesecake: Easy Recipe to Indulge - April 3, 2026
- Delicious Mango No-Bake Cheesecake: Step-by-Step Recipe - April 3, 2026
- Decadent Raspberry No-Bake Cheesecake: Easy Step-by-Step Recipe - April 3, 2026