Freezing Cheesecake: Tips for Perfect Texture and Flavor
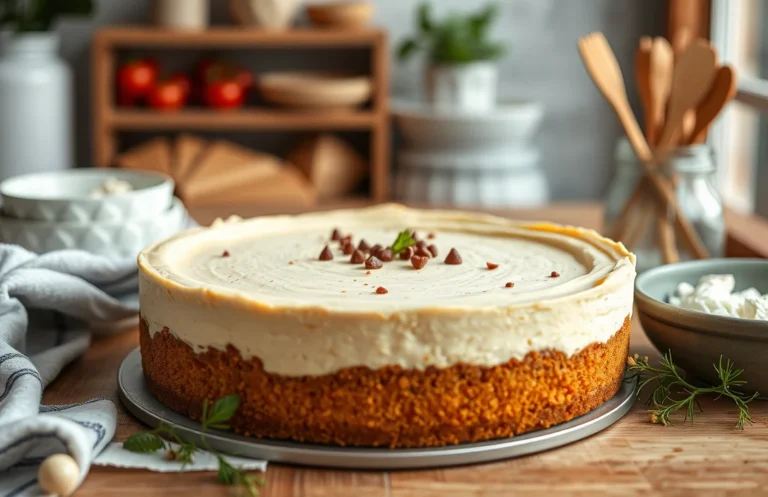
Cheesecake is the ultimate dessert indulgence, creamy and rich with a buttery crust that crumbles just right. Imagine slicing into a perfectly chilled cheesecake, each bite melting in your mouth, making it the star of any gathering or a comforting treat after a long day. It’s a dessert that brings smiles!
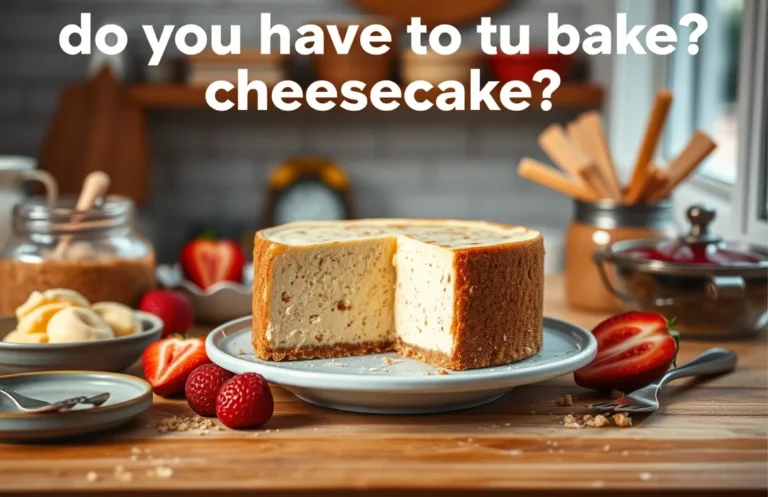
If you’re wondering can you freeze cheesecake, the answer is yes! You’ll find step-by-step instructions on how to freeze it properly, tips for maintaining its texture and flavor, and guidance on thawing for the perfect slice. Total time is about 30 minutes for prep, with a difficulty level of easy, serving 8-10 people.
| Prep Time | Cook Time | Total Time | Servings | Difficulty |
|---|---|---|---|---|
| 30 minutes | 0 minutes | 30 minutes | 8-10 | Easy |
Cheesecake Origins and Significance
Understanding the origins and significance of cheesecake not only enriches your appreciation for this delightful dessert but also influences your approach to preserving its quality, especially when freezing. Cheesecake has a rich history that dates back to ancient Greece, where it was served to athletes during the first Olympic Games in 776 B.C. This creamy indulgence has evolved through various cultures, with each region adding its unique twist.
- Ancient Greece: The earliest known cheesecake recipe was found in a Greek physician’s writings, using simple ingredients like cheese, honey, and wheat.
- Roman Influence: The Romans adopted and adapted the cheesecake, introducing it to Europe, and it became a popular dish at weddings and celebrations.
- American Adaptation: The New York-style cheesecake we know today was popularized in the 20th century, featuring a rich blend of cream cheese, eggs, and sugar.
Cheesecake is not just a dessert; it symbolizes celebration and indulgence. Here are some occasions where cheesecake shines:
- Birthdays
- Weddings
- Holidays
- Family gatherings
Chef’s tip: To maintain the texture and flavor of cheesecake when freezing, ensure it is properly cooled and wrapped tightly before placing it in the freezer.
Knowing how to freeze cheesecake correctly is crucial for preserving its creamy texture and rich flavor. This knowledge will help you enjoy your homemade cheesecake long after it’s been baked, making it a versatile dessert for any occasion.
Ingredients for Cheesecake
Understanding the right ingredients for your cheesecake is crucial, especially if you plan to freeze it. Properly chosen ingredients can significantly impact the flavor and texture after thawing. Here’s a detailed list of what you’ll need to create a delicious cheesecake that stands up to freezing.
| Item | Amount/Specification | Notes |
|---|---|---|
| Cream Cheese | 24 ounces (680g) | Softened to room temperature for easy mixing |
| Sugar | 1 cup (200g) | Granulated sugar works best for sweetness |
| Eggs | 3 large | At room temperature for better incorporation |
| Sour Cream | 1 cup (240g) | Adds creaminess; can substitute with Greek yogurt |
| Vanilla Extract | 1 teaspoon | Use pure vanilla for the best flavor |
| Graham Cracker Crumbs | 1 ½ cups (150g) | For the crust; can use gluten-free crackers if needed |
| Butter | ½ cup (113g) | Melted, to bind the crust |
- For best results, make sure all dairy ingredients are at room temperature before mixing.
- To maintain texture when freezing, avoid overmixing the batter once eggs are added.
- If you have allergies, substitute with dairy-free cream cheese and egg replacer as necessary.
- Avoid using low-fat cream cheese, as it may not freeze well and can affect the flavor.
Necessary Kitchen Equipment
When it comes to making and freezing cheesecake, having the right equipment makes all the difference. In this section, we’ll cover the essential tools you’ll need to create a delicious cheesecake and ensure it freezes well without losing its texture or flavor.
- Mixing Bowls: You’ll need at least two large mixing bowls. One for combining your cream cheese, sugar, and other filling ingredients, and another for mixing any crust ingredients. Choose bowls that are sturdy and easy to clean, ideally glass or stainless steel, which won’t retain odors.
- Springform Pan: A 9-inch (23 cm) springform pan is ideal for baking your cheesecake. This type of pan allows you to easily remove the cheesecake once it’s set, which is essential for maintaining its shape. Make sure to line the bottom with parchment paper for easier release and to prevent sticking.
- Freezer-safe Containers: After baking, you’ll need freezer-safe containers to store your cheesecake. Use airtight containers or heavy-duty freezer bags to prevent freezer burn. If using a freezer bag, consider wrapping the cheesecake tightly in plastic wrap before placing it in the bag for extra protection.
Chef’s tip: Always allow your cheesecake to cool completely before wrapping it for freezing. This helps maintain its creamy texture and prevents condensation from forming inside the wrapping.
Freezing Cheesecake Step-by-Step
Freezing cheesecake properly is essential to preserve its creamy texture and delicious flavor. This section outlines the precise steps to cool, wrap, and store your cheesecake effectively, ensuring it remains just as delightful when you’re ready to enjoy it later.
- Cool the Cheesecake: After baking, allow the cheesecake to cool in the pan at room temperature for about 1 hour. This prevents condensation, which can lead to a soggy crust. Once cooled, refrigerate the cheesecake for at least 4 hours or overnight to set the filling completely.
- Wrap Properly: For optimal freezing, wrap the cooled cheesecake securely. First, remove it from the springform pan, placing it on a piece of plastic wrap. Wrap it tightly, ensuring there are no air pockets, then cover it with aluminum foil or place it in an airtight container. This double-layer protects it from freezer burn and preserves flavor.
- Store in the Freezer: Place the wrapped cheesecake in the coldest part of your freezer, ideally at or below 0°F (-18°C). For best quality, consume the cheesecake within 3 months. Label the wrapping with the date to keep track of its freshness.
Chef’s tip: If you plan to freeze individual slices, cut the cheesecake into portions before wrapping. This allows for easy thawing and prevents the entire cheesecake from being exposed to air multiple times.
Tips for Quality and Texture
Freezing cheesecake can be a great way to preserve its deliciousness, but certain techniques can dramatically improve the quality and texture once it’s thawed. Here are some essential tips to ensure your cheesecake remains as delightful as the day you made it.
- Avoiding Ice Crystals: To minimize the formation of ice crystals, wrap the cheesecake tightly in plastic wrap, ensuring it’s airtight. Follow this with a layer of aluminum foil for extra protection. This method helps maintain the creamy texture and prevents freezer burn.
- Using Fresh Ingredients: The quality of your cheesecake before freezing is crucial. Use fresh cream cheese, eggs, and other ingredients for optimal flavor. Cheesecake made with high-quality ingredients will freeze better and retain its taste after thawing.
- Optimal Freezing Duration: For the best results, aim to freeze your cheesecake for no more than 1-2 months. While it can last longer, the flavor and texture may begin to degrade. Mark the freezing date on the wrap so you can keep track.
Chef’s tip: Always taste your cheesecake before freezing; any off-flavors will intensify once frozen.
Thawing Frozen Cheesecake
Thawing frozen cheesecake properly is crucial for maintaining its delightful texture and flavor. If done incorrectly, it can become grainy or overly watery. Here are the best methods for thawing your cheesecake to ensure it tastes as good as it did when freshly baked.
Refrigerator Thawing
The best and most recommended method for thawing cheesecake is in the refrigerator. This slow thawing allows for even temperature distribution, preserving the creamy texture. Follow these steps:
- Remove the cheesecake from the freezer and take it out of any wrapping.
- Place the cheesecake on a plate or in a shallow dish to catch any condensation.
- Cover it loosely with plastic wrap to prevent absorbing any odors from the fridge.
- Allow it to thaw in the refrigerator for 6-8 hours or overnight, depending on the size. A 9-inch cheesecake typically takes about 8 hours to thaw completely.
After thawing, the cheesecake should feel firm yet slightly soft to the touch and smell rich and sweet.
Quick Thawing Methods
If you’re short on time, you can use quicker methods, but be cautious as they may affect texture.
- Room Temperature: Leave the cheesecake on the counter for about 1-2 hours. Keep an eye on it to prevent it from getting too warm.
- Water Bath: Place the cheesecake (still in its pan) in a larger pan filled with warm water for 30-45 minutes. Ensure no water seeps into the cheesecake.
Chef’s tip: Always check the cheesecake’s texture after thawing. If it feels too soft, pop it back in the fridge for a bit longer.
By following these thawing methods, your cheesecake should retain its original lusciousness, ready to be enjoyed again!
Common Freezing Issues and Solutions
Freezing cheesecake can be a great way to preserve this delicious dessert, but it comes with its own set of challenges. Understanding the common issues you might face when freezing and thawing cheesecake will help ensure that your dessert maintains its delightful flavor and texture.
-
Texture Changes
One of the primary concerns when freezing cheesecake is the alteration of its creamy texture. To minimize this, make sure to wrap your cheesecake tightly in plastic wrap, followed by aluminum foil, to prevent air from reaching it. This helps maintain the texture and prevents it from becoming grainy when thawed.
-
Flavor Loss
Freezing can sometimes dull the flavors of your cheesecake. To combat this, consider adding a little extra vanilla extract or lemon juice before freezing, which can help enhance the flavor profile. When ready to enjoy, serve the cheesecake with fresh fruit or a flavorful sauce to bring back that vibrant taste.
-
Freezer Burn Prevention
Freezer burn can ruin the quality of your cheesecake, making it dry and unappetizing. To prevent this, ensure that you remove as much air as possible from the wrapping. Use a vacuum sealer if you have one, or double wrap the cheesecake in plastic wrap and then place it in a freezer-safe container or zip-top bag. This added layer of protection will help keep the cheesecake safe from freezer burn.
Serving Frozen Cheesecake
Once you’ve successfully frozen and thawed your cheesecake, it’s time to serve it up in style! Proper presentation and delicious pairings can elevate your dessert experience, making it even more enjoyable for you and your guests.
Garnishing Ideas
- Begin by slicing your thawed cheesecake into even portions using a warm, sharp knife. Wipe the knife with a damp cloth between cuts to keep the edges clean.
- For a simple yet elegant garnish, drizzle 2 tablespoons of chocolate or caramel sauce over each slice. You can warm the sauce slightly in the microwave for about 10-15 seconds to achieve a nice pourable consistency.
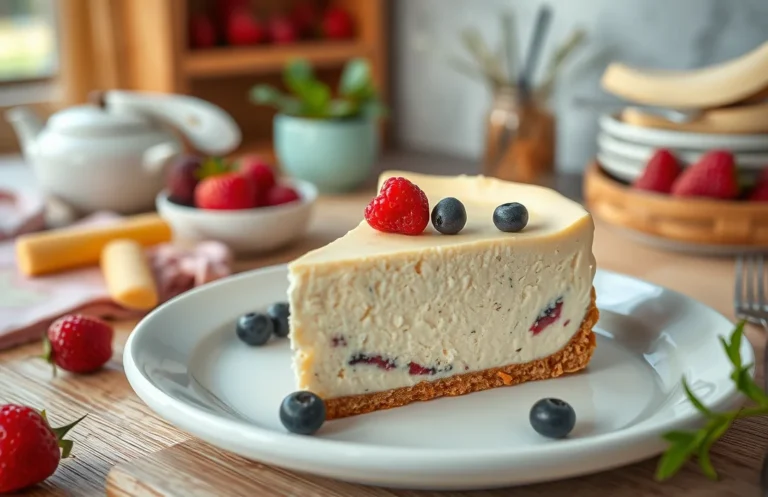
- Top each slice with fresh berries, such as strawberries, raspberries, or blueberries. Aim for about ¼ cup of mixed berries per slice for a vibrant and refreshing contrast to the rich cheesecake.
Accompaniments
- Consider serving your cheesecake with a dollop of freshly whipped cream. To make this, whisk 1 cup of heavy cream with 2 tablespoons of powdered sugar until soft peaks form, which should take about 3-5 minutes.
- A scoop of vanilla ice cream or a scoop of citrus sorbet can also complement the flavors beautifully. Aim for about ½ cup per slice for a delightful combination of textures.
- For a nutty flavor, sprinkle about 2 tablespoons of crushed nuts, such as walnuts or pecans, over the top before serving.
Presentation Tips
- Place your cheesecake on a decorative cake stand or a simple white plate to make it visually appealing. A clean, bright surface allows the colors of the cheesecake and garnishes to pop.
- Use a small mint leaf or edible flower for an extra touch of elegance. Just a single leaf on the side of the slice can make a beautiful statement.
- Consider serving slices with a side of fruit compote. Simply simmer 1 cup of your favorite fruit with 2 tablespoons of sugar and a splash of lemon juice until thickened, about 10 minutes, and serve it warm alongside the cheesecake.
Quick Summary
| Prep Time | 20 minutes |
|---|---|
| Cook Time | 1 hour |
| Total Time | 1 hour 20 minutes |
| Servings | 8 |
- Cool Completely: Ensure cheesecake is fully cooled before freezing.
- Wrap Properly: Use plastic wrap and aluminum foil to prevent freezer burn.
- Freeze Flat: Place cheesecake in a flat position to maintain shape.
- Thaw Gradually: Move to the fridge for 6-8 hours for best texture.
- Limit Freezing Time: Best consumed within 2-3 months for optimal taste.
- Room Temperature: Allow cheesecake to reach room temperature before serving after thawing.
- Avoid Moisture: Ensure no condensation forms during freezing to prevent sogginess.
Frequently Asked Questions
Can I make this ahead of time? How to store and reheat?
You can definitely make cheesecake ahead of time! Store it tightly wrapped in plastic wrap in the refrigerator for up to 5 days, and reheat by letting it sit at room temperature for about 30 minutes before serving.
What can I substitute for cream cheese?
You can substitute cream cheese with ricotta cheese or mascarpone for a different texture, but keep in mind it may alter the flavor slightly.
How do I know when it’s done?
Your cheesecake is done when the edges are set but the center still has a slight jiggle, which typically takes 45-60 minutes at 325°F (163°C).
Can I freeze this? How long does it last?
Yes, you can freeze cheesecake for up to 3 months; just wrap it tightly in plastic wrap and then in aluminum foil to prevent freezer burn.
What if I don’t have a springform pan?
If you don’t have a springform pan, you can use a regular cake pan lined with parchment paper, but be sure to let it cool completely before attempting to remove it.

- Decadent Peanut Butter No-Bake Cheesecake: Easy Recipe to Indulge - April 3, 2026
- Delicious Mango No-Bake Cheesecake: Step-by-Step Recipe - April 3, 2026
- Decadent Raspberry No-Bake Cheesecake: Easy Step-by-Step Recipe - April 3, 2026