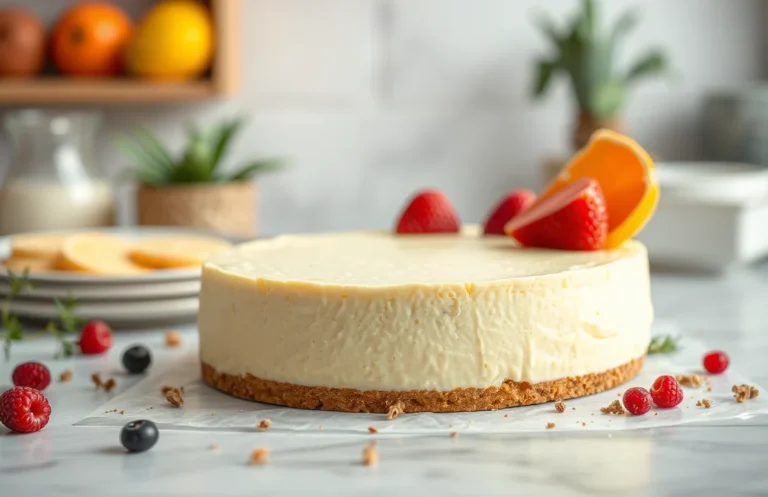
No-Bake Cheesecake Filling: Easy Recipe with Tips and Variations
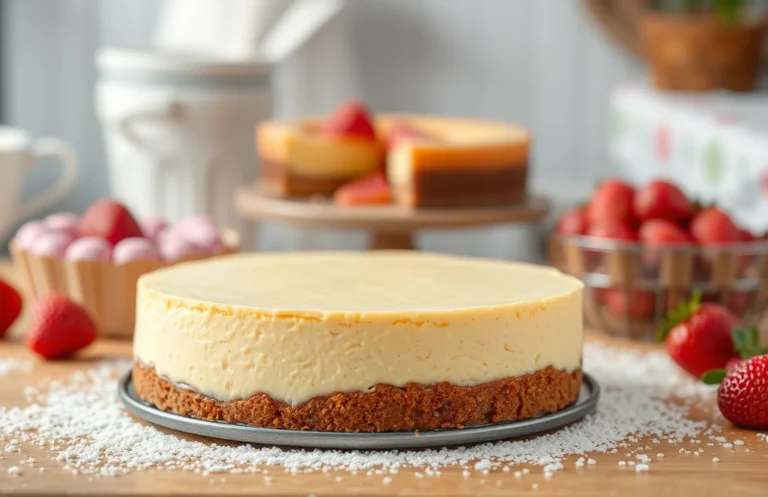
If you’re craving something creamy, sweet, and utterly satisfying, this no-bake cheesecake filling is your answer. Perfect for weeknight desserts or impressing guests, it’s a crowd-pleaser that will have everyone asking for seconds. Just imagine a silky, smooth filling that melts in your mouth, paired with your favorite crust!
Total time: 15 minutes | Difficulty level: Easy | Servings: 8
| Prep Time | Cook Time | Total Time | Servings | Difficulty |
|---|---|---|---|---|
| 15 minutes | 0 minutes | 15 minutes | 8 | Easy |
Origin of No-Bake Cheesecake
The no-bake cheesecake has a rich history that reflects its cultural significance across various cuisines. This delightful dessert not only highlights the versatility of cream cheese but also showcases the evolution of cheesecake recipes throughout the ages.
- Historical Background: The origins of cheesecake can be traced back to ancient Greece, where a form of cheesecake was served to athletes during the first Olympic Games in 776 B.C. Over time, different cultures adapted this dish, leading to the creation of various versions, including the no-bake cheesecake that emerged in the 20th century. This style gained popularity in the United States during the 1950s, primarily due to its ease of preparation without the need for baking, making it accessible for home cooks.
- Cultural Significance: No-bake cheesecake filling represents a blend of tradition and innovation in dessert-making. It allows for creativity, enabling cooks to customize flavors, textures, and toppings according to regional preferences. For example, the classic New York-style cheesecake has inspired countless variations, from fruity to chocolate-infused options, reflecting the diverse tastes of people around the world.
Ingredients for Cheesecake Filling
This section covers the essential ingredients needed to create a delicious no-bake cheesecake filling. Understanding the specific amounts and types of ingredients will help you achieve a creamy, flavorful filling that sets well and complements your crust perfectly.
| Item | Amount/Specification | Notes |
|---|---|---|
| Cream Cheese | 16 ounces (450g) | Softened to room temperature for easy mixing |
| Sour Cream | 1 cup (240g) | Can substitute with Greek yogurt for a tangy flavor |
| Powdered Sugar | ¾ cup (90g) | Adjust sweetness to taste; sifted for smooth texture |
| Vanilla Extract | 1 teaspoon | Use pure vanilla extract for better flavor |
| Lemon Juice | 2 tablespoons | Freshly squeezed enhances flavor; optional |
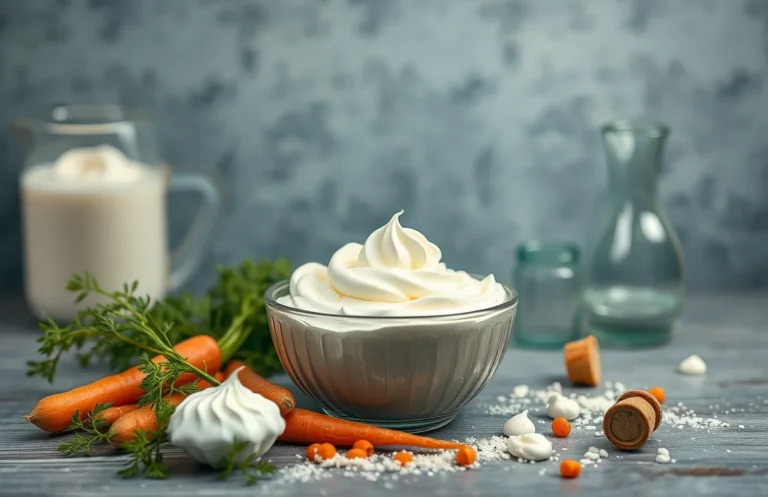
| Heavy Cream | 1 cup (240ml) | Whipped to soft peaks before folding in |
- Ensure the cream cheese is at room temperature to prevent lumps.
- For a lighter filling, whip the heavy cream until it holds soft peaks.
- If using substitutes, keep in mind the texture may vary slightly.
- Common mistake: Do not overmix after adding whipped cream; fold gently to maintain airiness.
Essential Kitchen Equipment
To create a delicious no-bake cheesecake filling, having the right kitchen tools at your disposal is crucial. These tools not only streamline the process but also ensure that your filling is smooth, creamy, and perfectly mixed. Here’s a detailed list of essential equipment you’ll need to prepare your cheesecake filling.
- Mixing Bowls: You’ll need at least two mixing bowls — one for the cream cheese mixture and another for the whipped cream. Choose bowls that are large enough to allow for easy mixing and folding. Glass or stainless steel bowls are excellent choices as they resist staining and are easy to clean.
- Electric Mixer: An electric mixer is essential for achieving a creamy texture. Use a hand mixer or a stand mixer fitted with the whisk attachment. Start on a low speed to prevent splattering, then increase to medium-high until the mixture is fluffy and smooth, about 2-3 minutes.
- Measuring Tools: Accurate measurements are key to a successful cheesecake filling. Have a set of measuring cups and spoons handy, as well as a kitchen scale for precise ingredient weights. For example, measure out 8 ounces (226g) of cream cheese and 1 cup (120g) of powdered sugar to ensure perfect sweetness and consistency.
Chef’s tip: Always have your cream cheese at room temperature for easier mixing. This will result in a smoother filling with no lumps.
Step-by-Step Preparation
In this section, we will walk through the precise steps to prepare a delicious no-bake cheesecake filling. Each step is crucial to achieving a smooth and creamy texture that sets beautifully in your crust.
- Prepare the Cream Cheese: Start with 16 ounces (450g) of full-fat cream cheese, bringing it to room temperature. This will take about 30 minutes. Use a hand mixer to beat the cream cheese in a large mixing bowl until it’s smooth and free of lumps, which should take about 2 minutes.
- Add the Sugar and Flavorings: Gradually mix in ¾ cup (150g) granulated sugar and 1 teaspoon of vanilla extract. Continue to beat on medium speed for another 2 minutes until the mixture is creamy and glossy, with a sweet aroma that fills the kitchen.
- Incorporate the Whipped Topping: Fold in 2 cups (480ml) of whipped topping gently using a rubber spatula. Be careful not to deflate the mixture; it should remain light and airy. The filling should look fluffy and feel smooth to the touch.
- Chill the Mixture: Transfer the filling into your pre-prepared crust. Cover it tightly with plastic wrap, ensuring no air can escape. Place it in the refrigerator to chill for at least 4 hours, but overnight is ideal. The filling should set firmly yet remain creamy.
- Final Texture Check: After chilling, gently shake the cheesecake to test its firmness. It should jiggle slightly but hold its shape. If it feels too soft, it may require additional time in the fridge. If it’s too firm, gently fold in a bit more whipped topping until you achieve your desired consistency.
Pro Tips for Success
Creating a no-bake cheesecake filling is a delightful process, but a few expert tips can help you avoid common pitfalls and achieve the perfect texture. Whether you’re aiming for a smooth consistency or need guidance on chilling times, these tips will ensure your cheesecake turns out flawlessly every time.
Avoiding Lumps
- Use room temperature ingredients: Make sure your cream cheese and sour cream are at room temperature (around 70°F or 21°C) before you start mixing. This helps them blend smoothly and prevents lumps from forming.
- Beat thoroughly: When mixing the cream cheese, beat it on medium speed for about 2-3 minutes until it’s completely smooth. Scrape down the sides of the bowl frequently to incorporate all ingredients evenly.
Perfect Consistency
- Check the mixture: After adding the whipped cream, the filling should be fluffy and light. It should hold its shape when piped or spread but still be creamy enough to enjoy. If it seems too thick, fold in a tablespoon of milk to loosen it.
- Don’t overmix: Once you fold in the whipped cream, mix gently. Overmixing can deflate the air you’ve incorporated, leading to a denser filling.
Chilling Tips
- Chill for the right time: Allow the cheesecake filling to chill in the refrigerator for at least 4 hours, ideally overnight. This helps it set properly and develop the best flavor and texture.
- Use a covered container: Cover the cheesecake filling with plastic wrap or store it in an airtight container to prevent it from absorbing other flavors in the fridge.
Flavor Variations and Substitutions
Creating a no-bake cheesecake filling allows for a multitude of flavor profiles and dietary modifications. Whether you’re craving something rich and chocolatey, fruity, or need a vegan option, these variations will ensure everyone can enjoy a slice of cheesecake bliss.
Chocolate Cheesecake
To transform your no-bake cheesecake into a chocolate delight, simply add cocoa powder and melted chocolate. Here’s how:
- 1 cup cream cheese (226g)
- ½ cup powdered sugar (60g)
- ½ cup heavy cream (120ml)
- ⅓ cup unsweetened cocoa powder (35g)
- 4 ounces semi-sweet chocolate, melted (113g)
Whisk the cream cheese, powdered sugar, and cocoa powder together until smooth. Gradually fold in the melted chocolate and whipped cream, mixing until just combined and fluffy. The mixture should be rich and velvety.
Fruit-Infused Options
For a refreshing twist, consider adding pureed fruits. Here are a few popular choices:
- 1 cup pureed strawberries or raspberries (150g)
- 1 cup lemon juice (240ml) for a tart flavor
- 1 cup crushed pineapple (250g), drained for a tropical vibe
Incorporate the fruit puree into the cream cheese mixture after smoothing it out. This will not only flavor the cheesecake but also add a beautiful color. The mixture should be creamy with swirls of fruit visible.
Vegan Alternatives
To create a vegan-friendly cheesecake filling, you can replace dairy ingredients with plant-based options:
- 1 cup soaked cashews (150g)
- ½ cup coconut cream (120ml)
- ½ cup maple syrup (120ml)
- 1 tablespoon lemon juice (15ml)
Blend the soaked cashews, coconut cream, maple syrup, and lemon juice until completely smooth. The texture should be thick and creamy, resembling traditional cheesecake. Chill for at least 4 hours for best results.
Chef’s tip: Always taste your filling before setting it to ensure the flavors are balanced and to your liking!
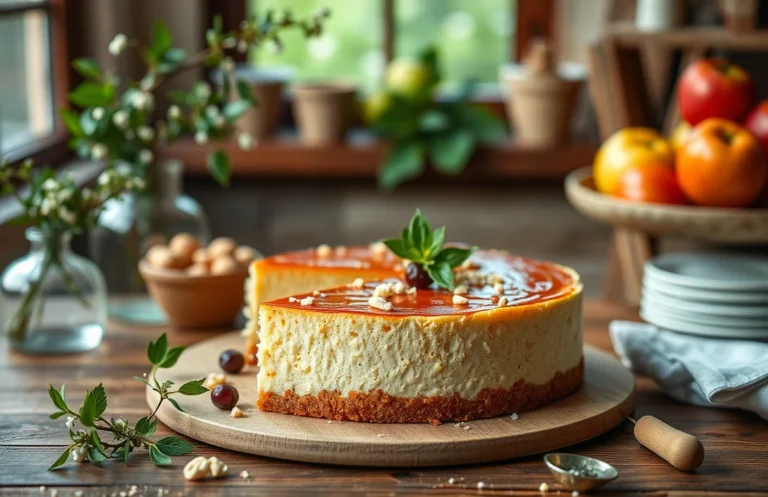
Serving and Plating Suggestions
When it comes to enjoying your no-bake cheesecake filling, presentation and flavor pairings can elevate your dessert to a whole new level. The right crust, garnishes, and beverage selections can enhance the creamy texture and rich flavor of the cheesecake, making it a delightful experience for you and your guests.
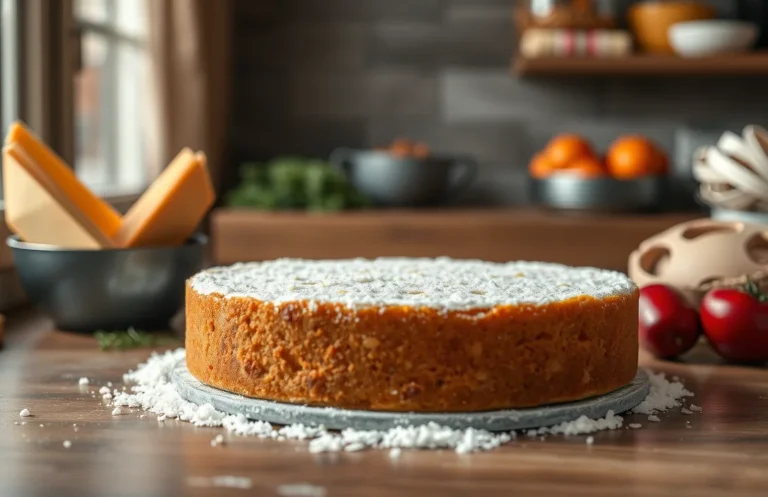
Crust Options
- Classic Graham Cracker Crust: Combine 1 ½ cups crushed graham crackers, ½ cup granulated sugar, and ½ cup melted butter. Press into a 9-inch pie pan and chill until firm.
- Chocolate Cookie Crust: Use 1 ½ cups crushed chocolate sandwich cookies and mix with ½ cup melted butter. This adds a rich, indulgent flavor.
- Nut-Based Crust: For a gluten-free option, blend 1 ½ cups almond flour with ¼ cup melted coconut oil and 2 tablespoons honey. Press into the bottom of your pan.
Garnishing Ideas
Enhance the flavor and visual appeal of your cheesecake with these garnishing suggestions:
- Fresh Berries: Top with strawberries, blueberries, or raspberries for a burst of freshness.
- Chocolate Drizzle: Melt ½ cup of chocolate chips and drizzle over the cheesecake before serving.
- Citrus Zest: A sprinkle of lemon or lime zest can brighten the flavors.
- Whipped Cream: Pipe a border of whipped cream around the edges for a classic touch.
Beverage Pairings
| Beverage | Flavor Profile |
|---|---|
| Coffee | The bitterness pairs well with the sweetness of the cheesecake. |
| Sparkling Water | A refreshing palate cleanser that balances the richness. |
| Sweet Dessert Wine | Enhances the creamy texture with its fruity notes. |
Chef’s tip: Always serve your cheesecake chilled for the best flavor and texture!
Quick Summary
| Prep Time | Cook Time | Total Time | Servings |
|---|---|---|---|
| 15 minutes | 0 minutes | 15 minutes | 8 servings |
- Use cream cheese: Ensure it’s softened at room temperature for smooth mixing.
- Add heavy cream: Whip until stiff peaks form for a light, airy filling.
- Incorporate sugar: Gradually mix in powdered sugar for sweetness without graininess.
- Flavor it well: Use vanilla extract or lemon juice to enhance taste.
- Chill before serving: Refrigerate for at least 4 hours for the best texture.
- Tip 1: Avoid over-mixing to prevent a dense filling.
- Tip 2: Use a springform pan for easy removal and presentation.
Frequently Asked Questions
Can I make this ahead of time? How to store and reheat?
Yes, you can make the no-bake cheesecake filling up to 2 days in advance. Store it in an airtight container in the refrigerator and avoid reheating; it’s best served chilled.
What can I substitute for cream cheese?
You can use mascarpone cheese as a substitute for cream cheese for a smoother texture, or a blend of Greek yogurt and sour cream for a lighter option.
How do I know when it’s done?
The cheesecake filling is done when it is thick and holds its shape when spooned; it should not be runny. Give it a taste to ensure it’s sweet and creamy to your liking.
Can I freeze this? How long does it last?
Yes, you can freeze the no-bake cheesecake filling for up to 2 months in an airtight container. Thaw it in the refrigerator overnight before using for the best texture.
What if I don’t have a mixer?
If you don’t have a mixer, you can use a hand whisk or a spatula to blend the ingredients together, though it may require a bit more effort to achieve a smooth consistency.

- Top 10 Best Professional Home Espresso Machine 2026 - July 29, 2026
- Top 10 Best Lever Espresso Machine 2026 - July 29, 2026
- Top 10 Best Espresso Machine Under 2000 2026 - July 29, 2026