Do You Have to Bake Cheesecake? Discover No-Bake Options Here!
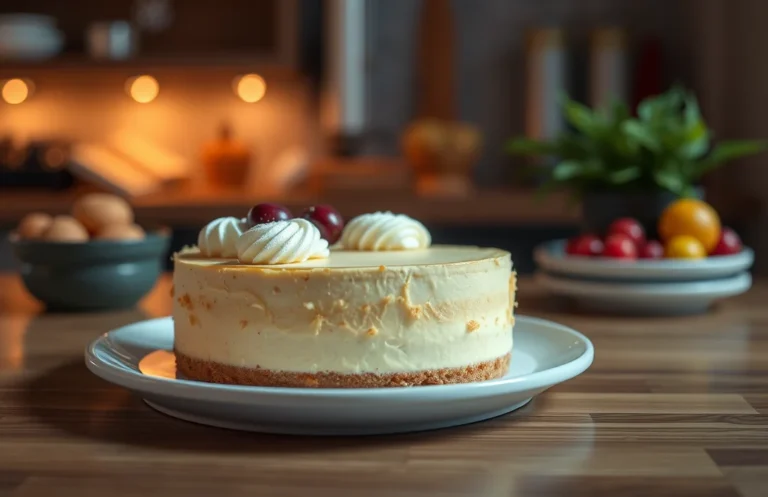
Cheesecake is one of those desserts that feels like a warm hug on a plate. Creamy, rich, and decadent, it’s the perfect treat for celebrations or simply when you need a little indulgence after a long day. And the best part? You can make it with or without baking — both methods yield delicious results!
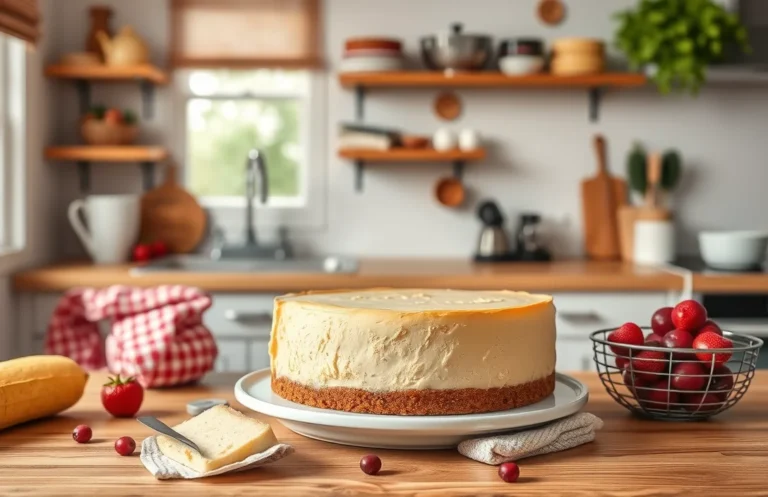
Want to know if you have to bake a cheesecake? Get ready for a reliable, tested recipe with total time: 4 hours, difficulty: easy, and servings: 8. I’ll guide you through every step, from mixing to chilling, so you’ll know exactly what to expect at each stage.
| Prep Time | Cook Time | Total Time | Servings | Difficulty |
|---|---|---|---|---|
| 30 minutes | 0 minutes (if no baking) | 4 hours | 8 | Easy |
History of Cheesecake
The history of cheesecake is rich and varied, stretching back thousands of years and showcasing its significance across different cultures. Understanding its origins can help us appreciate the various methods of preparation, including the debate over whether baking is necessary for this delicious dessert.
Ancient Roots
- Origin in Ancient Greece: The first recorded cheesecake dates back to ancient Greece around 2000 B.C. It was made with simple ingredients like cheese, flour, and honey, and was often served to athletes during the first Olympic Games.
- Roman Adaptation: The Romans adopted the cheesecake recipe, adding their own twist by introducing eggs and baking the mixture. This evolution laid the groundwork for the creamy texture we associate with modern cheesecakes.
Cultural Variations
- New York Style: The iconic New York cheesecake, known for its dense, creamy texture, is typically baked and uses cream cheese, sugar, eggs, and a graham cracker crust. This style emphasizes the importance of baking to achieve its signature richness.
- No-Bake Variants: Many cultures, particularly in Europe, have no-bake cheesecake recipes that utilize ingredients like mascarpone or ricotta. These versions are chilled rather than baked, proving that cheesecake can be delicious in both forms.
Understanding these origins can clarify why baking a cheesecake is traditional in some recipes, while others thrive on the no-bake technique. Each method has its own charm, reflecting the cultural significance and culinary creativity behind this beloved dessert.
Essential Ingredients
When making cheesecake, the right ingredients are key to achieving that creamy, rich texture and delicious flavor. Whether you choose to bake your cheesecake or opt for a no-bake version, having the correct measurements ensures a successful outcome. Below is a complete list of essential ingredients you will need, along with helpful notes for substitutions and tips.
| Item | Amount/Specification | Notes |
|---|---|---|
| Cream Cheese | 24 ounces (680g) | Softened to room temperature for easy mixing |
| Sour Cream | 1 cup (240g) | Can substitute with Greek yogurt for tanginess |
| Granulated Sugar | 1 cup (200g) | Adjust to taste; can use a sugar substitute if necessary |
| Vanilla Extract | 2 teaspoons | Use pure vanilla for best flavor |
| Eggs | 3 large | Room temperature for better incorporation |
| Graham Cracker Crumbs | 1 ½ cups (150g) | Crush your own or buy pre-made |
| Butter | ½ cup (113g) | Melted for the crust |
- For a gluten-free option, replace graham cracker crumbs with ground nuts or gluten-free cookies.
- Ensure cream cheese is fully softened to achieve a smooth filling; this takes about 30 minutes at room temperature.
- If you’re making a no-bake cheesecake, consider adding 1 cup of heavy cream for stability.
- Don’t overbeat the mixture after adding eggs to prevent cracks in your cheesecake.
Necessary Kitchen Equipment
Having the right kitchen equipment is crucial for successfully making a cheesecake, whether you choose to bake it or not. Each tool plays a significant role in ensuring that your cheesecake comes out perfectly creamy and delicious, so let’s go through what you’ll need.
- Mixing Tools: A sturdy mixing bowl is essential; I recommend using a large glass or stainless steel bowl to withstand the mixing process. You’ll also need an electric mixer or a whisk for beating the cream cheese until it’s smooth and free of lumps. A rubber spatula is handy for scraping down the sides of the bowl and folding in ingredients gently.
- Baking Dish: If you decide to bake your cheesecake, a springform pan, preferably 9 inches in diameter, is ideal. This allows you to easily remove the cheesecake without damaging its delicate structure. For a no-bake version, a standard pie dish or an 8-inch round cake pan works well, but ensure it has a removable bottom for easy serving.
- Measuring Tools: Accurate measurements are key to a successful cheesecake. Make sure you have a set of measuring cups and spoons for your ingredients. A kitchen scale can also be helpful for measuring ingredients like cream cheese, ensuring you have exactly 2 pounds (900g) as needed for a rich filling.
- Oven Thermometer: If you’re baking the cheesecake, a reliable oven thermometer ensures your oven is at the correct temperature of 325°F (163°C). This helps prevent over-baking, which can lead to cracks in your cheesecake.
- Cooling Rack: After baking, a cooling rack is essential for allowing your cheesecake to cool evenly and prevent sogginess. This also helps to avoid condensation buildup on the bottom of the pan.
Baking vs No-Bake Method
This section highlights the key differences between baked and no-bake cheesecakes, focusing on their unique textures and flavor profiles. Understanding these differences will help you decide which method suits your taste and occasion best.
Texture Differences
Baked cheesecakes and no-bake cheesecakes offer distinctly different textures:
- Baked Cheesecake: Creamy and dense, with a slight firmness. When properly baked, it should have a smooth surface and a slight jiggle in the center. Aim for a bake temperature of 325°F (163°C) for about 60-70 minutes.
- No-Bake Cheesecake: Light and airy, with a silky texture. The filling is usually set with gelatin or cream cheese and whipped cream, resulting in a softer, more mousse-like consistency. Chill for at least 4 hours in the refrigerator to allow it to firm up.
Flavor Profiles
The flavor experience can also vary significantly:
- Baked Cheesecake: Often richer and deeper in flavor, especially when using cream cheese. The baking process brings out caramelized notes, especially if you use a graham cracker crust baked at 350°F (175°C) for 10 minutes before adding the filling.
- No-Bake Cheesecake: Tends to be lighter and more refreshing, making it ideal for summer desserts. The flavor is often brightened by ingredients like citrus or berries, which can be folded in for added freshness.
Chef’s tip: Experiment with flavorings like vanilla extract or citrus zest to enhance your cheesecake, no matter which method you choose.
Step-by-Step Instructions
This section will guide you through the essential steps of preparing a cheesecake, whether you choose to bake it or chill it. Each step has been tested to ensure your cheesecake turns out creamy, flavorful, and delightful.
Preparing the Crust
- Preheat your oven to 350°F (175°C). For the crust, you’ll need 1 ½ cups (150g) of graham cracker crumbs, ½ cup (100g) of granulated sugar, and ½ cup (113g) of unsalted butter, melted. In a medium bowl, combine the graham cracker crumbs and sugar, then pour in the melted butter.
- Stir the mixture until it’s well combined and resembles wet sand. Press this mixture firmly into the bottom of a 9-inch (23cm) springform pan, making sure it’s evenly distributed. Bake the crust for 10 minutes until it’s lightly golden and fragrant, then remove it from the oven and let it cool while you prepare the filling.
Mixing the Filling
- In a large mixing bowl, add 24 ounces (680g) of cream cheese, softened to room temperature. Beat it with an electric mixer on medium speed until smooth and creamy, about 2-3 minutes. Scrape down the sides of the bowl to ensure even mixing.
- Gradually add 1 cup (200g) of granulated sugar, ¼ cup (60ml) of sour cream, 2 teaspoons of vanilla extract, and 3 large eggs, one at a time. Beat until just combined after each addition, ensuring not to overmix as this can introduce air bubbles.
Baking or Chilling
- If baking, pour the filling over the cooled crust and smooth the top with a spatula. Bake in the preheated oven for 50-60 minutes, or until the edges are set and the center is slightly jiggly. The cheesecake will firm up as it cools.
- For a no-bake version, pour the filling directly onto the crust and smooth the top. Chill in the refrigerator for at least 4 hours, preferably overnight, until fully set. It should feel firm to the touch and have a glossy finish.
Chef’s tip: If your cheesecake cracks during baking, it may have been overcooked or mixed too vigorously. Keep an eye on it during the last few minutes!
Expert Tips and Common Mistakes
Mastering cheesecake, whether baked or no-bake, requires attention to detail. Here are some expert tips to help you avoid common pitfalls, ensuring your cheesecake turns out smooth and delicious every time.
Avoiding Cracks
- Use room temperature ingredients: Bring your cream cheese, eggs, and other dairy ingredients to room temperature to achieve a smooth consistency. Cold ingredients can cause the batter to be lumpy and lead to cracking as it bakes.
- Do not overmix: Mix your batter just until combined. Overmixing introduces too much air, which can cause the cheesecake to rise too fast and crack during baking.
- Bake in a water bath: If you’re baking your cheesecake, place the springform pan in a larger pan filled with hot water. This gentle heat helps the cheesecake cook evenly, reducing the risk of cracks.
Proper Cooling Techniques
- Cool gradually: After baking, turn off the oven and crack the door open. Let the cheesecake cool in the oven for about 1 hour. This gradual cooling helps prevent sudden temperature changes that can cause cracks.
- Chill in the fridge: Once the cheesecake is cool to room temperature, refrigerate it for at least 4 hours (or overnight) before serving. This step allows the flavors to meld and helps the texture set perfectly.
- Use a knife to loosen edges: Before removing the cheesecake from the pan, run a knife around the edges to prevent the crust from sticking. This helps maintain the shape and integrity of your cheesecake.
Recipe Variations and Substitutions
Making a cheesecake doesn’t have to be a one-size-fits-all endeavor. For those with dietary restrictions or preferences, there are plenty of variations and substitutions you can make to enjoy this delicious dessert without compromising on flavor or texture.
Gluten-Free Options
If you’re avoiding gluten, you can still savor a cheesecake by making a few simple adjustments. Here are some gluten-free alternatives for your cheesecake crust and filling:
- For the crust, substitute regular graham crackers with gluten-free graham cracker crumbs or almond flour mixed with 2 tablespoons of melted butter.
- Use certified gluten-free oats to create a crust by blending them into fine crumbs.
- Ensure that any add-ins, like chocolate or caramel, are labeled gluten-free.
Vegan Adaptations
To make a vegan cheesecake, you can replace dairy and eggs with plant-based ingredients. Here’s how to adapt your recipe:
- For the cream cheese, use 1 ½ cups of soaked cashews blended with ½ cup of coconut cream and ¼ cup of maple syrup for sweetness.
- Replace the eggs with ¼ cup of unsweetened applesauce or 1 tablespoon of ground flaxseed mixed with 2.5 tablespoons of water (let it sit for 5 minutes to thicken).
- Use a vegan butter or coconut oil for the crust.
Chef’s tip: If your vegan cheesecake batter is too thick, add a splash of almond milk to achieve the desired consistency.
| Ingredient | Traditional | Gluten-Free | Vegan |
|---|---|---|---|
| Crust | 1 ½ cups graham cracker crumbs | 1 ½ cups gluten-free graham cracker crumbs | 1 ½ cups almond flour |
| Cream Cheese | 16 oz cream cheese | 16 oz dairy-free cream cheese | 1 ½ cups soaked cashews |
| Eggs | 3 large eggs | N/A | ¼ cup applesauce |
Serving and Plating Ideas
Serving cheesecake is an art that can elevate your dessert experience. The right garnishes and beverage pairings can enhance the flavors of your cheesecake, whether it’s baked or no-bake. Here are some thoughtful ideas to make your cheesecake presentation shine.
Garnishing Options
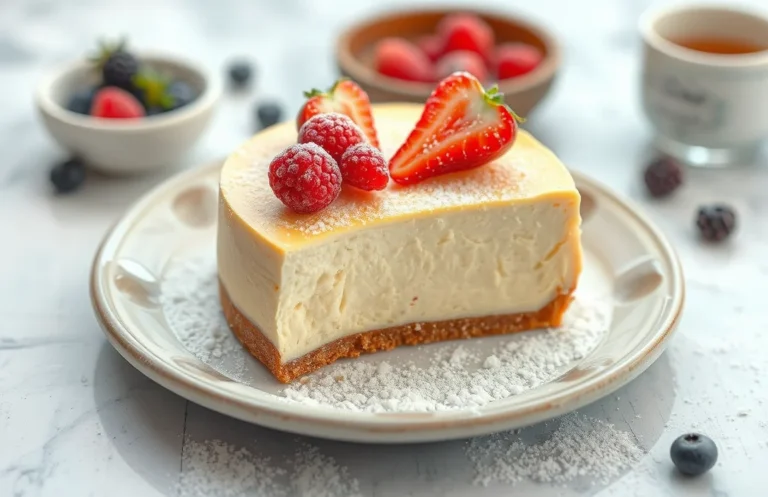
- Top your cheesecake with a layer of fresh fruit. Slices of strawberries, blueberries, or raspberries not only add color but also a burst of freshness. Arrange them artfully around the edge or in the center for an eye-catching display.
- Consider drizzling a homemade fruit coulis over the top. To make this, blend 1 cup of your favorite berries with 2 tablespoons of sugar and a splash of lemon juice. Strain to remove seeds, then drizzle it over the cheesecake just before serving for an elegant look.
- For a touch of decadence, add a dollop of whipped cream. Whip 1 cup of heavy cream with 2 tablespoons of powdered sugar until soft peaks form. Pipe it onto each slice for a creamy finish that complements the cheesecake’s texture.
Beverage Pairings
- Pair your cheesecake with a glass of dessert wine, such as Sauternes or Moscato. These wines have sweetness that balances the richness of the cheesecake perfectly.
- For coffee lovers, a rich espresso or a creamy cappuccino can be a delightful companion. The bitterness of coffee contrasts beautifully with the sweet and creamy dessert.
- If you prefer a non-alcoholic option, serve with a refreshing iced tea or lemonade. These drinks provide a zesty contrast to the smoothness of the cheesecake.
Quick Summary
| Prep Time | 20 minutes |
|---|---|
| Cook Time | 60 minutes |
| Total Time | 1 hour 20 minutes |
| Servings | 8 |
- Prepare the crust: Mix graham cracker crumbs with melted butter and press into the pan.
- Blend the filling: Beat cream cheese, sugar, and vanilla until smooth.
- Add eggs: Incorporate eggs one at a time, mixing gently to avoid excess air.
- Bake in a water bath: Prevent cracks and ensure even cooking by using a water bath.
- Cool gradually: Let the cheesecake cool in the oven to prevent sudden temperature changes.
- Tip: Use room temperature ingredients for a smoother batter.
- Tip: Don’t overmix after adding eggs to maintain a creamy texture.
Frequently Asked Questions
Can I make this ahead of time? How to store and reheat?
You can definitely make cheesecake ahead of time; it actually tastes better after chilling. Store it in the refrigerator for up to 5 days, and there’s no need to reheat—serve it cold for the best flavor and texture.
What can I substitute for cream cheese?
If you need a substitute for cream cheese, you can use ricotta cheese or mascarpone for a similar texture, but be aware that it might alter the flavor slightly. For a lower-fat version, try Greek yogurt, but it will also change the taste and creaminess.
How do I know when it’s done?
A cheesecake is done when the edges are set, but the center still has a slight jiggle; it will firm up as it cools. Use a toothpick in the center—if it comes out clean or with just a few moist crumbs, it’s ready!
Can I freeze this? How long does it last?
You can freeze cheesecake for up to 3 months if wrapped tightly in plastic wrap and then aluminum foil. Thaw it overnight in the refrigerator before serving for best results.
Why did my cheesecake crack on the top?
Cracks often occur due to overmixing or baking at too high a temperature; make sure to mix on low speed and bake at 325°F for even cooking. To prevent this, try baking it in a water bath for added moisture.

- Top 10 Ecm Mechanika Max Espresso Machine 2026 - July 29, 2026
- Top 10 De Longhi Espresso & Cappuccino Machine 2026 - July 29, 2026
- Top 10 Best Water For Espresso Machine 2026 - July 29, 2026