3 Easy Methods for Perfect Homemade Cheesecake Crusts
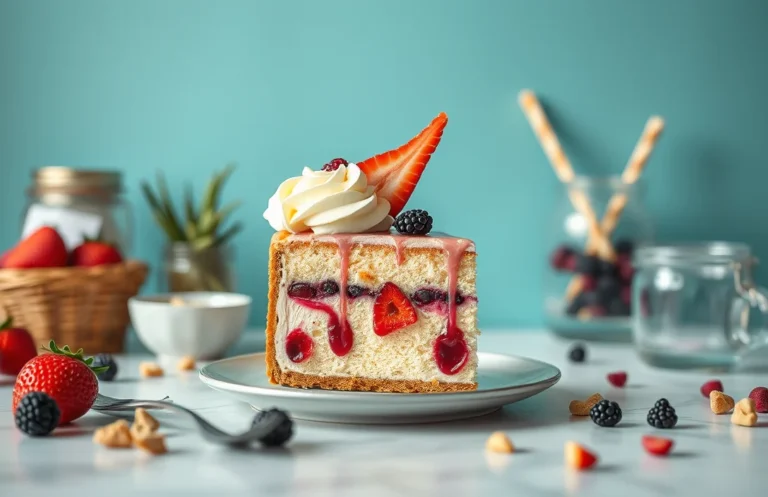
There’s something simply irresistible about a homemade cheesecake, especially when it’s perched atop a deliciously crafted crust. Whether you crave the sweet crunch of a graham cracker base or the rich depth of a chocolate crust, each bite will make your taste buds sing. These crusts not only enhance the cheesecake but also elevate it into a show-stopping dessert.
Get ready to learn three distinct methods for homemade cheesecake crusts: graham cracker, chocolate, and nut-based. Each method includes precise measurements, cooking times, and tips to ensure success. Total time is around 30 minutes, difficulty is easy, and each recipe serves 8.
| Prep Time | Cook Time | Total Time | Servings | Difficulty |
|---|---|---|---|---|
| 15 minutes | 15 minutes | 30 minutes | 8 | Easy |
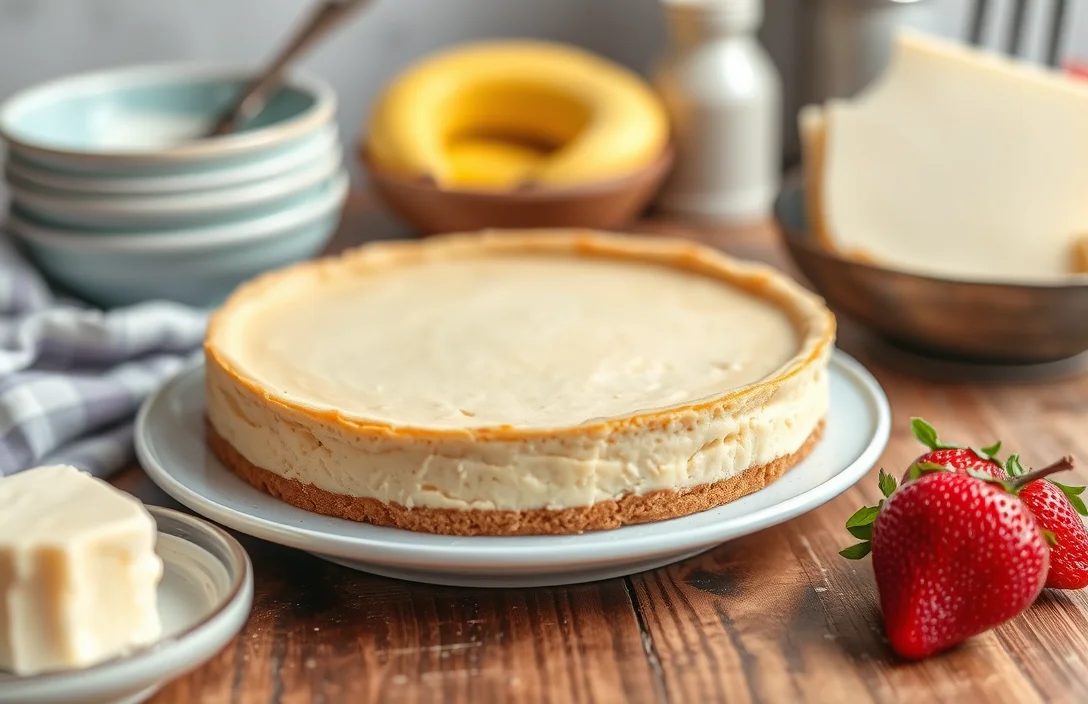
Classic Graham Cracker Crust
This Classic Graham Cracker Crust is the go-to foundation for any cheesecake lover! It’s crunchy, slightly sweet, and brings a delightful texture that perfectly complements the creamy filling. Plus, it’s super easy to whip up, making it a staple in any home baker’s repertoire.
Ingredients
- Graham cracker crumbs (1 ½ cups)
- Granulated sugar (¼ cup)
- Unsalted butter, melted (½ cup)
- Salt (¼ teaspoon)
- Cinnamon (½ teaspoon, optional)
- Vanilla extract (1 teaspoon, optional)
Instructions
- (Total cook time: about 20 minutes): Preheat your oven to 350°F (175°C). This is the perfect temperature to get that crust nice and toasty!
- In a medium mixing bowl, combine the graham cracker crumbs, granulated sugar, and salt. If you love a hint of spice, toss in the cinnamon too!
- Pour in the melted butter and mix everything together until it resembles wet sand. You want it to hold together when you squeeze it in your hand.
- Transfer the mixture to a 9-inch pie or springform pan. Press it firmly into the bottom and up the sides using your fingers or the bottom of a measuring cup. Make sure it’s evenly packed!
- Bake the crust in the preheated oven for 8-10 minutes, until it’s slightly golden. Keep an eye on it to avoid burning!
- Once baked, remove it from the oven and let it cool completely before adding your cheesecake filling. This gives it the perfect crunch!
Decadent Chocolate Cookie Crust
This Decadent Chocolate Cookie Crust is the perfect base for any cheesecake, bringing a rich and indulgent chocolate flavor that pairs beautifully with creamy fillings. What sets it apart is the delightful crunch from the cookie crumbs combined with just the right amount of sweetness, making every bite a heavenly experience!
Ingredients
- Chocolate sandwich cookies (1 ½ cups, finely crushed)
- Unsalted butter (½ cup, melted)
- Granulated sugar (2 tablespoons)
- Salt (¼ teaspoon)
- Vanilla extract (1 teaspoon)
- Cocoa powder (2 tablespoons, optional for extra richness)
- Egg (1 large, optional for a firmer crust)
- Chocolate chips (½ cup, optional for added texture)
Instructions
- (Total cook time: about 30 minutes) Preheat your oven to 350°F (175°C). This ensures a perfectly baked crust.
- In a large mixing bowl, combine the finely crushed chocolate sandwich cookies, melted butter, granulated sugar, and salt. If you’re feeling extra chocolaty, add the cocoa powder too!
- Mix everything together until the crumbs are well-coated and the mixture resembles wet sand. You want it to hold together when pressed.
- Press the mixture firmly into the bottom and up the sides of a 9-inch springform pan. Use the back of a measuring cup for even pressure and a smooth surface.
- Bake in the preheated oven for about 10 minutes, until it’s set and slightly firm to the touch. Let it cool on a wire rack for at least 10 minutes before filling it with your cheesecake batter.
- If you’re adding chocolate chips, sprinkle them on top of the crust right after it comes out of the oven for a melty, delicious finish!
Nut-Based Crust for Cheesecake
This nut-based crust is a delightful twist on the classic cheesecake base, offering a rich, earthy flavor that perfectly complements the creamy filling. Made primarily from ground nuts, it provides a wonderful crunch and a hint of nuttiness that elevates every bite. Plus, it’s gluten-free, making it a fantastic option for those with dietary restrictions!
Ingredients
- Almonds (1 cup, raw or toasted)
- Walnuts (1/2 cup, raw or toasted)
- Granulated sugar (2 tablespoons)
- Unsalted butter (4 tablespoons, melted)
- Salt (1/4 teaspoon)
- Ground cinnamon (1/2 teaspoon)
- Vanilla extract (1 teaspoon)
- Egg white (1 large, optional for binding)
Instructions
- (Total cook time: about 25 minutes): Preheat your oven to 350°F (175°C). This way, your crust will be ready to bake as soon as you finish preparing it.
- In a food processor, combine the almonds, walnuts, sugar, salt, and cinnamon. Pulse until the mixture resembles coarse crumbs. You want a fine texture but not a powder!
- Drizzle in the melted butter and vanilla extract, and pulse again until everything is well combined. If you’re using an egg white for extra binding, add it now and pulse until mixed.
- Transfer the nut mixture into a 9-inch springform pan. Press it evenly into the bottom and up the sides of the pan using your fingers or the back of a measuring cup. Aim for an even thickness.
- Bake the crust in the preheated oven for 10-12 minutes, or until it’s lightly golden and fragrant. Keep an eye on it—nut crusts can brown quickly!
- Once baked, remove it from the oven and let it cool completely before adding your cheesecake filling. This helps it hold its shape and gives you that perfect slice!
Quick Summary
| Prep Time | 15 minutes |
|---|---|
| Cook Time | 10-12 minutes |
| Total Time | 25-30 minutes |
| Servings | 1 crust |
- Choose your base: Graham crackers, Oreo cookies, or nuts for different flavors.
- Melt butter: Use ½ cup of unsalted butter, melted, to bind the crust.
- Mix evenly: Combine crumbs and butter until they resemble wet sand.
- Press firmly: Use the back of a measuring cup to compact the crust into the pan.
- Bake it right: Preheat to 350°F (175°C) and bake for 10-12 minutes until lightly golden.
- Tip: Chill the crust before filling for a firmer texture.
- Tip: Don’t overbake; a soft crust will keep it flavorful.
Frequently Asked Questions
Can I make this ahead of time? How to store and reheat?
You can make the cheesecake crust up to 2 days in advance. Store it in an airtight container in the refrigerator and let it come to room temperature before using it.
What can I substitute for graham crackers?
You can use digestive biscuits or crushed vanilla wafers as a substitute for graham crackers in your crust. Just keep the same measurement of 1 ½ cups for the crumbs.
How do I know when the crust is done baking?
The crust is done when it turns a golden brown color around the edges, which typically takes about 10-12 minutes at 350°F (175°C). Let it cool completely before adding your cheesecake filling.
Can I freeze this? How long does it last?
You can freeze the cheesecake crust for up to 3 months. Wrap it tightly in plastic wrap and then in aluminum foil to prevent freezer burn.
What if I don’t have a food processor?
If you don’t have a food processor, you can place the graham crackers in a zip-top bag and crush them with a rolling pin until fine crumbs form. Just make sure to break up any large pieces for an even texture.