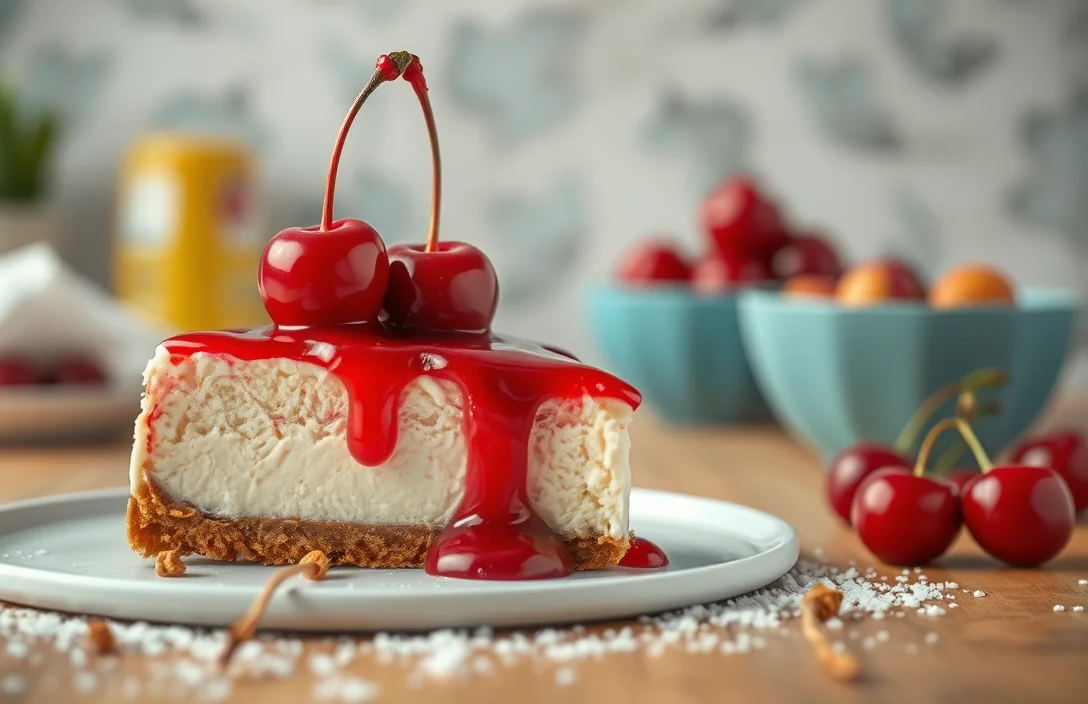
Easy Cherry Cheesecake Dump Cake: Quick 30-Minute Recipe
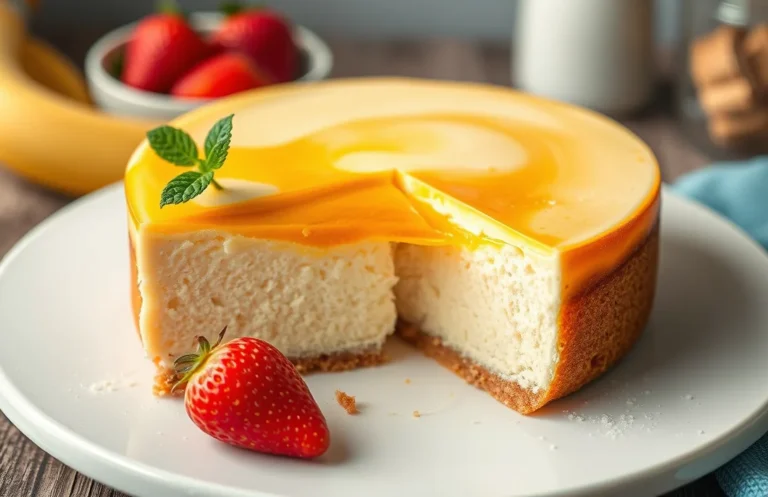
Cherry cheesecake dump cake is the ultimate comfort dessert that combines the rich, creamy goodness of cheesecake with the sweet-tart burst of cherries. This dish not only satisfies your sweet tooth but also brings warmth and nostalgia to the table, making it perfect for weeknight dinners or gatherings with friends and family.
Get ready to whip up this easy cherry cheesecake dump cake in just 10 minutes of prep time and 35 minutes of baking. It serves 8 people and is classified as easy, so even novice bakers can impress their guests!
| Prep Time | Cook Time | Total Time | Servings | Difficulty |
|---|---|---|---|---|
| 10 minutes | 35 minutes | 45 minutes | 8 | Easy |
Cherry Cheesecake Dump Origins
The cherry cheesecake dump cake is a delightful fusion of flavors and textures, combining the richness of cheesecake with the bright, tart sweetness of cherries. Its history is rooted in simplicity and comfort, making it a beloved dessert in many households.
- Cultural significance: The dump cake has become a staple in American baking, particularly in potlucks and family gatherings. Its ease of preparation means that anyone can whip it up, making it a go-to dessert for both novice and experienced bakers.
- When to serve: This dessert shines during summer picnics, holiday celebrations, or as a comforting treat after dinner. Its vibrant cherry topping and creamy cheesecake layer make it visually appealing for any occasion, from casual barbecues to festive dinners.
Ingredients for Cherry Cheesecake Dump
Gathering the right ingredients is crucial for creating a delicious cherry cheesecake dump cake. This list includes everything you need for the creamy cheesecake layer, the sweet cherry topping, and the crust that binds it all together. With precise measurements and specifications, you’ll be ready to whip up this delightful dessert in no time!
| Item | Amount/Specification | Notes |
|---|---|---|
| Cream cheese | 8 ounces (226g) | Softened to room temperature for easier mixing |
| Sour cream | ½ cup (120g) | Can substitute with Greek yogurt |
| Granulated sugar | 1 cup (200g) | Adjust to taste if you prefer less sweetness |
| Vanilla extract | 1 teaspoon | Use pure vanilla extract for best flavor |
| Cherry pie filling | 21 ounces (595g) | Can use fresh cherries if desired |
| All-purpose flour | 1 cup (120g) | For the crust, can substitute with gluten-free flour |
| Unsalted butter | ½ cup (113g) | Melted, can use coconut oil for dairy-free option |
| Brown sugar | ½ cup (100g) | Light or dark brown sugar works |
| Baking powder | 1 teaspoon | Ensures the crust rises nicely |
- Ensure cream cheese is fully softened; this prevents lumps in your cheesecake layer.
- If using fresh cherries, pit and halve them before adding to the filling.
- For a richer flavor, consider adding a pinch of salt to balance the sweetness.
Essential Kitchen Tools
Having the right tools on hand makes preparing your cherry cheesecake dump cake not only easier but also more enjoyable. Below is a list of essential kitchen equipment that will help you achieve the best results, along with some prep tips to keep in mind.
- Mixing Tools: You’ll need a large mixing bowl for combining your ingredients. A whisk is also essential for blending the cream cheese mixture until smooth. If you prefer, an electric mixer can save you time and effort, especially for getting that creamy texture.
- Baking Dish: A 9×13-inch (23×33 cm) baking dish is ideal for this recipe. Glass or ceramic dishes work well since they distribute heat evenly. Before using, ensure it’s clean and dry to prevent any sticking issues.
- Measuring Cups and Spoons: Accurate measurements are crucial for the perfect cherry cheesecake dump. Use standard measuring cups for both dry and liquid ingredients. A set of measuring spoons will help you get the exact amounts for smaller quantities, such as vanilla extract or baking powder.
Chef’s tip: Always double-check your measurements to avoid surprises in taste and texture!
Step-by-Step Cooking Instructions
In this section, we will break down the process of creating your cherry cheesecake dump cake into simple, manageable steps. Each part is crucial to achieving that creamy, fruity, and deliciously sweet dessert that is perfect for any occasion.
- Prepare the crust: Preheat your oven to 350°F (175°C). In a medium bowl, mix 1 cup of graham cracker crumbs (100g), ¼ cup of granulated sugar (50g), and ½ cup of melted unsalted butter (113g) until the mixture resembles wet sand. Press this mixture firmly into the bottom of a greased 9×13 inch baking dish. Bake for 10 minutes until it’s golden brown and fragrant, then let it cool slightly.
- Make the cheesecake layer: In a large mixing bowl, beat together 2 (8-ounce) packages of softened cream cheese (450g total) and ½ cup of granulated sugar (100g) using an electric mixer on medium speed until smooth and creamy, about 2-3 minutes. Add in 1 teaspoon of vanilla extract and 2 large eggs, one at a time, mixing until just combined. The mixture should be thick and glossy with no lumps.
- Add cherry topping: Once your cheesecake layer is prepared, gently pour it over the cooled crust in the baking dish. Spread evenly with a spatula. Next, pour 1 can (21 ounces) of cherry pie filling (595g) evenly over the cheesecake layer. Use a knife to swirl the cherry filling slightly into the cheesecake for a marbled effect. Bake in the preheated oven for 35-40 minutes. The cheesecake should be slightly set but still have a jiggle in the center.
Pro Tips for Success
Mastering the cherry cheesecake dump cake is all about avoiding common pitfalls and perfecting the cheesecake texture. Follow these expert tips to ensure your dessert turns out deliciously every time.
Avoiding a Soggy Crust
- Use a sturdy base: Opt for a combination of graham cracker crumbs and melted butter. Aim for 1 ½ cups of crumbs mixed with ½ cup of butter, ensuring the mixture is well-combined and evenly packed into your baking dish.
- Pre-bake the crust: For a firmer texture, pre-bake the crust at 350°F (175°C) for 8-10 minutes. This will help set the base and prevent it from becoming soggy when the cheesecake filling is added.
- Drain excess liquid: If using canned cherries, drain them thoroughly before adding to the cake. Excess liquid can make the crust mushy, so ensure the cherries are well-drained for the best results.
Perfecting the Cheesecake Texture
- Beat the cream cheese well: Use 8 ounces of softened cream cheese, and beat it until smooth and fluffy. This ensures there are no lumps and gives the cheesecake a creamy texture.
- Incorporate eggs gradually: Add 2 large eggs one at a time, mixing just until combined. Overmixing can lead to a dense texture, so mix gently to maintain a light and airy filling.
- Cool properly: After baking, allow the cheesecake to cool in the pan for at least an hour before refrigerating. This helps prevent cracks and sets the texture nicely.
Variations and Substitutions
This section offers ideas for modifying the cherry cheesecake dump to suit various dietary preferences and needs. Whether you’re gluten-free, vegan, or simply want to switch up the flavors, these variations will help you customize this delightful dessert while maintaining its signature taste and texture.
Gluten-Free Options
If you need a gluten-free version of the cherry cheesecake dump, you can easily substitute the cake mix with a gluten-free cake mix. Look for a brand that measures cup-for-cup with regular cake mixes. Additionally, ensure that the cherry pie filling is gluten-free as well, as some brands may contain additives.
Vegan Alternatives
For a vegan version, use the following substitutions:
- 1 box of vegan cake mix (check for dairy-free options)
- 1 can of coconut cream instead of cream cheese; chill it in the refrigerator overnight, then scoop out the solid part and whip it until fluffy
- Replace eggs in the cake mix with 1/4 cup unsweetened applesauce per egg, or use a flax egg (1 tablespoon ground flaxseed mixed with 2.5 tablespoons water)
Different Fruit Toppings
While cherries are classic, feel free to experiment with other fruit toppings:
- Blueberries: Use 1 can of blueberry pie filling for a berry twist.
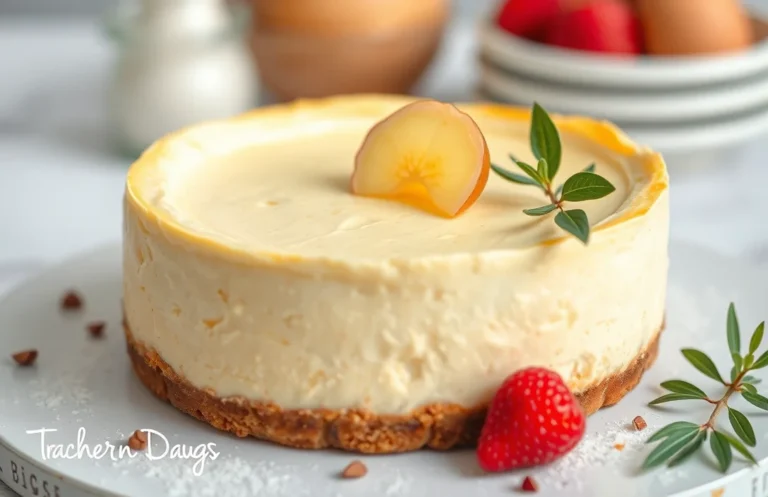
- Peaches: Substitute with 1 can of peach pie filling for a summery flavor.
- Mixed Berries: Combine 1 can of mixed berry filling for a vibrant dessert.
Chef’s tip: If using fresh fruit, toss it with a bit of sugar to enhance the sweetness and release juices.
| Ingredient | Regular | Gluten-Free | Vegan |
|---|---|---|---|
| Cake Mix | 1 box | 1 box gluten-free | 1 box vegan |
| Cream Cheese | 8 oz | 8 oz gluten-free | 1 can coconut cream |
| Eggs | 2 | 2 | 1/2 cup applesauce (or 2 flax eggs) |
Serving and Plating Ideas
Presenting your cherry cheesecake dump cake beautifully can elevate its appeal and make it a standout dessert for any occasion. Simple garnishes and thoughtful pairings can enhance the flavors and make your serving experience even more delightful.
Garnishes
- Whipped Cream: A dollop of freshly whipped cream on top adds a light, airy texture. Use 1 cup (240ml) of heavy cream whipped with 2 tablespoons of powdered sugar until soft peaks form.
- Fresh Cherries: Scatter a handful of fresh cherries on top for a pop of color and a burst of flavor.
- Mint Leaves: A few sprigs of fresh mint can add a refreshing contrast to the sweetness of the cake.
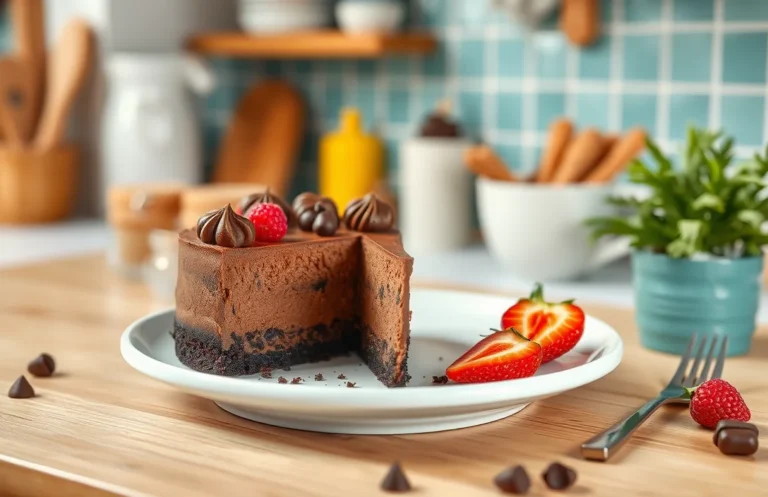
- Chocolate Shavings: For a touch of elegance, sprinkle dark chocolate shavings on top.
Pairing Suggestions
To complement the flavors of your cherry cheesecake dump cake, consider serving it alongside:
- Vanilla Ice Cream: The creamy texture pairs beautifully with the rich cheesecake.
- Berry Compote: A warm berry sauce can enhance the fruity notes of the cherries.
- Espresso or Coffee: A strong cup of coffee balances the sweetness effectively.
Serving Temperature
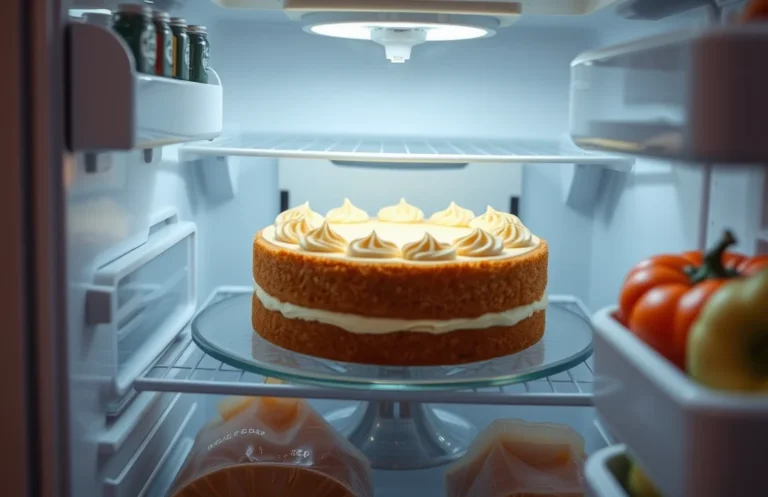
For the best flavor and texture, serve the cherry cheesecake dump cake slightly warm or at room temperature. If you prefer it chilled, allow it to cool completely in the refrigerator for at least 2 hours before serving. Just ensure that you let it sit out for about 10-15 minutes to take the chill off before serving.
Chef’s tip: If your dump cake has cooled and you want to warm it up, microwave individual portions for 15-20 seconds for a cozy treat.
Quick Summary
| Prep Time | Cook Time | Total Time | Servings |
|---|---|---|---|
| 15 minutes | 35 minutes | 50 minutes | 8 servings |
- Layer ingredients: Start with a layer of crushed graham crackers at the bottom of your baking dish.
- Mix cream cheese: Beat 16 oz of cream cheese with 1 cup of sugar until smooth.
- Add cherries: Spread 2 cups of cherry pie filling evenly over the cream cheese mixture.
- Bake: Place in a preheated oven at 350°F for 35 minutes.
- Cool before serving: Let it cool for at least 15 minutes to set properly.
- Key ingredient: Use full-fat cream cheese for a rich, creamy texture.
- Don’t overbake: Keep an eye on it to prevent cracking on top.
- Chill before serving: Refrigerate for a few hours for better flavor and texture.
Frequently Asked Questions
Can I make this ahead of time? How to store and reheat?
You can definitely make the cherry cheesecake dump ahead of time; just cover it tightly with plastic wrap and refrigerate for up to 3 days. To reheat, pop it in the oven at 350°F (175°C) for about 15-20 minutes until warmed through.
What can I substitute for cream cheese?
If you need a substitute for cream cheese, you can use mascarpone cheese for a similar texture and flavor. Alternatively, a mix of ricotta cheese and a bit of sour cream can work if you’re in a pinch.
How do I know when it’s done?
Your cherry cheesecake dump is done when the center is slightly jiggly but set, which usually takes about 40-45 minutes in the oven at 350°F (175°C). It should also be lightly browned around the edges.
Can I freeze this? How long does it last?
You can freeze the cherry cheesecake dump for up to 2 months if wrapped tightly in plastic wrap and then aluminum foil. Thaw it overnight in the refrigerator before serving for the best texture.
What if I don’t have a 9×13-inch pan?
If you don’t have a 9×13-inch pan, you can use a large round cake pan or even a larger square pan; just adjust the baking time slightly. Keep an eye on it, as it may take a few minutes longer or shorter depending on the pan size.