Make Cheesecake Ahead: Best Tips for Freshness & Storage Up to 5 Days
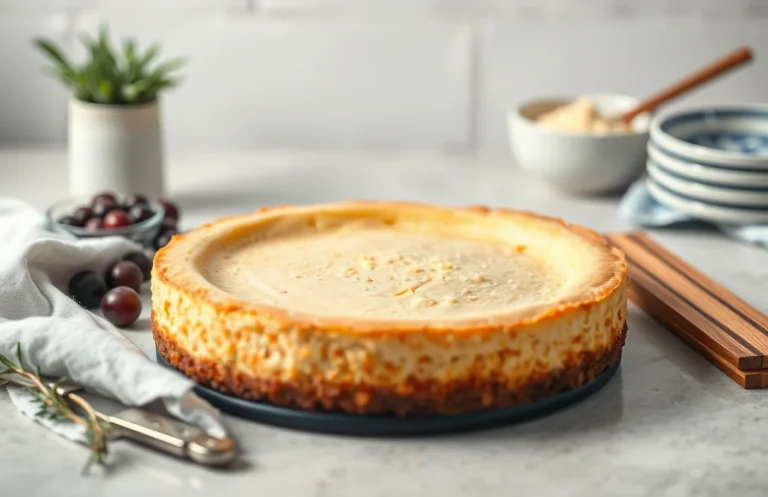
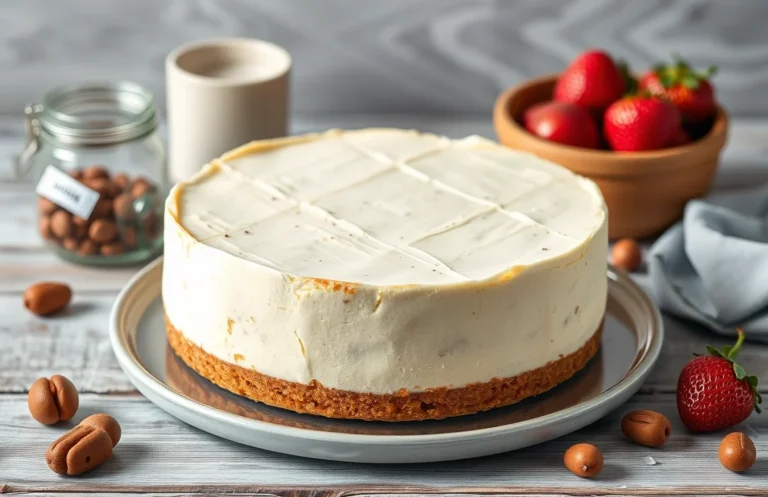
Cheesecake is that luscious dessert that brings smiles to every gathering, creamy and rich with a buttery crust that crumbles just right. Whether it’s a birthday, holiday, or just a Tuesday, this indulgent treat never fails to impress. You can taste the love in every bite, making it the perfect crowd-pleaser.
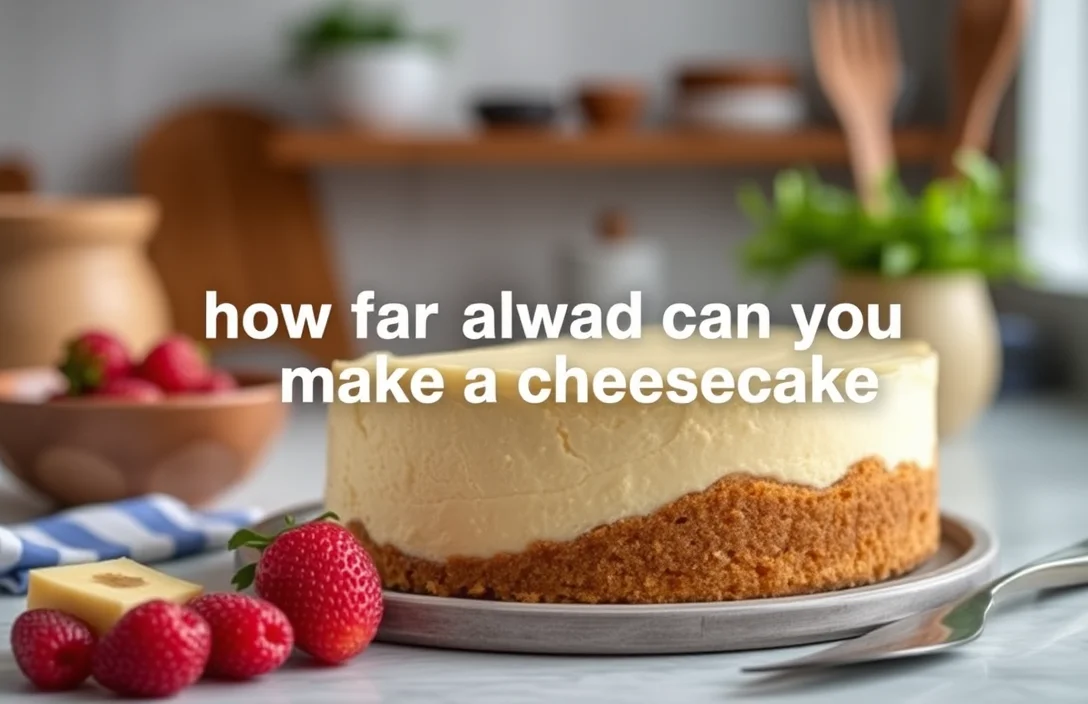
Wondering how far ahead you can make a cheesecake? You’ll find that cheesecakes can be prepared up to 3 days in advance if refrigerated, or even up to 3 months if frozen. This guide includes storage tips, recipe adjustments, and serving suggestions to ensure your cheesecake is always a hit!
| Prep Time | 20 minutes |
|---|---|
| Cook Time | 60 minutes |
| Total Time | 1 hour 20 minutes |
| Servings | 8 |
| Difficulty | Medium |
Cheesecake Background
Understanding the background of cheesecake not only enriches your knowledge but also enhances your cooking experience. Cheesecake has a rich history and unique characteristics that make it a beloved dessert, perfect for various occasions.
Origin of Cheesecake
Cheesecake is believed to date back to ancient Greece, where it was served to athletes during the first Olympic Games in 776 B.C. The Romans later adapted this dessert, spreading it across Europe. Today, cheesecake has evolved into numerous regional varieties, from the classic New York style to ricotta-based Italian versions.
What Makes Cheesecake Special
The creamy texture and rich flavor of cheesecake come from its main ingredients: cream cheese, sugar, and eggs. Some key features include:
- Texture: A perfect cheesecake should be smooth and creamy, not grainy.
- Flavor: The balance of sweetness and tanginess, especially from the cream cheese, makes it irresistible.
- Crust: A buttery graham cracker or digestive biscuit crust adds a delightful crunch that complements the filling.
Occasions for Serving
Cheesecake serves as a versatile dessert, suitable for various occasions including:
- Birthdays
- Holidays
- Weddings
- Celebrations and gatherings
Chef’s tip: A well-made cheesecake can be prepared ahead of time, allowing flavors to meld and improve. This makes it an excellent choice for busy hosts!
Ultimately, knowing the background of cheesecake can help you appreciate the nuances involved in making this delicious dessert. In the next section, we will discuss the essential ingredients needed for a perfect cheesecake.
Ingredients for Cheesecake
Understanding the ingredients for cheesecake is crucial when planning to make it ahead of time. The quality and freshness of your ingredients can significantly impact the taste and texture of your finished dessert, especially if you’re storing it for later. Here’s a detailed list of what you’ll need, including exact measurements for each component.
| Item | Amount/Specification | Notes |
|---|---|---|
| Cream Cheese | 24 oz (680g) | Softened to room temperature for easy mixing |
| Sugar | 1 cup (200g) | Granulated sugar works best for sweetness |
| Brown Sugar | ½ cup (100g) | Adds depth of flavor; can be substituted with more granulated sugar |
| Vanilla Extract | 1 teaspoon | Pure vanilla extract is preferred |
| Eggs | 3 large | At room temperature for better emulsification |
| Crust Ingredients (Graham Cracker Crumbs) | 1 ½ cups (150g) | Can substitute with gluten-free crumbs |
| Unsalted Butter | ½ cup (115g) | Melted and slightly cooled |
| Salt | ¼ teaspoon | Enhances flavor |
- For the best texture, ensure the cream cheese is fully softened before mixing.
- If you plan to freeze the cheesecake, skip adding any toppings until you’re ready to serve.
- Store in an airtight container in the refrigerator for up to 5 days or in the freezer for up to 3 months.
- Thaw frozen cheesecake overnight in the refrigerator for optimal texture.
Essential Kitchen Tools
Having the right tools is crucial for making a cheesecake that not only tastes great but also holds its texture over time. This section outlines the essential equipment you’ll need to ensure your cheesecake turns out perfectly, whether you’re making it ahead of time or serving it fresh.
- Mixer and Mixing Bowls: A stand mixer or a hand mixer is essential for achieving a smooth and creamy cheesecake batter. Use a large mixing bowl (at least 4 quarts) to accommodate the volume of cream cheese and other ingredients. Aim to beat the cream cheese until it is completely smooth, with no lumps remaining, which typically takes about 3-5 minutes on medium speed.
- Springform Pan: A 9-inch springform pan is the best choice for cheesecake, allowing for easy removal once the cake has set. Ensure the pan is tightly sealed to prevent any water from seeping in during the water bath method, if used. Grease the bottom and sides lightly with butter to help the cheesecake release easily after baking.
- Oven and Cooling Rack: Preheat your oven to 325°F (160°C) for optimal baking. A cooling rack is essential for allowing your cheesecake to cool evenly after baking, preventing condensation from forming on the bottom. Once out of the oven, let it cool for at least 1 hour at room temperature, then refrigerate for a minimum of 4 hours or overnight for the best flavor and texture.
Cheesecake Preparation Steps
Understanding the steps to prepare a cheesecake is crucial, especially if you’re planning to make it ahead of time. Proper preparation not only ensures a delicious result but also allows for better storage and freshness when serving. Here’s how to make a cheesecake step-by-step.
- Preparing the Crust: Start by preheating your oven to 350°F (175°C). In a mixing bowl, combine 1 ½ cups (150g) of graham cracker crumbs, ⅓ cup (40g) of granulated sugar, and ½ cup (115g) of melted unsalted butter. Mix until the crumbs are evenly coated. Press this mixture firmly into the bottom of a 9-inch (23cm) springform pan. Bake for 10 minutes until lightly golden, then let it cool completely.
- Mixing the Filling: In a large bowl, beat 24 ounces (680g) of softened cream cheese using an electric mixer on medium speed until smooth, about 2-3 minutes. Gradually add 1 cup (200g) of granulated sugar and mix until creamy. Add 3 large eggs, one at a time, mixing just until incorporated. Finally, mix in 1 teaspoon of vanilla extract and ½ cup (120ml) of sour cream, blending until smooth. The mixture should be thick and creamy without lumps.
- Baking and Cooling: Pour the filling into the cooled crust and smooth the top with a spatula. Bake in the preheated oven for 50-60 minutes until the edges are set but the center still jiggles slightly. Turn off the oven and let the cheesecake cool in the oven for 1 hour with the door slightly ajar to prevent cracking. After that, refrigerate for at least 4 hours, or overnight for best results.
Chef’s tip: If you want to make the cheesecake ahead of time, it can be stored in the refrigerator for up to 5 days or frozen for up to 2 months. Just ensure it is well-wrapped to prevent freezer burn.
Storage Tips for Freshness
Proper storage of your cheesecake is essential to maintain its creamy texture and rich flavor, especially if you’re preparing it ahead of time. Here, I’ll share the best practices for refrigeration and freezing, along with tips for thawing, so your cheesecake stays delightful until it’s time to serve.
Refrigeration Guidelines
- After baking, allow the cheesecake to cool to room temperature for about 1 hour.
- Wrap the cheesecake tightly in plastic wrap or foil to prevent it from absorbing odors, which can affect the flavor.
- Store in the refrigerator at a temperature of 34°F to 40°F (1°C to 4°C).
- For optimal freshness, consume within 5 to 7 days. The texture may start to change after that.
Freezing Instructions
- To freeze your cheesecake, make sure it’s completely cooled and set.
- Wrap it tightly in plastic wrap, followed by a layer of aluminum foil to avoid freezer burn.
- Place it in an airtight container to further protect it.
- Frozen cheesecake can last up to 2 to 3 months in the freezer.
Chef’s tip: For best results, freeze individual slices rather than the whole cheesecake. This makes it easier to thaw only what you need!
Thawing Tips
To thaw a frozen cheesecake:
- Transfer it to the refrigerator and allow it to thaw overnight. This method keeps the texture intact.
- For quicker thawing, you can leave it at room temperature for about 1 to 2 hours, but be cautious to avoid any temperature fluctuations that could affect the creaminess.
| Storage Method | Time Frame |
|---|---|
| Refrigerator | 5 to 7 days |
| Freezer | 2 to 3 months |
Adjusting Recipes for Advance Making
When preparing a cheesecake ahead of time, it’s essential to make some adjustments to the recipe for optimal freshness and flavor. This section will guide you through the necessary ingredient modifications, baking time alterations, and cooling considerations to ensure your cheesecake is just as delicious when served later.
- Ingredients Adjustments: If you plan to make your cheesecake a few days in advance, consider using a higher fat cream cheese, like full-fat (8 oz/226g), to maintain a rich texture. Additionally, you can add 1 tablespoon of cornstarch to the filling, which helps stabilize the cheesecake and prevents cracking during storage.
- Baking Time Modifications: For cheesecakes made ahead, you might need to adjust the baking time. Bake at 325°F (163°C) for about 50-60 minutes, instead of the usual 45 minutes. The cheesecake is done when the edges are set but the center still has a slight jiggle, indicating a creamy texture.
- Cooling Considerations: After baking, let your cheesecake cool in the pan for at least 1 hour at room temperature. Then, refrigerate for at least 4 hours, ideally overnight, to allow it to set fully. If you’re freezing, wrap it tightly in plastic wrap and aluminum foil to avoid freezer burn; it can last up to 2 months. When ready to serve, thaw it in the fridge overnight for the best texture.
Chef’s tip: Always taste your cheesecake batter before baking to adjust sweetness or flavor to your liking!
Serving and Plating Ideas
When it comes to serving your cheesecake, presentation and pairing can elevate the experience. With the right garnishes and beverages, you can create a delightful experience that complements your cheesecake, even if it was made days in advance.
Garnishing Options
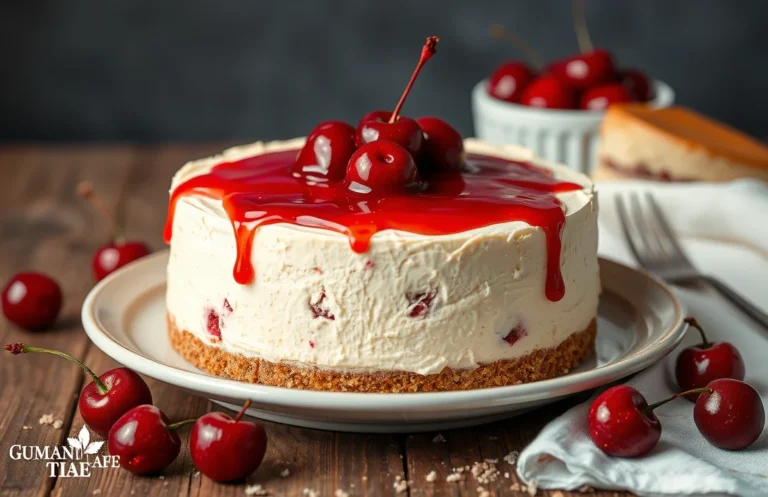
- Fresh Berries: Top your cheesecake with a mix of sliced strawberries, blueberries, and raspberries for a bright, refreshing touch. Aim for about 1 cup of mixed berries.
- Chocolate Shavings: Use a vegetable peeler to create shavings from a chocolate bar. About 2 ounces of dark chocolate works beautifully.
- Citrus Zest: Add a sprinkle of lemon or orange zest for a zesty finish. Use the zest of half a lemon or orange.
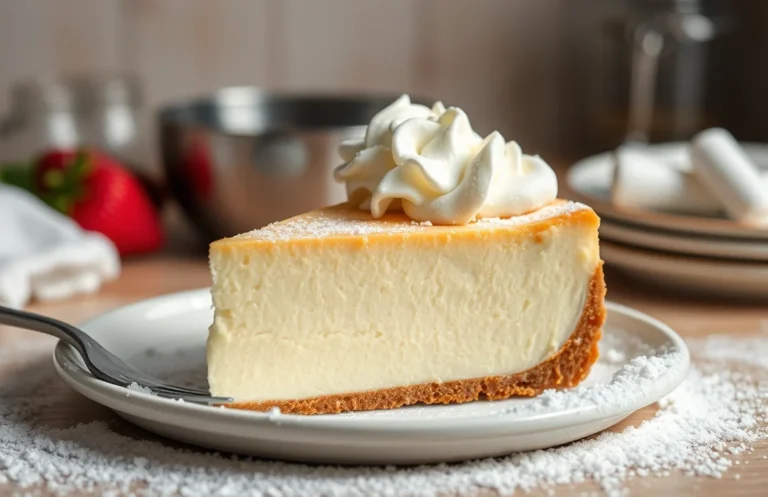
- Whipped Cream: Pipe or dollop homemade whipped cream (1 cup heavy cream, whipped to soft peaks) on top for a creamy contrast.
Pairing Beverages
Choosing the right drink can enhance the flavors of your cheesecake. Here are some great options:
| Beverage | Notes |
|---|---|
| Sweet Wine (e.g., Moscato) | The sweetness complements the rich flavors of cheesecake. |
| Espresso or Coffee | The bitterness balances the creaminess of the cake. |
| Herbal Tea (e.g., chamomile) | A soothing option that pairs well with fruity cheesecake. |
Serving Temperature Recommendations
For the best texture and flavor, serve cheesecake chilled. Ideally, let it sit at room temperature for about 20-30 minutes before slicing. This allows the flavors to bloom and makes slicing easier. If your cheesecake has been frozen, transfer it to the refrigerator 24 hours prior to serving to ensure it thaws evenly.
Chef’s tip: Always use a sharp knife for slicing to achieve clean edges. Dip the knife in hot water and wipe it dry between cuts for the best results.
Quick Summary
| Prep Time | 20 minutes |
|---|---|
| Cook Time | 60 minutes |
| Total Time | 24 hours (including chilling) |
| Servings | 8 slices |
- Chill for best results: Refrigerate cheesecake for at least 6 hours, but overnight is ideal.
- Make-ahead tip: Cheesecake can be made up to 3 days in advance.
- Use room temperature ingredients: Ensure cream cheese and eggs are at room temperature for a smooth batter.
- Bake in a water bath: Prevent cracks by using a water bath during baking.
- Cool gradually: Let the cheesecake cool in the oven with the door ajar to avoid sudden temperature changes.
Frequently Asked Questions
Can I make this ahead of time? How to store and reheat?
You can make a cheesecake up to 3 days in advance. Store it covered in the refrigerator to keep it fresh and avoid any odors from other foods.
What can I substitute for cream cheese?
If you need a substitute, you can use mascarpone cheese or a blend of ricotta and sour cream for a similar texture and flavor. Keep in mind that it may slightly alter the taste and creaminess.
How do I know when it’s done?
Your cheesecake is done when the edges are set, but the center should still have a slight wobble when you gently shake the pan. It will continue to firm up as it cools, so don’t overbake!
Can I freeze this? How long does it last?
Yes, you can freeze cheesecake for up to 3 months. Wrap it tightly in plastic wrap and then in aluminum foil to prevent freezer burn.
Why did my cheesecake turn out cracked?
Cracks often occur due to overbaking or sudden temperature changes, like cooling too quickly. To prevent this, bake in a water bath and allow it to cool gradually in the oven with the door ajar.

- Decadent Peanut Butter No-Bake Cheesecake: Easy Recipe to Indulge - April 3, 2026
- Delicious Mango No-Bake Cheesecake: Step-by-Step Recipe - April 3, 2026
- Decadent Raspberry No-Bake Cheesecake: Easy Step-by-Step Recipe - April 3, 2026