Prepare Cookie Crust for Cheesecake: Timing and Storage Tips
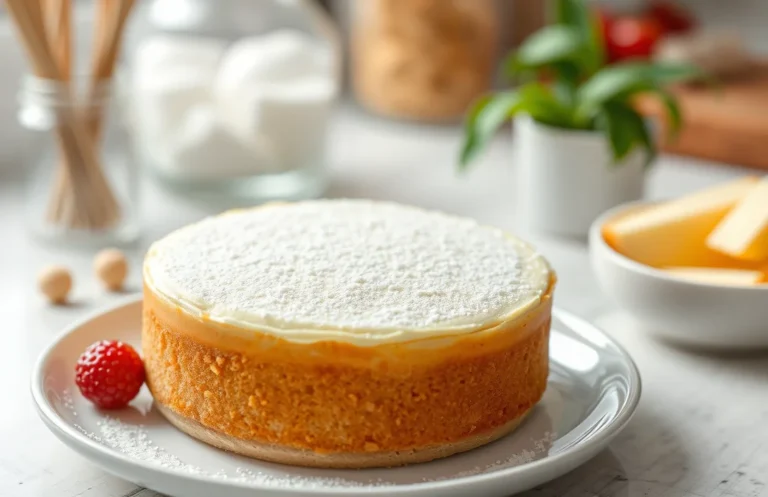
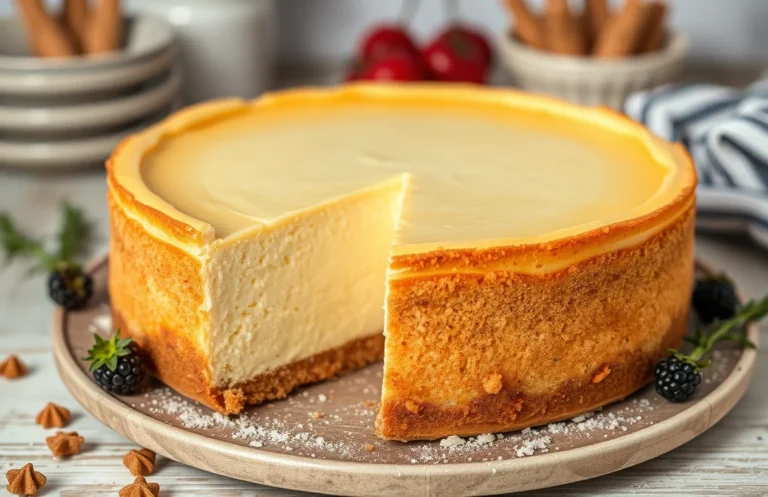
There’s something irresistible about a homemade cheesecake with a buttery, crisp cookie crust. It’s the kind of dessert that can turn an ordinary day into a special occasion, making it a favorite for gatherings and cozy nights in. Each bite combines creamy richness with that perfect crunch, truly a match made in heaven.
In this guide, you’ll learn how far ahead you can prepare your cookie crust for cheesecake, including storage tips and best practices to keep it fresh. Total time is 15 minutes, difficulty is easy, and it serves 8.
| Prep Time | Cook Time | Total Time | Servings | Difficulty |
|---|---|---|---|---|
| 10 minutes | 5 minutes | 15 minutes | 8 | Easy |
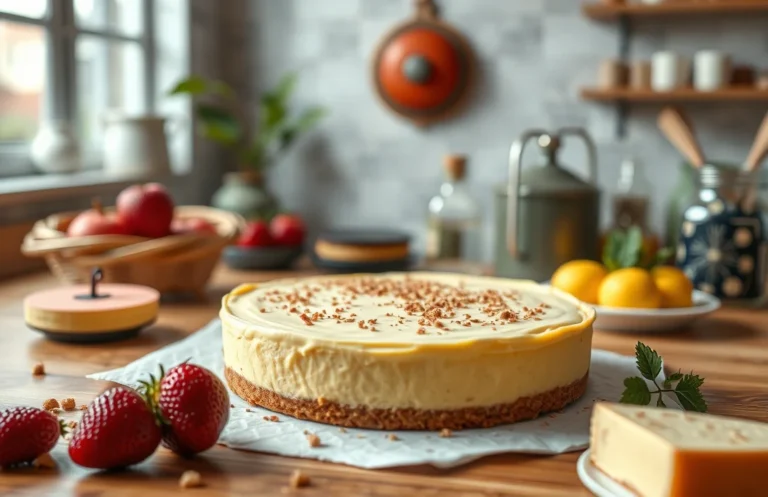
History of Cheesecake Crusts
The origins of cheesecake crusts are deeply rooted in culinary history, reflecting various cultures’ ingenuity in dessert-making. Understanding the significance of cookie crusts not only enhances your appreciation for cheesecakes but also informs your choices when preparing them ahead of time.
- Cultural Origins: Cheesecake has been enjoyed for centuries, with its earliest forms dating back to ancient Greece. The Greeks used a simple mixture of cheese and honey, while the Romans adapted it with their own ingredients. The introduction of cookie crusts, particularly in America, evolved from a desire to simplify the preparation process and enhance flavor.
- Why Cookie Crusts? Cookie crusts, such as those made from graham crackers or digestive biscuits, became popular for their convenience and rich flavor. They provide a crunchy contrast to the creamy filling, creating a delightful texture balance. This type of crust can be made ahead of time, allowing you to focus on the cheesecake filling itself.
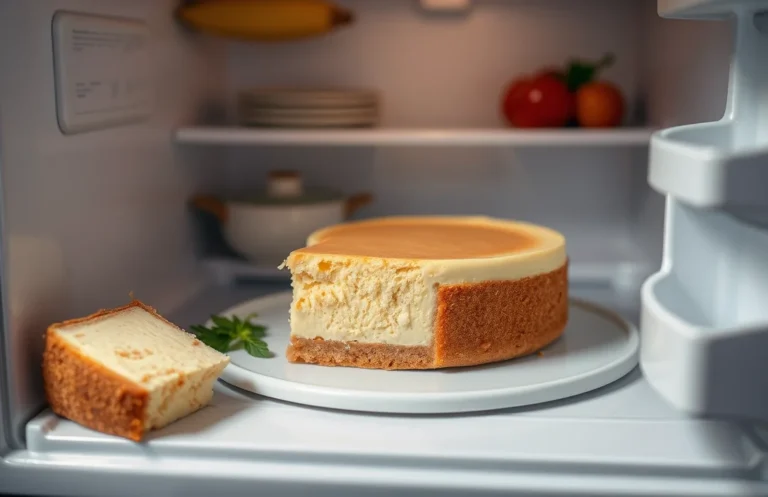
- Storage and Preparation: The ability to prepare cookie crusts in advance is a significant advantage for home cooks. A well-made crust can be stored in the refrigerator for up to a week or frozen for several months, maintaining its texture and flavor. Proper storage is essential to prevent sogginess, so ensure it is tightly wrapped or placed in an airtight container.
Ingredients for Cookie Crust
Preparing a cookie crust ahead of time can save you valuable moments when making a cheesecake. Here, you’ll find the exact measurements needed for a delicious cookie crust, along with insights into different types of cookies and essential ingredients. Knowing the right components will ensure your crust maintains its flavor and texture, even if prepared in advance.
| Item | Amount/Specification | Notes |
|---|---|---|
| Cookies (e.g., Graham crackers, Oreos) | 1 ½ cups (150g) crushed | Choose your favorite cookie for flavor; Oreos have a richer taste. |
| Unsalted butter | ½ cup (113g), melted | For a richer flavor, use high-quality butter. |
| Sugar (optional) | 2 tablespoons (25g) | Adjust based on cookie sweetness; omit if using sweet cookies. |
| Salt | ¼ teaspoon | Enhances flavor; don’t skip this! |
- For a gluten-free option, substitute regular cookies with gluten-free cookies.
- Allow the melted butter to cool slightly before mixing to avoid melting the cookie crumbs.
- Press the crust firmly into the pan for a sturdy base; a flat-bottomed measuring cup works well for this.
- If using a springform pan, line the bottom with parchment paper for easy removal.
- Store prepared crust in the fridge, wrapped tightly, for up to 2 days before filling.
Essential Kitchen Tools
Preparing a cookie crust for cheesecake requires some essential kitchen tools to ensure that your crust turns out perfectly. Using the right equipment not only makes the process easier but also helps in achieving the desired texture and flavor of the crust.
| Item | Amount/Specification | Notes |
|---|---|---|
| Mixing Bowl | 1 large (at least 3-quart capacity) | A sturdy bowl is essential for mixing the crust ingredients without spilling. |
| 9-inch Springform Pan | 1 | Optimal for cheesecakes; the removable bottom allows for easy release. |
| Rubber Spatula | 1 | Perfect for scraping down the sides of the bowl and transferring the crust mixture. |
| Food Processor | Optional | Great for finely crushing cookies if you prefer a smoother crust. |
| Measuring Cups and Spoons | Set | Accurate measurements are key to achieving the right consistency. |
- Tip: If you’re using a food processor, pulse the cookies into crumbs for about 15-20 seconds until fine.
- Storage: If preparing ahead, keep the crust tightly wrapped in plastic wrap and store in the refrigerator for up to 2 days.
- For long-term storage, freeze the crust for up to 3 months; just remember to let it thaw completely before filling.
Step-by-Step Crust Preparation
Creating a cookie crust for your cheesecake is a straightforward process that can be done ahead of time to save you stress on the day of serving. Properly preparing and storing the crust ensures it maintains its texture and flavor, making your cheesecake a delicious treat.
- Crushing the Cookies: Start with 1 ½ cups (150g) of your favorite cookies, such as Oreos or Graham crackers. Place them in a food processor and pulse until they reach a fine crumb consistency. If you don’t have a food processor, you can put the cookies in a resealable plastic bag and crush them with a rolling pin until finely ground.
- Mixing with Butter: In a medium bowl, combine the crushed cookies with ½ cup (113g) of melted unsalted butter. Stir until the mixture resembles wet sand and holds together when pressed. This step is crucial as the butter provides the necessary fat to bind the crust.
- Pressing into the Pan: Preheat your oven to 350°F (175°C). Transfer the cookie mixture into a 9-inch (23cm) springform pan and press it evenly across the bottom and up the sides with your fingers or the back of a measuring cup. Make sure to pack it tightly to prevent it from crumbling after baking.
- Baking the Crust: Bake the crust in the preheated oven for 8-10 minutes until it’s slightly firm to the touch and smells fragrant. Allow it to cool completely before adding your cheesecake filling. This cooling step is important to ensure your filling doesn’t melt the crust.
- Storage Tips: Once cooled, the crust can be made up to 2 days in advance. Cover it tightly with plastic wrap and store it in the refrigerator. If you need to prepare it further in advance, you can freeze it for up to 2 months. Just be sure to wrap it well to prevent freezer burn.
Timing for Crust Preparation
Knowing how far in advance you can prepare your cookie crust for cheesecake is essential for smooth baking. It allows you to plan your dessert preparation without last-minute stress, ensuring the crust maintains its flavor and texture.
- Same Day: Preparing your cookie crust on the same day as baking the cheesecake is ideal. This ensures the crust is fresh, with a delightful crunch and rich flavor. After baking the crust at 350°F (175°C) for about 10-12 minutes, let it cool completely before adding the cheesecake filling.
- 1-2 Days Ahead: If you’re short on time, you can make your cookie crust 1-2 days in advance. Once the crust has cooled, wrap it tightly in plastic wrap or store it in an airtight container at room temperature. This will keep the crust from becoming stale, though it may lose a bit of its initial crispness.
- 1 Week Ahead: For longer prep times, making the crust up to a week in advance is possible. After baking and cooling, freeze the crust by wrapping it tightly in plastic wrap and then placing it in a resealable freezer bag. Thaw in the refrigerator overnight before adding the filling to ensure it retains its flavor and texture. Be aware that freezing may slightly alter the texture, so it’s best to consume it within a week for optimal taste.
Storage Techniques for Crust
Storing your cookie crust properly is essential to maintain its freshness and flavor for your cheesecake. Knowing how to wrap and freeze your crust will help you prepare it ahead of time without compromising on taste or texture.
- Wrapping Methods: After preparing your cookie crust, allow it to cool completely if you baked it. Wrap the crust tightly in plastic wrap, ensuring there are no air pockets. This will prevent moisture from seeping in and affecting the texture. If you plan to store it for longer, consider double-wrapping it with aluminum foil for extra protection.
- Freezing Tips: If you’re preparing the crust more than a few days in advance, freezing is your best option. Place the wrapped crust in an airtight container or a heavy-duty freezer bag. Label it with the date and type of crust, and it can be stored for up to 3 months. When you’re ready to use it, simply thaw it in the refrigerator overnight. Ensure it’s fully thawed before using it to prevent any crumbly texture.
Chef’s tip: For the best results, consider pressing the crust into your cheesecake pan before freezing. This way, it’ll hold its shape perfectly when you’re ready to fill it.
Texture and Flavor Maintenance
Maintaining the texture and flavor of your cookie crust is crucial for a delicious cheesecake. Preparing your crust ahead of time can save you effort, but it’s essential to know how to store it properly to avoid any changes in quality.
- Avoiding Sogginess: To prevent your crust from becoming soggy, ensure it is completely cooled before storing. If you prepare it a day ahead, let it cool for at least 30 minutes at room temperature before wrapping it tightly in plastic wrap. For longer storage, consider placing it in an airtight container to keep moisture out.
- Flavor Preservation: Cookie crusts can be stored in the refrigerator for up to 3 days without significant loss of flavor. To enhance the taste, consider adding a pinch of salt or a teaspoon of vanilla extract to the crust mixture. If you’re storing it longer, freeze it for up to 2 months, ensuring it’s well-wrapped to prevent freezer burn.
- Thawing Guidelines: If you freeze your crust, thaw it in the refrigerator for 4-6 hours before using it. This gradual thawing helps maintain its structure. If you notice any moisture, gently pat it dry with a paper towel before filling it with cheesecake batter.
- Common Mistakes: A common mistake is not allowing the crust to cool completely before storage, which can lead to sogginess. Always check that it’s fully cooled to room temperature. Additionally, avoid over-processing the cookie crumbs; they should be fine but not powdery to ensure a good texture.
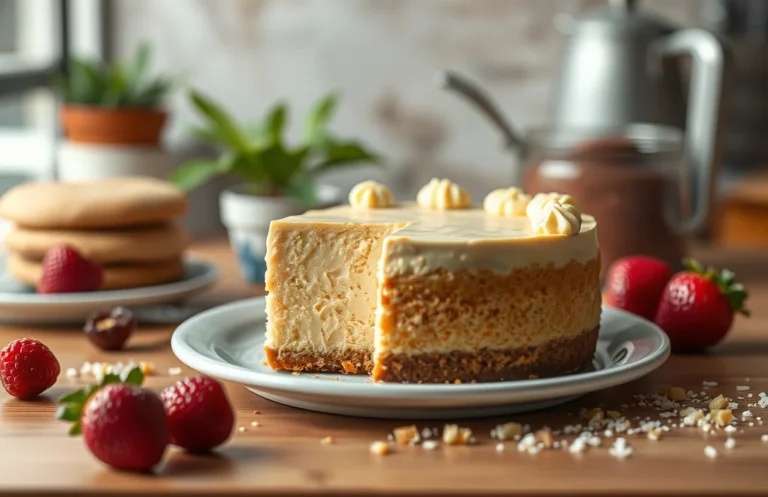
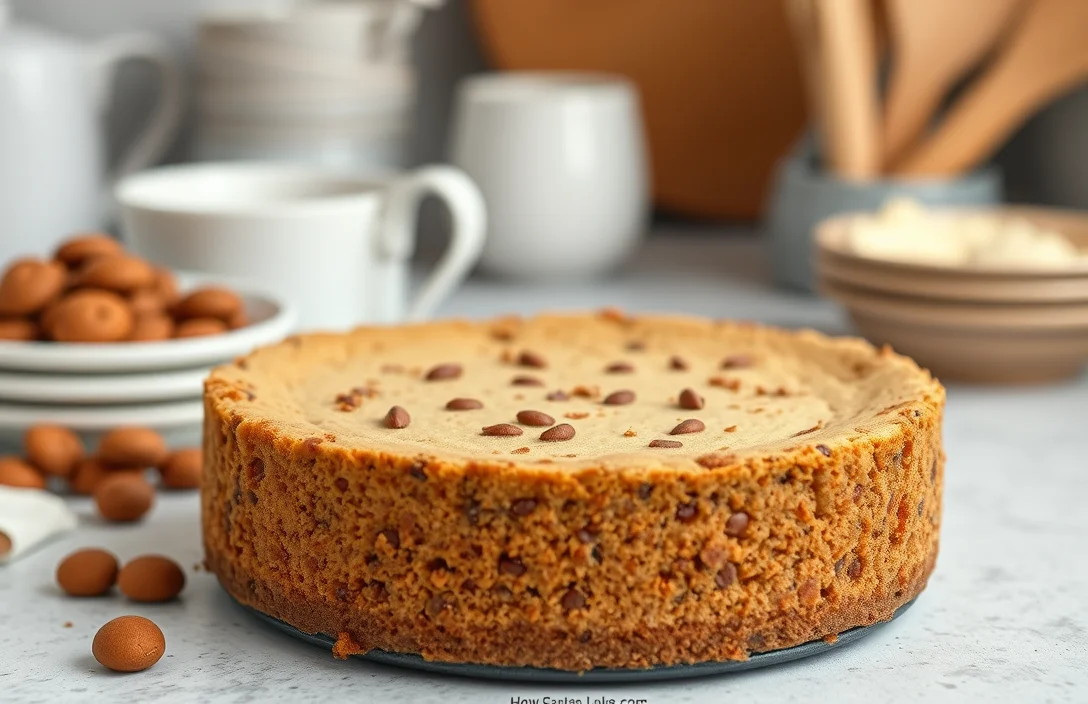
Cookie Crust Variations
Exploring cookie crust variations can elevate your cheesecake and cater to different dietary needs. Whether you’re looking for gluten-free options or vegan substitutes, these alternatives can still provide that delightful base while allowing you to prepare ahead of time.
Gluten-Free Options
If you’re avoiding gluten, you can create an equally delicious crust using gluten-free cookies or alternative flours. Here are some ideas:
- 1 ½ cups gluten-free graham cracker crumbs (150g)
- ½ cup unsalted butter, melted (113g)
- 2 tablespoons sugar (25g)
Combine the crumbs, melted butter, and sugar in a bowl until well mixed. Press into the bottom of your cheesecake pan and bake at 325°F (163°C) for 10-12 minutes, until lightly golden. This crust can be made up to 3 days in advance and stored in the fridge, wrapped tightly in plastic wrap.
Vegan Substitutes
For a vegan cookie crust, you can swap traditional ingredients for plant-based alternatives:
- 1 ½ cups vegan chocolate sandwich cookies, crushed (150g)
- ½ cup coconut oil, melted (113g)
- 2 tablespoons maple syrup (30ml)
Mix the crushed cookies, melted coconut oil, and maple syrup until combined. Press firmly into your pan and chill for 30 minutes before adding your cheesecake filling. This crust can be prepared 2 days in advance and stored in the refrigerator.
Chef’s tip: Always let the crust cool completely before adding the filling to ensure a well-set cheesecake.
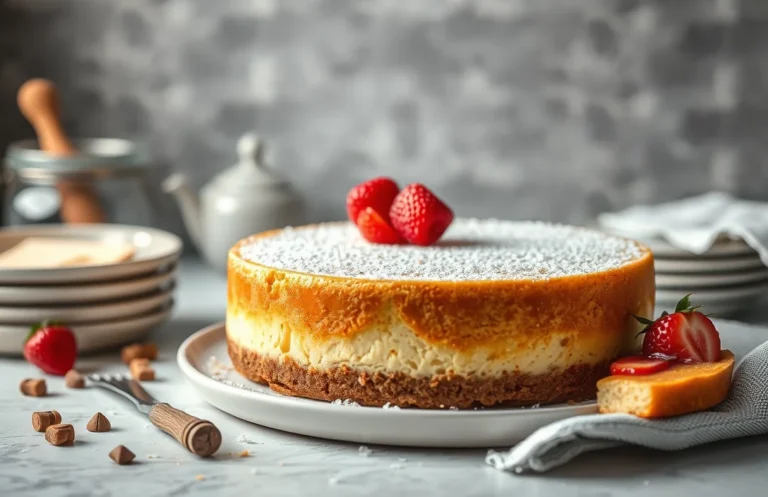
Quick Summary
| Prep Time | Cook Time | Total Time | Servings |
|---|---|---|---|
| 10 minutes | 10 minutes | 20 minutes | 8 servings |
- Chill the crust: Prepare the cookie crust up to 2 days in advance and refrigerate.
- Bake at 350°F: Preheat your oven and bake for 10 minutes until golden.
- Cool completely: Allow the crust to cool before adding the filling.
- Use parchment paper: Line your pan for easier removal.
- Store properly: Wrap tightly in plastic wrap if making ahead.
- Crush cookies finely: For a more uniform crust, pulse cookies in a food processor.
Frequently Asked Questions
Can I make this ahead of time? How to store and reheat?
You can prepare the cookie crust up to 3 days in advance. Store it in an airtight container in the refrigerator, and there’s no need to reheat before adding the cheesecake filling.
What can I substitute for graham crackers?
If you don’t have graham crackers, you can use crushed digestive biscuits or vanilla wafers as a substitute, maintaining the same measurement of 1 ½ cups crushed for the crust.
How do I know when it’s done?
Your cookie crust is done when it’s slightly golden brown and set at the edges, which usually takes about 10-12 minutes in a preheated oven at 350°F (175°C).
Can I freeze this? How long does it last?
Yes, you can freeze the cookie crust for up to 2 months. Wrap it tightly in plastic wrap and then in aluminum foil to prevent freezer burn.
What if I don’t have a food processor?
If you don’t have a food processor, you can easily crush the cookies in a zip-top bag using a rolling pin or a heavy pan until they’re finely ground.

- Decadent Peanut Butter No-Bake Cheesecake: Easy Recipe to Indulge - April 3, 2026
- Delicious Mango No-Bake Cheesecake: Step-by-Step Recipe - April 3, 2026
- Decadent Raspberry No-Bake Cheesecake: Easy Step-by-Step Recipe - April 3, 2026