How Long to Chill Cheesecake Before Serving: Tips for Perfect Flavor
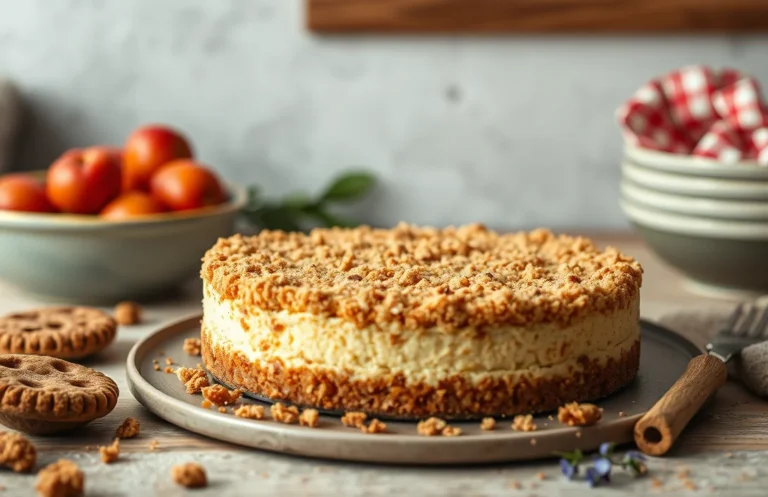
Cheesecake is one of those desserts that can turn any gathering into a celebration. Its creamy, rich texture and sweet, tangy flavor are simply irresistible, whether you’re enjoying a slice after dinner or sharing it with friends over coffee. The excitement of cutting into a perfectly set cheesecake is hard to beat!
In this guide, you’ll learn exactly how long to leave cheesecake out before serving for optimal flavor and texture, along with food safety tips. We’ll cover total time, difficulty level, and servings to ensure your cheesecake is a hit.
| Prep Time | Cook Time | Total Time | Servings | Difficulty |
|---|---|---|---|---|
| 20 minutes | 60 minutes | 4 hours (chill time included) | 8 slices | Medium |
Cheesecake Origin and Specialties
Cheesecake has a rich history that spans centuries and various cultures, establishing itself as a beloved dessert around the world. Understanding its origins and cultural significance helps appreciate the nuances of serving this delightful treat, especially regarding the optimal time to leave it out before serving.
- Origins in Ancient Greece: The earliest known cheesecake dates back to ancient Greece, where it was made with simple ingredients like cheese, flour, and honey. It was served to athletes during the first Olympic Games, showcasing its historical significance as a celebratory dish.
- Cultural Variations: Different cultures have their own versions of cheesecake. For instance, Italian cheesecake often incorporates ricotta cheese, while Japanese cheesecake is known for its light and fluffy texture. Each variation reflects regional tastes and traditions.
- Modern Popularity: Today, cheesecake is a staple at celebrations such as birthdays and holidays. Its creamy texture and versatility allow for endless flavor combinations, making it a favorite for gatherings.
- Food Safety Considerations: It’s essential to consider food safety when serving cheesecake. Leaving it out for too long can lead to spoilage, especially if it contains dairy. Aim to keep it at room temperature for no more than 2 hours; otherwise, refrigerate it to maintain freshness.
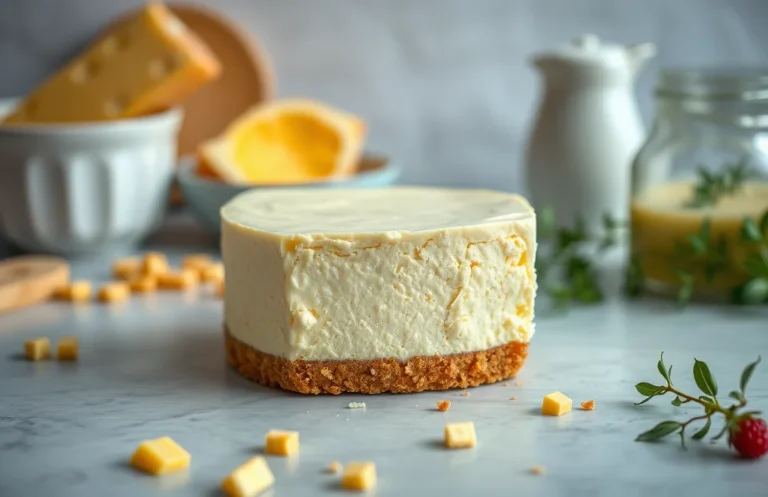
Ingredients for Perfect Cheesecake
Understanding the right ingredients for a cheesecake is essential for achieving that rich, creamy texture and delightful flavor. The quality and measurements of each ingredient can significantly impact the final result, especially when considering how long to leave the cheesecake out before serving for optimal taste.
| Item | Amount/Specification | Notes |
|---|---|---|
| Cream Cheese | 24 ounces (680g) | Softened to room temperature for easy mixing |
| Sugar | 1 cup (200g) | Granulated sugar for sweetness |
| Eggs | 3 large | At room temperature for better incorporation |
| Vanilla Extract | 1 teaspoon (5ml) | Pure vanilla for enhanced flavor |
| Graham Cracker Crust | 1 ½ cups (150g) | Crushed graham crackers |
| Butter | ½ cup (113g) | Melted for binding the crust |
- Tip: Ensure cream cheese is fully softened to prevent lumps.
- If you have a dairy allergy, try using a non-dairy cream cheese alternative.
- Let the cheesecake cool at room temperature for about 1 hour after baking before refrigerating; this helps set the texture.
- For best flavor, let the cheesecake sit out for 30 minutes before serving to enhance the taste and creaminess.
Essential Kitchen Equipment
To prepare and serve a cheesecake effectively, having the right kitchen tools is crucial. This section outlines the essential equipment you’ll need, ensuring a smooth process from mixing to serving while keeping food safety and taste in mind.
- Mixing Tools: You’ll need a sturdy mixing bowl (preferably glass or stainless steel) and an electric mixer or a whisk. For best results, cream cheese should be at room temperature, so let it sit out for about 30 minutes before mixing. Make sure to blend until smooth, with no lumps, which helps achieve a creamy texture in your cheesecake.
- Baking Pan: A 9-inch (23 cm) springform pan is ideal for cheesecake as it allows easy removal once cooled. Before pouring in the batter, line the bottom with parchment paper to prevent sticking. It’s essential to wrap the outside of the pan with aluminum foil if you plan to use a water bath, ensuring no water seeps in during baking.
- Cooling Rack: After baking, the cheesecake needs to cool gradually. Use a wire cooling rack to allow air to circulate around the pan. This prevents condensation, which can make your cheesecake soggy. Let it cool at room temperature for about an hour before refrigerating to set.
Chef’s tip: Always allow your cheesecake to chill for at least 4 hours, preferably overnight, before serving for the best flavor and texture.
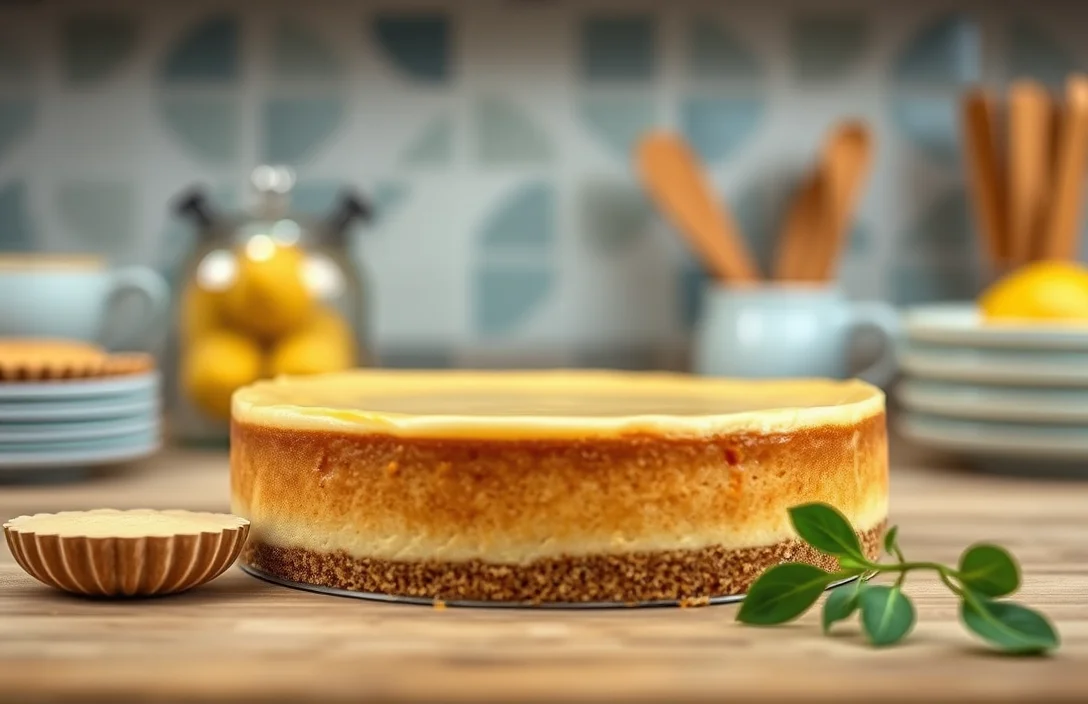
Cheesecake Preparation Steps
Knowing how long to leave your cheesecake out before serving is crucial for achieving the best flavor and texture. This section will guide you through the mixing, baking, and cooling processes, ensuring your cheesecake is perfectly set and ready for enjoyment.
- Mixing Ingredients: Start by preheating your oven to 325°F (160°C). In a large mixing bowl, combine 2 cups (400g) of cream cheese and 1 cup (200g) of granulated sugar. Use an electric mixer to blend until smooth and creamy, about 3-4 minutes. The mixture should be free of lumps and have a velvety consistency.
- Adding Flavors: Add 1 teaspoon of vanilla extract and 3 large eggs, one at a time, mixing well after each addition. Ensure the mixture is well combined, and you should see a glossy texture. If you’re making a flavored cheesecake, this is the time to incorporate any additional ingredients, such as melted chocolate or fruit puree.
- Baking Time: Pour the cheesecake batter into a prepared 9-inch (23cm) springform pan. Bake in the preheated oven for 55-60 minutes, or until the edges are set but the center still has a slight jiggle. This ensures a creamy texture; overbaking can lead to a dry cheesecake.
- Cooling Process: After baking, turn off the oven and crack the door open, allowing the cheesecake to cool in the oven for about 1 hour. This gradual cooling helps prevent cracks. Once cooled, remove the cheesecake from the oven and let it sit at room temperature for another 30 minutes before refrigerating.
- Chilling Before Serving: Refrigerate the cheesecake for at least 4 hours, preferably overnight. Before serving, take the cheesecake out of the refrigerator and let it sit at room temperature for about 30 minutes. This enhances the flavor and makes slicing easier.
Timing for Serving Cheesecake
Understanding how long to leave your cheesecake out before serving can significantly enhance its flavor and texture. Letting it sit at room temperature allows the flavors to bloom and the texture to soften, making each bite a delight. Here are some key recommendations for optimal timing and temperature considerations.
- Recommended Time: Ideally, you should let your cheesecake sit out for about 30 minutes to 1 hour before serving. This allows it to reach a pleasantly cool temperature that enhances its creamy texture. If you’ve just taken it out from the fridge, 30 minutes is often sufficient, but for the best experience, aim for the full hour.
- Temperature Considerations: Cheesecake is best served between 60°F to 70°F (15°C to 21°C). At this range, it’s cool enough to remain firm but soft enough to be creamy. If you notice your cheesecake feels too firm, give it an additional 10-15 minutes at room temperature. Just keep an eye on the clock; leaving it out too long can risk food safety.
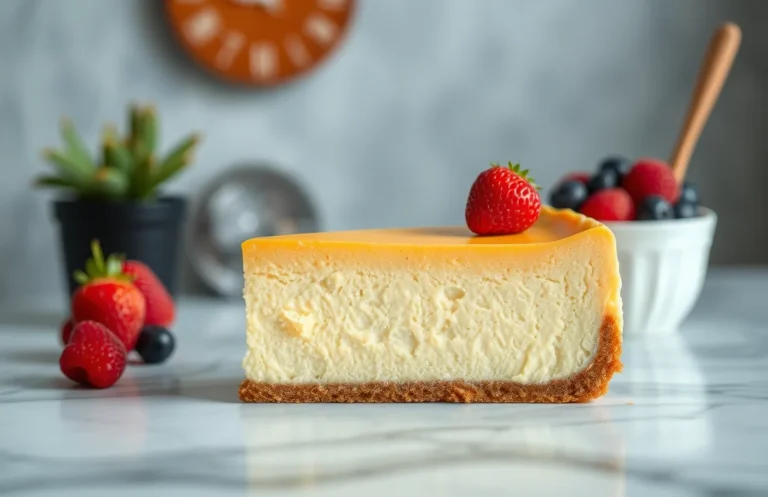
- Texture and Flavor Impact: As the cheesecake warms slightly, you’ll notice a richer flavor profile emerging, making it more enjoyable. The edges should still feel slightly firm, while the center should have a gentle jiggle when you give it a little nudge. If it starts to sweat or develop a sheen, it’s time to serve!
- Variations Based on Cheesecake Type: For flavored cheesecakes, like chocolate or fruit, the recommended time remains the same. However, the flavor may intensify slightly with a longer sitting time, so adjust according to your taste preference.
Food Safety Tips
Understanding how long to leave a cheesecake out before serving is crucial for both safety and flavor. Cheesecake, being a dairy-rich dessert, can spoil if not handled properly. This section will guide you on safe serving temperatures and storage recommendations to keep your cheesecake delicious and safe to eat.
Safe Serving Temperature
Cheesecake is best served chilled, ideally at a temperature between 32°F to 40°F (0°C to 4°C). When serving, it’s important to limit the time it spends at room temperature:
- Maximum Time at Room Temperature: Do not leave cheesecake out for more than 2 hours. Beyond this, the risk of bacterial growth increases, especially in warmer environments.
- If the temperature is above 90°F (32°C), reduce the time to just 1 hour.
Storage Recommendations
If you have leftover cheesecake, it’s best to store it properly to maintain its quality:
- Cover the cheesecake with plastic wrap or aluminum foil.
- Store in the refrigerator for up to 5 days.
- If you need to keep it longer, consider freezing it. Wrap tightly in plastic wrap, then in aluminum foil, and it can last for about 2-3 months in the freezer.
“Chef’s tip: When serving cheesecake at a gathering, consider placing it on a chilled platter to maintain its temperature longer.”
| Temperature | Max Time Outside Fridge |
|---|---|
| Below 70°F (21°C) | 2 hours |
| Above 70°F (21°C) | 1 hour |
Cheesecake Variations
Understanding how different types of cheesecakes affect serving recommendations is essential for both taste and food safety. Classic cheesecakes and no-bake versions require different handling and timing before serving, impacting their texture and flavor.
- Classic Cheesecake: A traditional baked cheesecake typically needs to cool in the refrigerator for at least 4 hours, but letting it sit overnight can enhance its flavor and texture. Before serving, allow it to sit at room temperature for 30 minutes to 1 hour. This warming period helps soften the cheesecake slightly, making it creamier and more enjoyable.
- No-Bake Cheesecake: No-bake cheesecakes are generally lighter and fluffier than their baked counterparts. After chilling for at least 4 hours, you can leave it out for about 15-30 minutes before serving. This brief exposure to room temperature brings out the flavors and makes the cheesecake easier to slice.
- Flavor Variations: Cheesecakes with added flavorings, such as fruit purees or chocolate, may require different handling. For instance, fruit-based cheesecakes can lose their texture if left out too long. Aim for a maximum of 30 minutes at room temperature to maintain their integrity. Always keep an eye on the consistency; if it starts to feel too soft or runny, it’s time to serve!
- Food Safety Considerations: Regardless of the type, cheesecakes should not be left out for more than 2 hours at room temperature to avoid spoilage. If the temperature is above 90°F (32°C), limit it to 1 hour. Always prioritize safety to ensure an enjoyable dessert experience.
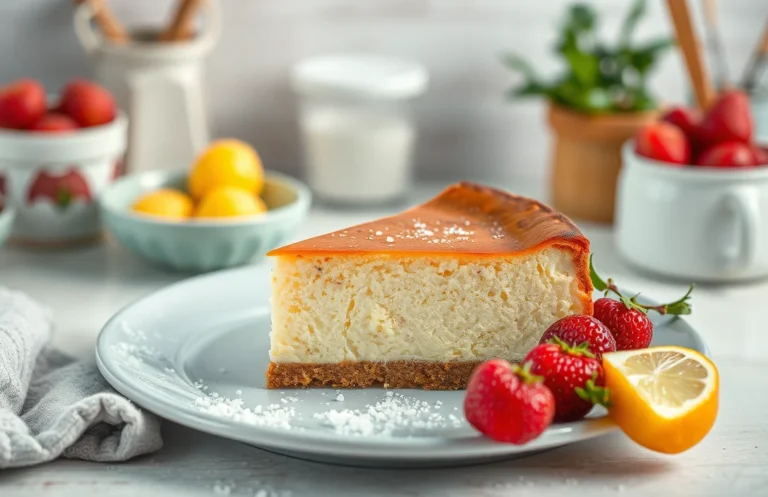
Serving and Pairing Suggestions
Knowing how to serve your cheesecake beautifully can elevate its presentation and enhance the overall dining experience. This section will guide you on optimal serving times and flavor pairings that complement your cheesecake while ensuring food safety.
- Timing for Serving: Aim to leave your cheesecake out at room temperature for about 30 minutes before serving. This allows the flavors to bloom and the texture to soften slightly, making it more enjoyable. Ensure that your cheesecake does not remain out for longer than two hours to avoid food safety issues.
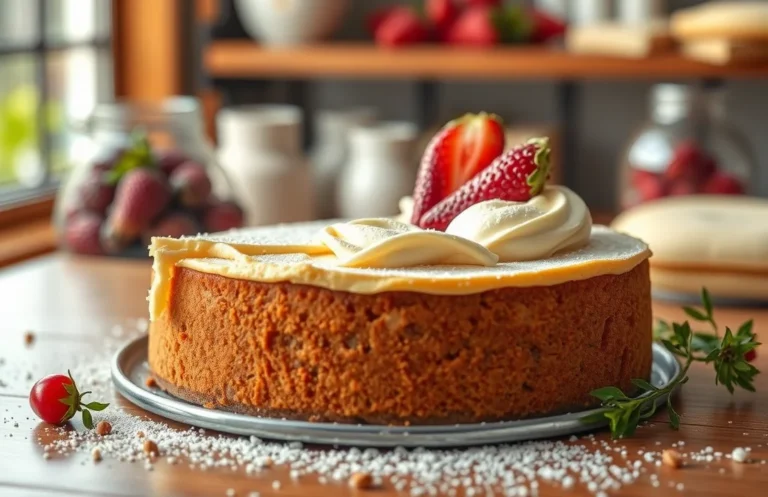
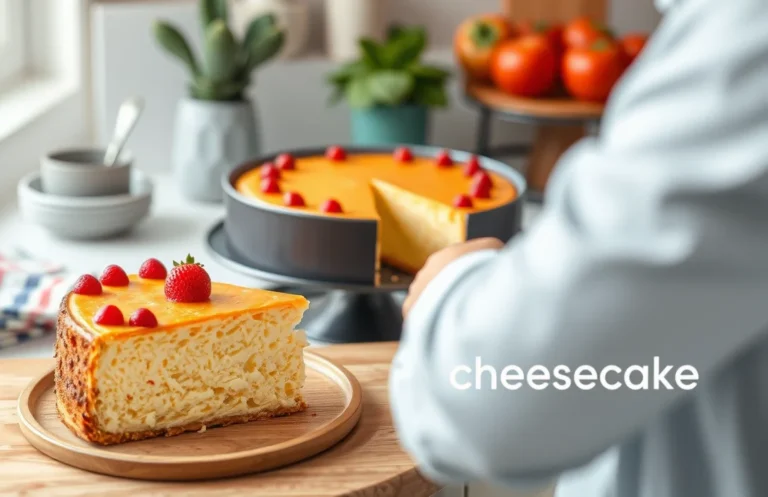
- Plating Tips: For a beautiful presentation, use a sharp knife to slice the cheesecake cleanly, dipping the knife in hot water and drying it between cuts for neat edges. Serve each slice on a chilled plate to keep the cheesecake firm and visually appealing. Consider garnishing with a sprinkle of powdered sugar or a dollop of whipped cream for an elegant touch.
- Complementary Flavors: Pair your cheesecake with fresh fruits like berries, citrus slices, or even a fruit compote for a burst of freshness that balances the rich texture. You can also drizzle a homemade chocolate or caramel sauce over the top for added indulgence. A sprinkle of sea salt or a few crushed nuts can add a delightful contrast to the creamy cheesecake.
- Serving Temperature: Cheesecake is best enjoyed chilled, around 45°F to 50°F (7°C to 10°C). If your cheesecake has been in the fridge, a brief sit at room temperature enhances its flavors without compromising safety.
Quick Summary
| Prep Time | 20 minutes |
|---|---|
| Cook Time | 1 hour |
| Total Time | 4 hours (including cooling) |
| Servings | 8 |
- Cool the cheesecake: Let it cool in the pan for 1 hour before refrigerating.
- Chill time: Refrigerate for at least 3 hours before serving.
- Leave out before serving: Allow cheesecake to sit at room temperature for 30 minutes.
- Check for doneness: A slight jiggle in the center indicates it’s done.
- Use a water bath: Helps prevent cracks and ensures even baking.
- Key Tip: Don’t rush the cooling process; it affects texture.
- Key Tip: Always use room temperature ingredients for a smooth batter.
Frequently Asked Questions
Can I make this ahead of time? How to store and reheat?
You can make your cheesecake up to 2 days in advance. Store it covered in the refrigerator, and there’s no need to reheat; serve it chilled for the best texture.
What can I substitute for cream cheese?
If you don’t have cream cheese, you can use mascarpone cheese for a similar creamy texture, or a blend of cottage cheese and sour cream for a lighter option.
How do I know when it’s done?
Your cheesecake is done when the edges are set and the center still has a slight jiggle (it will firm up as it cools). A toothpick inserted should come out clean or with just a few moist crumbs.
Can I freeze this? How long does it last?
Yes, you can freeze cheesecake for up to 2 months. Wrap it tightly in plastic wrap and then in foil to prevent freezer burn, and thaw in the fridge before serving.
Why did my cheesecake crack on top?
Cracking usually happens due to overbaking or a sudden temperature change while cooling. To avoid this, bake in a water bath and let it cool gradually in the oven with the door ajar.

- Top 10 Best Professional Home Espresso Machine 2026 - July 29, 2026
- Top 10 Best Lever Espresso Machine 2026 - July 29, 2026
- Top 10 Best Espresso Machine Under 2000 2026 - July 29, 2026