Preppy Kitchen Basket Cake: Step-by-Step Recipe & Decorating Tips
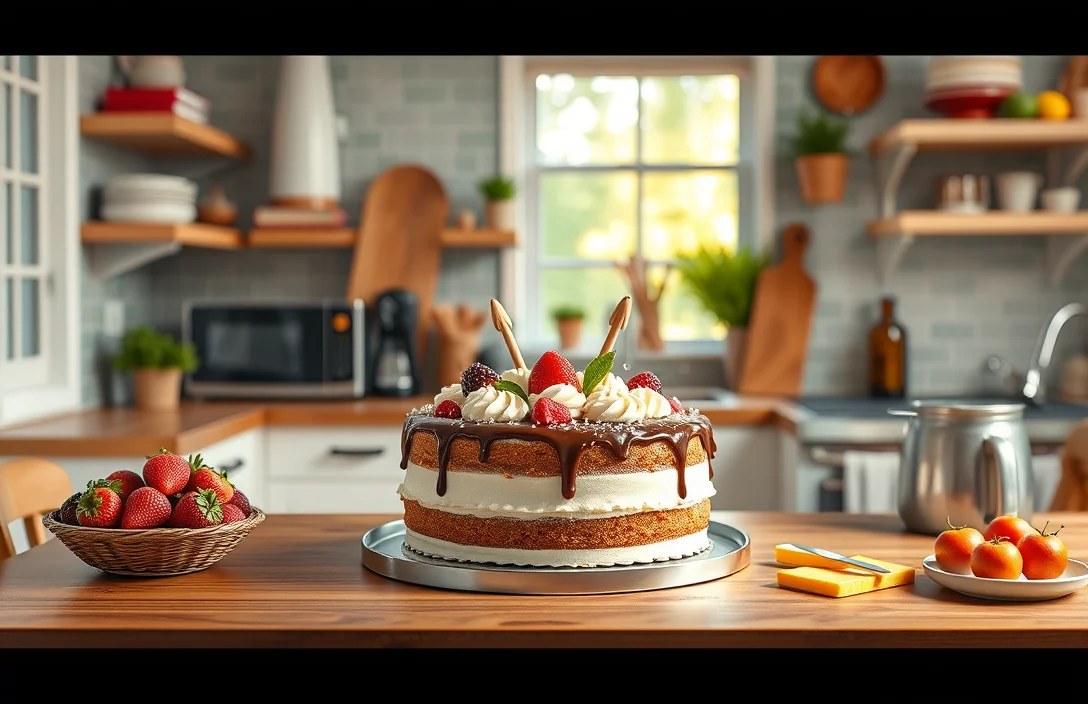
There’s something truly delightful about a basket cake that makes it the perfect centerpiece for any occasion. With its charming, woven design and vibrant colors, this cake not only tastes amazing but also looks stunning on your table. Imagine cutting into a moist vanilla cake layered with luscious buttercream while everyone admires your creation — it’s pure joy!
This recipe features a total time of 2 hours, with a difficulty level of medium, and serves 8-10 people. Perfect for gatherings or special celebrations, this basket cake is sure to impress!
| Prep Time | Cook Time | Total Time | Servings | Difficulty |
|---|---|---|---|---|
| 30 minutes | 30 minutes | 2 hours | 8-10 | Medium |
Origin of Basket Cake
Basket cakes have a rich history intertwined with celebrations and special occasions, often symbolizing warmth and hospitality. Their intricate designs and charming aesthetics make them a favorite for gatherings, showcasing creativity and love in every layer.
Cultural Significance
- Symbol of Celebration: Basket cakes are often associated with significant milestones such as weddings, birthdays, and anniversaries, embodying joy and festivity.
- Craftsmanship: The delicate weaving patterns in basket cake designs reflect traditional baking skills, passed down through generations, highlighting artistry in the culinary world.
- Regional Variations: Different cultures have their unique spins on basket cakes, incorporating local flavors and customs, which enriches the global appreciation for this dessert.
Occasions to Serve
- Weddings: A stunning basket cake can serve as the centerpiece of a wedding reception, often embellished with fresh flowers and intricate decorations.
- Birthdays: Perfect for celebrating loved ones, basket cakes can be customized with favorite flavors and colors to match the birthday theme.
- Holiday Gatherings: These cakes are a delightful addition to holiday tables, appealing to guests of all ages with their inviting appearance and delicious taste.
Ingredients for Basket Cake
To create a stunning basket cake that is both delicious and visually appealing, you’ll need a variety of ingredients for the cake itself, the filling, and the frosting. Each component plays a vital role in achieving the perfect balance of flavor and texture, ensuring your cake is a showstopper.
| Item | Amount/Specification | Notes |
|---|---|---|
| All-purpose flour | 2 cups (240g) | Sifted for best results |
| Sugar | 1 ½ cups (300g) | Granulated |
| Baking powder | 2 teaspoons | Ensure it’s fresh for proper rising |
| Salt | ½ teaspoon | Enhances flavor |
| Unsalted butter | ½ cup (115g) | Softened to room temperature |
| Eggs | 3 large | Room temperature |
| Vanilla extract | 2 teaspoons | Pure for the best flavor |
| Milk | 1 cup (240ml) | Whole milk preferred |
| Whipped cream | 2 cups (480ml) | For frosting |
| Powdered sugar | ½ cup (60g) | For frosting |
| Fresh fruit (e.g., strawberries, blueberries) | 1 cup | For filling and decoration |
- For a dairy-free version, substitute butter with margarine and milk with almond or soy milk.
- If you have egg allergies, you can use 1/4 cup unsweetened applesauce per egg for substitutions.
- Make sure your ingredients are at room temperature to ensure even mixing and a fluffy texture.
Essential Kitchen Equipment
To create a beautiful basket cake, having the right tools and equipment is crucial. This section outlines the essential baking and decorating tools you’ll need to achieve that preppy aesthetic and ensure your cake turns out perfectly every time.
| Item | Amount/Specification | Notes |
|---|---|---|
| Mixing bowls | 3 (various sizes) | For mixing batter and frosting |
| Measuring cups | 1 set (liquid and dry) | For accurate ingredient measurements |
| Electric mixer | 1 | Stand or hand mixer recommended for batter |
| Baking pans | 2 9-inch round | For layering the cake |
| Cooling rack | 1 | To cool the cakes evenly |
| Offset spatula | 1 | For frosting and smoothing |
| Decorating bags | 2-3 | For piping frosting |
| Piping tips | 2-3 (various sizes) | For different frosting designs |
- Tip: Ensure your mixing bowls are large enough to accommodate the batter without spilling.
- Tip: If you don’t have an electric mixer, a whisk will work, but it requires more effort!
- Tip: Line your baking pans with parchment paper to prevent sticking.
- Tip: Keep your decorating bags clean by using a coupler for easy tip changes.
Step-by-Step Baking Instructions
This section provides you with detailed instructions for baking and assembling your basket cake, ensuring it’s both visually stunning and delicious. Follow each step closely for the best results!
Baking the Cake
- Preheat your oven to 350°F (175°C). Grease and flour two 9-inch round cake pans, ensuring an even coating to prevent sticking.
- In a large mixing bowl, combine 2 cups (250g) of all-purpose flour, 1 ½ cups (300g) of granulated sugar, 1 tablespoon of baking powder, and ½ teaspoon of salt. Whisk the dry ingredients until well blended.
- In another bowl, mix together ½ cup (120ml) of whole milk, ½ cup (120ml) of vegetable oil, and 3 large eggs. Whisk until fully combined, then pour into the dry ingredients. Stir gently until just combined; do not overmix.
- Divide the batter evenly between the prepared pans and smooth the tops. Bake for 25-30 minutes until golden brown and a toothpick inserted in the center comes out clean. The cakes should spring back when lightly pressed.
Preparing the Filling
- While the cakes are baking, prepare the filling. In a medium bowl, beat 1 cup (240ml) of heavy cream until soft peaks form. This should take about 3-5 minutes using a hand mixer.
- Gently fold in ½ cup (60g) of powdered sugar and 1 teaspoon of vanilla extract into the whipped cream until fully incorporated, creating a light and fluffy filling.
Assembling the Cake
- Once the cakes are completely cooled, remove them from the pans. Place one layer on a serving plate and spread half of the whipped cream filling evenly on top.
- Place the second layer on top and spread the remaining filling over the top and sides of the cake. Use an offset spatula for a smooth finish.
- For decoration, use fresh fruit or chocolate shavings, arranging them to resemble a basket weave. Be careful not to overload the cake with decorations to maintain its structure.
Chef’s tip: Chill the assembled cake in the refrigerator for at least 30 minutes before serving to help the filling set and enhance the flavor.
Pro Tips for Perfect Basket Cake
Mastering the basket cake requires attention to detail, especially when it comes to avoiding dryness and achieving that dreamy, smooth frosting. These tips will help you perfect your cake, ensuring it’s not only beautiful but also deliciously moist and well-frosted.
Avoiding Dry Cake
- Measure ingredients accurately: Use a kitchen scale for precision. For example, 2 cups of all-purpose flour should weigh about 240 grams. Too much flour can lead to a dry cake.
- Check doneness with a toothpick: Insert a toothpick into the center of the cake; it should come out clean or with a few moist crumbs. If it comes out wet, bake for an additional 5 minutes, checking frequently.
- Add moisture boosters: Incorporate ingredients like 1/4 cup of sour cream or yogurt into your batter for extra moisture. These ingredients also enhance the cake’s flavor.
- Don’t open the oven door: During the first 20 minutes of baking, avoid opening the door to maintain a consistent temperature, which is crucial for even baking.
Achieving Smooth Frosting
- Use room temperature ingredients: Ensure your butter and cream cheese are at room temperature (about 70°F or 21°C) for easier blending and a smoother texture.
- Whip thoroughly: Beat your frosting for at least 3-5 minutes until it’s light and fluffy. This aerates the mixture, making it silky and easy to spread.
- Strain for perfection: If your frosting has lumps, strain it through a fine-mesh sieve to achieve a perfectly smooth consistency.
- Use a bench scraper: For a smooth finish, run a bench scraper around the sides of the cake after frosting. This will help remove excess frosting and create a polished look.
Creative Variations on Basket Cake
Expanding your basket cake repertoire can elevate your baking game and cater to various dietary needs. Here are some creative variations to suit gluten-free and vegan diets while maintaining that preppy aesthetic and delicious flavor.
Gluten-Free Options
If you’re looking for a gluten-free basket cake, simply substitute the all-purpose flour with a high-quality gluten-free flour blend. Make sure it contains xanthan gum for better texture. Here’s a basic guide:
- 1 ½ cups gluten-free flour blend (180g)
- 1 teaspoon baking powder
- ½ teaspoon baking soda
Mix these dry ingredients well before incorporating them into your batter. Bake at 350°F (175°C) for the same time, around 25-30 minutes, until a toothpick inserted comes out clean. The cake should be golden brown and slightly springy to the touch.
Vegan Alternatives
To make a vegan basket cake, you can replace eggs and dairy with plant-based alternatives. Here’s how:
- 1 cup unsweetened applesauce instead of 2 large eggs
- ½ cup almond milk (or any plant milk) instead of whole milk
- ½ cup coconut oil, melted, instead of butter
Follow the same mixing and baking instructions, and use the same baking temperature. The batter should be slightly thicker than traditional cake batter, and the final cake will be moist with a tender crumb.
Chef’s tip: Always taste your batter before baking! Adjust sweetness or add spices as desired.
| Ingredient | Standard | Gluten-Free | Vegan |
|---|---|---|---|
| Flour | 1 ½ cups all-purpose flour | 1 ½ cups gluten-free blend | N/A |
| Eggs | 2 large eggs | N/A | 1 cup applesauce |
| Milk | ½ cup whole milk | N/A | ½ cup plant milk |
| Butter | ½ cup butter | N/A | ½ cup coconut oil |
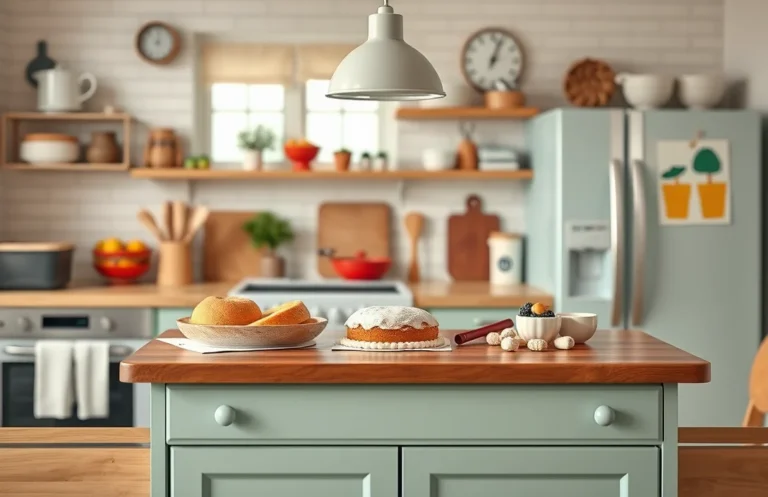
Serving and Plating Ideas
Presenting your basket cake beautifully not only enhances its appeal but also elevates the overall experience of enjoying this delightful dessert. Here are some garnishing tips and pairing suggestions that will make your cake the star of any gathering.
Garnishing Tips
- Start by dusting the top of the cake with powdered sugar for a snowy finish. Use a fine-mesh sieve to evenly distribute about 2 tablespoons of powdered sugar, creating a light and airy look that complements the cake’s texture.
- Add fresh fruit for a pop of color and flavor. Consider using strawberries, raspberries, or blueberries, placing them artistically around the base or on top of the cake. Aim for roughly 1 cup of mixed berries to balance the sweetness.
- For an extra touch, drizzle a simple glaze made from 1 cup of powdered sugar and 2 tablespoons of milk over the top. This should create a glossy finish that enhances the visual appeal and adds a hint of sweetness.
Pairing Suggestions
- Serve the basket cake with a dollop of freshly whipped cream. To make this, whip 1 cup of heavy cream with 2 tablespoons of sugar until soft peaks form, then place a generous spoonful beside each slice.
- Complement the cake with a side of vanilla ice cream. The creamy texture and subtle flavor of the ice cream will contrast beautifully with the cake, creating a delightful taste experience.
- For a beverage pairing, consider serving a light herbal tea or a refreshing lemonade. Both options will cleanse the palate and enhance the cake’s flavor, making for a well-rounded dessert experience.
Quick Summary
| Prep Time | Cook Time | Total Time | Servings |
|---|---|---|---|
| 30 min | 25 min | 55 min | 8 |
- Preheat the oven to 350°F (175°C) for even baking.
- Mix dry ingredients thoroughly before combining with wet to avoid clumps.
- Beat eggs and sugar until light and fluffy for a better texture.
- Layer with frosting between cake layers for optimal flavor.
- Chill before serving to set the frosting and improve slice quality.
- Garnish with fresh fruit for added flavor and presentation.
- Tip: Use room temperature eggs for better emulsion.
- Tip: Don’t overmix the batter to keep the cake light and airy.
Frequently Asked Questions
Can I make this ahead of time? How to store and reheat?
You can make the basket cake a day in advance; just store it in an airtight container at room temperature. If you need to reheat it, warm individual slices in the microwave for about 10-15 seconds.
What can I substitute for the key ingredient?
If you don’t have cake flour, you can substitute with all-purpose flour by removing 2 tablespoons per cup and replacing it with cornstarch. This will help achieve a lighter texture similar to cake flour.
How do I know when it’s done?
Your basket cake is done when a toothpick inserted in the center comes out clean or with a few moist crumbs. The edges should also be pulling slightly away from the pan.
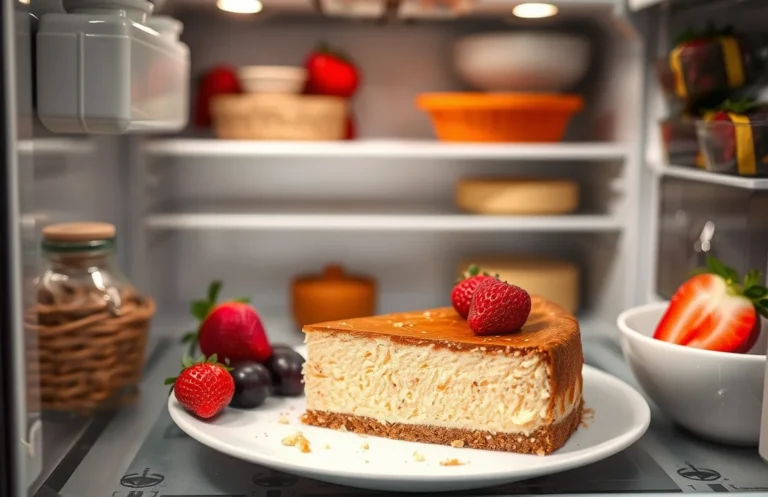
Can I freeze this? How long does it last?
You can freeze the basket cake for up to 2 months, wrapped tightly in plastic wrap and then aluminum foil. Just thaw it in the refrigerator overnight before serving.
What if I don’t have a bundt pan?
If you don’t have a bundt pan, you can use a regular 9-inch round cake pan, but adjust the baking time to about 25-30 minutes. Just make sure to grease the pan well to prevent sticking!